DIY Wooden Post
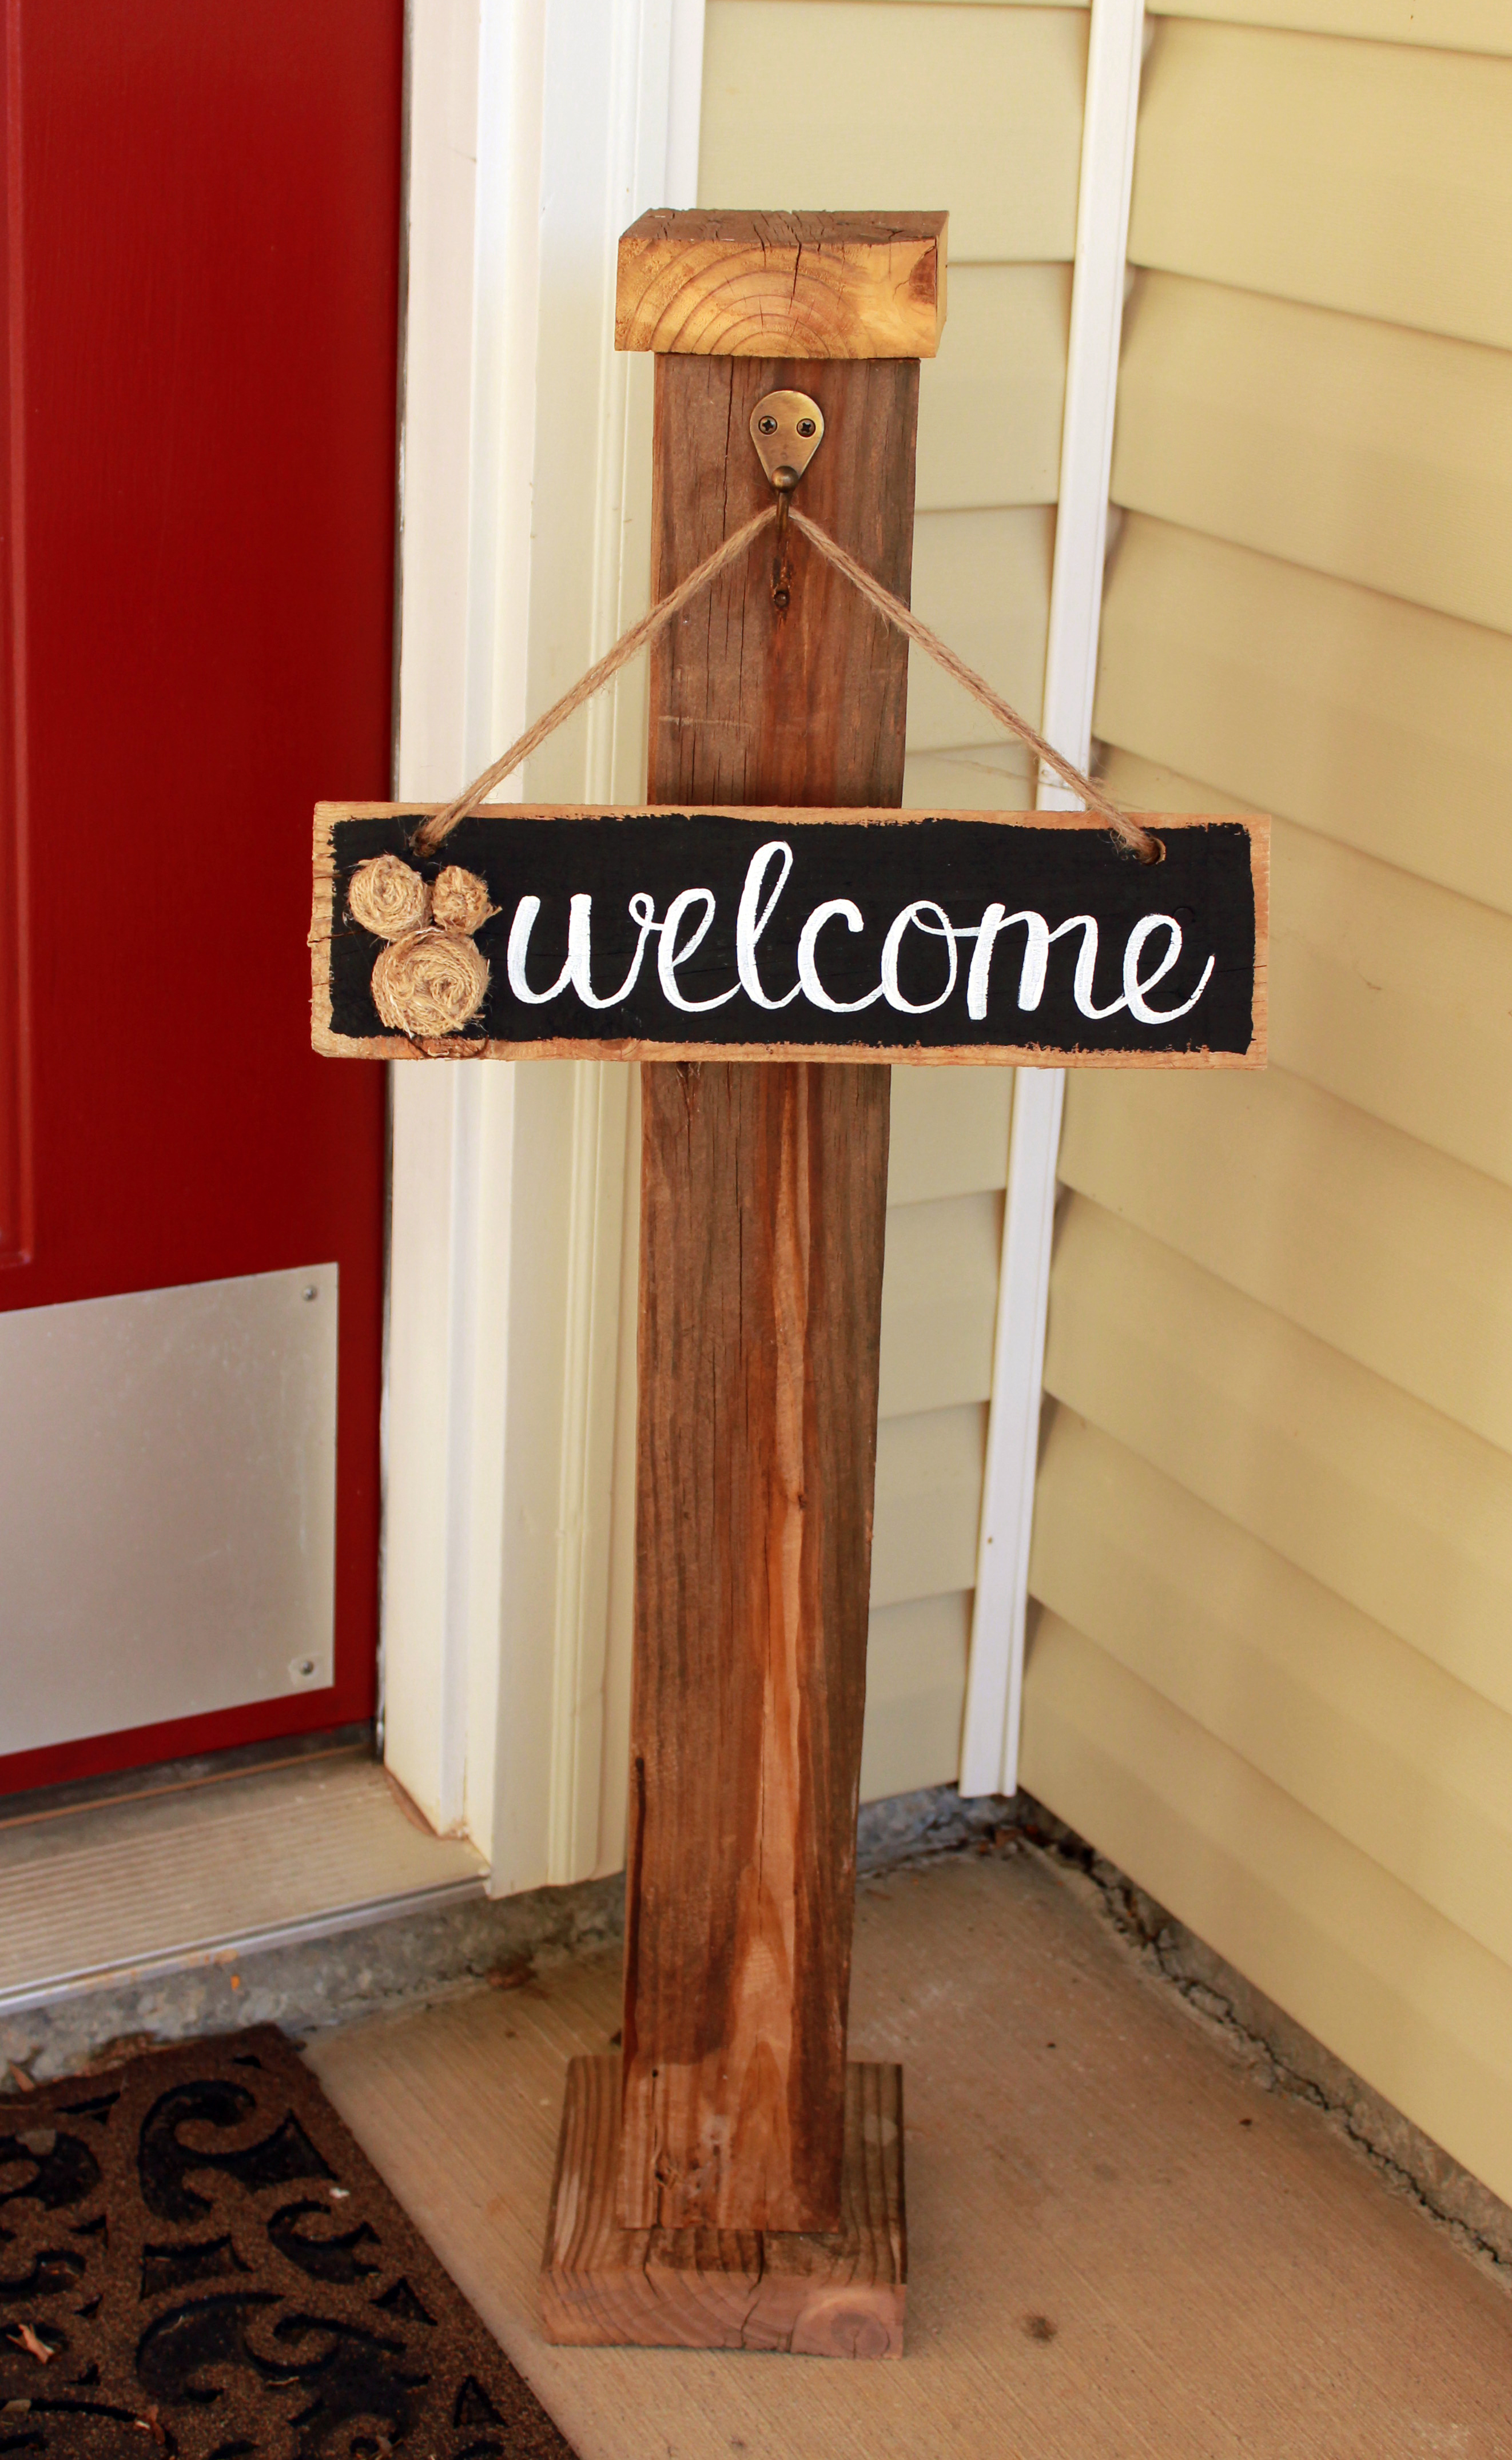
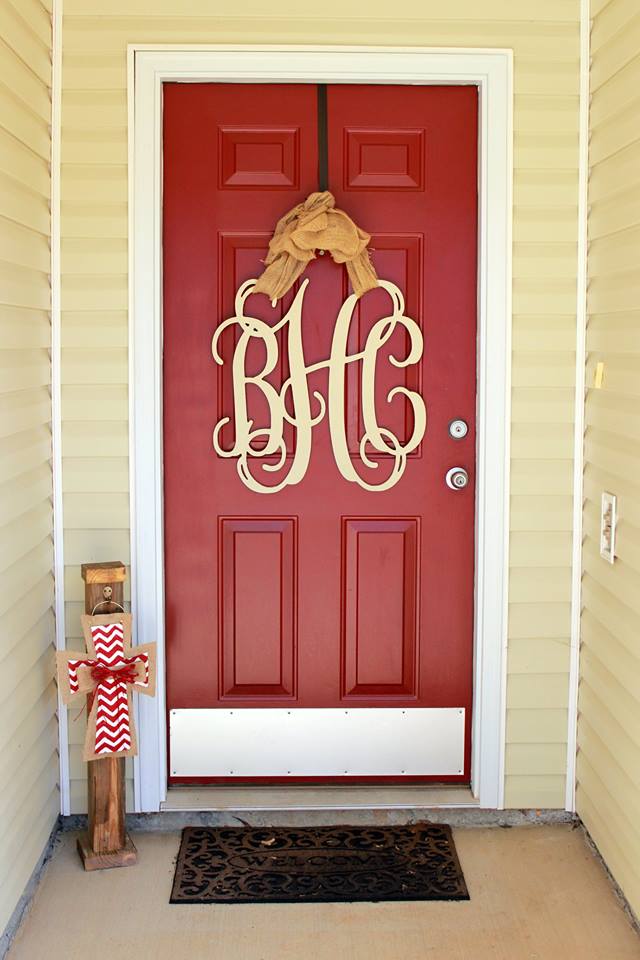
I often have posted about the burlap hangers I make but I’ve never explained the simple process of how I made the post for them. I always loved the burlap hangers but we got this fabulous wooden monogram for a wedding gift that I keep on our front door and I didn’t want to switch it out with the burlap hangers all the time so the post was the best of both worlds. I’ve had my mom ask for one for her porch and someone bought one from me as well so I figured it was worth posting how I made these simple yet useful posts.
First of all let me preface this by saying that my husband and I are NEW to wood working. We actually just bought our first saw about one year ago and neither had much experience using them. We’re slowly getting better and getting more adventurous but this was our very first woodworking project. Believe me when I say, if we can do it, you can too!
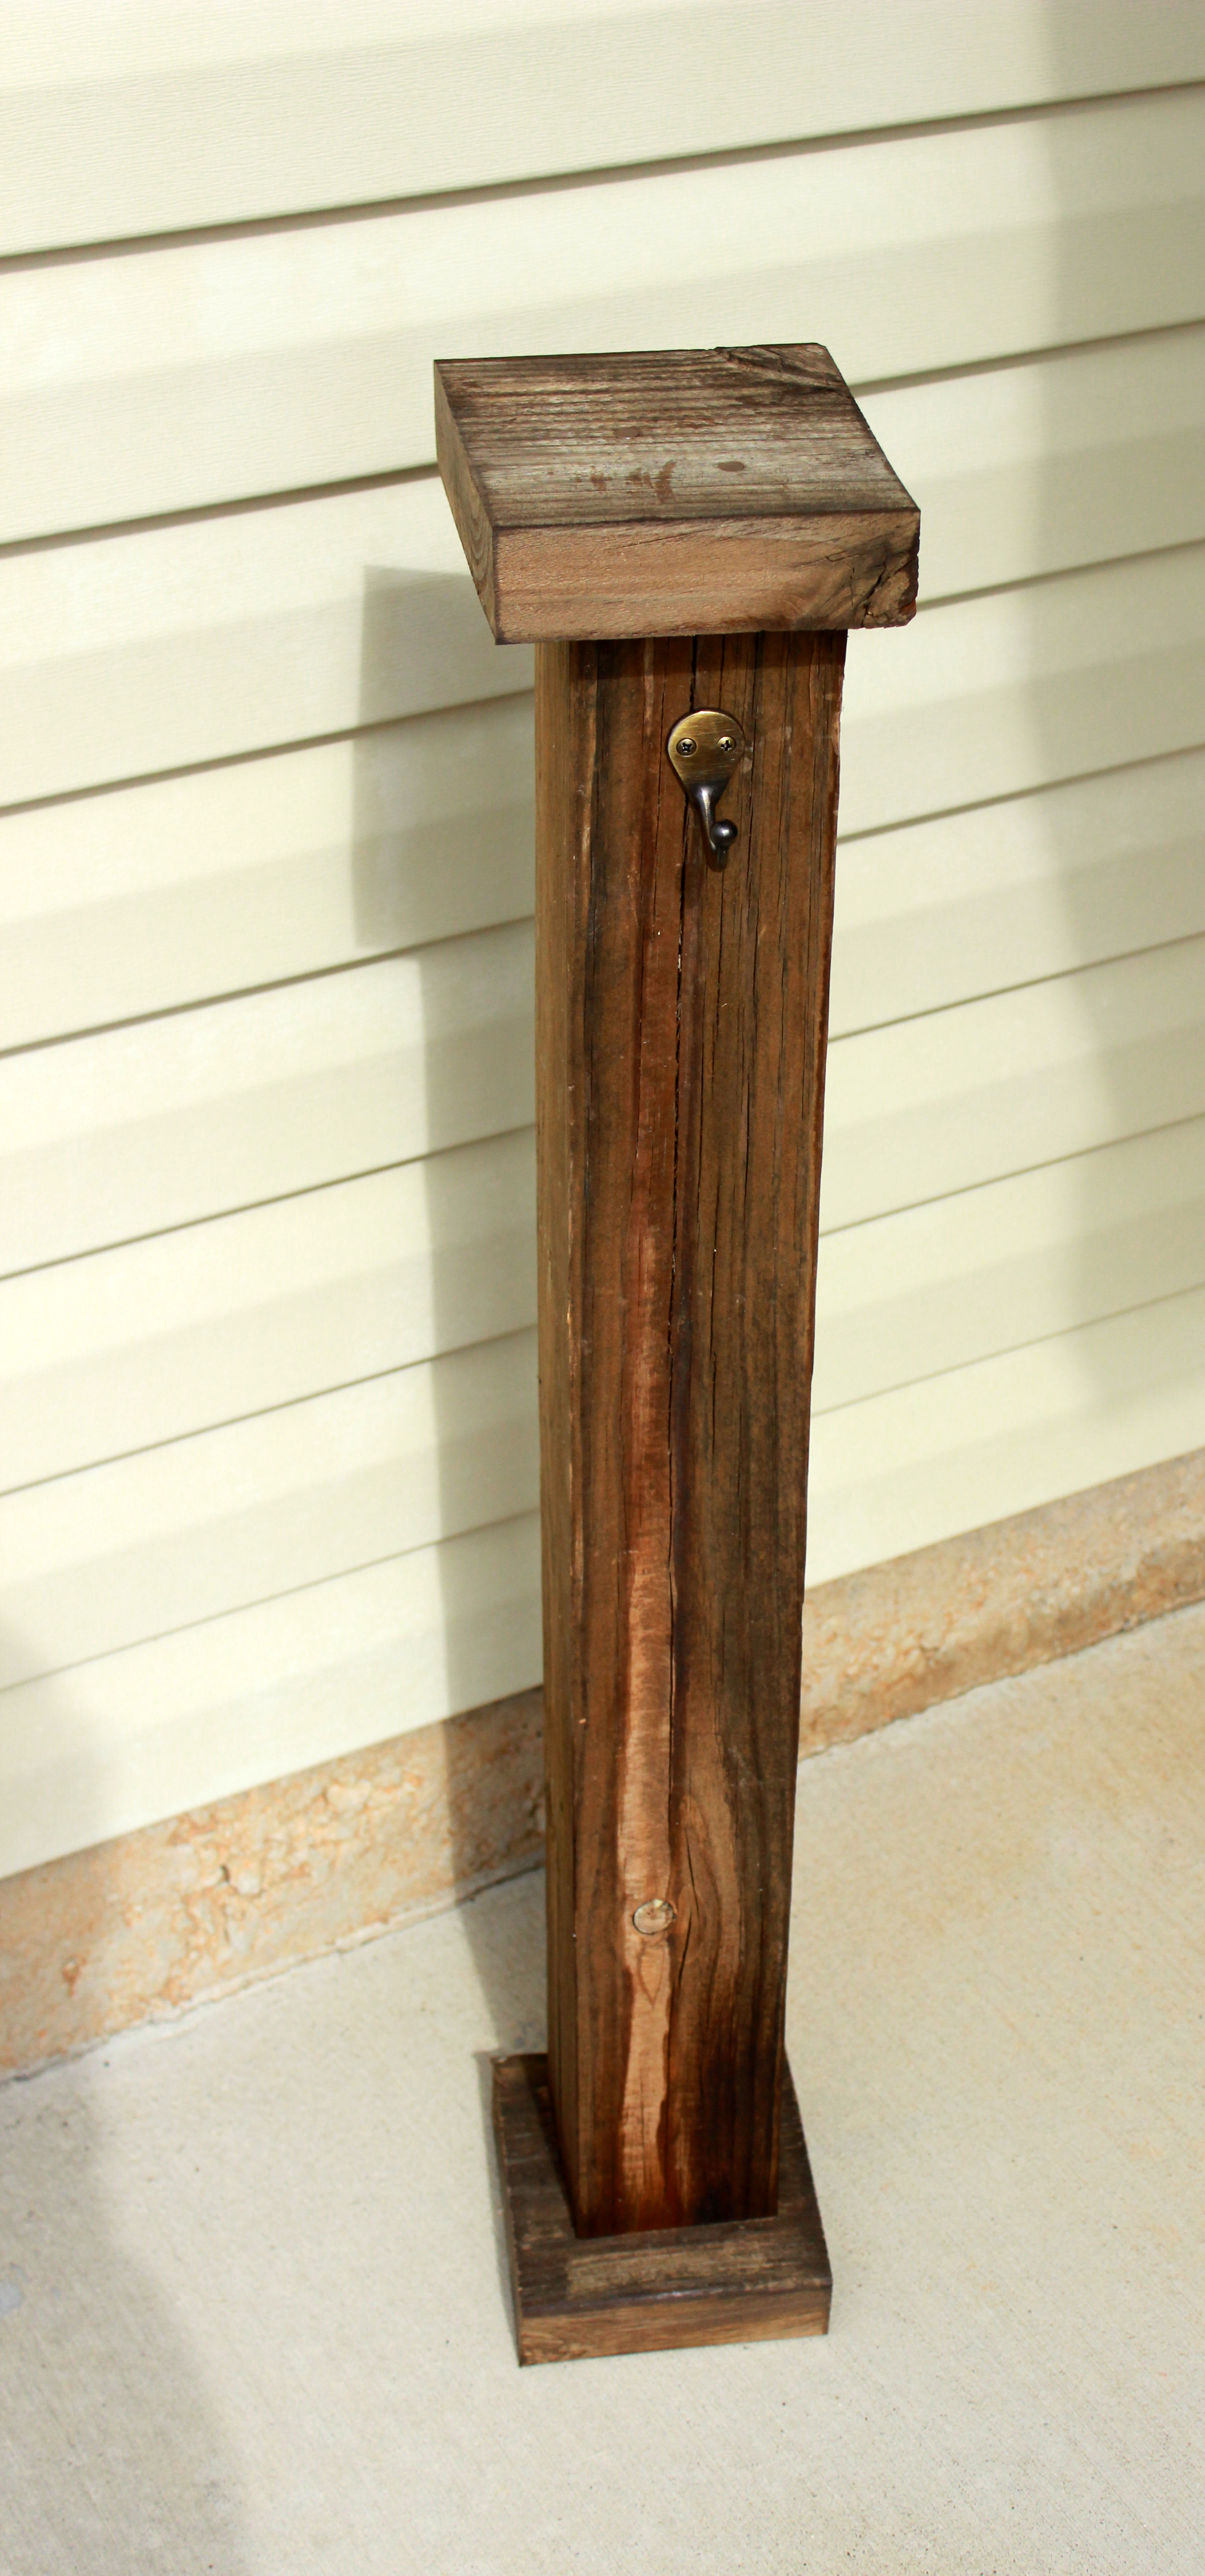
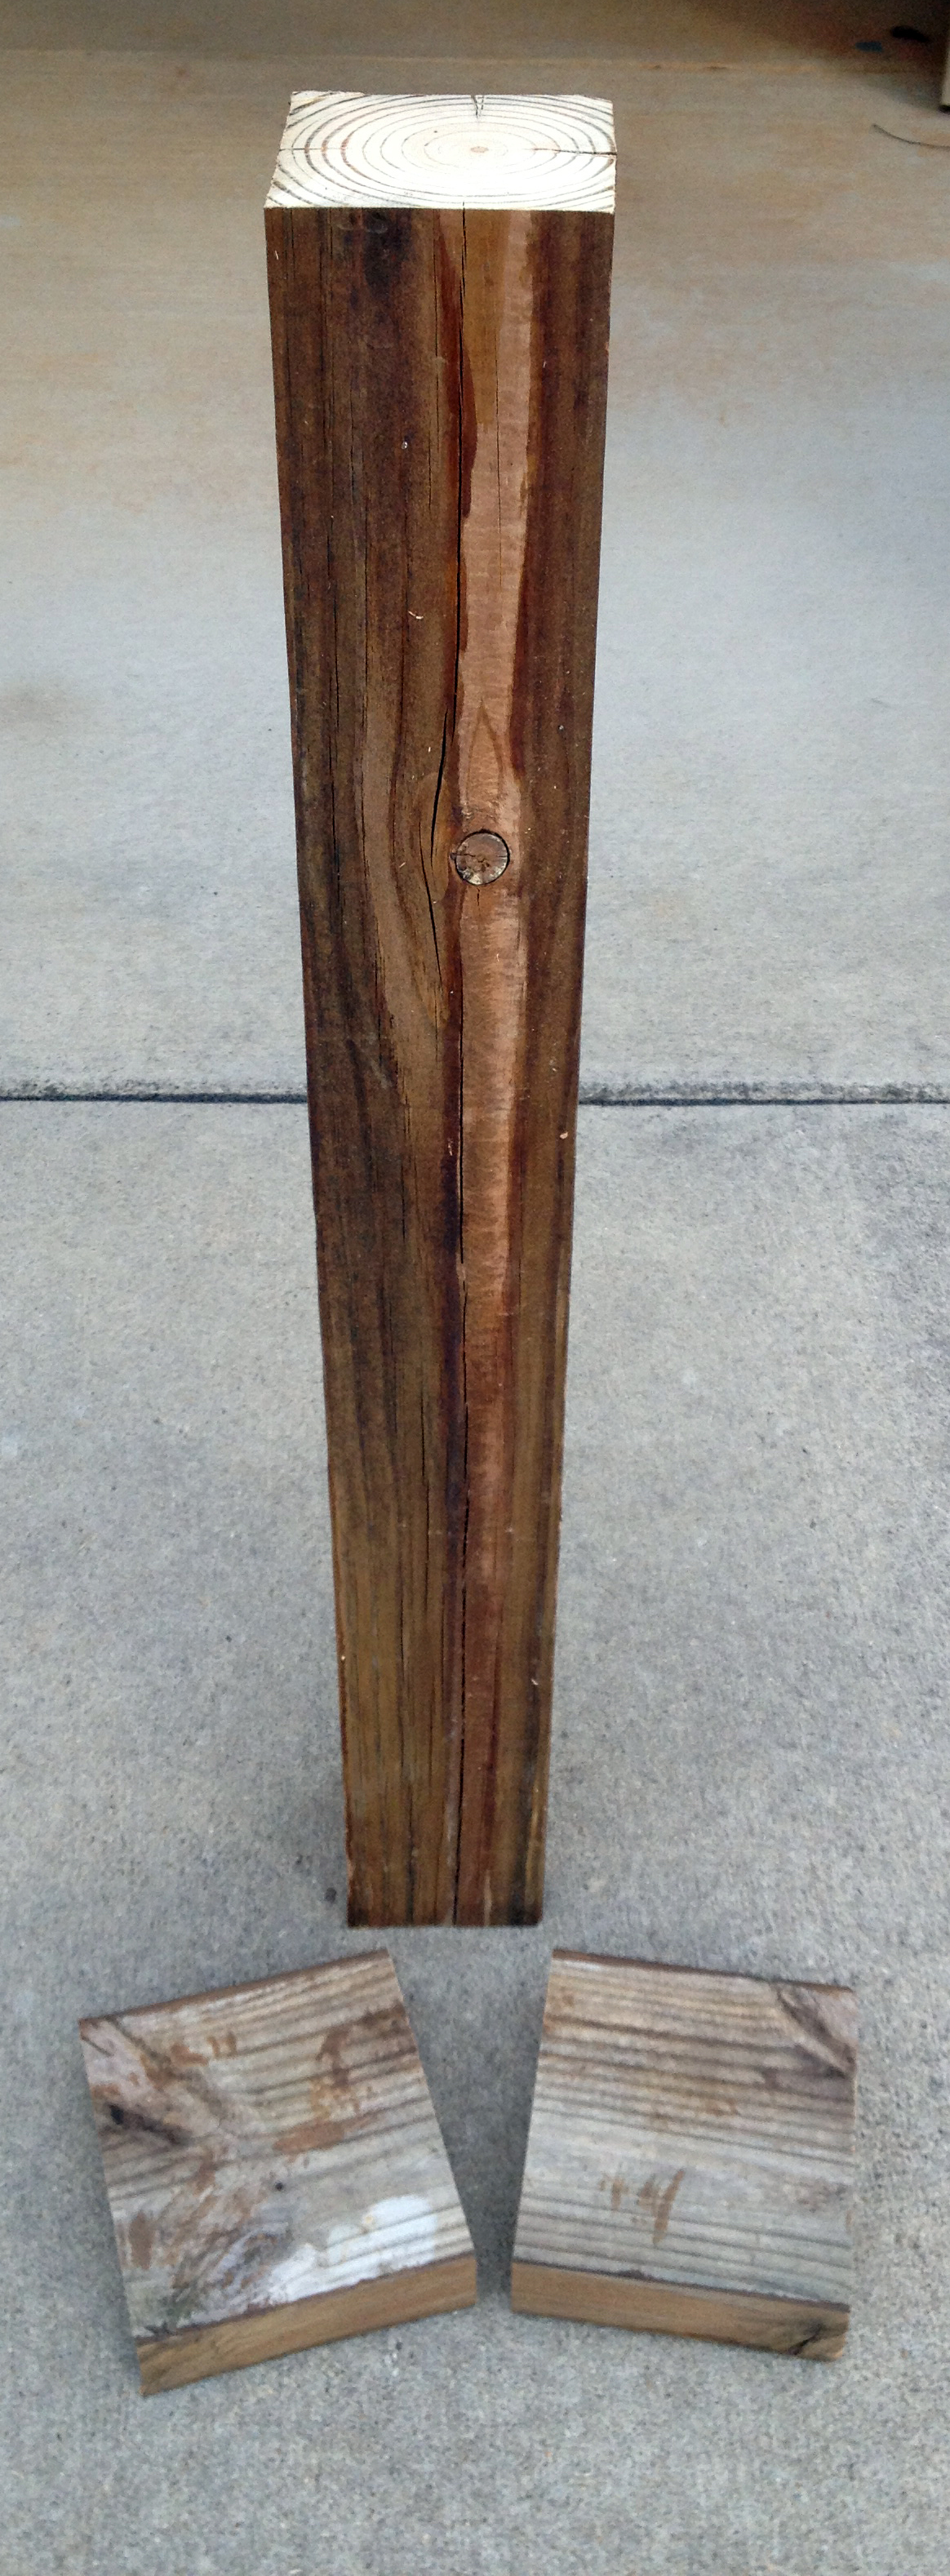
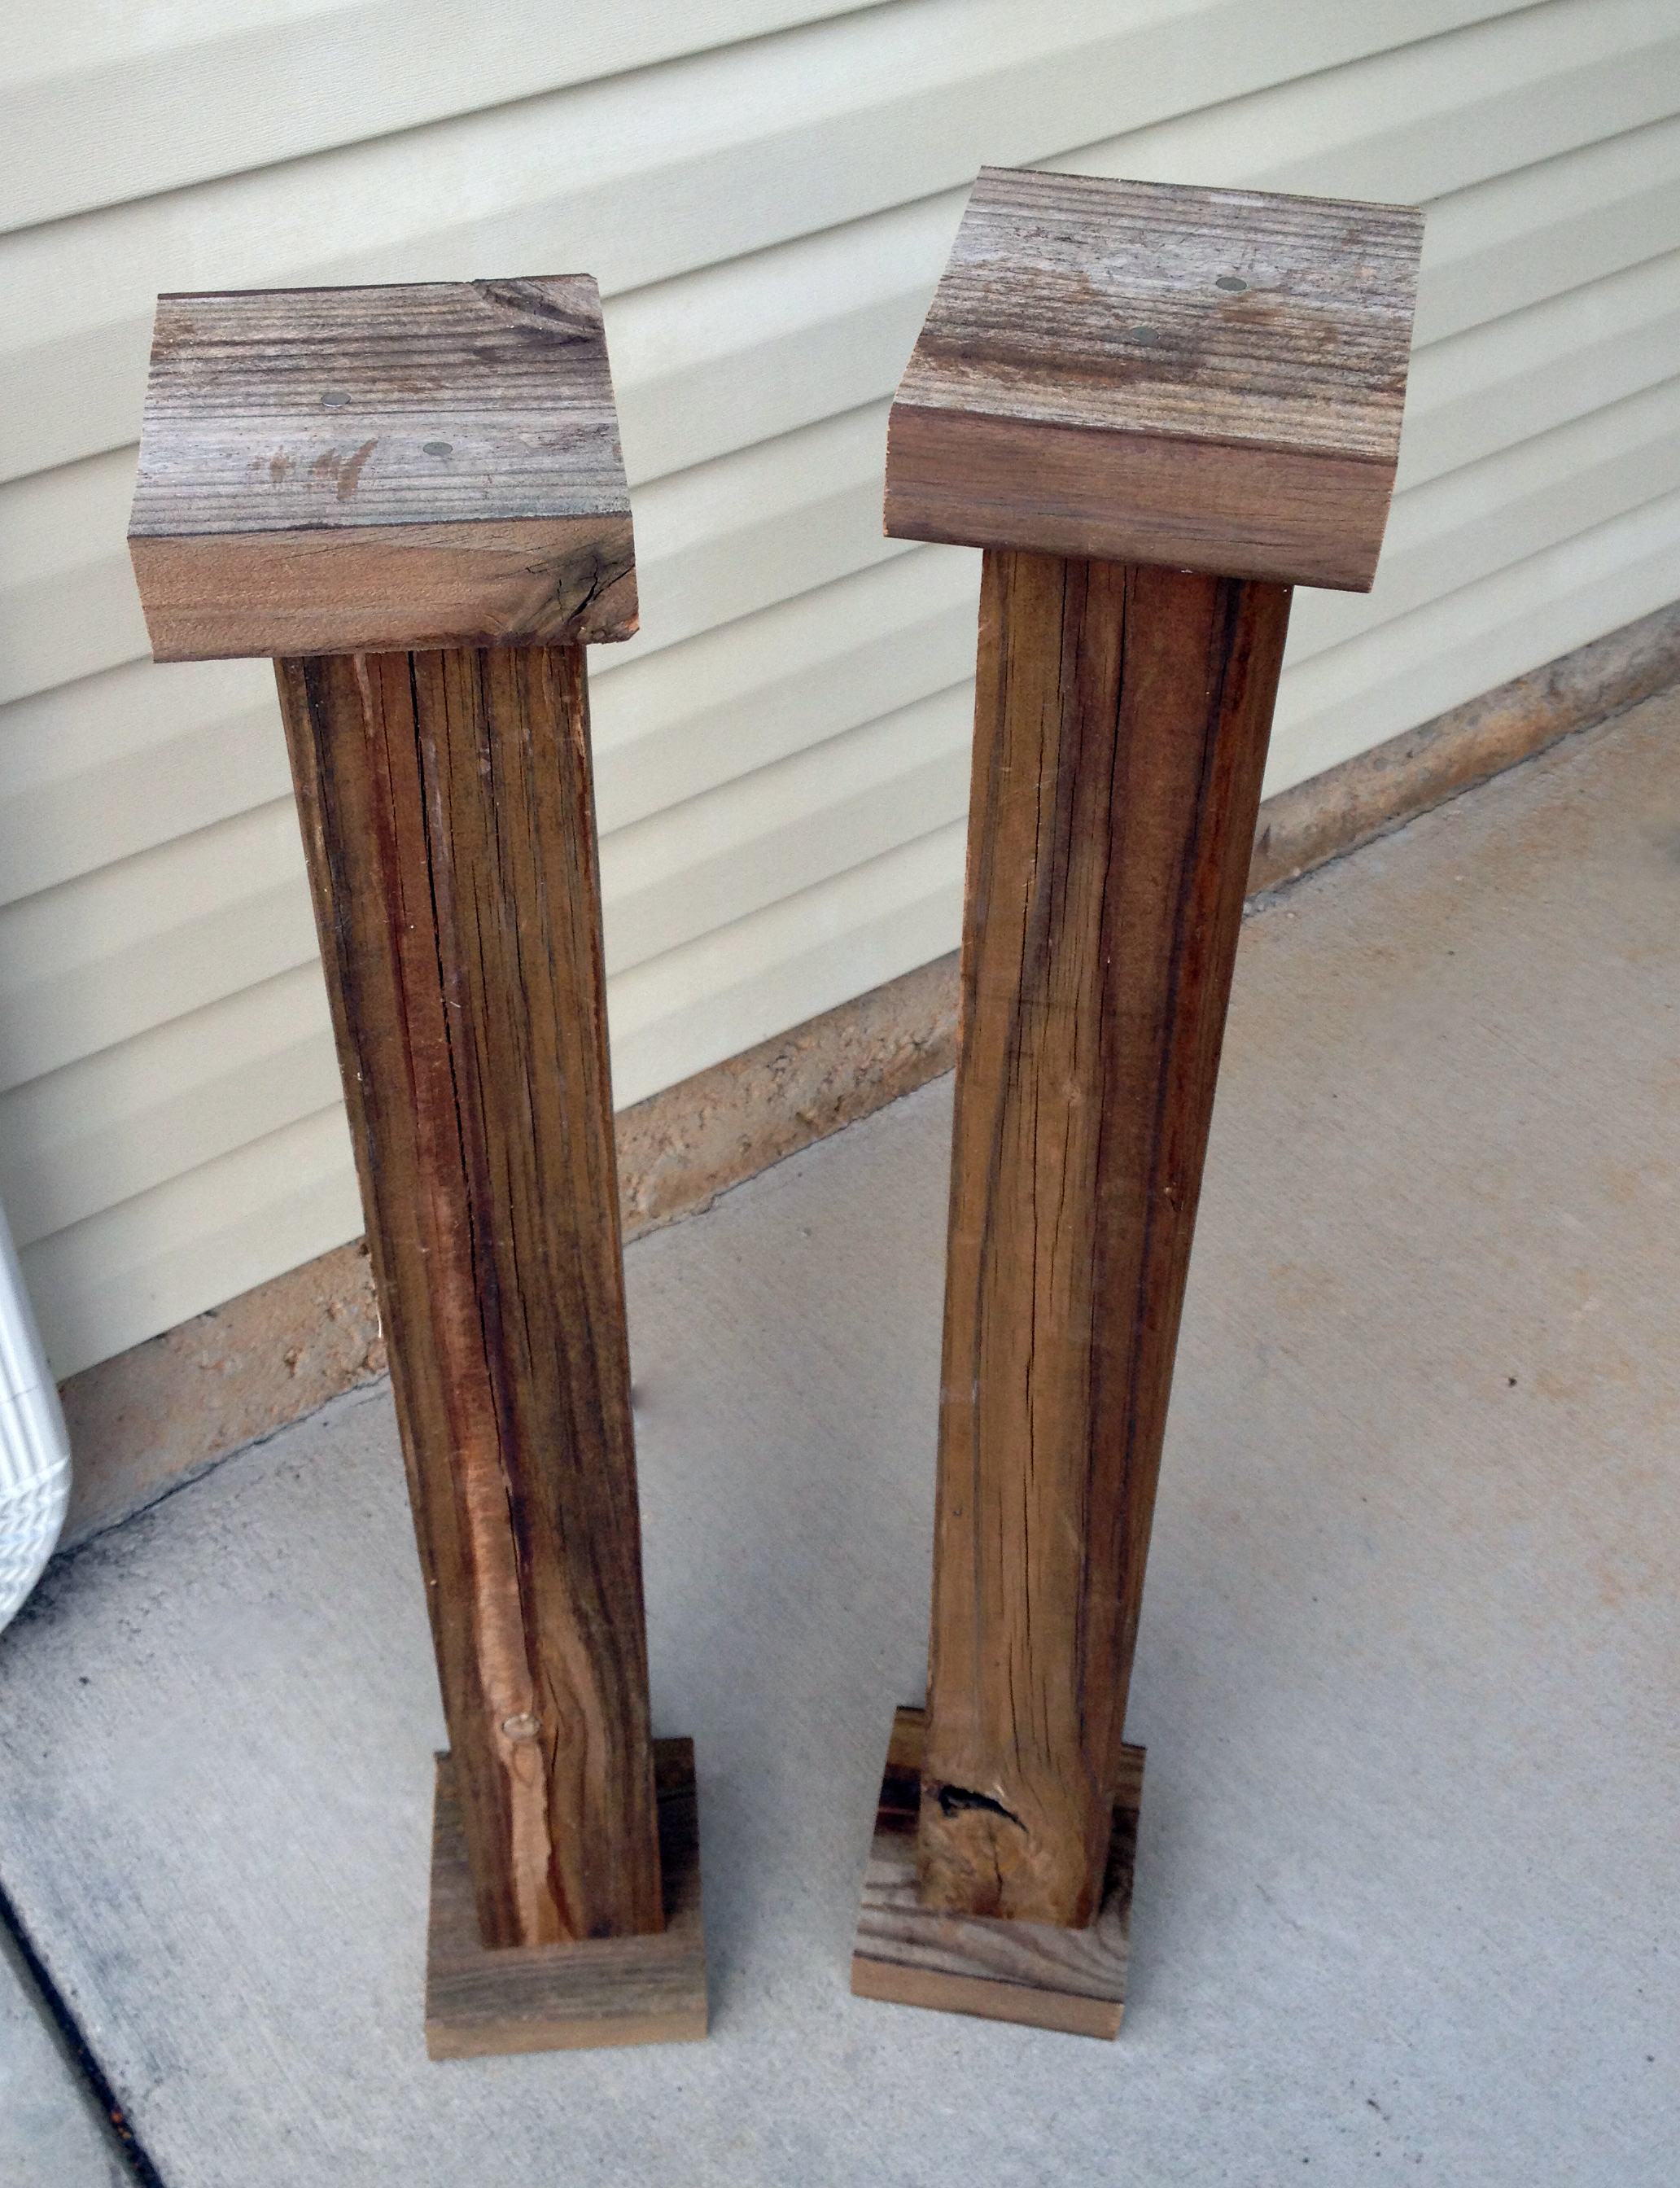
We had knocked off our deck railing and had the corner posts sitting around which I thought would be perfect for the wooden post but any square piece of lumber would work. Our posts were probably about 4 x 4 inches. I also had some other scrap beams of wood from the railing that we used for the top and bottom. I’ve seen some fancier and more decorative posts with curved tops but this scrap wood was weathered just like the posts and was free so we just went with a simple square top and bottom. I cut the bottom pieces to be larger than the post size and square (approximately 5.5 x 5.5 inches).
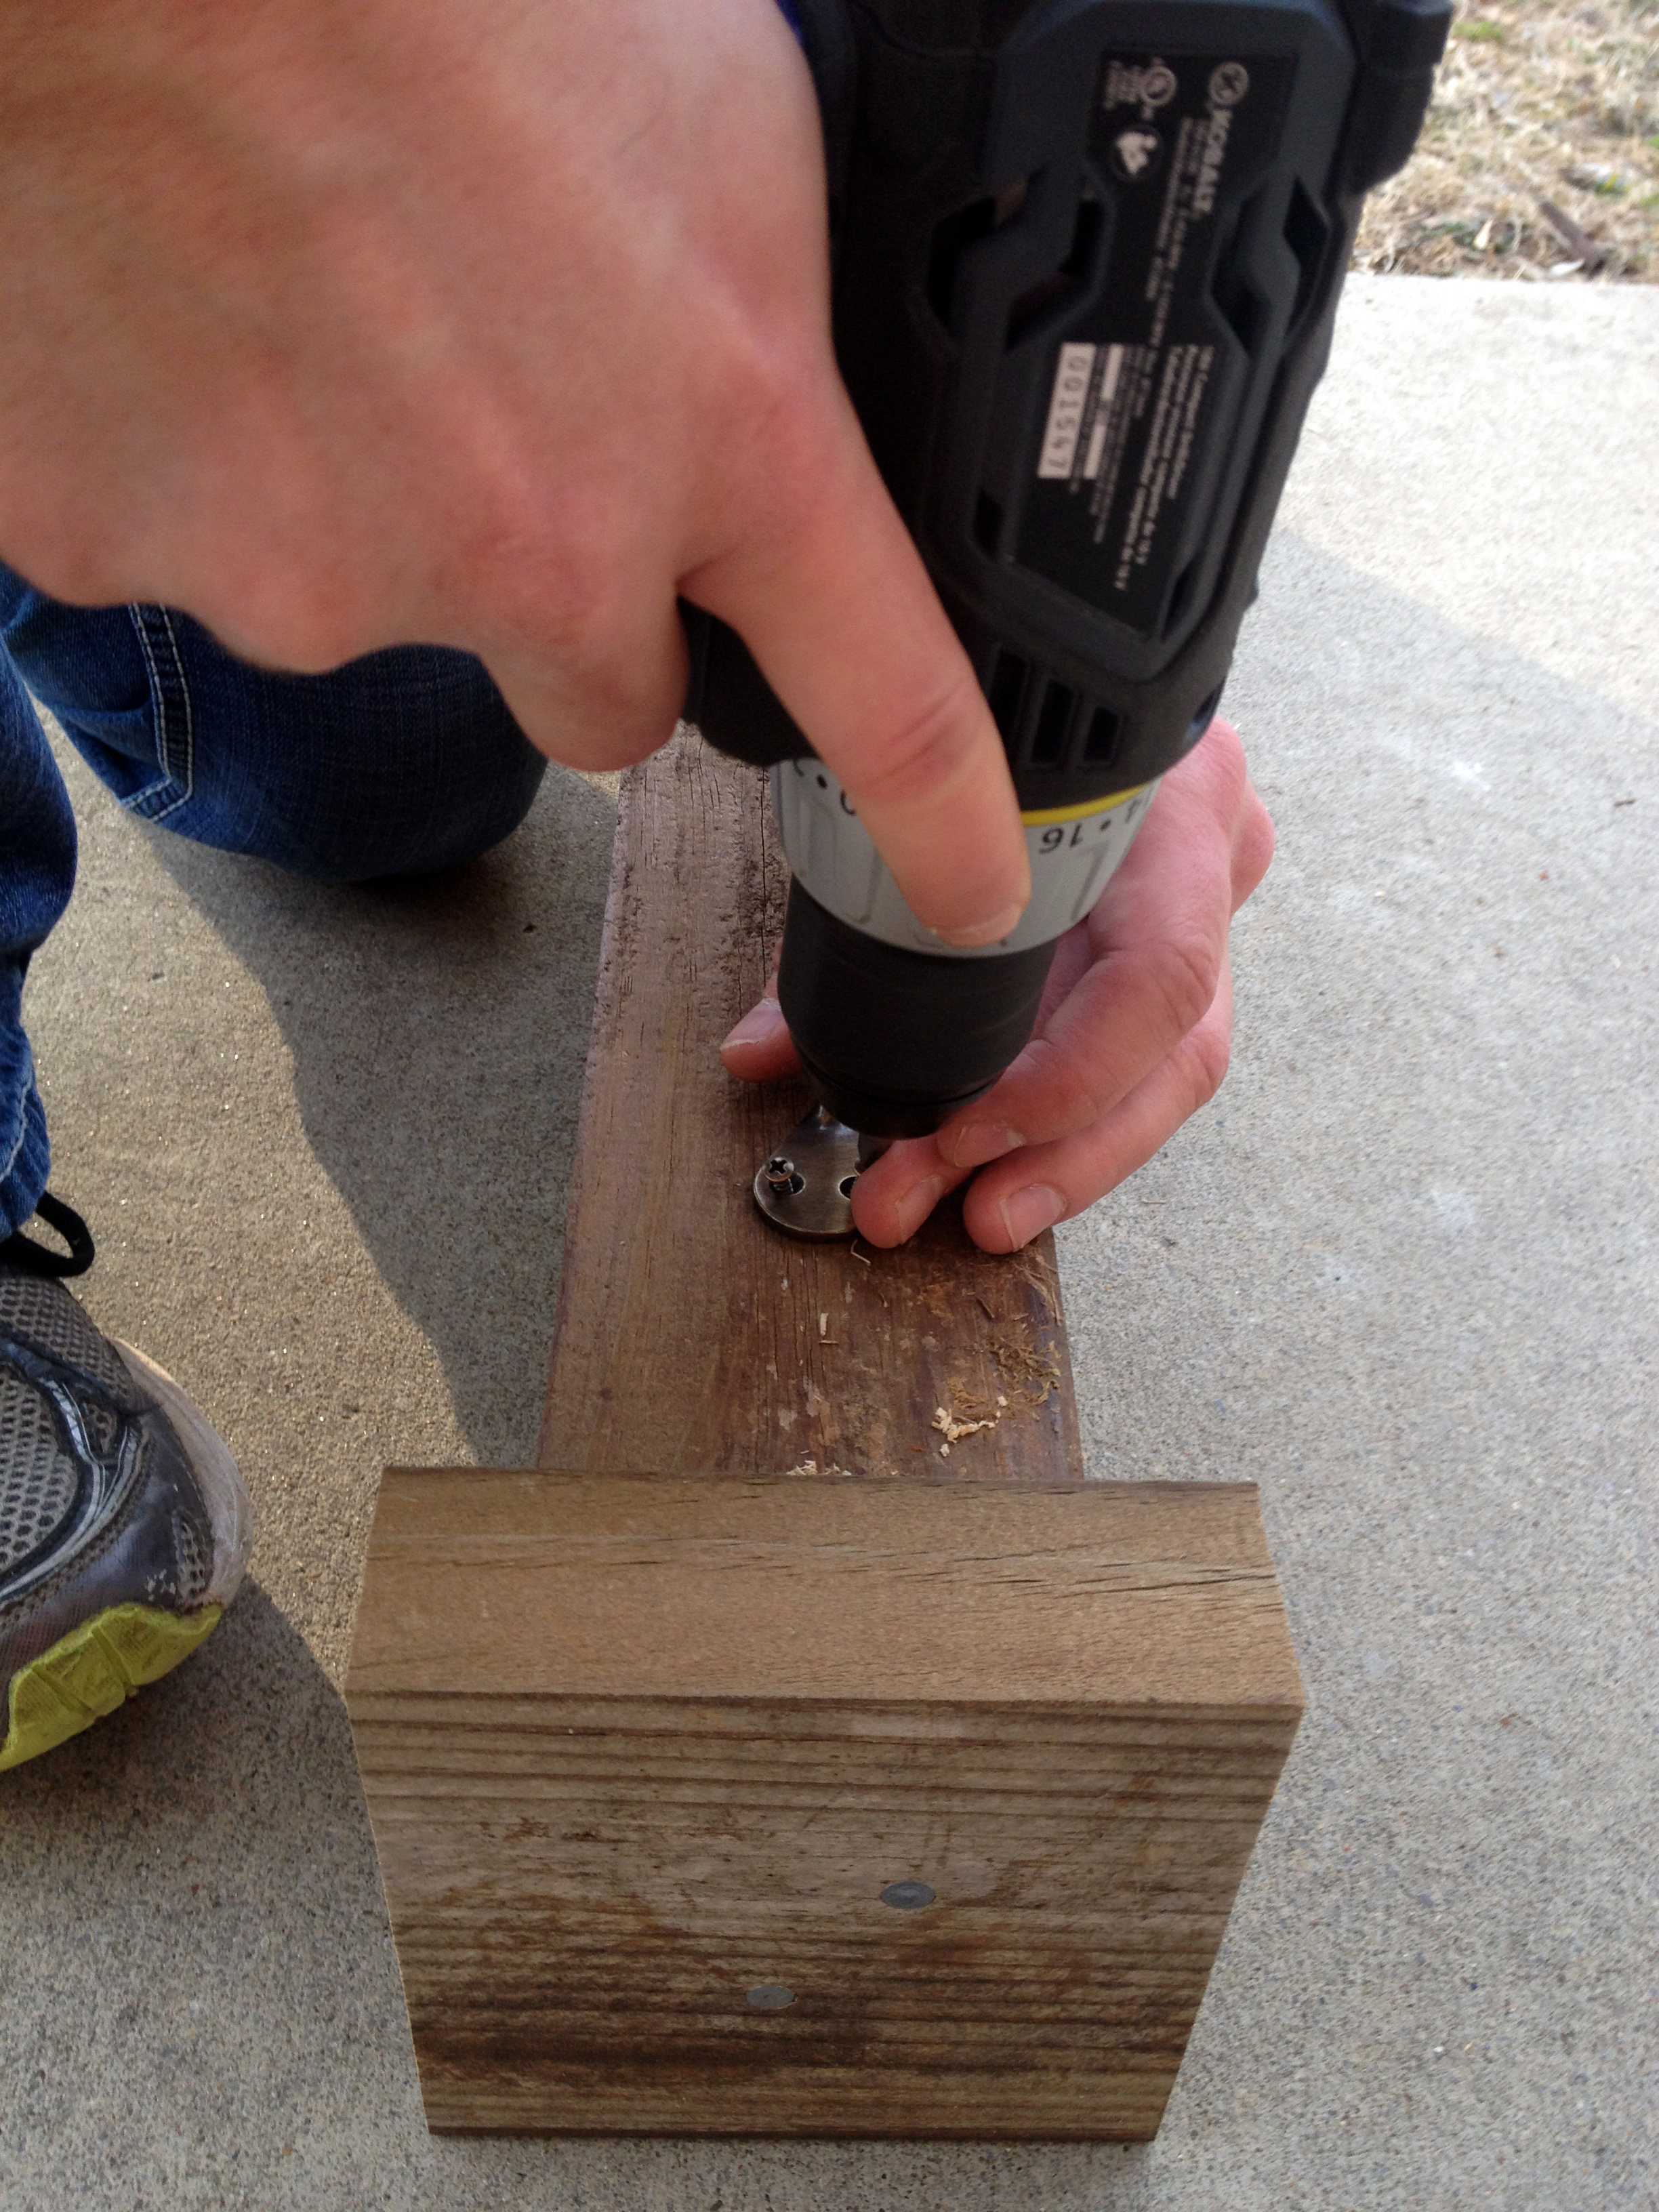
Then you just place one of the square pieces on top of the post and use nails to connect the pieces. We used nails in two opposite corners of the post. I loved the old weathered wood look but since the wood was old and dry we experienced some cracking during this step. I didn’t really care since I could just turn the cracks to the back but that’s one benefit to using brand new wood.
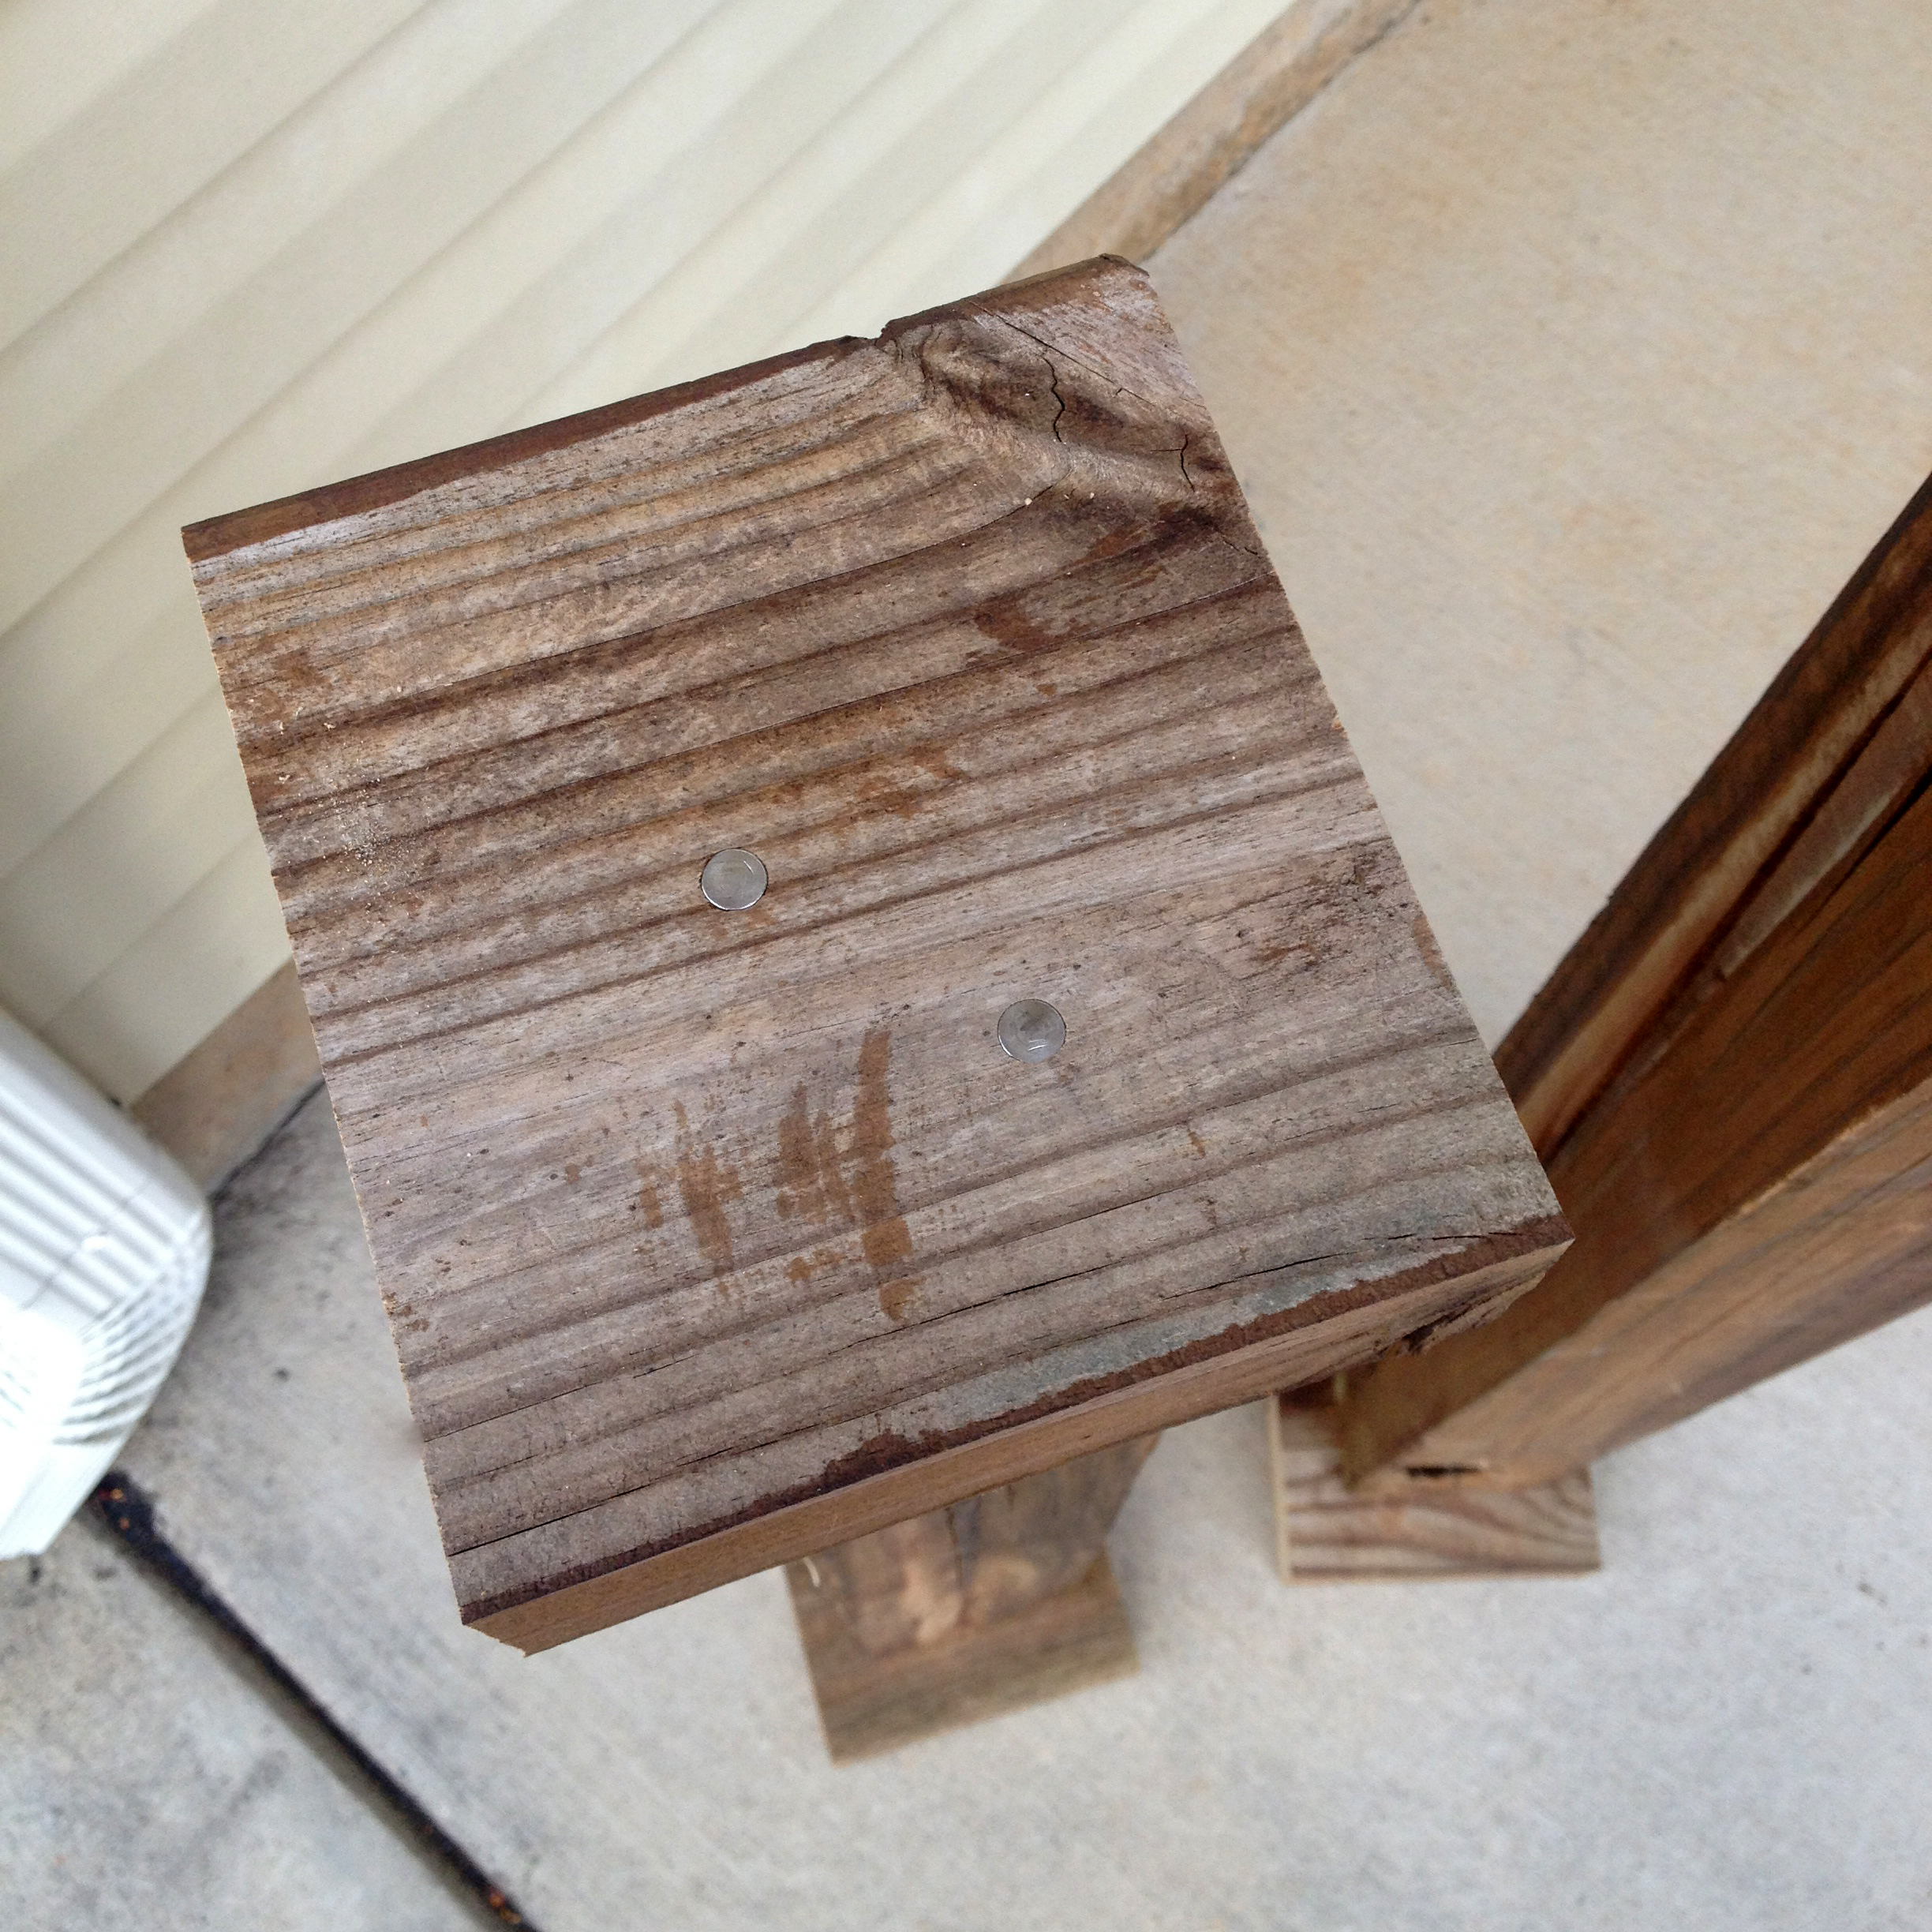
Then you just flip it over and attach the bottom square the same way. I tried to make sure the “freshly cut side” of the square top and bottom pieces weren’t facing the front so the natural weathered sides showed on the front instead. I didn’t think about this on my first post and I wish I had.
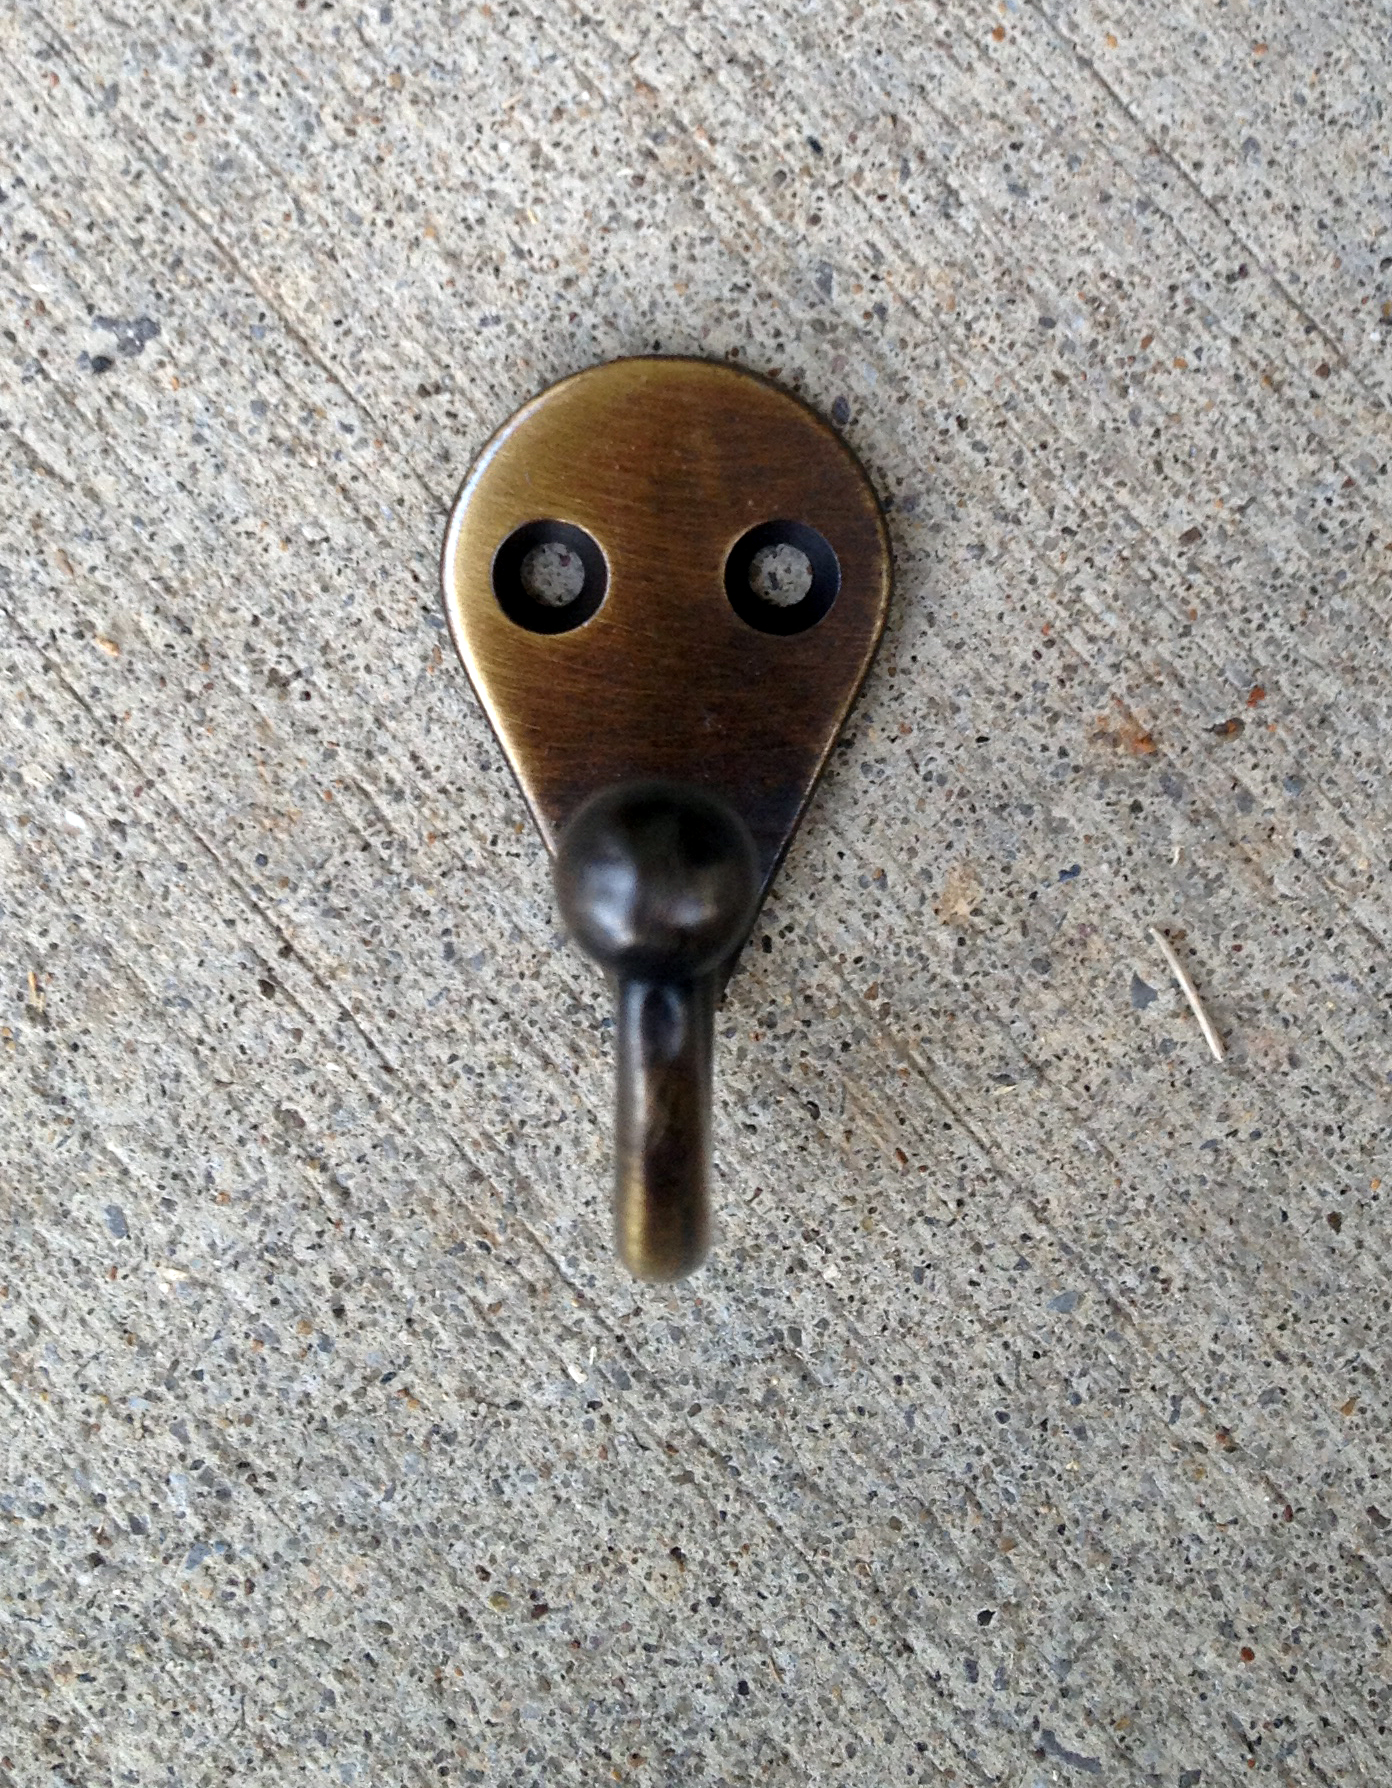
Once you’ve got the post assembled all you need is to add the hook. We got these hooks from Lowes and they come in a 2 pack for $3 or so. I loved that they already had the aged bronze look.
That’s all there is to it! They’re really that simple! I may attempt a fancier post at some point and try staining or painting it but for now this one does just fine and I love the character of the old wood! I switch out my burlap hangers and signs according to the holiday or season which is fun for me and keeps me from getting bored! You can check out all my burlap hangers for sale on Hamby Home Decor facebook page.