Burlap Table Decor
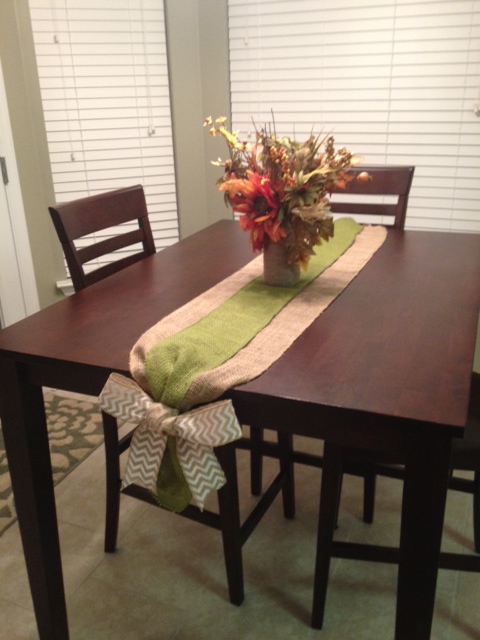
You may remember my burlap table runner. It has been one of my most popular projects on pinterest. I love how easy it is, cheap it is and how you can change it up so easily too! You can find burlap is so many different colors now and you can find burlap ribbon where you don’t even have to cut it to the width you want! And it fits any table length too! It doesn’t get much better than that!
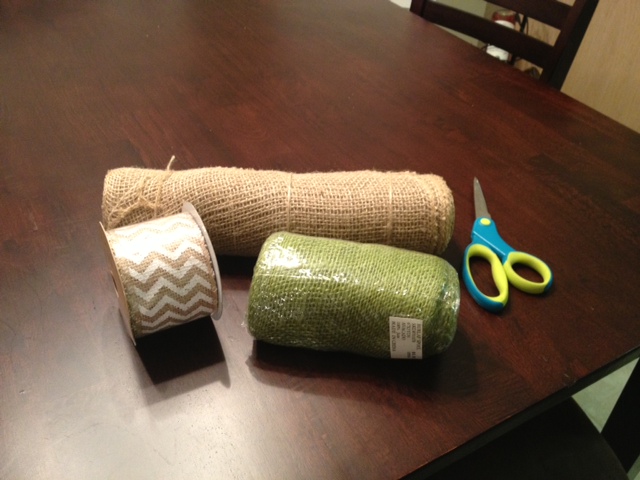
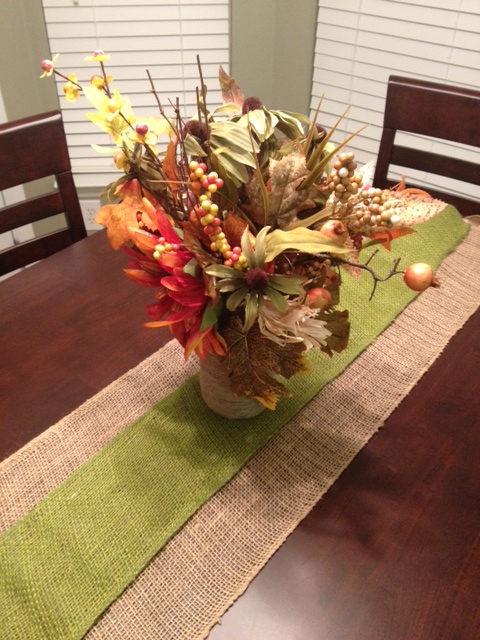
Here is a refresher: I bought two different size and colored burlap ribbon rolls and burlap ribbon for the bows at Hobby Lobby when they were half off. I just layered the smaller roll on top of the other and cut to the desired length of the table and tied off the ends with ribbon! If you’re trying this, you’ll notice that the new edge of the roll is sewn off to prevent fraying, I just put that end on the end of the table that most people would see and put the cut edge on the far side. I used a small piece of pipe cleaner to help tie the bow tightly around the two pieces of burlap! It really is that simple!
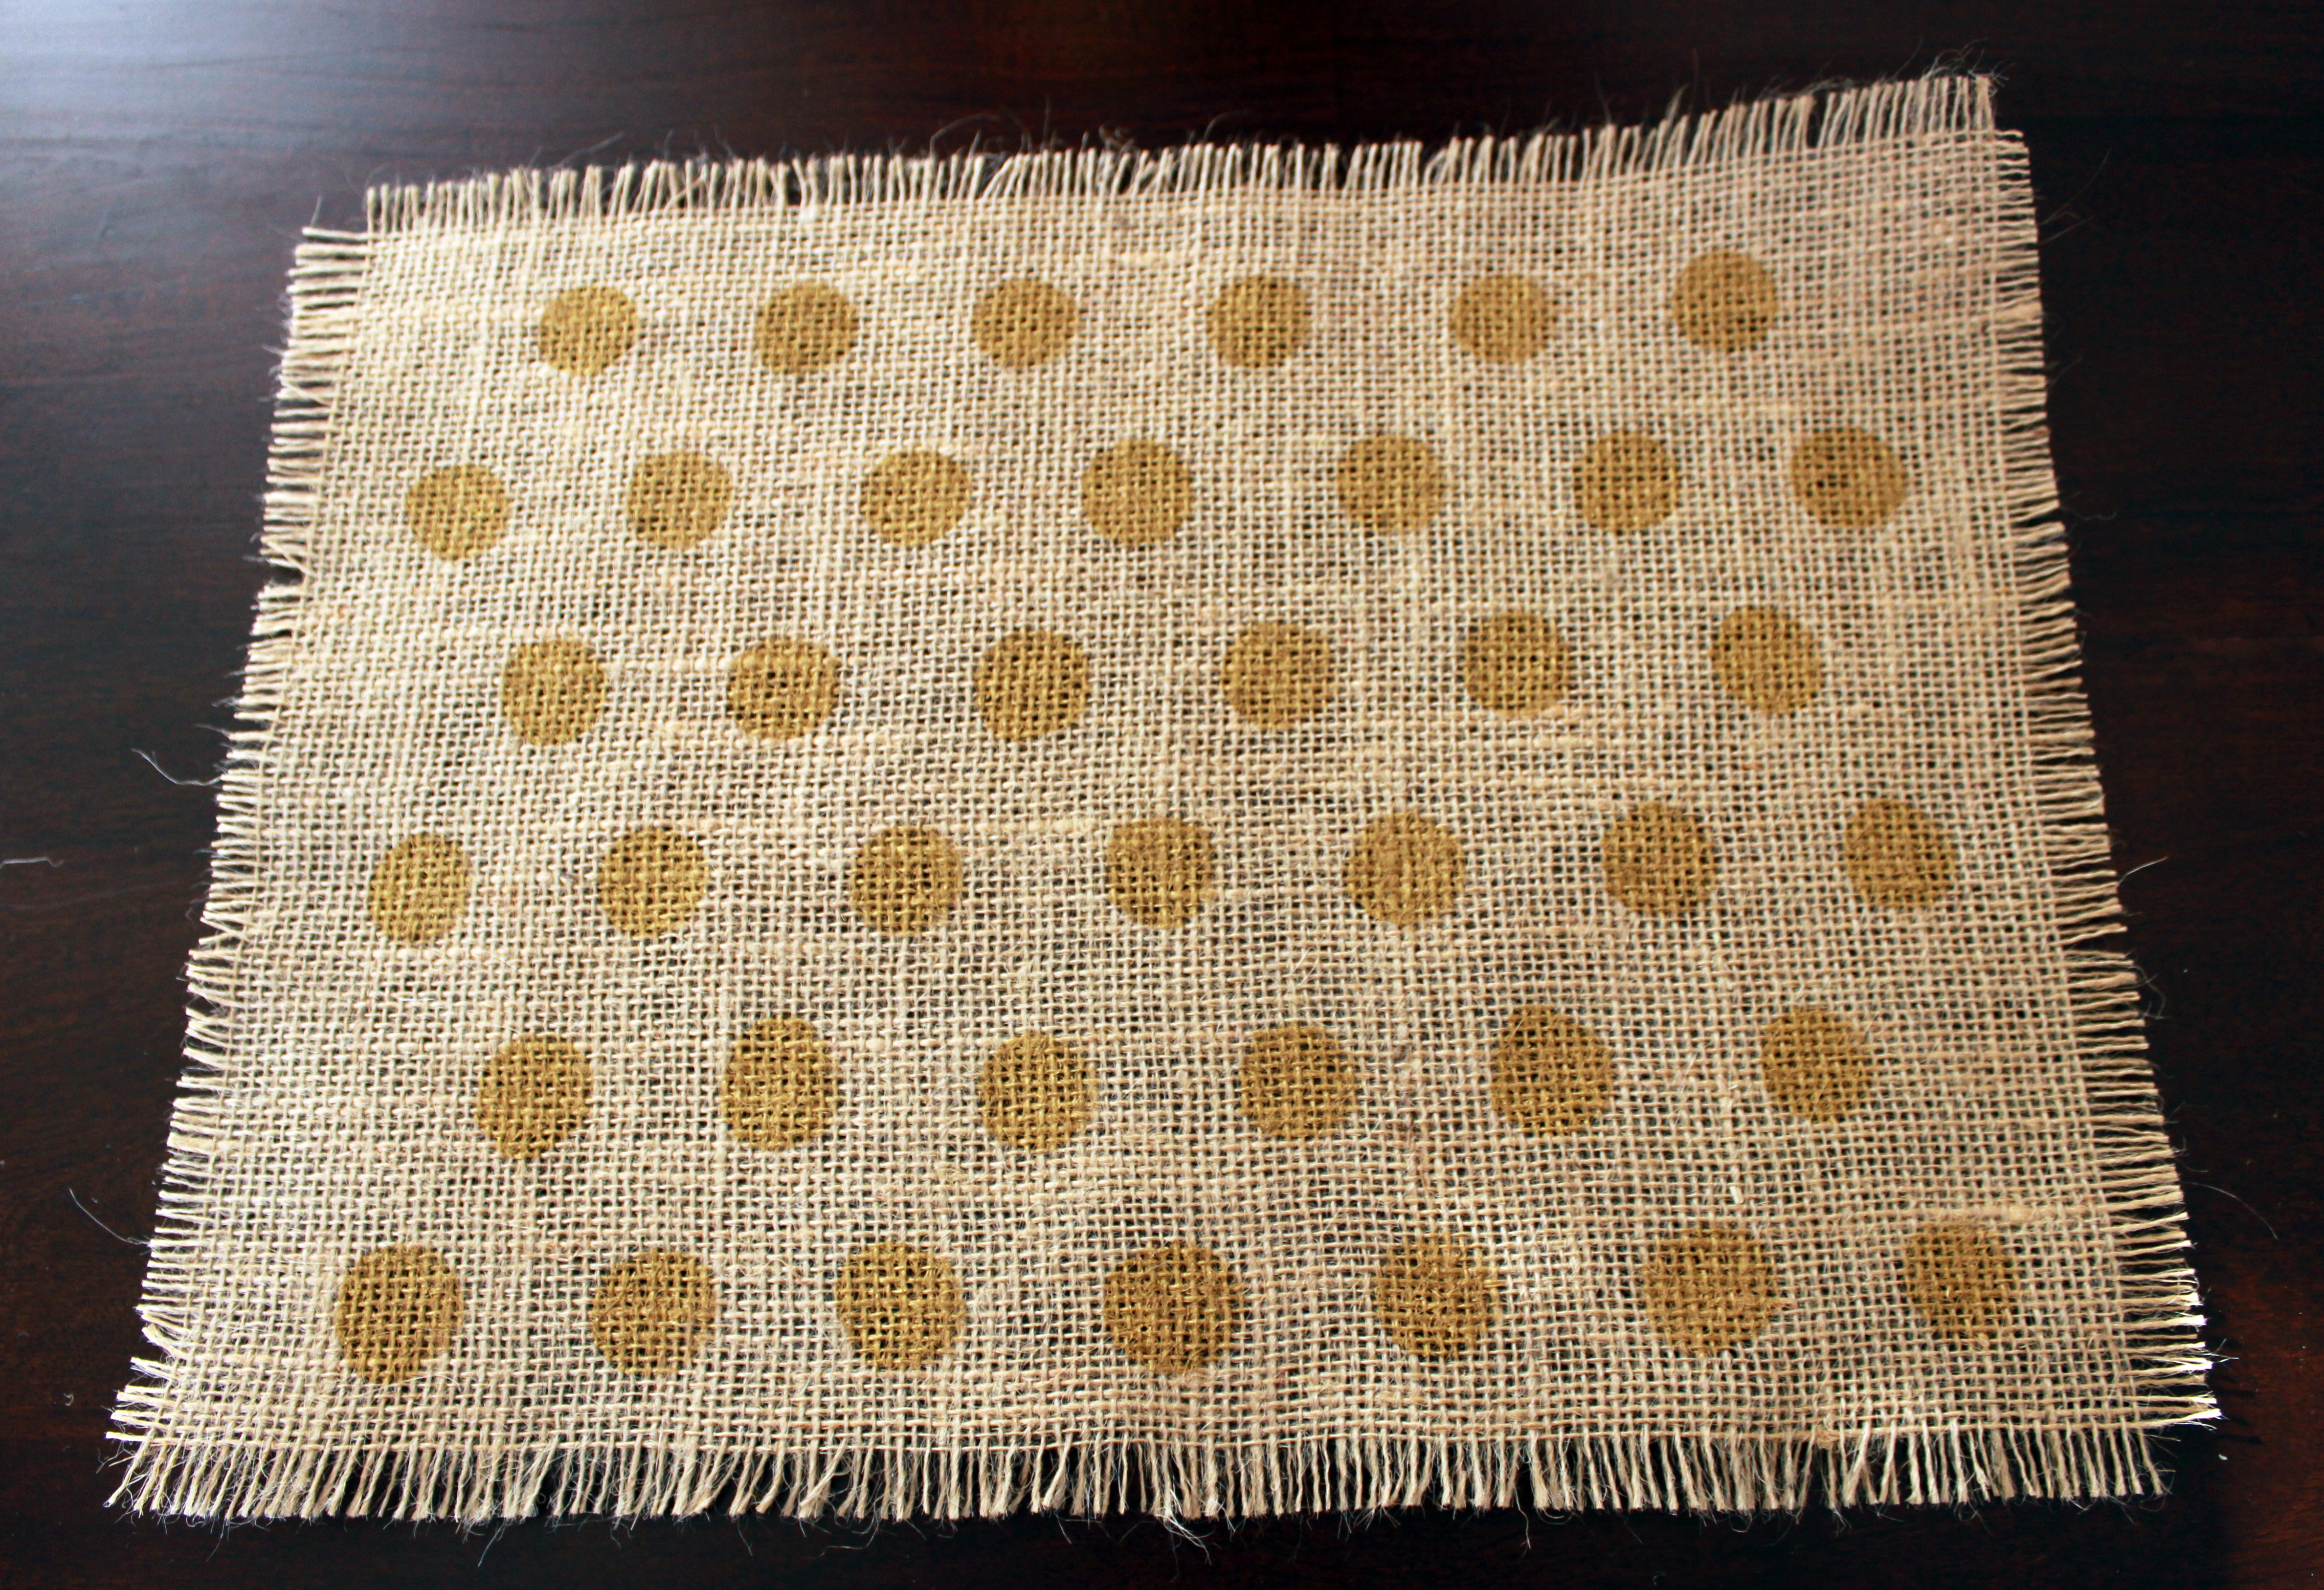
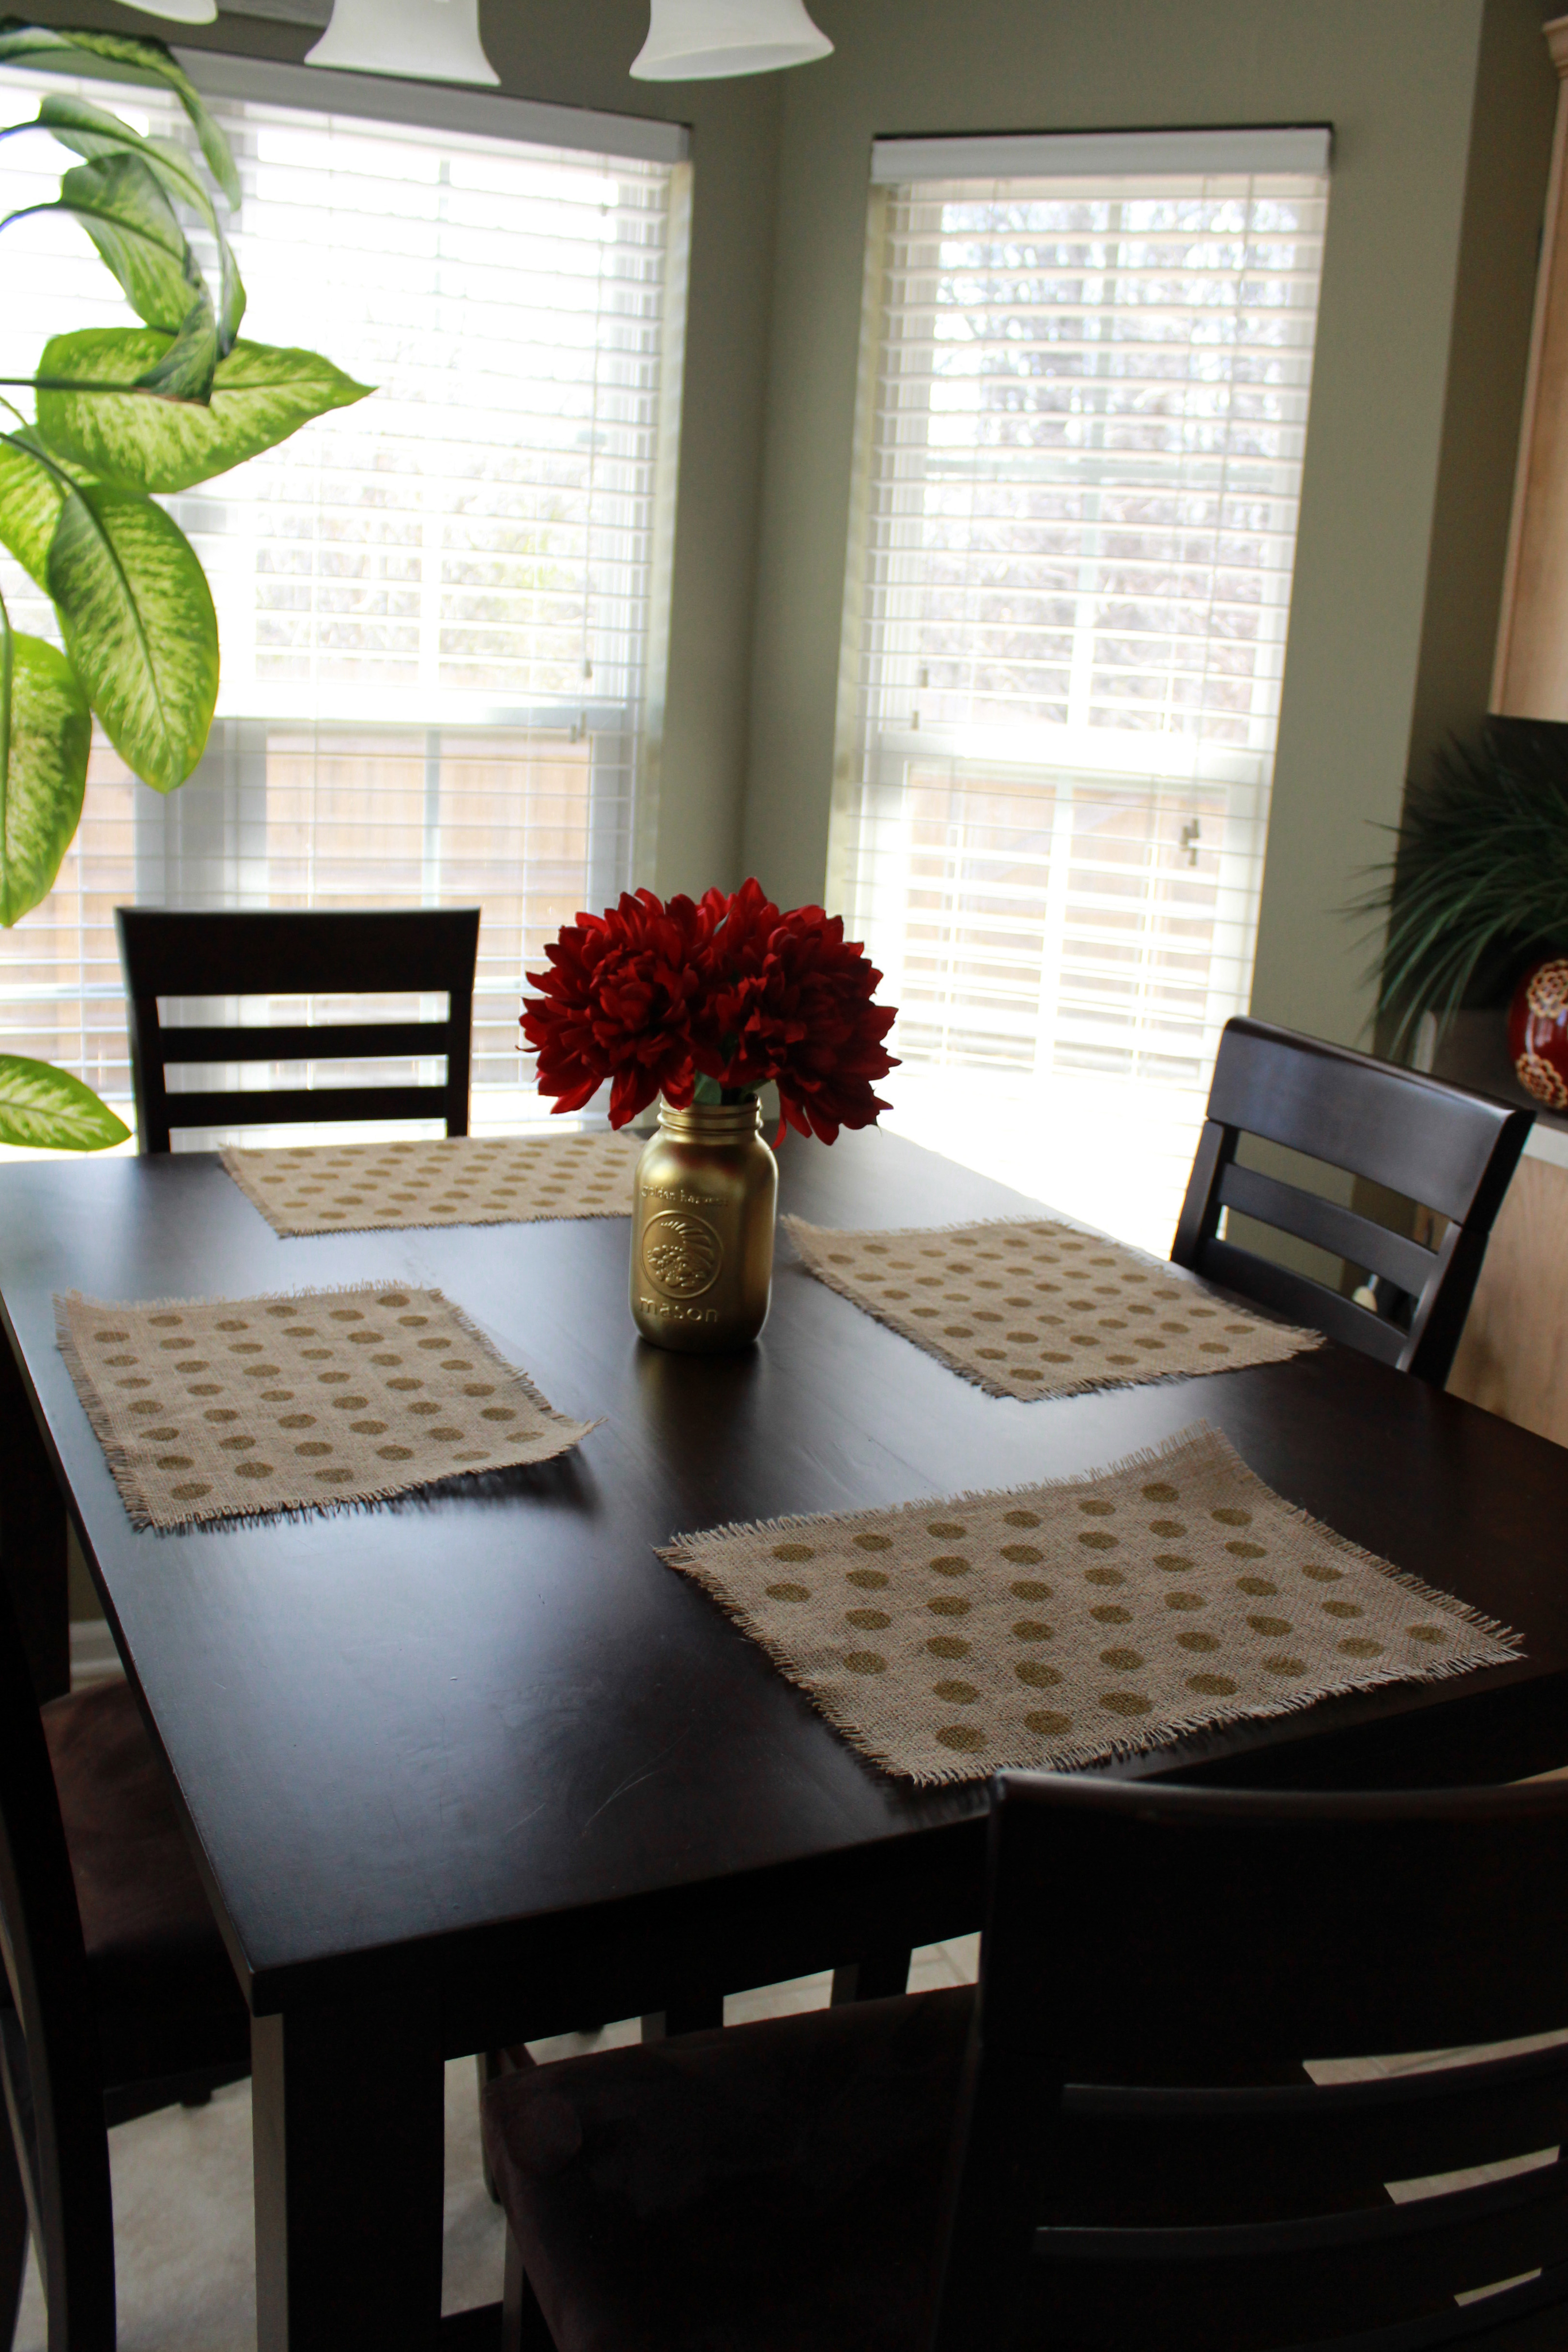
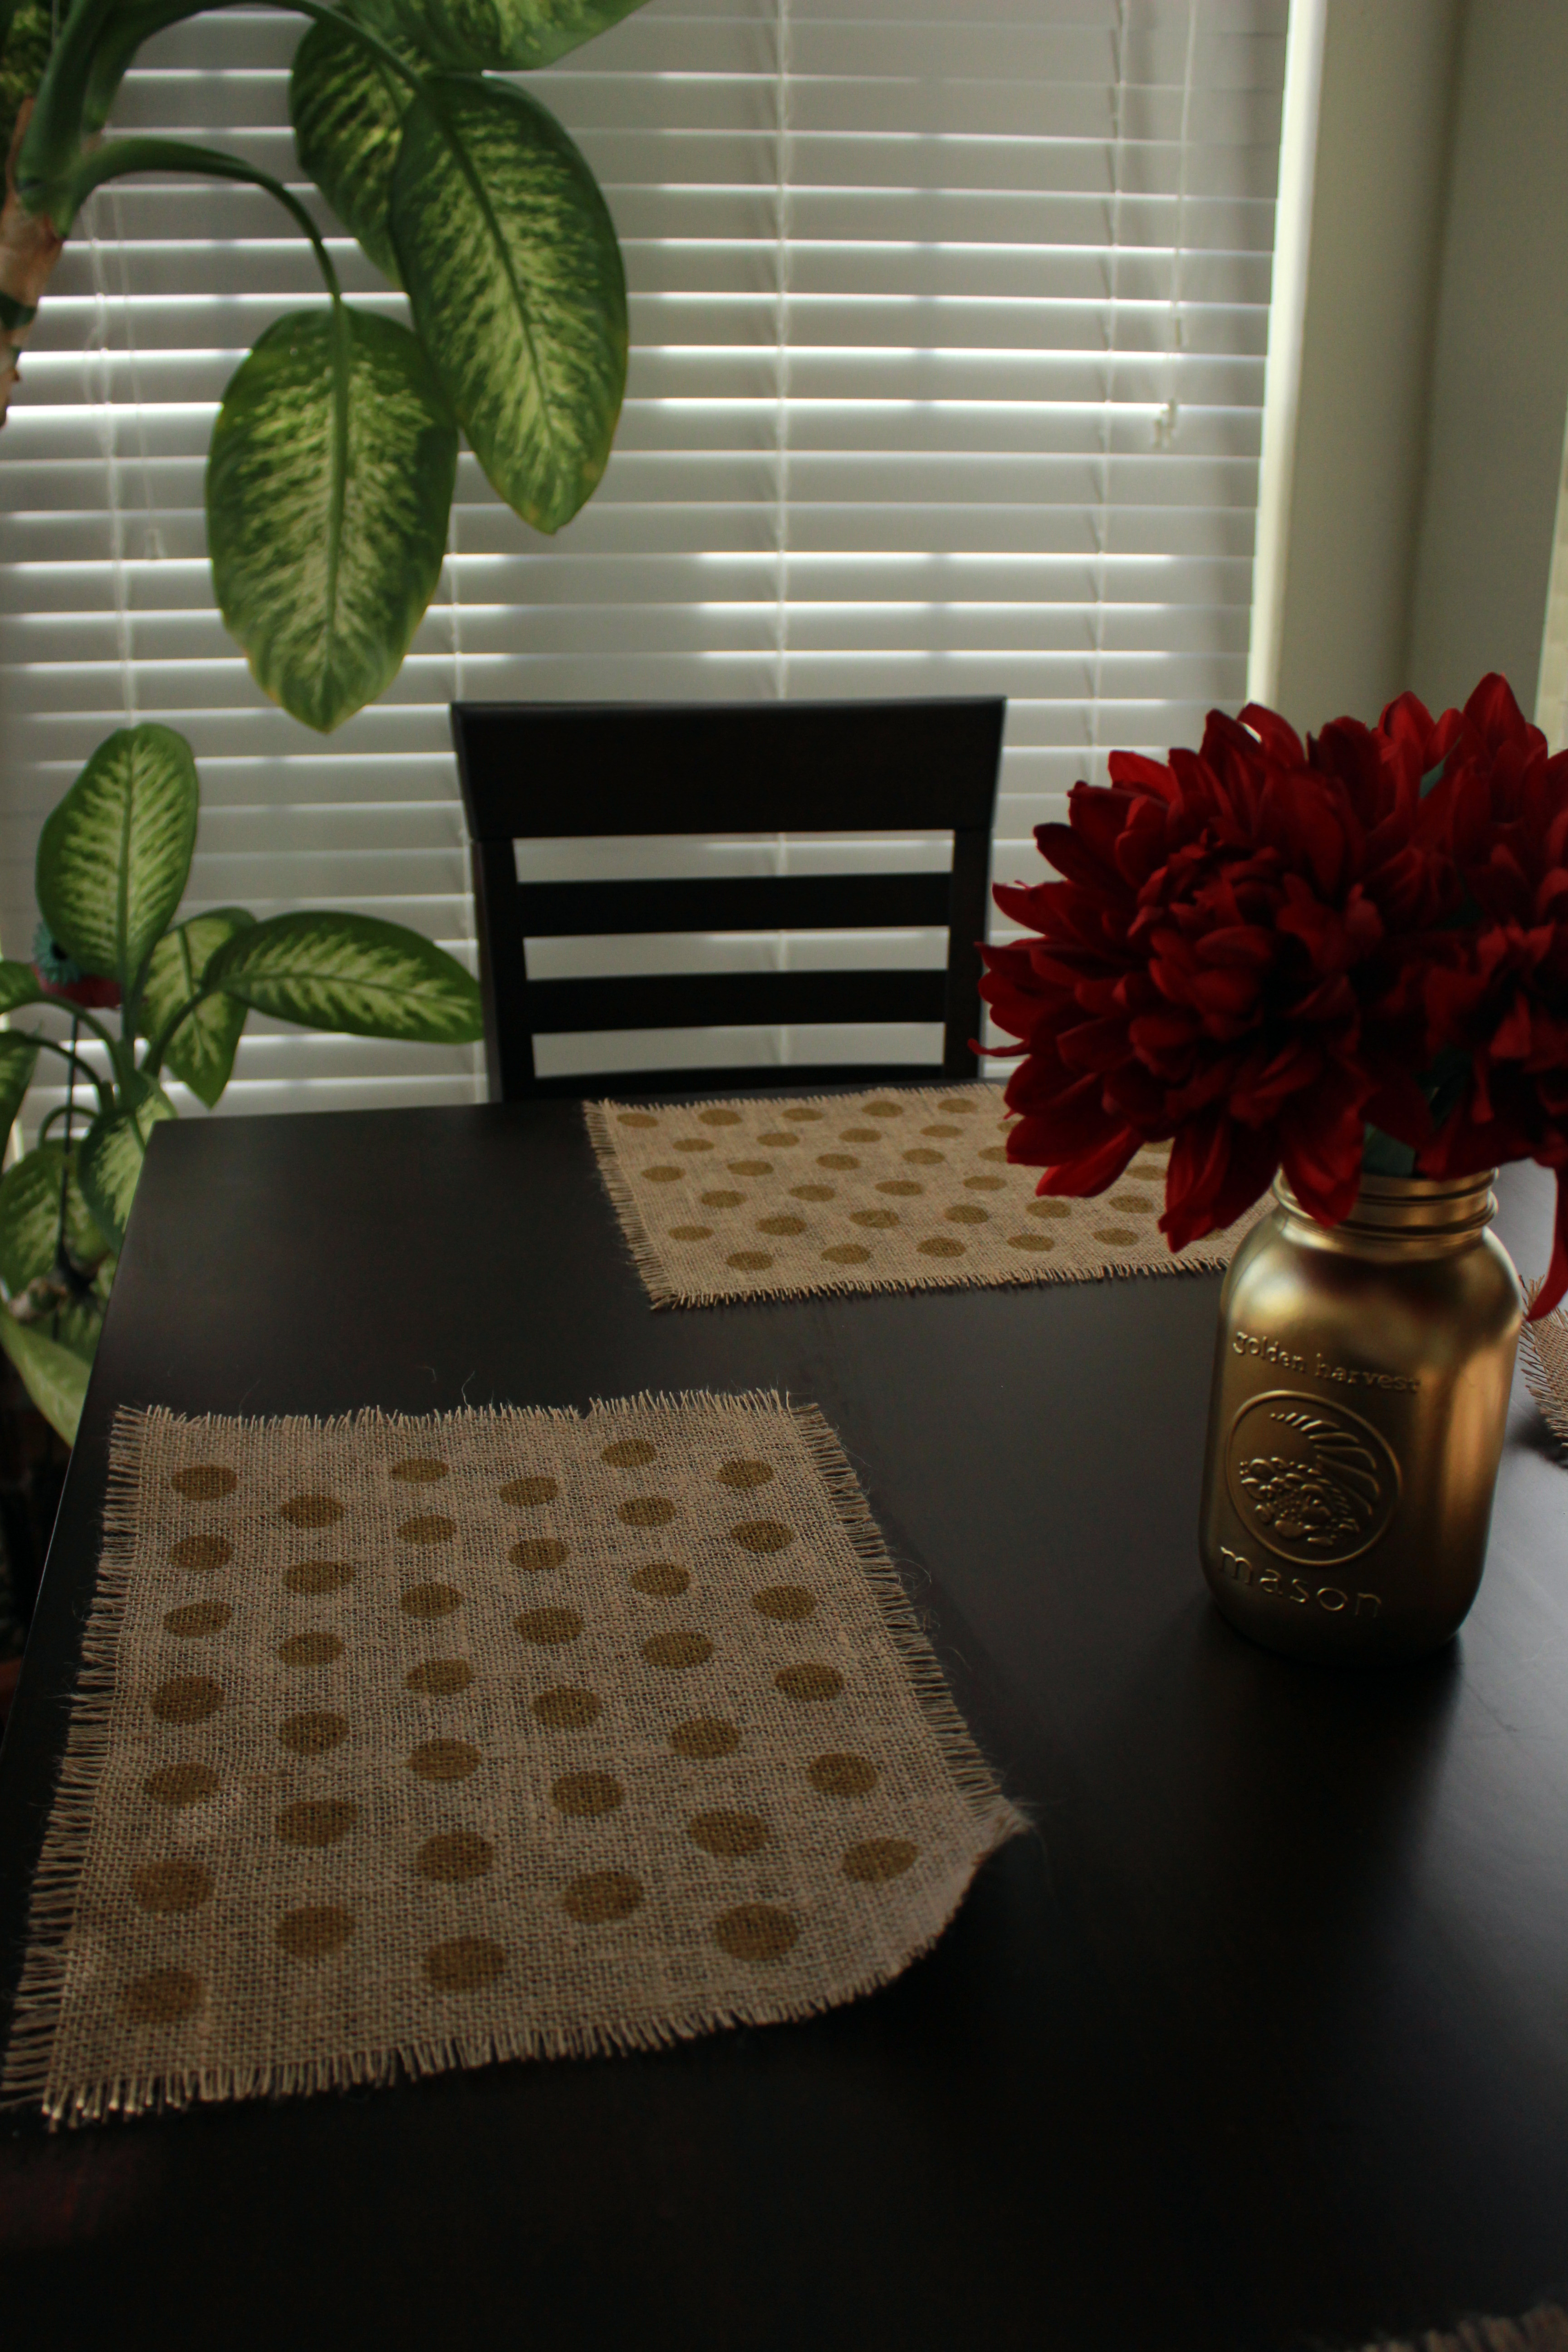
My husband informed me last week that he hates table runners. I think he just hates that it’s not simple to move out of the way when he’s eating at the table. I figured it was time to switch it up anyways so I made some burlap place mats this weekend and they’re a nice change and super cute! They’re a little more time consuming but cheaper! I’m already anxious to make another set that are slightly different!
Here is how I did it:
Supplies Used (already had all of these supplies at the house):
- One yard of burlap
- Scissors
- Acrylic Paint
- Stencil
- Sponge dauber
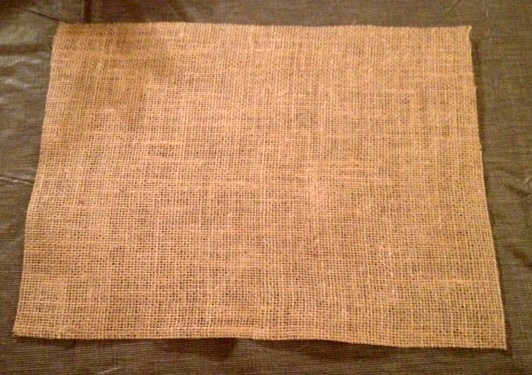
1. Prep the Burlap – I knew I needed these to be flat and not fray so I prepped the burlap with starch. Here is how: Spray starch all over one side of the burlap and iron, then spray the other side of the burlap and iron. This helps prevent fraying also irons out wrinkles since they will be laying flat.
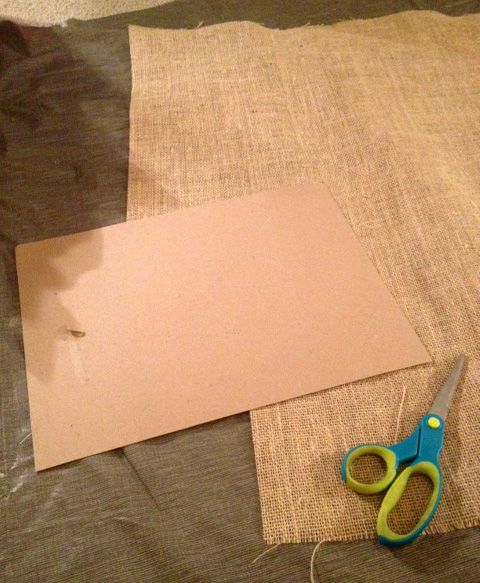
2. Decide of the place mat size. I cut a light piece of cardboard to the desired place mat size and used that as a guide to cut the burlap.
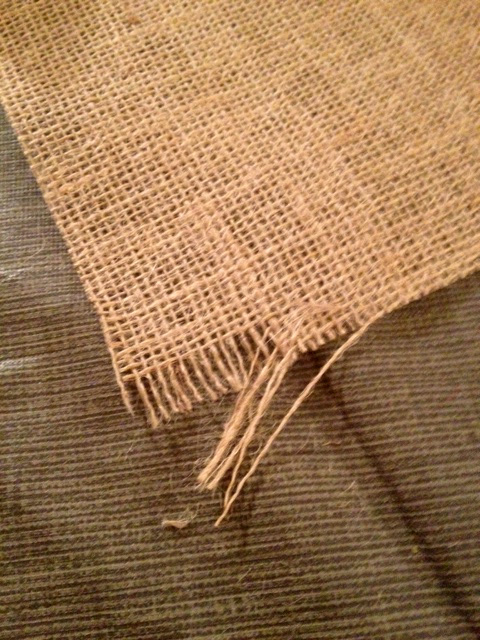
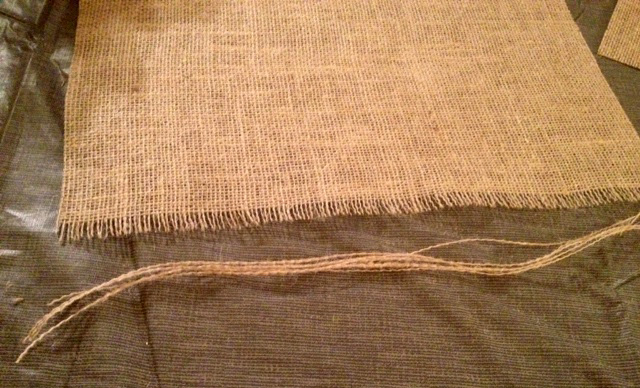
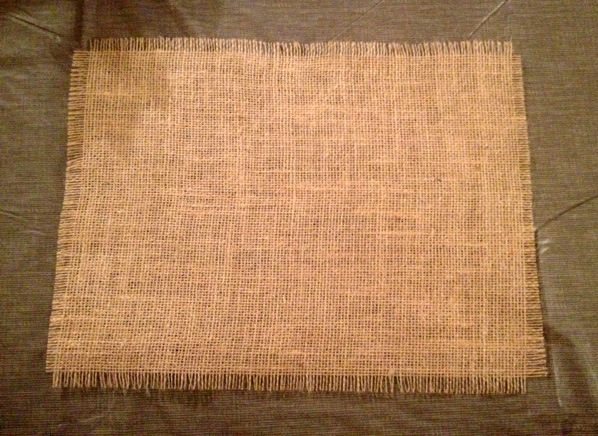
3. Pull off 5 strands on each side of the burlap. They should pull off easily, I just pull gently to make sure to keep the rest of the burlap intact.
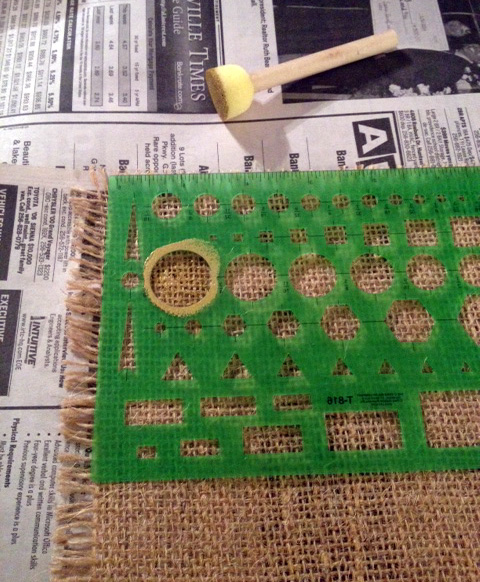
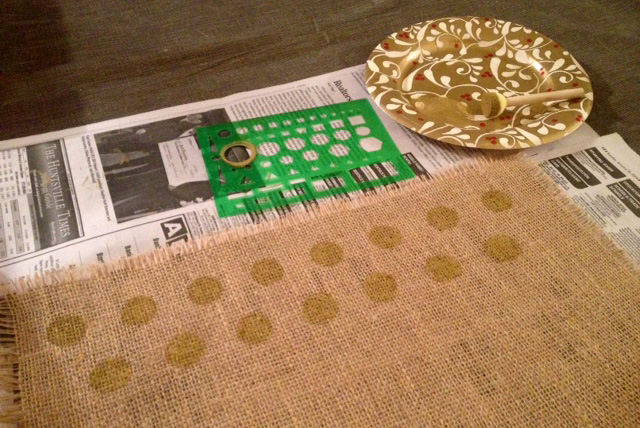
4. At this point you could leave as is or paint whatever you want for your place mat. I wanted gold polka dots for this set so I used a stencil I had. This stencil actually worked great because I used the top of the stencil as a guide to line up the polka dots. I would briefly wipe the stencil on newspaper if there was a chance it had paint on it from other dots. Another idea would be to use a circle punch (from the scrapbooking section of craft stores) and punch the holes in the cardboard where you wanted them and that would be your stencil. I couldn’t find my circle punch so the stencil had to work.
TIP: Remove the burlap place mat from whatever was underneath it when you painted it. If you let it dry on this newspaper, it will stick and will not come off easily. I layed it out to dry on a new piece of newspaper and that worked fine.
That’s all there is to it! I’m thinking I may make another set very soon because I want different colors and designs and they were so cheap and easy that why not have several to change out!
Added: 3/11 – You’re not going to believe what I just found: JoAnn’s sells polka dotted burlap fabric JUST LIKE THIS – Gold metallic, same sized dots and everything! I spent a few hours painting these circles when they have rolls of this stuff and in lots of different colors other than Gold. I was thrilled to find this out because I could make table runner or more place mats without the time of painting them, however, here is the one negative about it – it is $14.99 a yard! I couldn’t believe how expensive it was! So you can make your own place mats like mine for about $3-$4 and spend a few hours or you can buy the fabric from JoAnn’s and spend about $15. It’s great to have that option though and know they carry that burlap! They had rose pink, fuchsia, blue, silver and gold metallic polka dotted burlap that I saw at a glance!

