Time for new burlap hangers
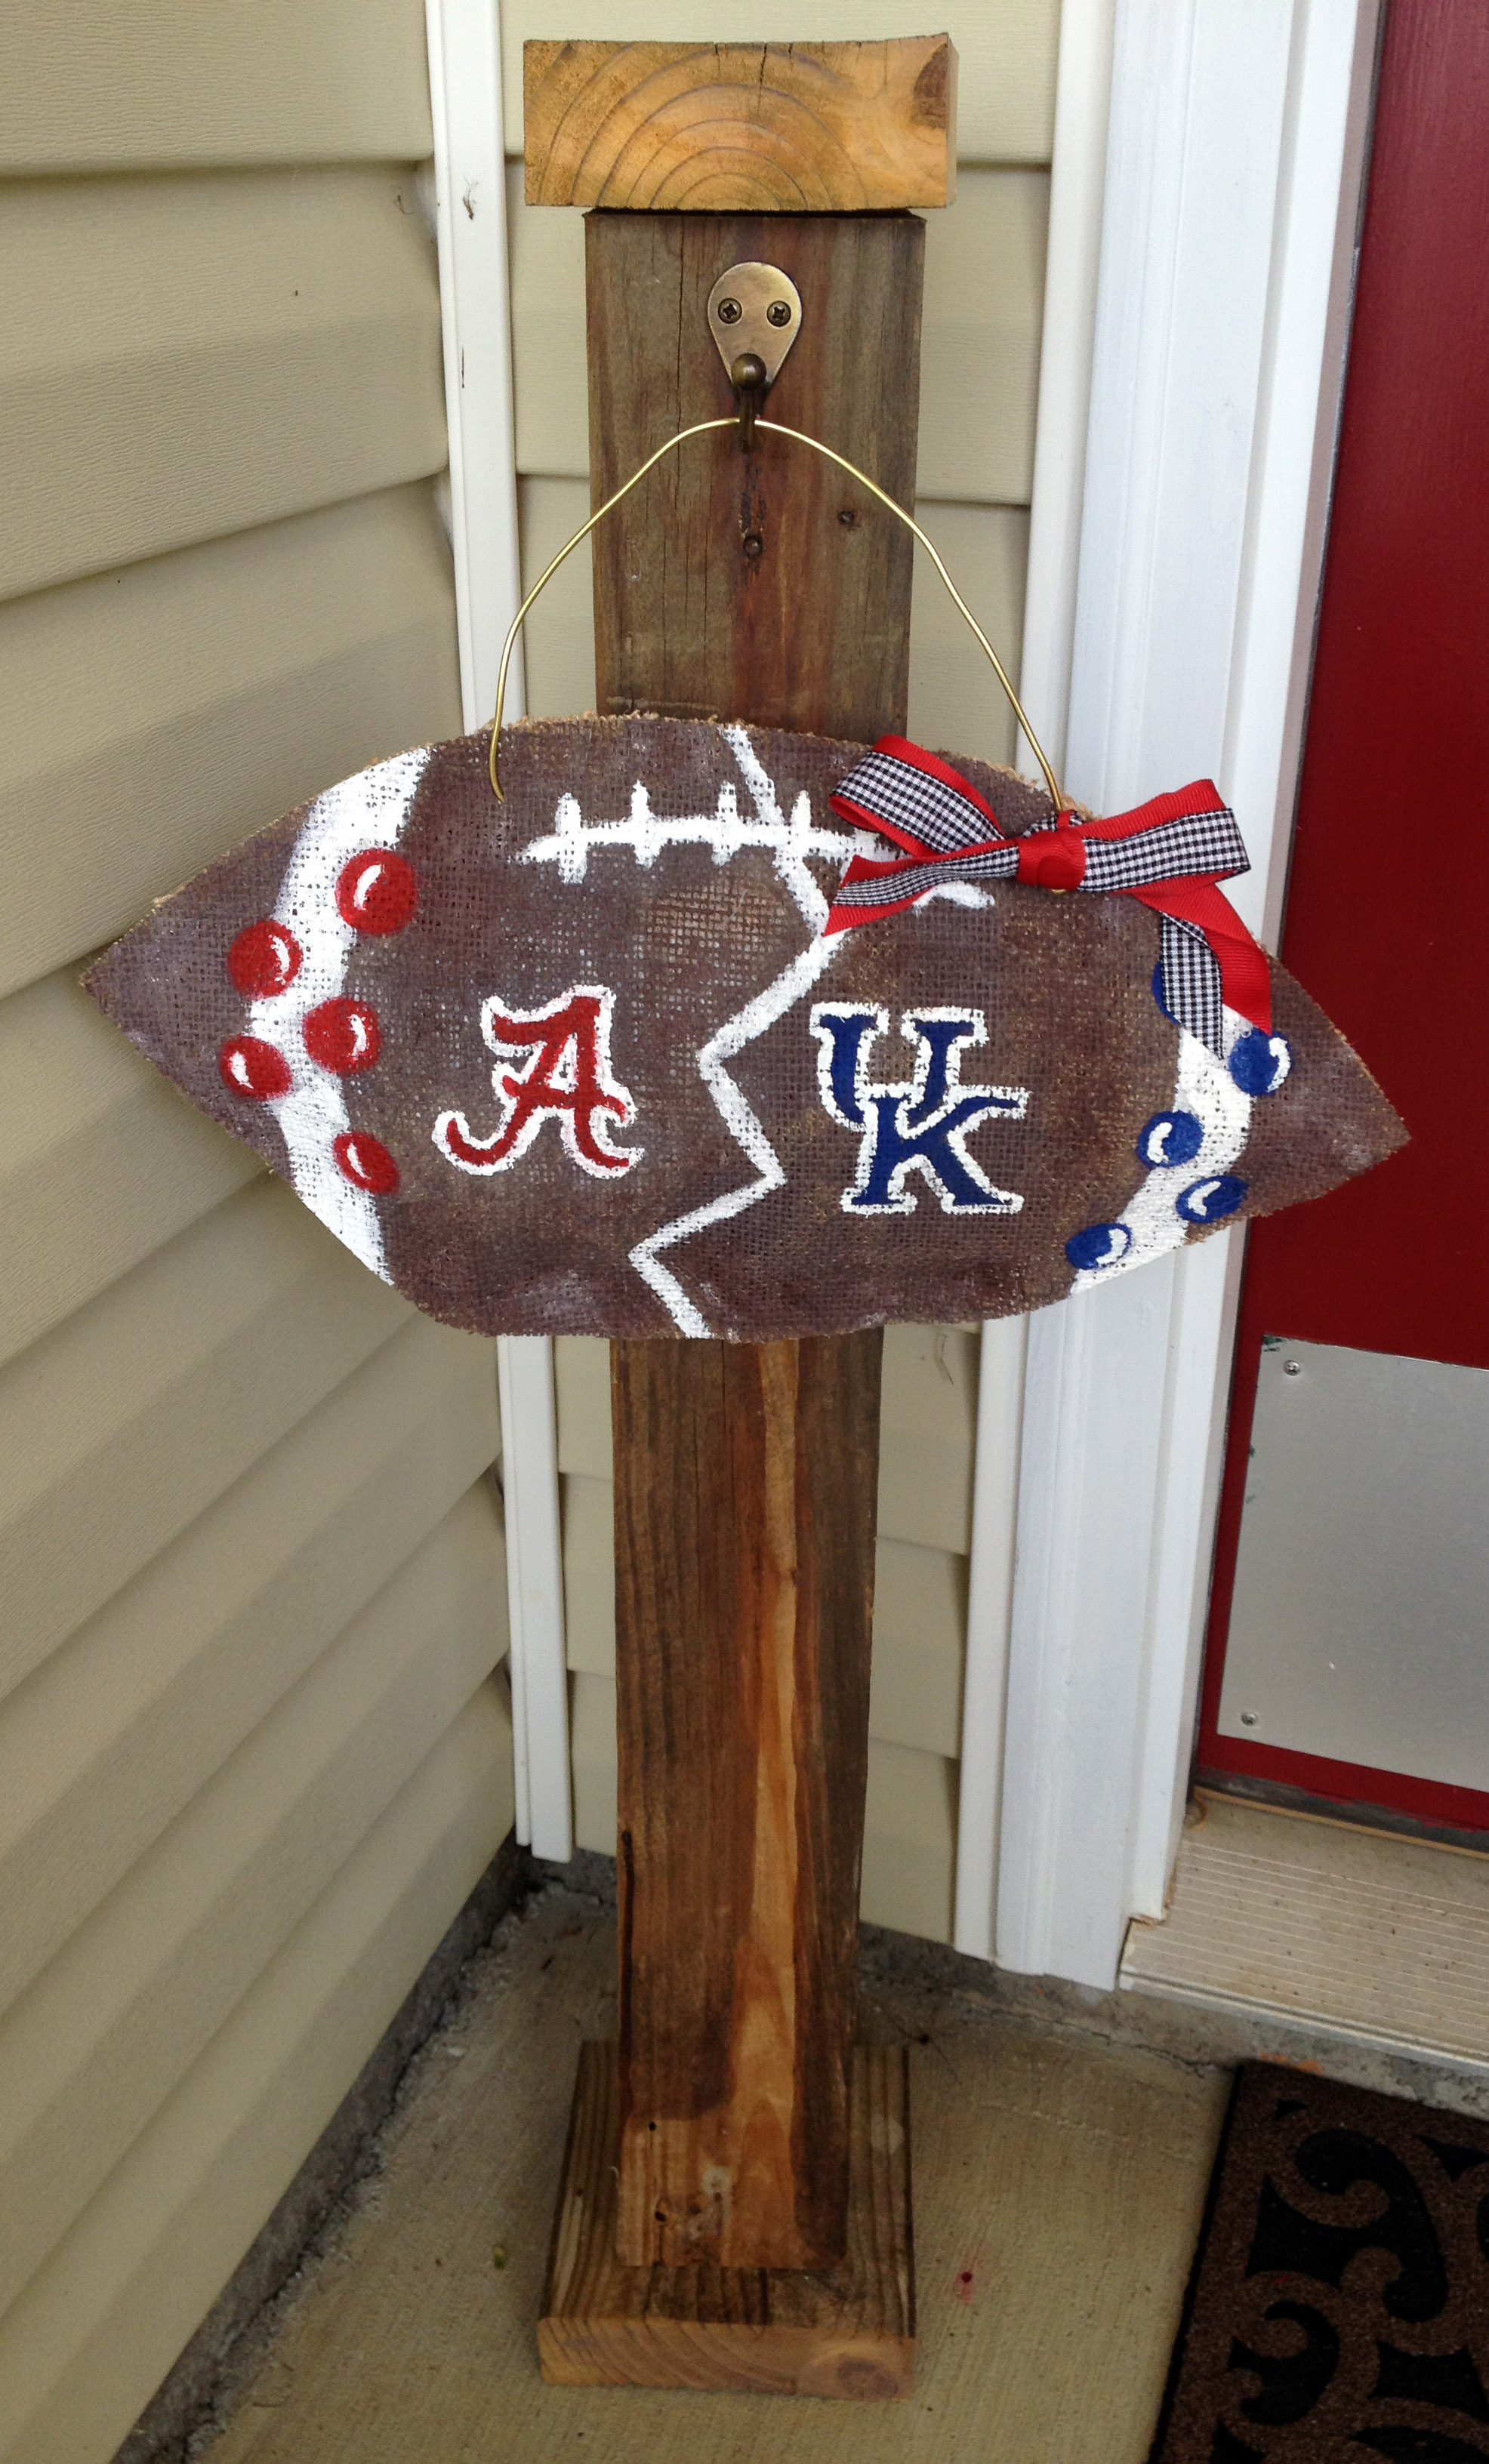
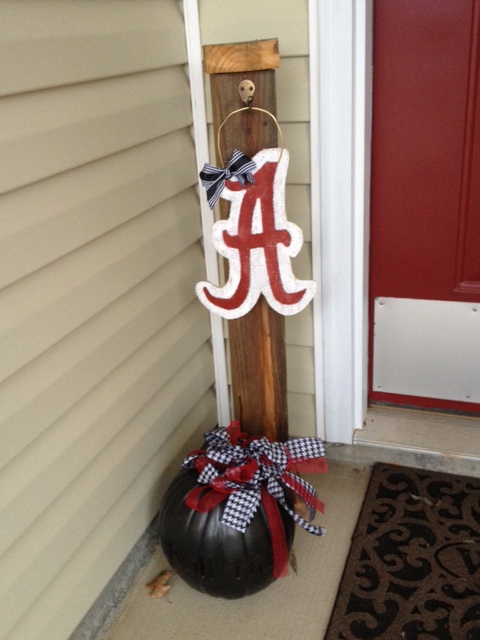
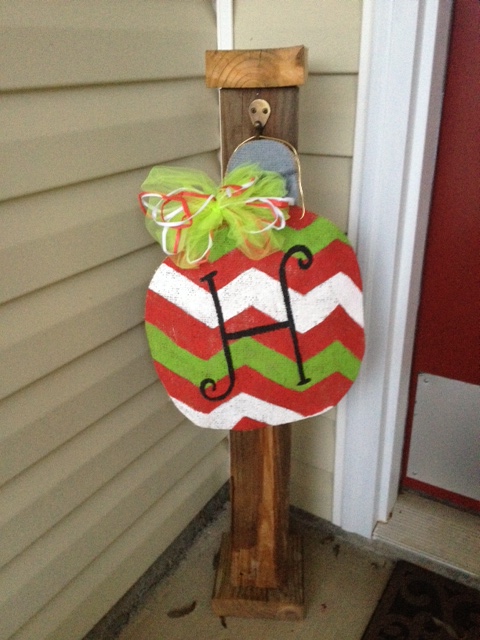
This past summer my husband knocked off the railing on our back patio. Our patio is only 6 inches off the ground so it wasn’t serving much of a purpose other than closing in the area. We used the old wood to create a wooden post for our front door area. I had seen such cute burlap hangers and thought it’d be the perfect place to decorate for the seasons. I’ve had a Alabama/Kentucky House Divided burlap football hanging since August so I figured it was time to change it up.
If you haven’t noticed, I really love burlap. What I don’t love about it is how messy it is…I mean really, that stuff gets everywhere when you’re cutting it! Burlap hangers are very easy but I’ve found that there is a lot of down time (aka drying time) in between steps which is why doing multiple hangers at a time seemed like the most efficient way to do them.
1. I found a burlap hanger on google or pinterest that I wanted to try to re-create. Shocking, I know!
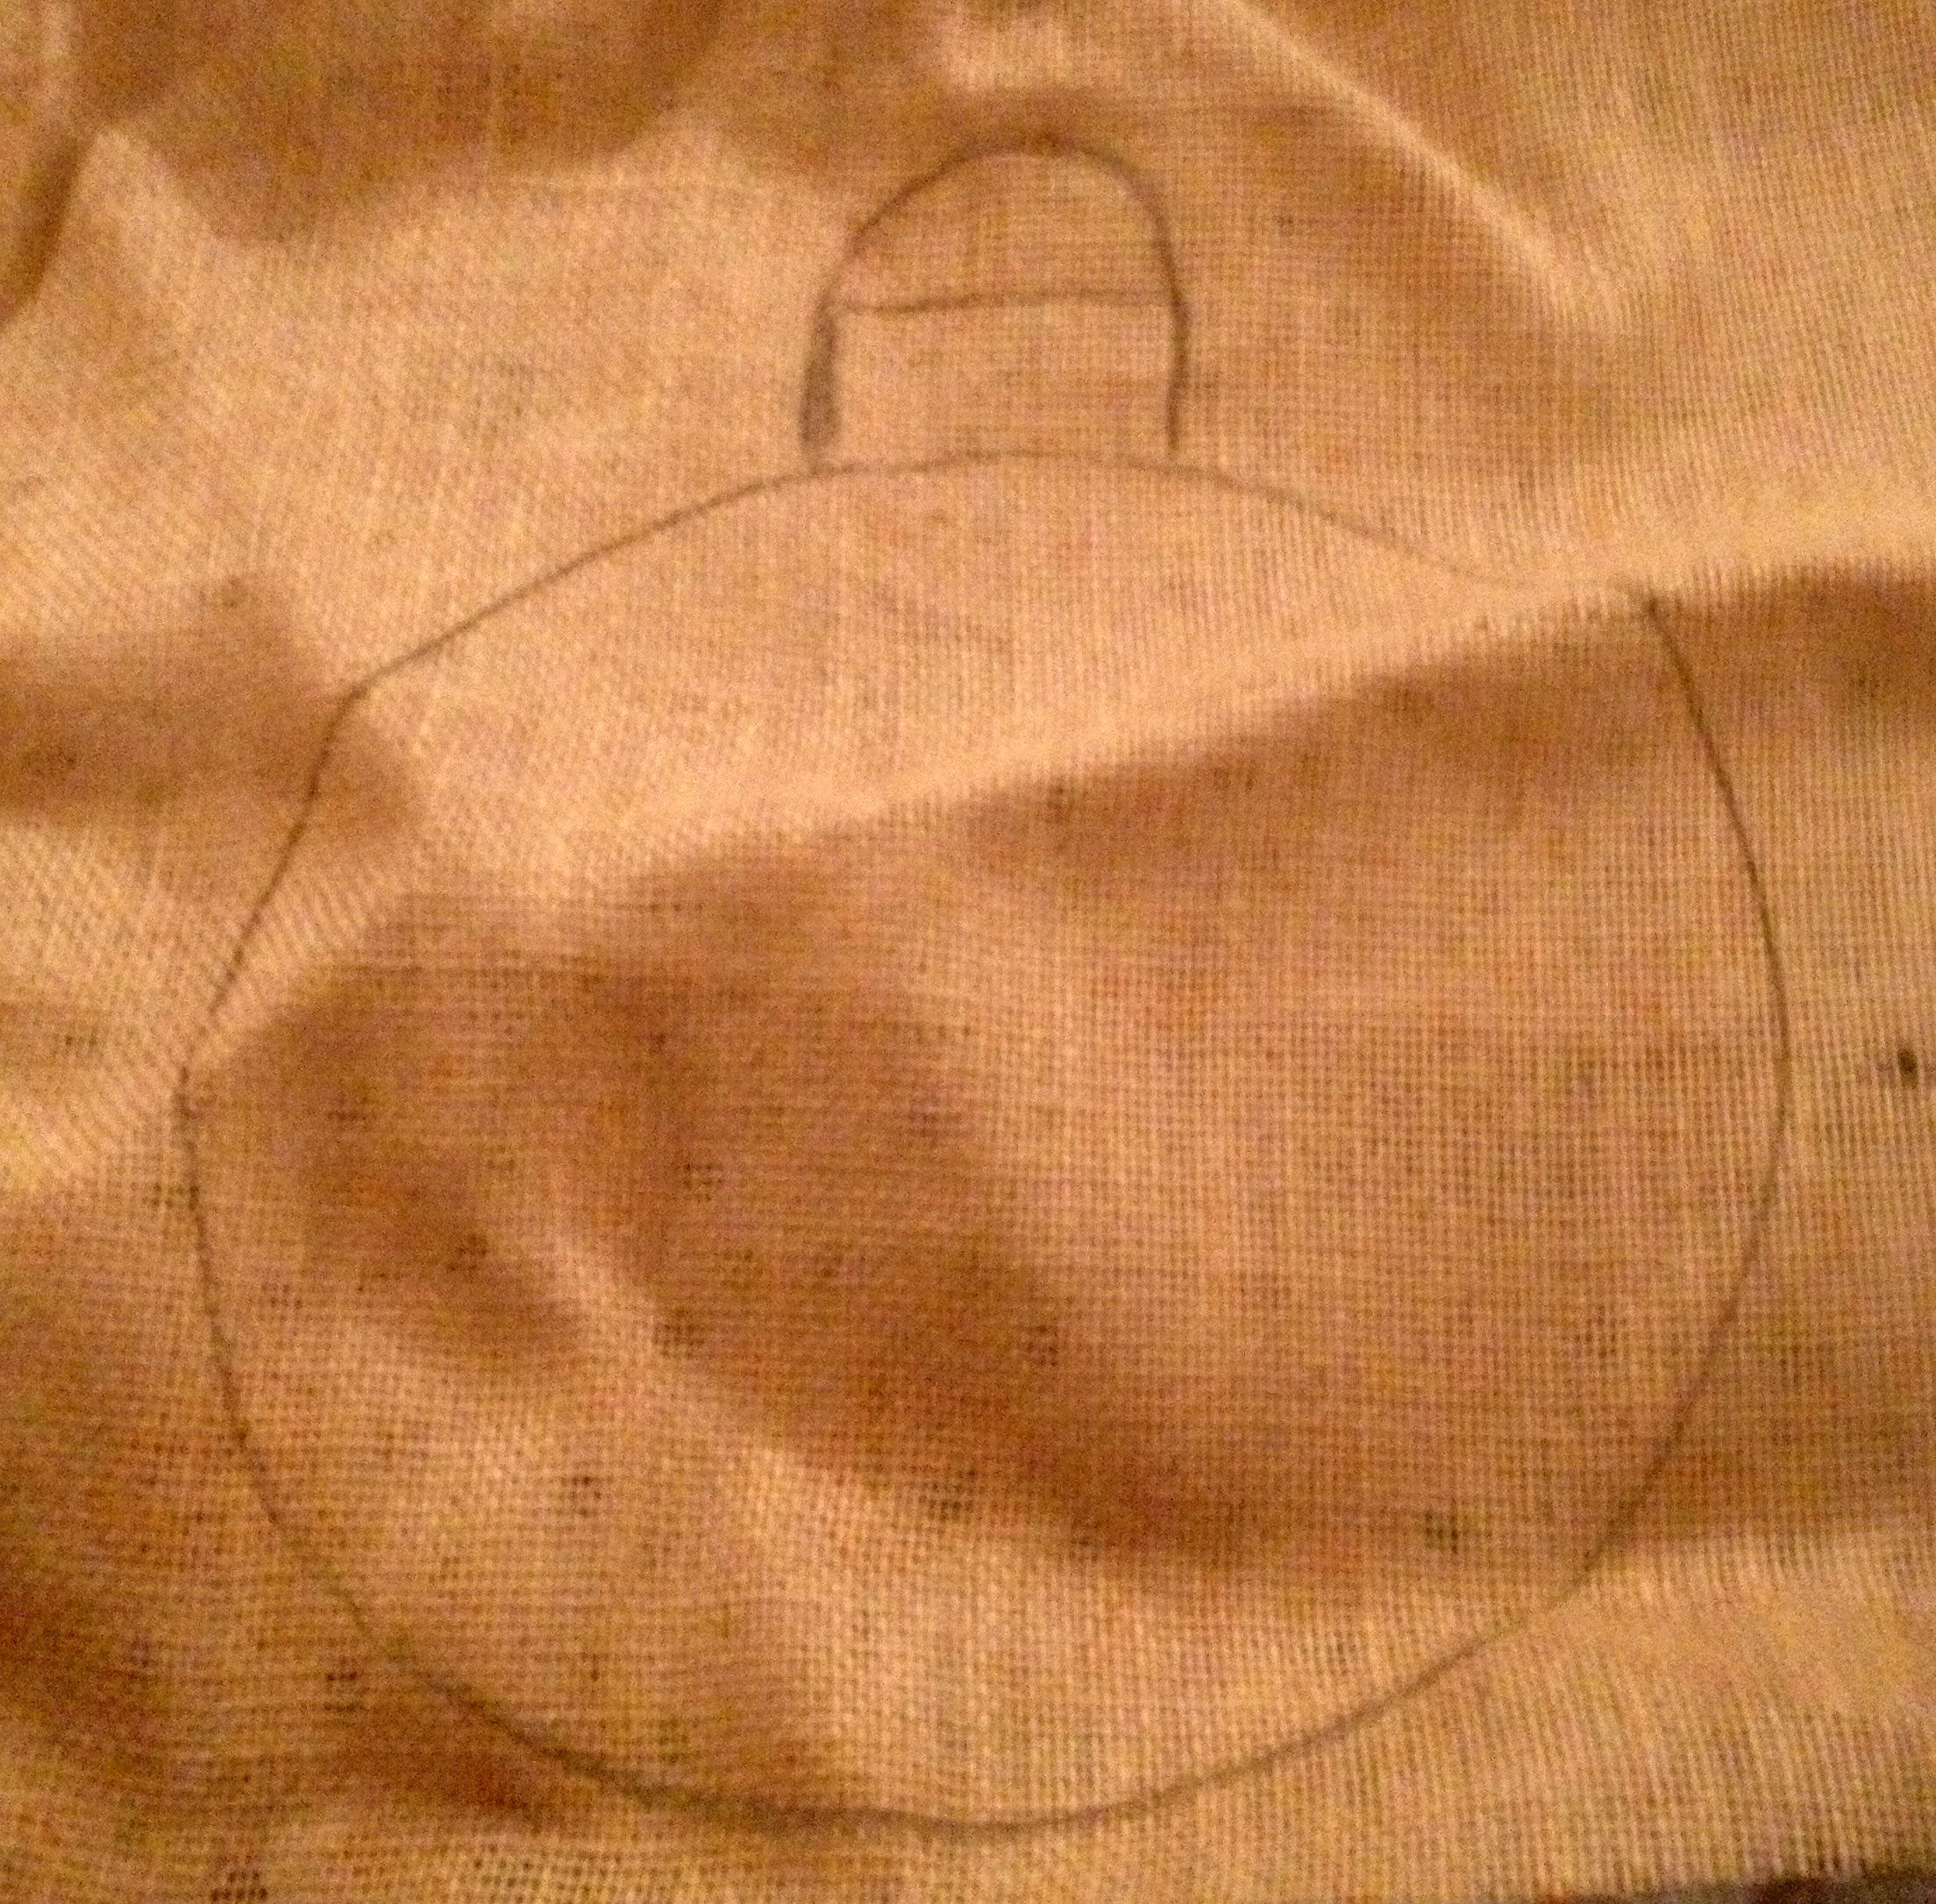
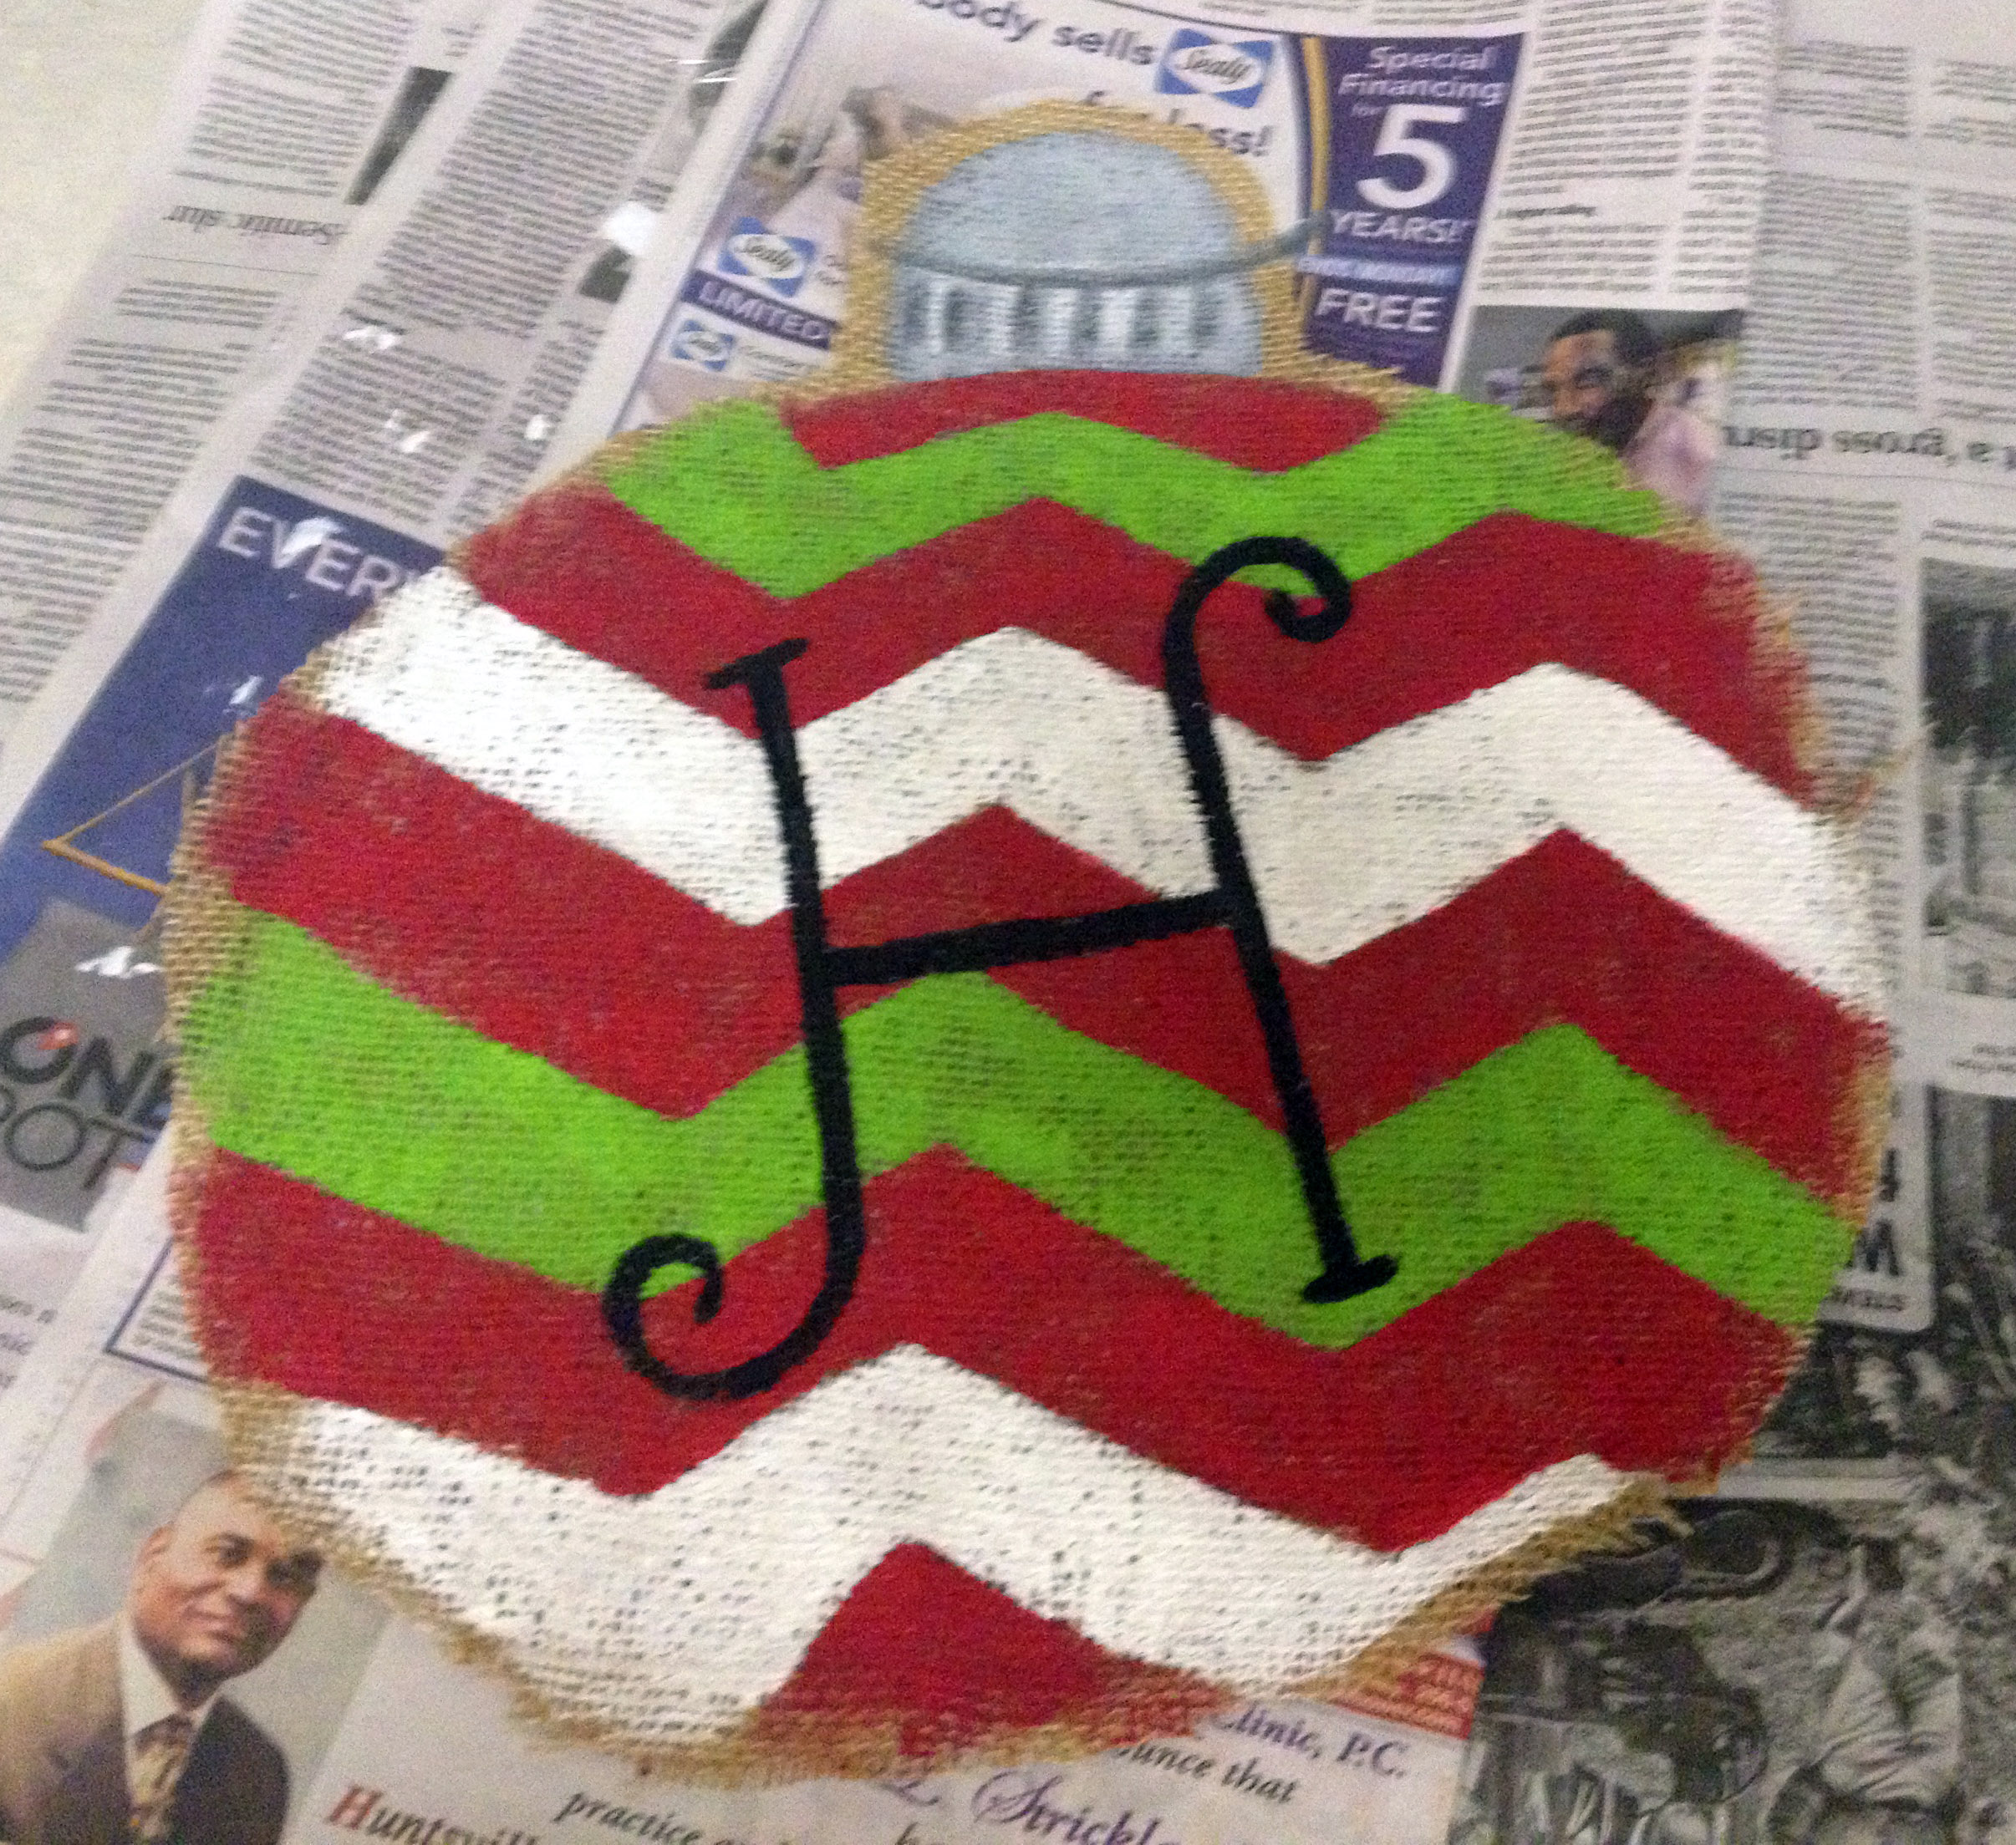
2. Draw a rough sketch of what you want on the burlap (ex. ornament sketch below).
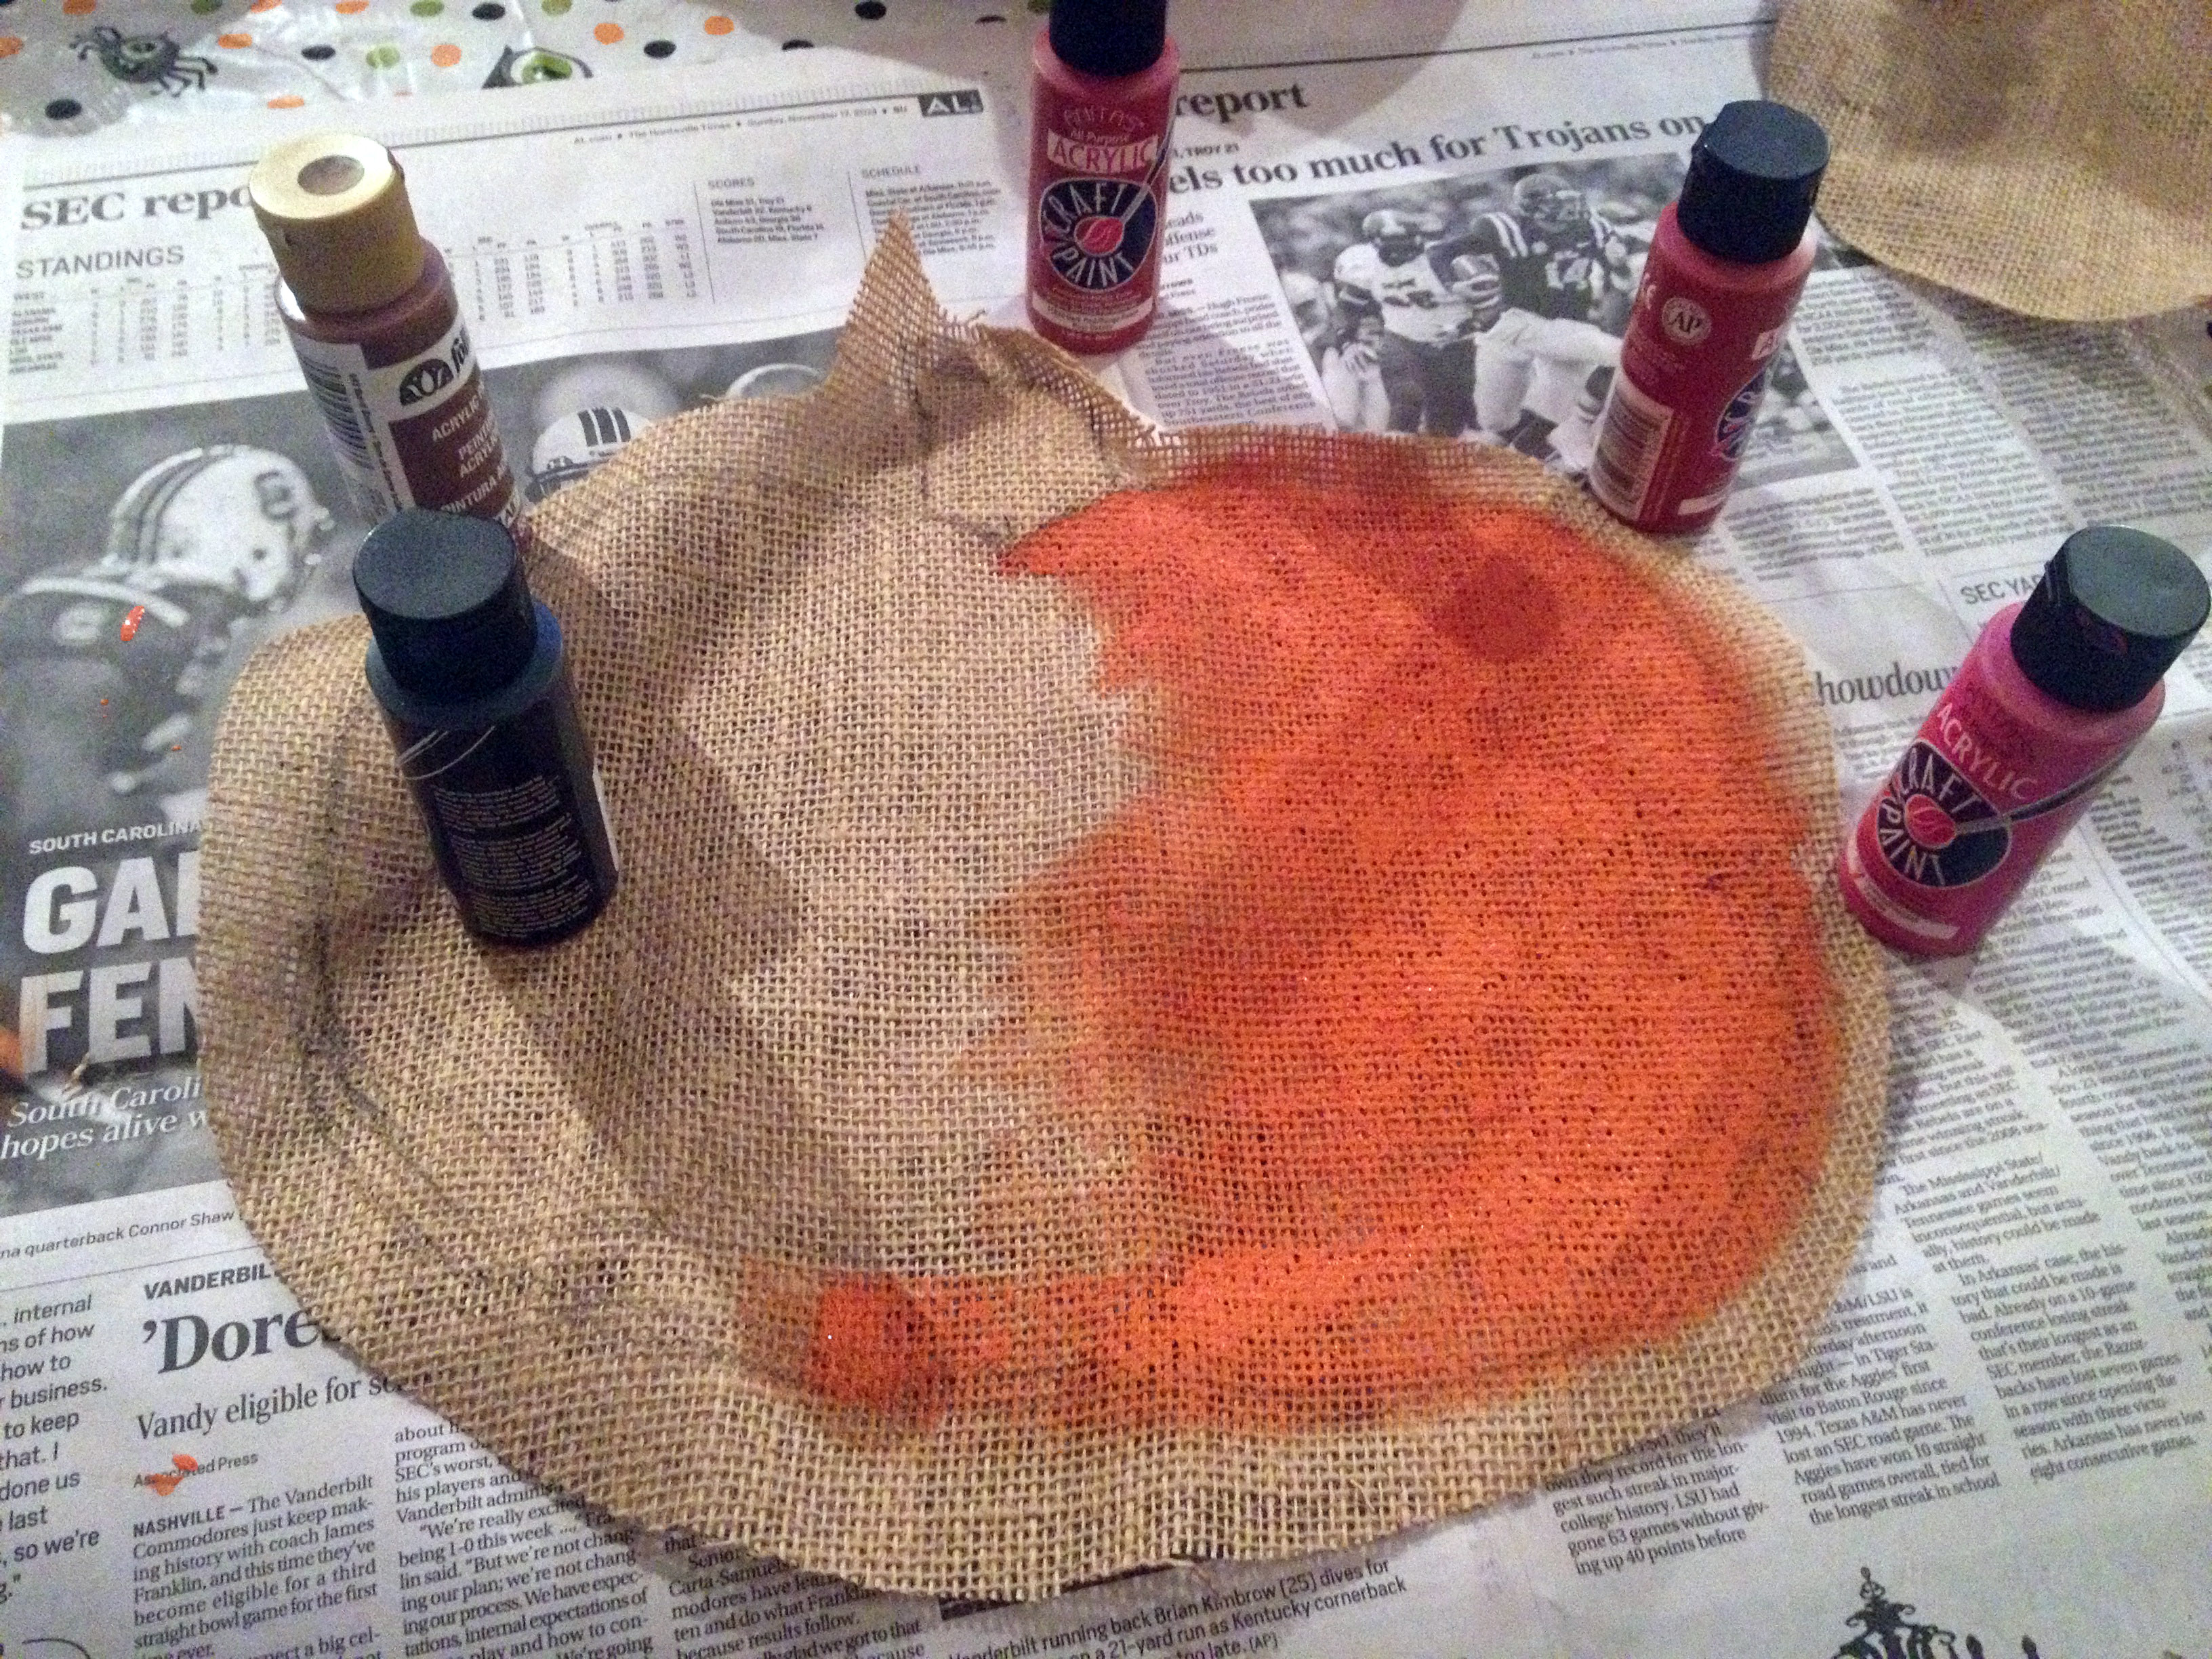
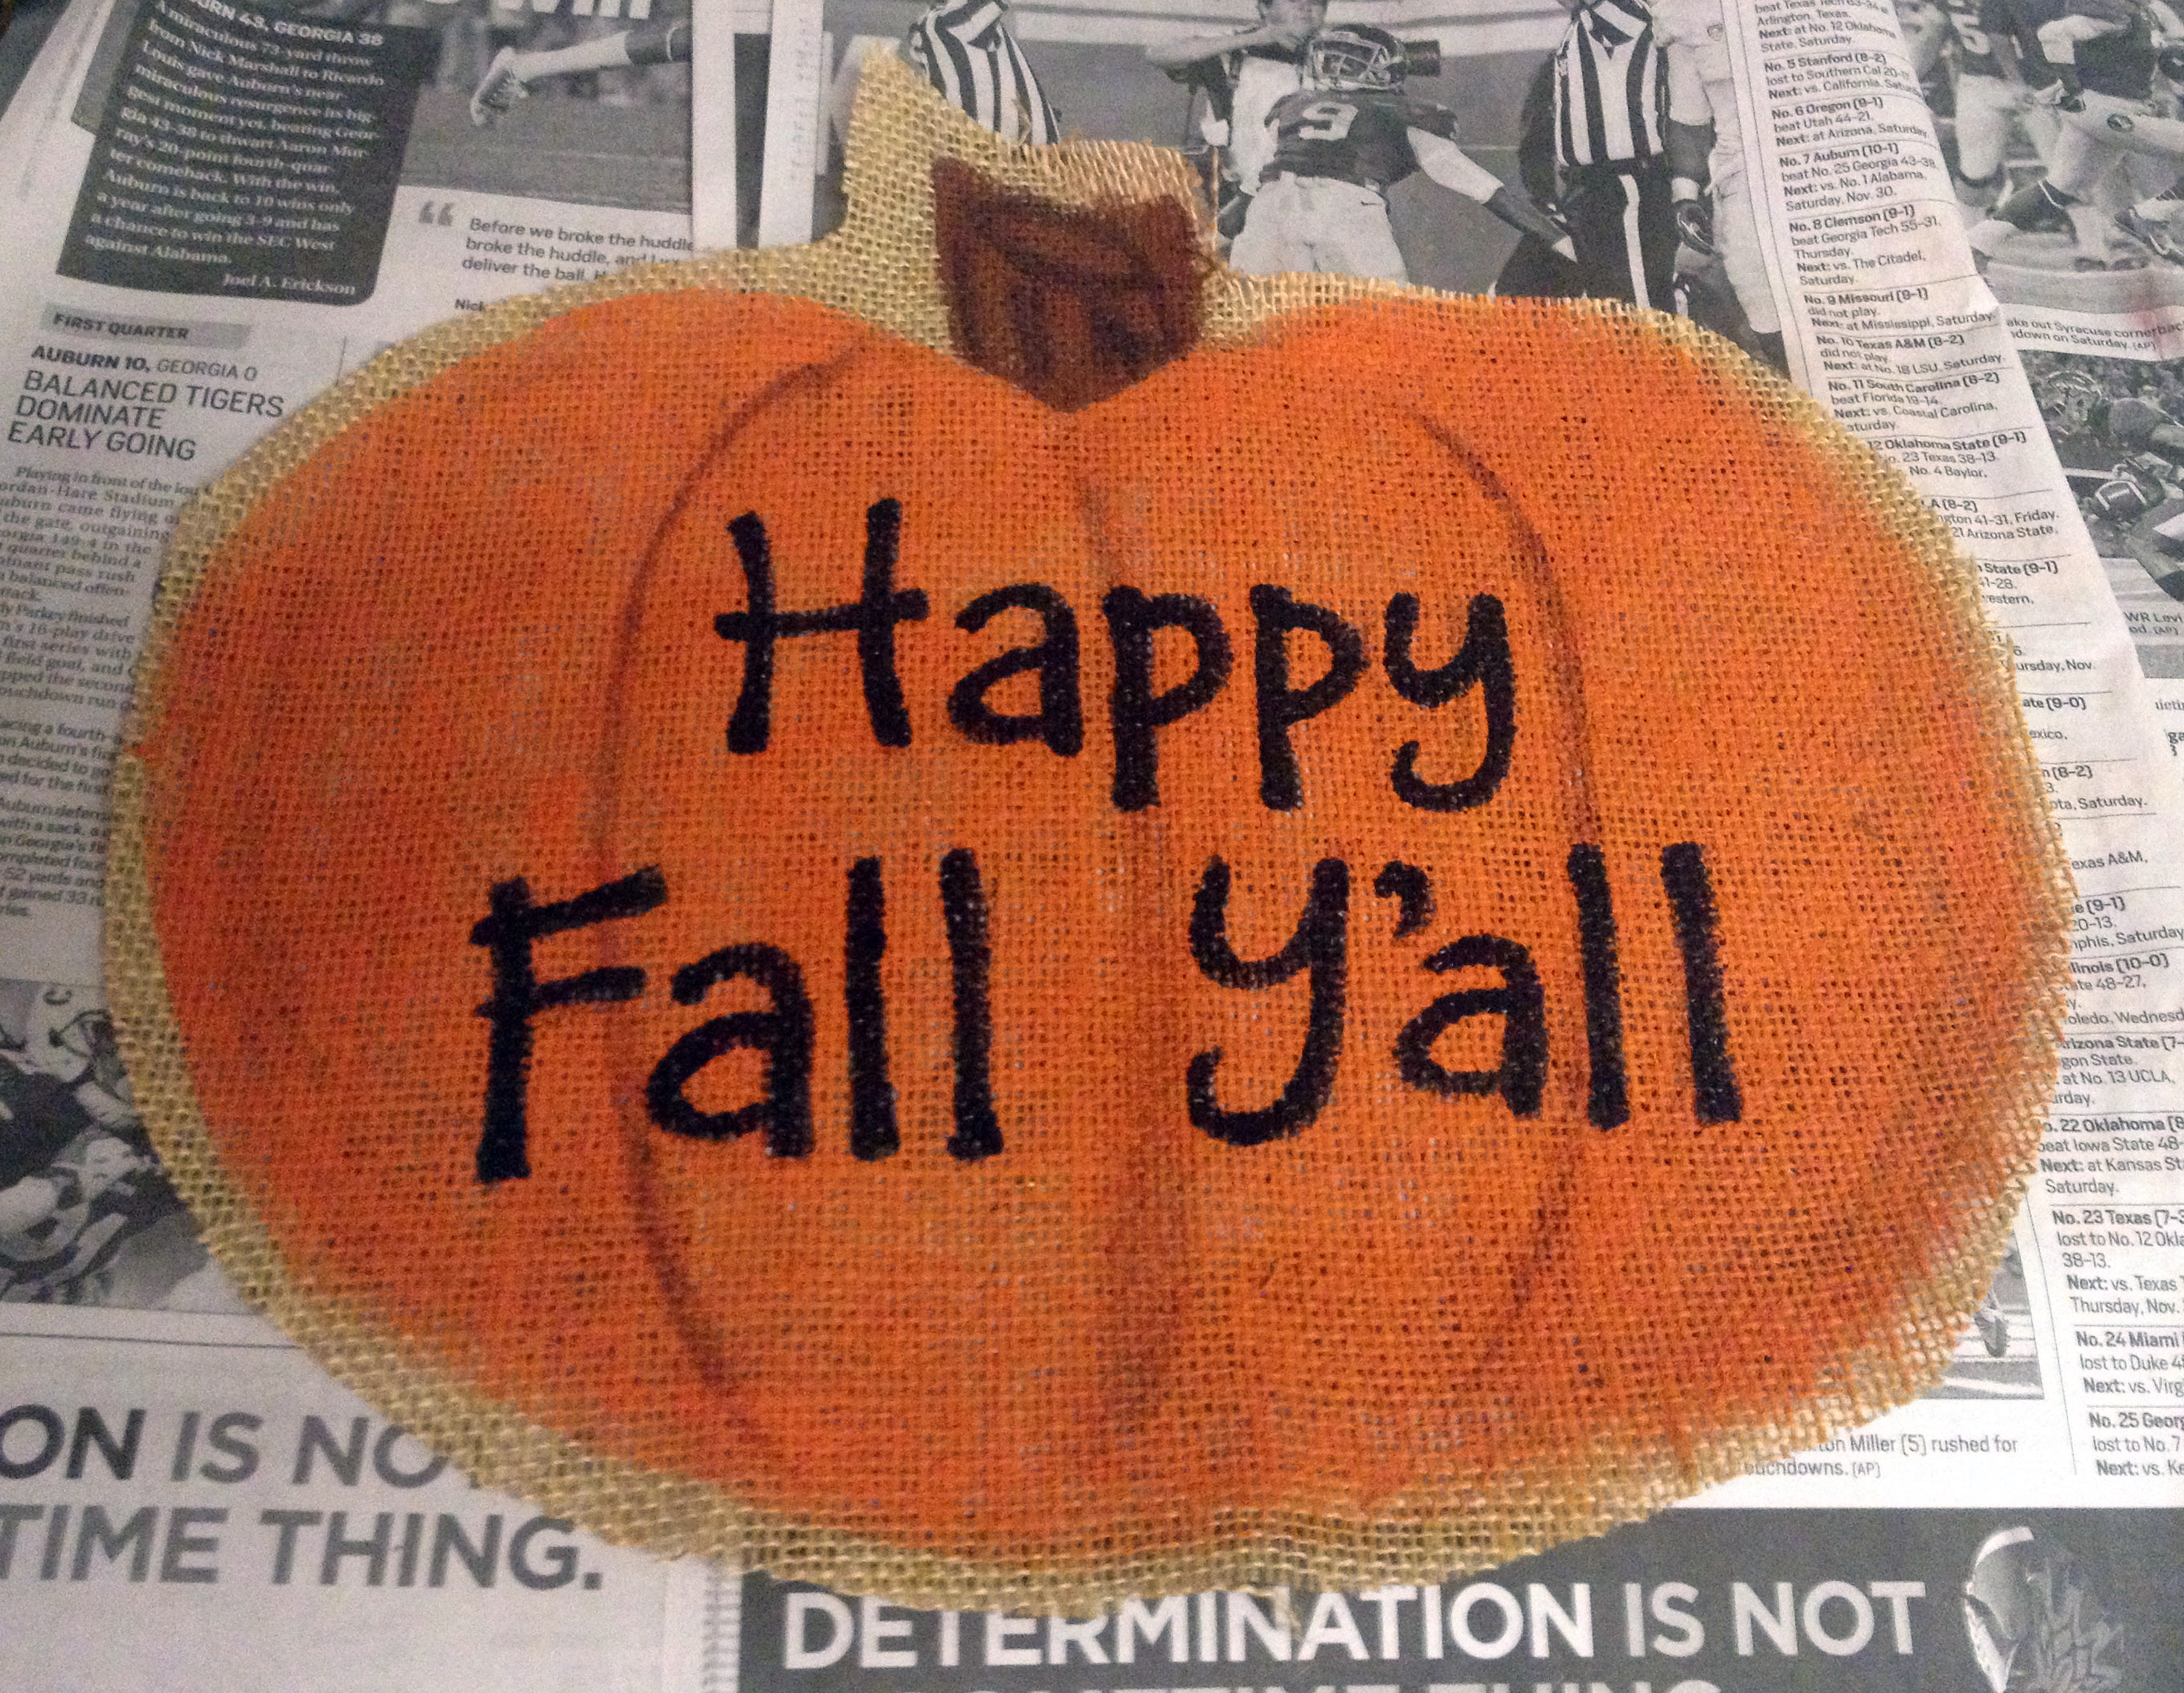
3. Paint the burlap. Make sure you have something underneath it to protect your floors, table, etc. I paint outside the lines to guarantee I paint the full surface of the hanger.
Let them dry.
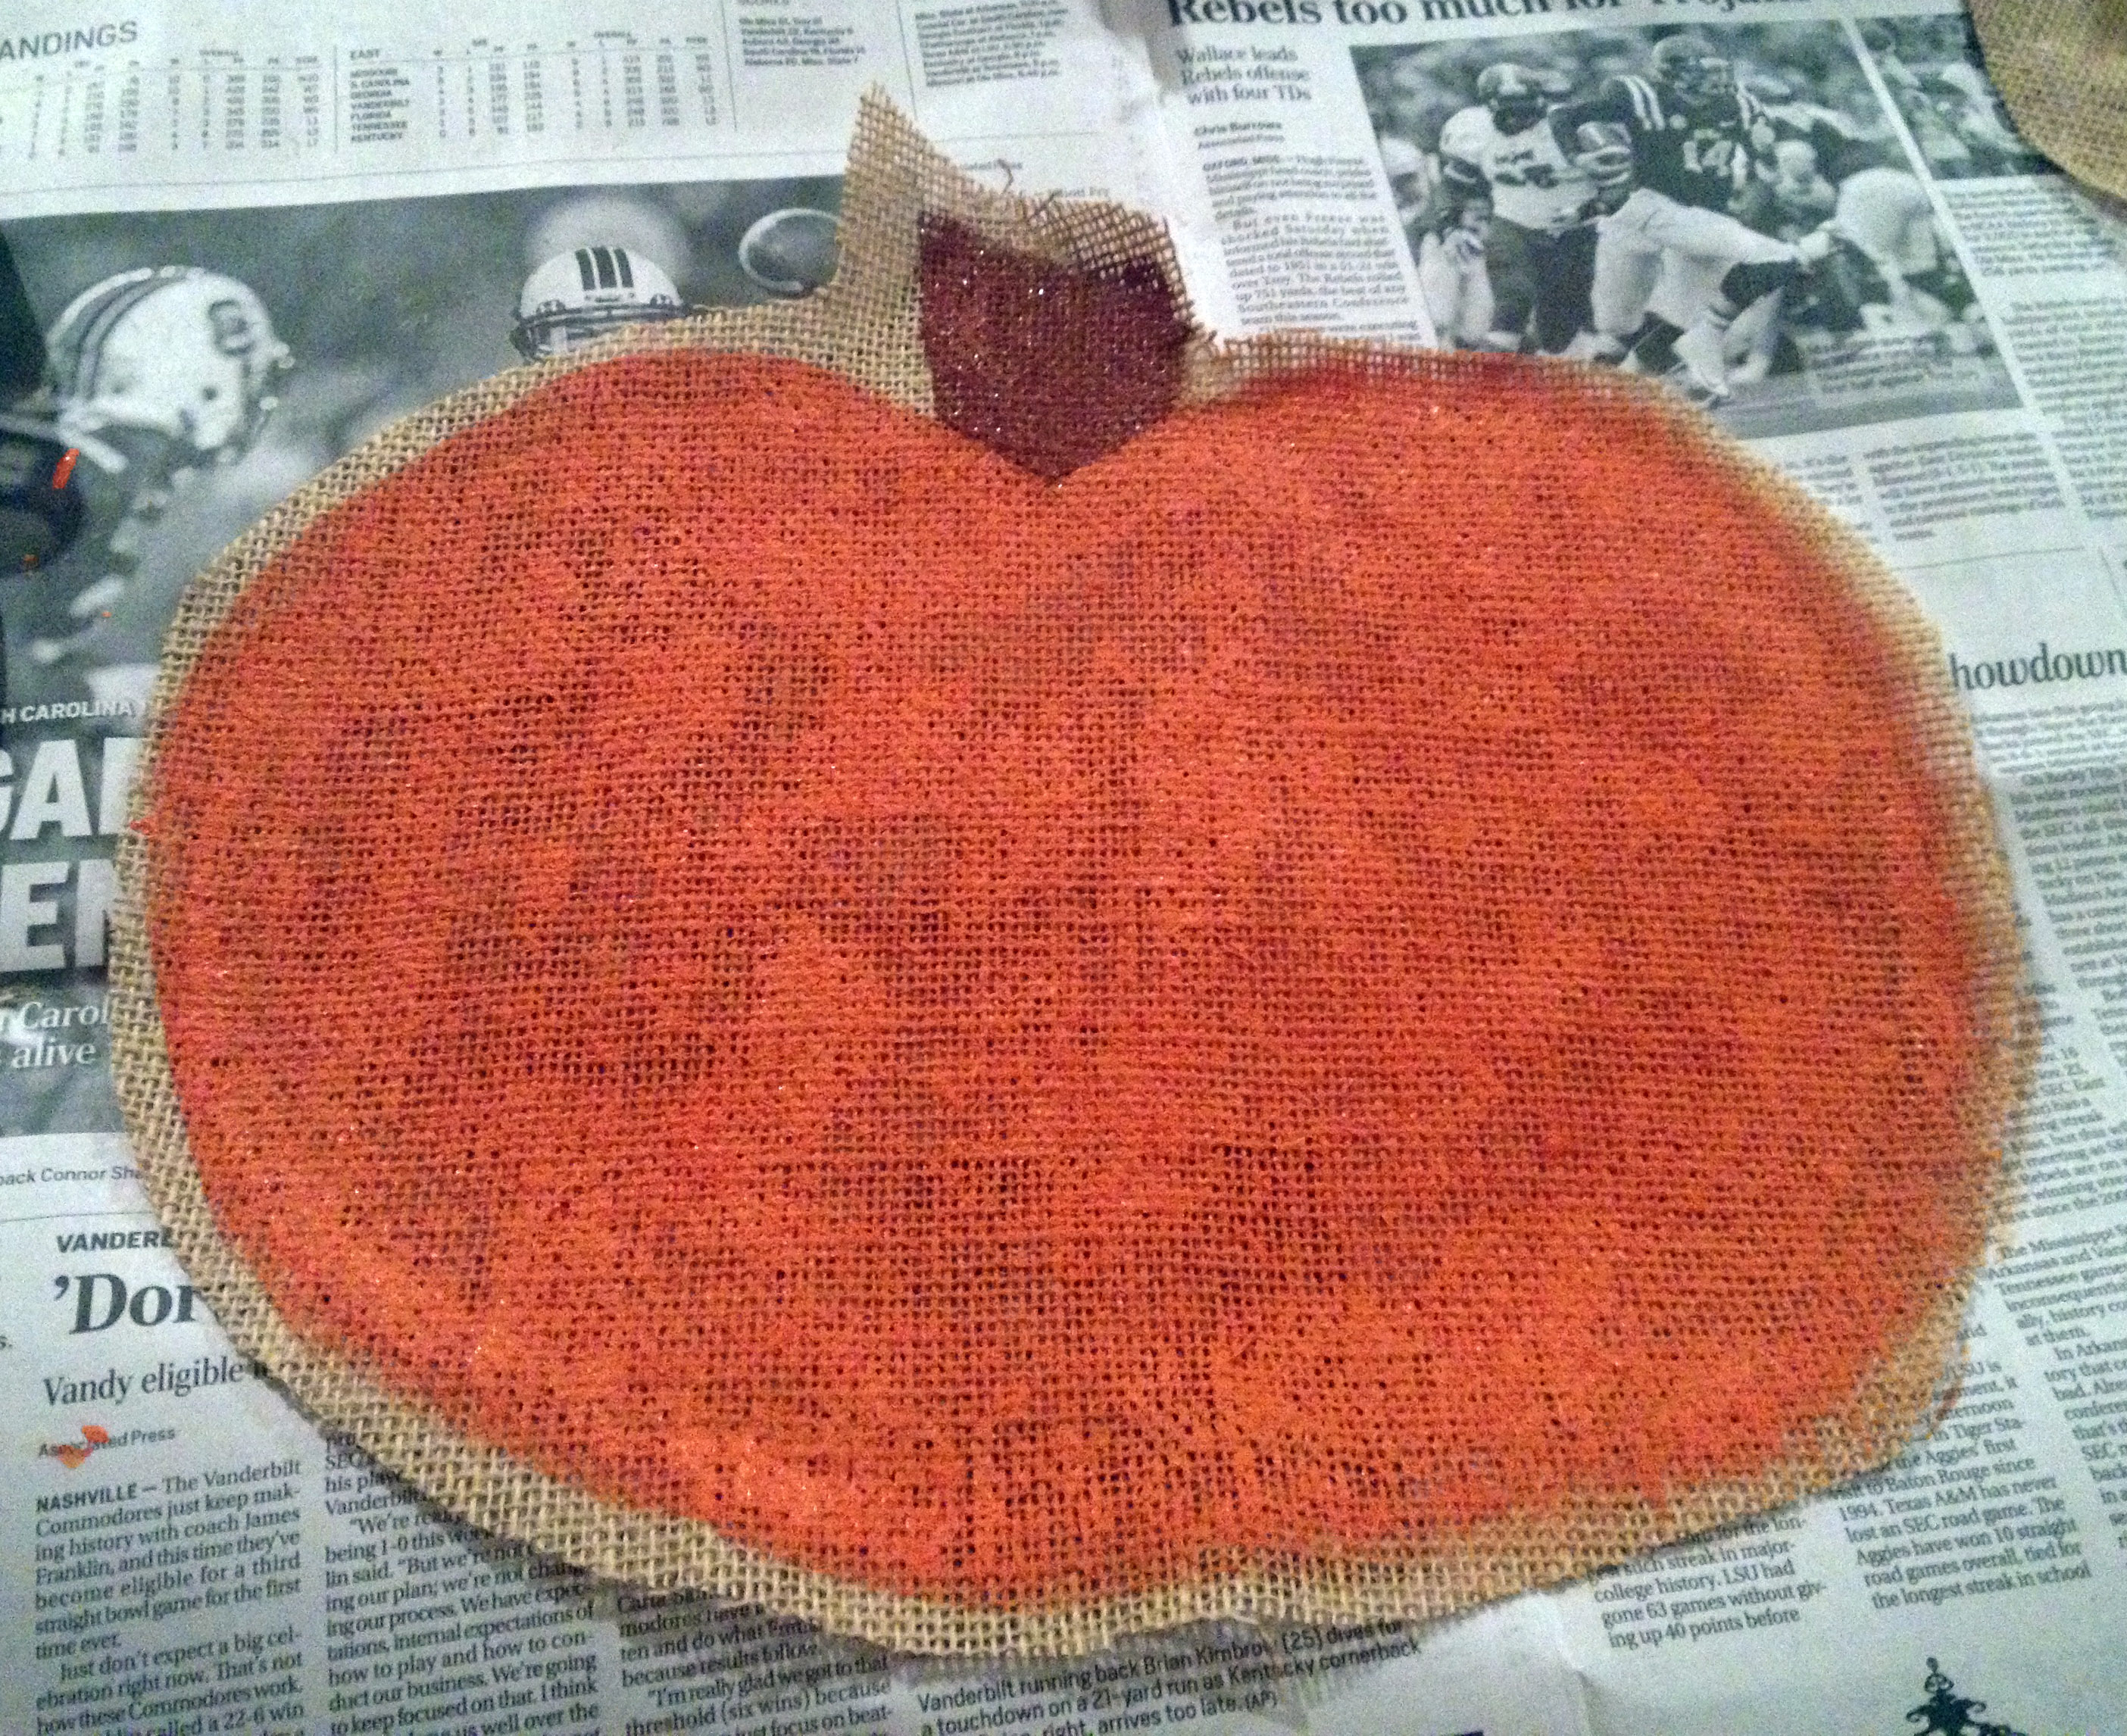
4. Then if you have any additional painting left, you can paint on top without blending paint or colors
Let them dry completely to avoid a mess. I left mine out to dry overnight.
5. You will cut the excess burlap off to the desired burlap hanger shape. You can often still see a slight line from your original sketch.
6. Then cut another piece of burlap that is around the same size as the front. I just cut mine is squares because I knew I would trim it later.
7. Start Hot gluing on the edge of the inside of the painted burlap (ex. I started with the pumpkin stem and then worked my way around the inside edge of the pumpkin). You will hot glue the edges to create a burlap pillow. As I got close to gluing the front and back together, I stuffed the inside with newspaper (I’ve used grocery sacks before as well). Then I finished gluing the two sides together to give me a puffy burlap hanger.
8. Trim the back burlap piece to match the front side so that you cannot see the back burlap panel.
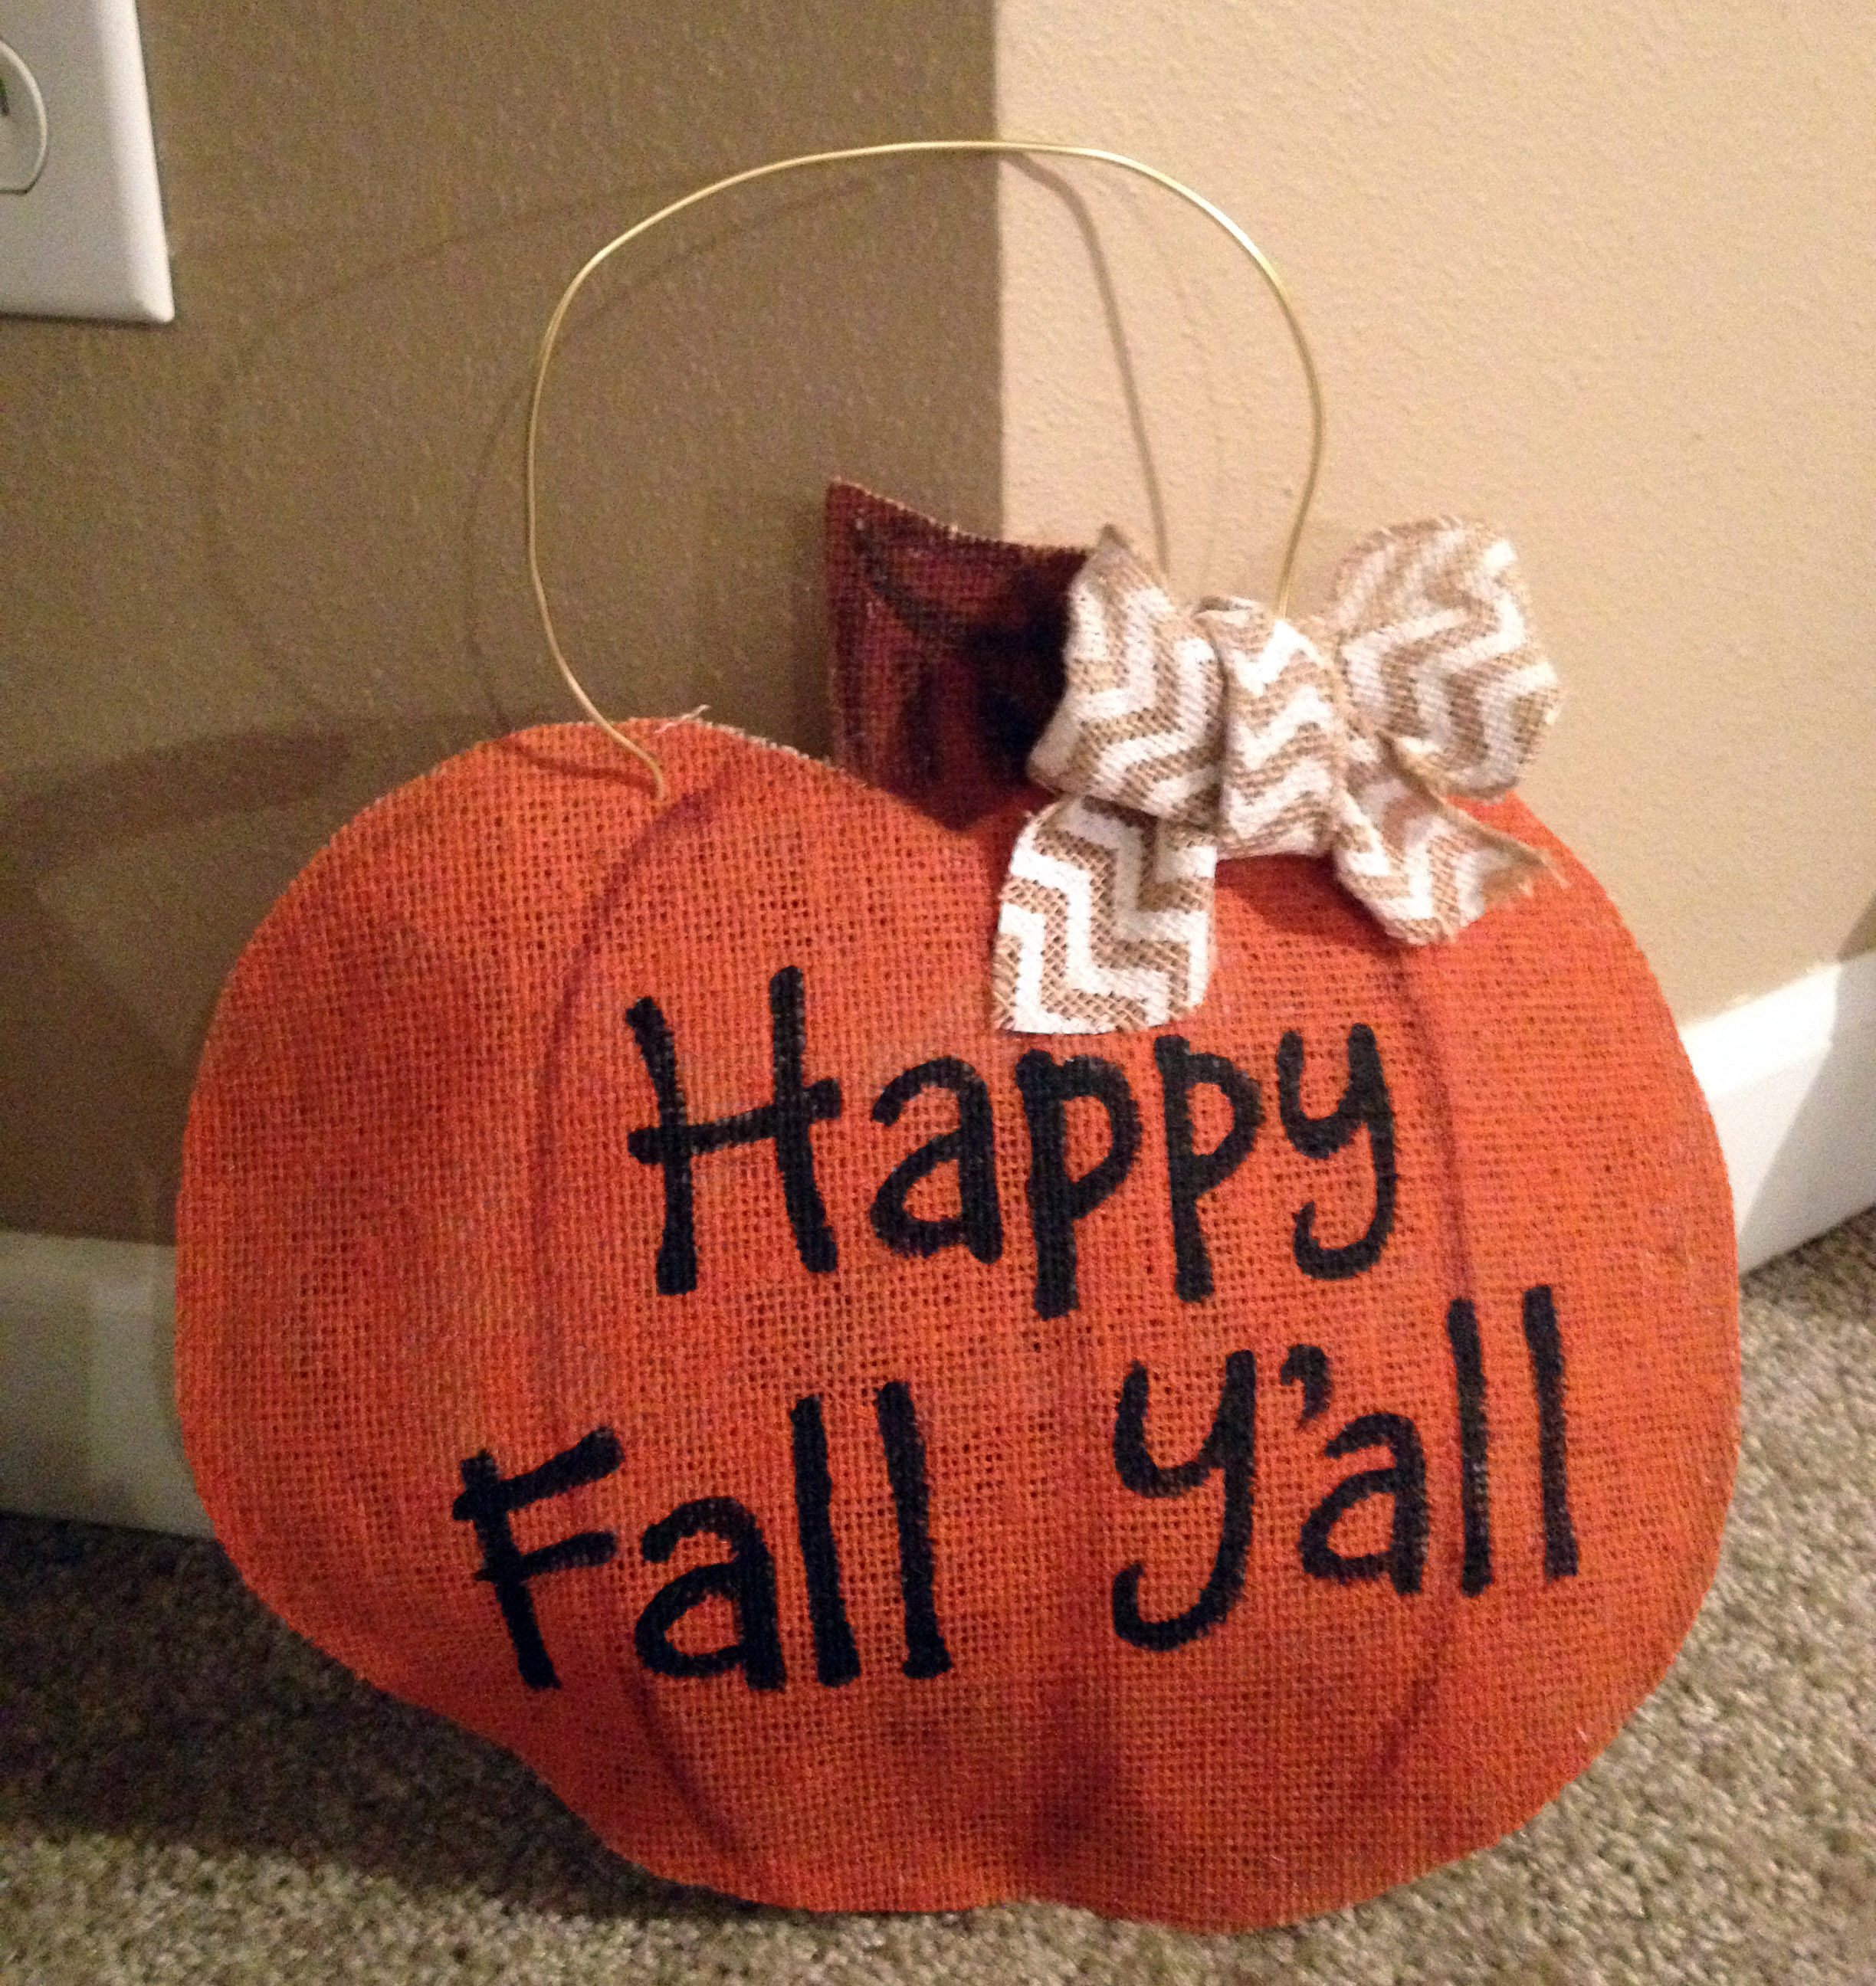
9. Add a hanger. I used wire that I had around the house but you can use ribbon as well. I just stick the wire through both sides and twist it on the backside to secure it.
10. Then add any ribbon or embellishment that you wish! I had both of these scraps of ribbons from other projects and they worked perfectly. (Do you recognize the chevron burlap ribbon from my table runner project?)
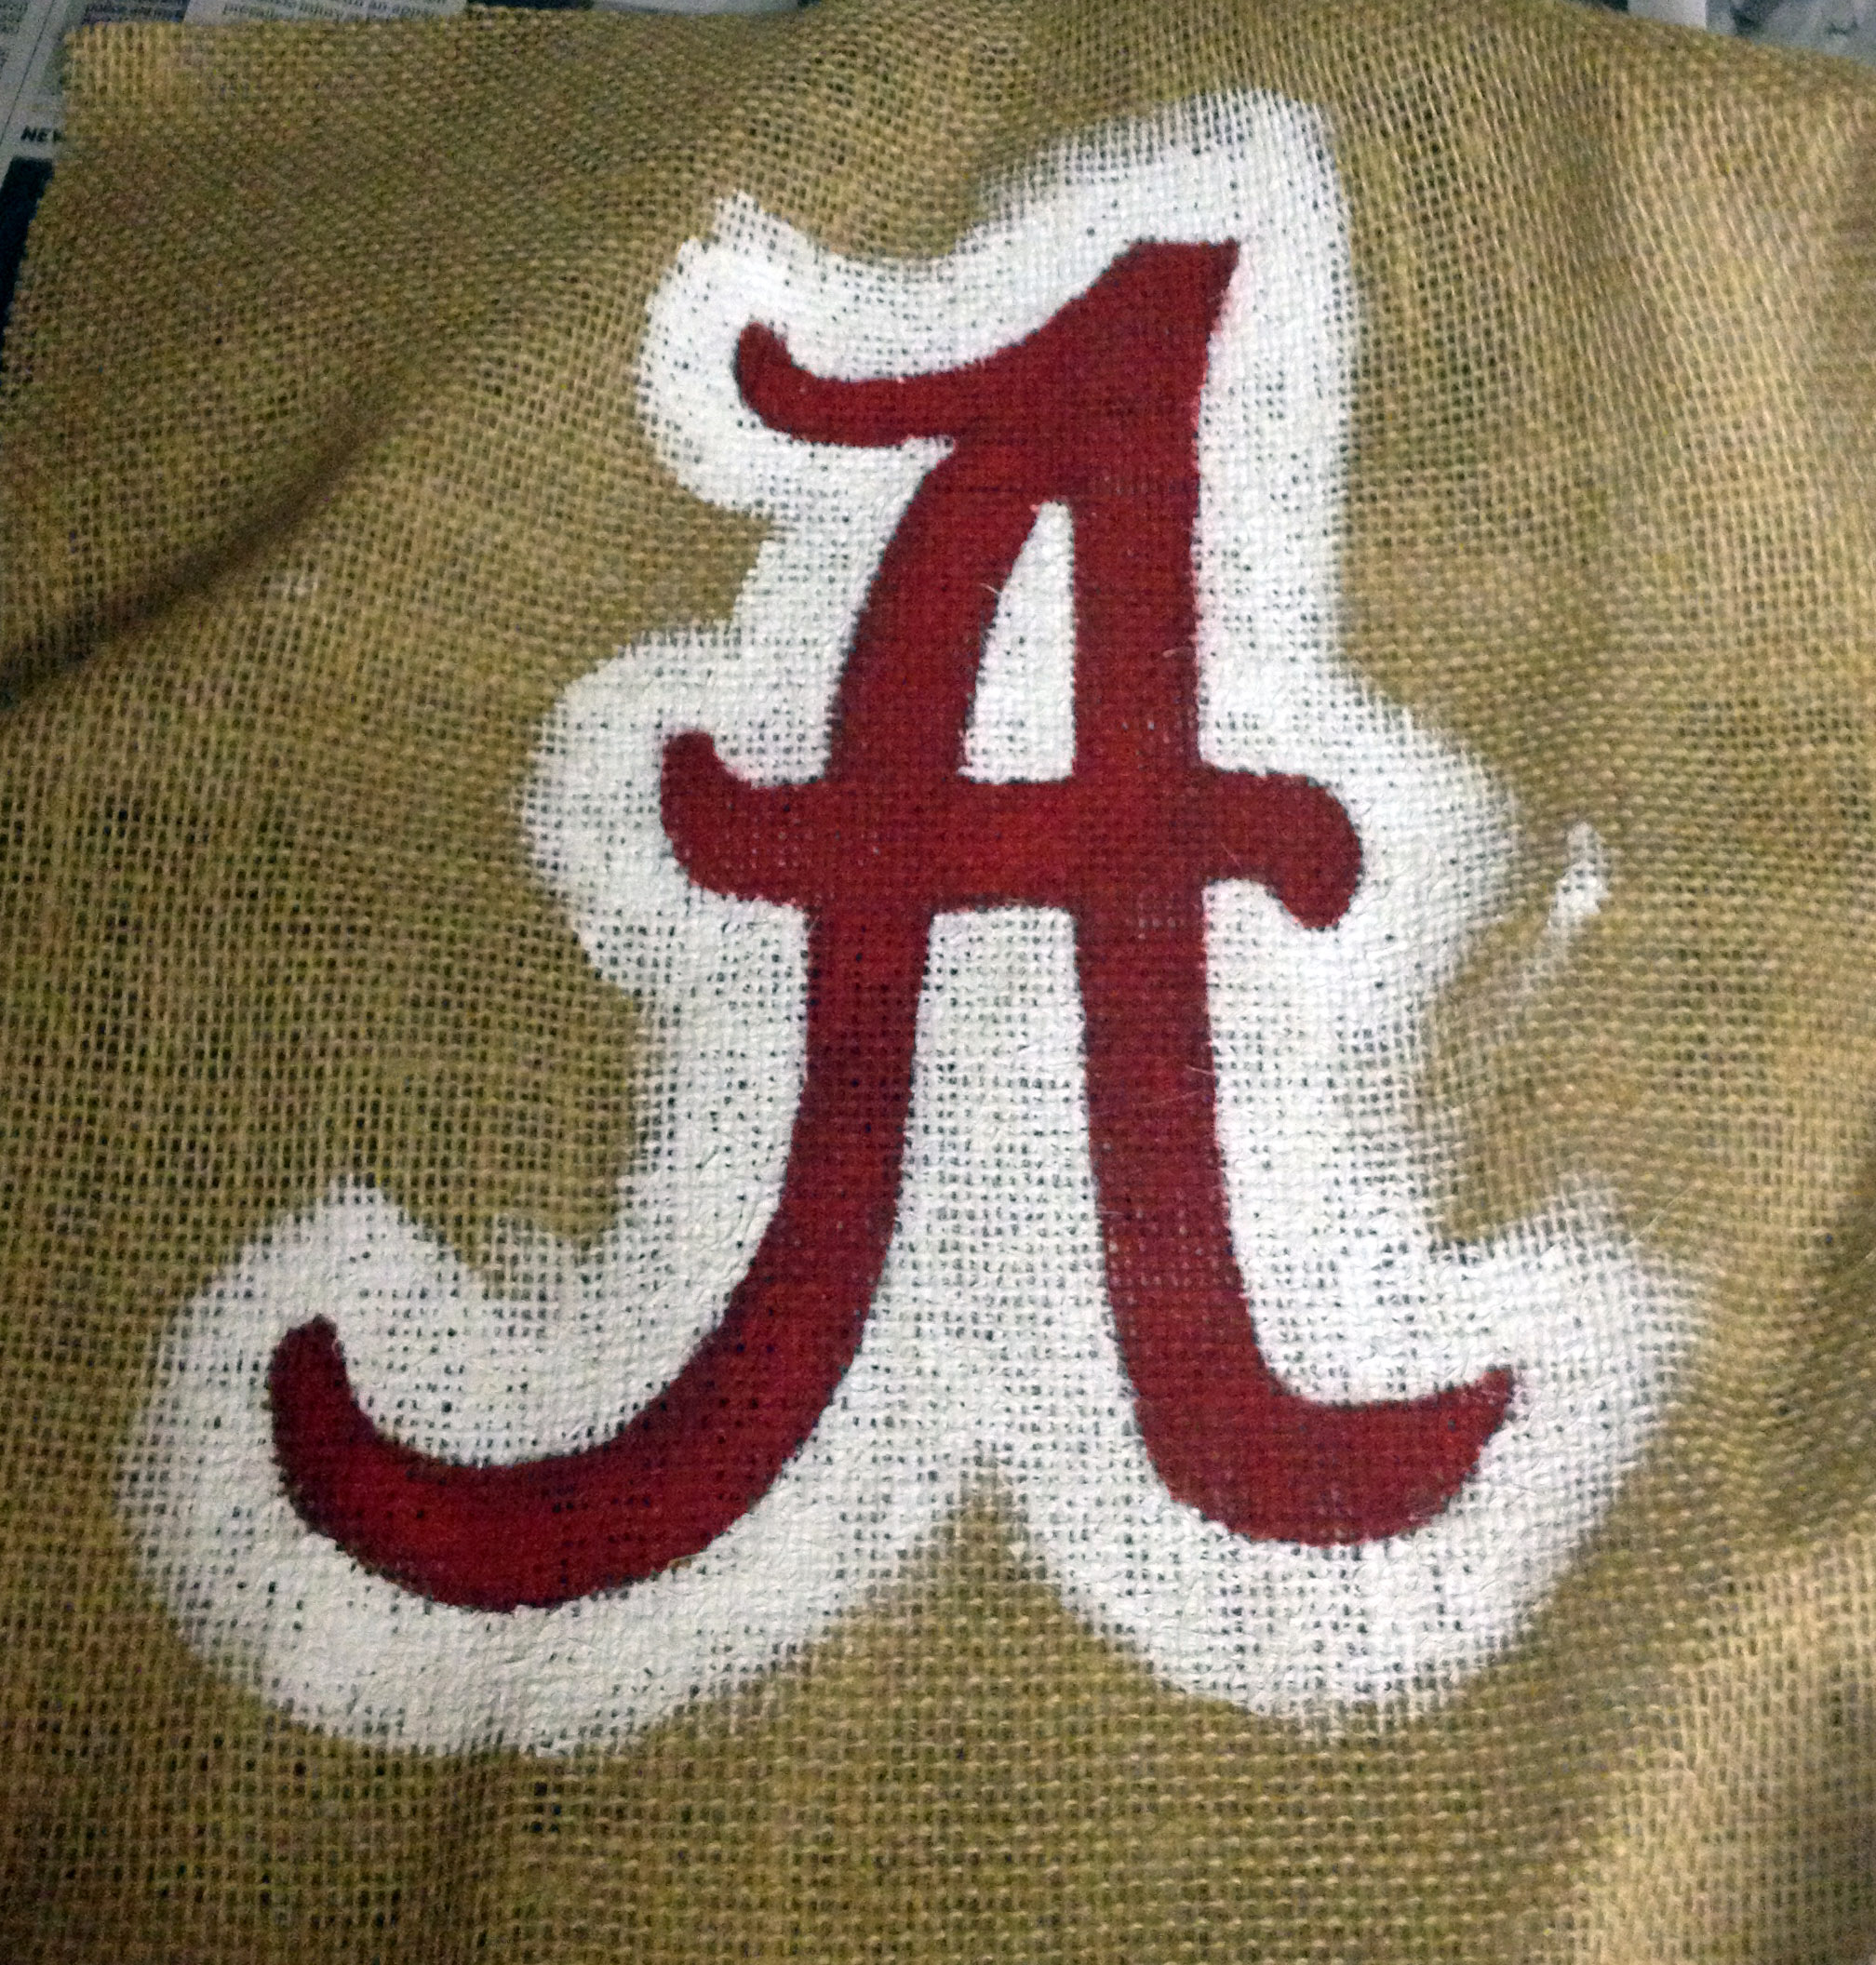
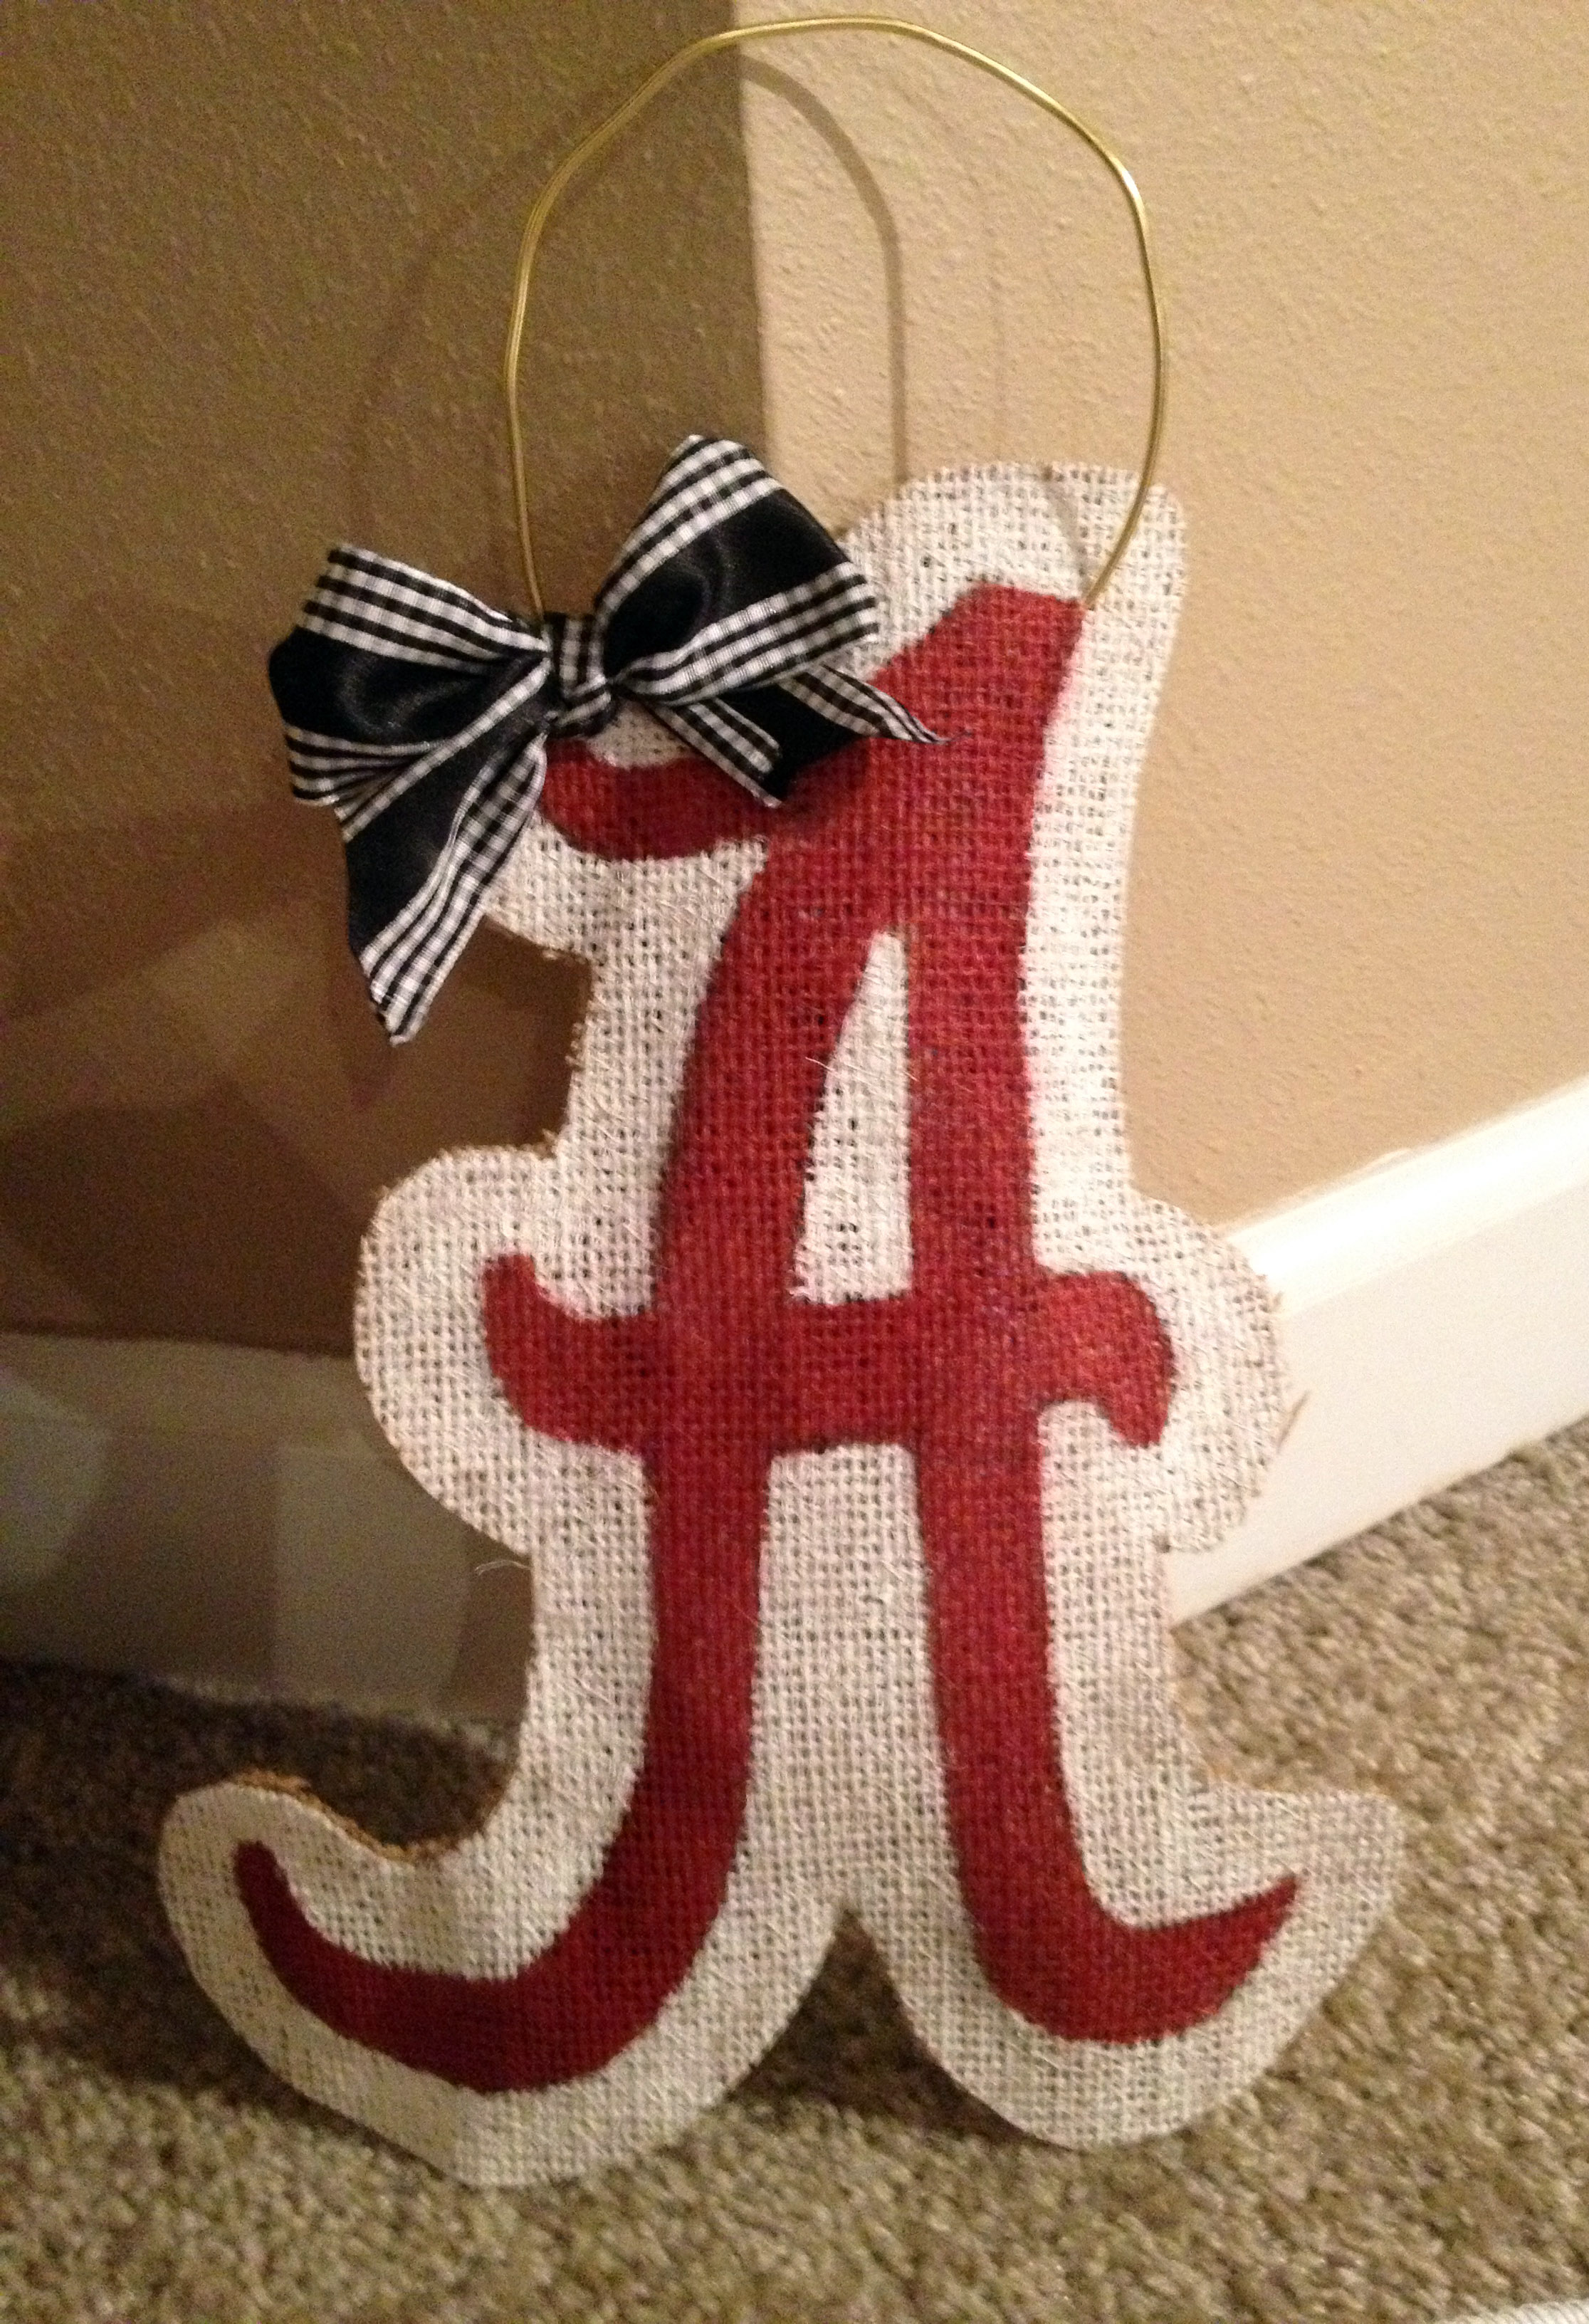
Then it’s ready to hang! Cheap/Easy project that just takes a little time! I already put my pumpkin burlap hanger out for Thanksgiving but then the Alabama “A” is going out for the Iron Bowl…ROLL TIDE!!!

