
Quick DIY Valentine Burlap Hanger
I’ve only had my wooden post we made since this summer so every season calls for a new burlap hanger. This time I needed a Valentine’s Day burlap hanger for the next few weeks. The wonderful thing about burlap hangers is they are cheap and easy to make. On the flip side, they can often take quite a bit of drying time when you paint them like I usually do (see some of my other burlap hangers here) and my time these days is limited. I had some leftover red burlap from the initial frame project so I decided to keep this one simple and just use that red burlap instead of painting.
*You’ll have to excuse the halloween tablecloth underneath in the pictures. I use that to protect the floors from hot glue, paint, etc. but it doesn’t make for pretty pictures!
This is how I made this simple Valentines Burlap Hanger:
Supplies Needed: Red Burlap, Tan Burlap, Hot Glue, Wire, Accent Ribbon – I already had all of the supplies around the house and purchased them all when they were on sale or with a coupon
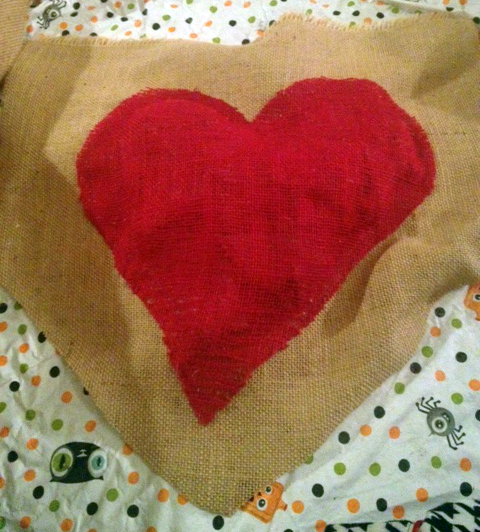
1. I traced a mixing bowl twice for the top part and used a ruler to make the bottom point for the heart shape and then cut out the heart in the red burlap.
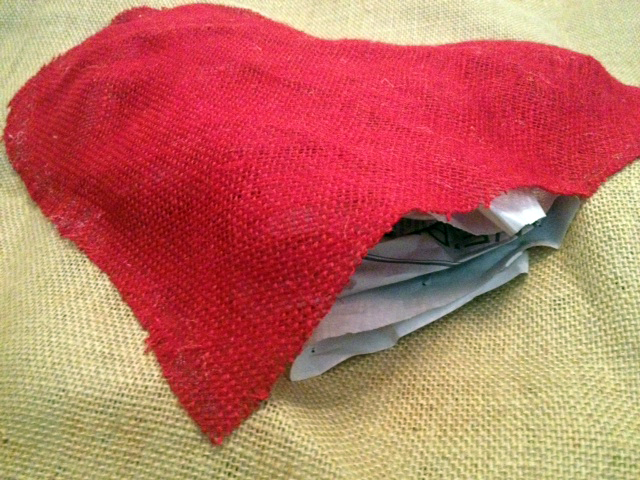
2. I placed the red burlap on top of the tan/original burlap I had and started gluing along the edges. Once I had glued enough to start making pouches I stuffed the heart with wadded up newspaper and kept gluing until completely sealed like a pillow. I made sure the newspaper was evenly stuffed throughout the heart. You can use grocery sacks to stuff them as well.
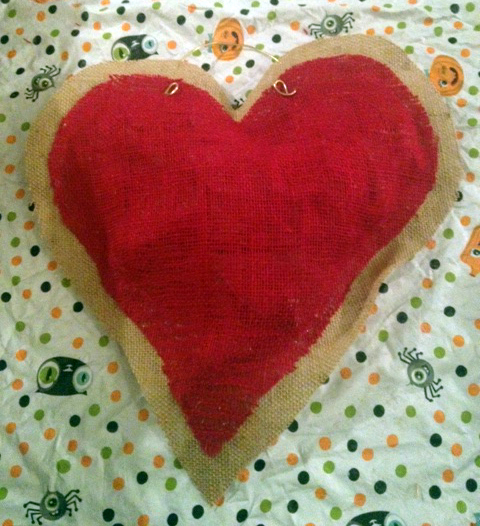
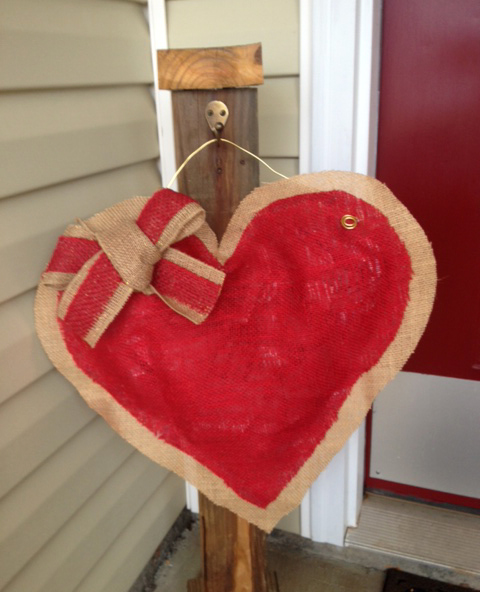
3. Then I cut the back piece into the heart shape leaving about an inch peeking out. I usually cut the back piece to not show but I liked the tan burlap peeking out on this one.

4. I took some gold wire and hooked it through the burlap and curled to make the hanger.
5. Then I just tied a piece of burlap and gold ribbon into a bow and added it on the hanger for accent. I made one for me and one for my mom so you can tell they are a little different.
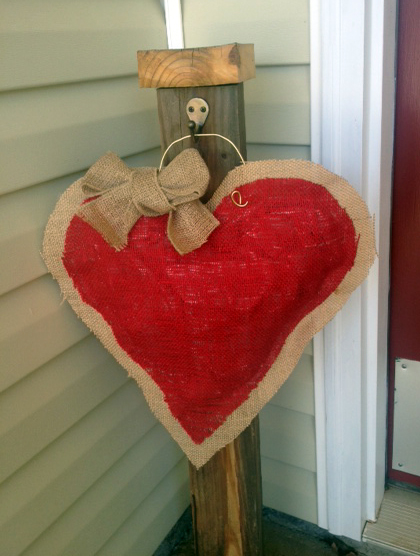
Because there was no paint involved with this one, this hanger only took me about 30 minutes and then was immediately hanging outside on the porch!