
DIY Beadboard Monogram Wall Art

Have you ever had a DIY project where every little thing just goes wrong? Well this project has been the worst that I can remember in a while! If one more thing had failed I would have just called it quits. Fortunately though, I stuck with it!
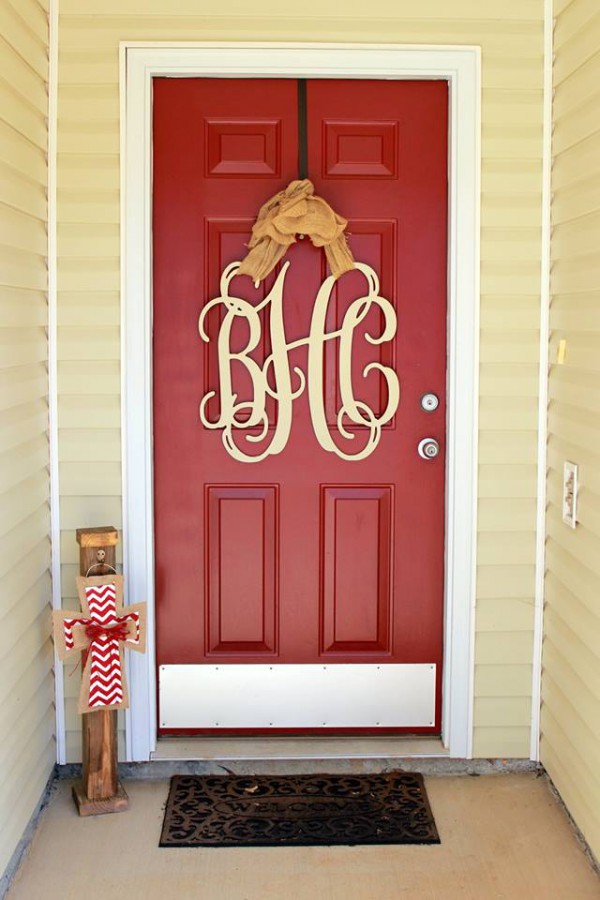
We got this monogram for a wedding gift and it was by far my favorite gift that was unexpected and not off the registry, gift cards or money! In our old house it hung on out front door but it just wasn’t going to work on our new door. You can find one similar HERE>> (affiliate link)
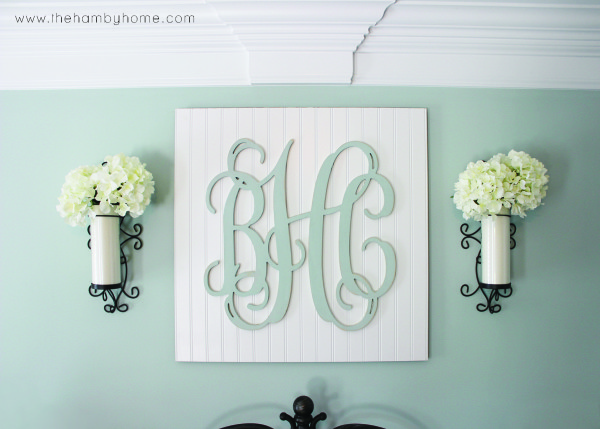
Several of you have asked, our monogram is 24 inches and the bead board background is 32 inches square.
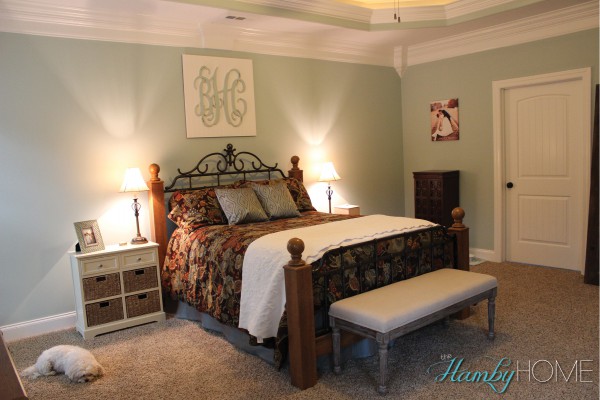
I decided it would be perfect to go above our bed since I didn’t have anything up there but I wanted something behind it to make it more of a statement piece and make it stand out more. Originally I was going to use some of the left over MDF board from my DIY craft desk. So I painted the MDF, painted the monogram with leftover paint from the master bedroom walls, distressed both the MDF and monogram, glued it and voila! One problem, MDF IS HEAVY!!!! When we went to hang it, the wire popped before even getting it up on the hook. So, back to square one.
I love bead board and knew it was thin and light so I decided I would try that instead. I went and got a sheet of bead board from Home Depot and had them cut it to the size I wanted. I got the sheet that was already white so that saved me the time of painting it.
Unfortunately now I had to get the monogram off the MDF used a wall scraper and a hammer. It took me at least 30 minutes to get it off safely to make sure the monogram didn’t snap. What a nightmare. I finally got it off, sanded off the glue and pieces of the MDF that had come off with the monogram and was back to work.
All I had to do was paint the edges of the bead board white where it had been cut and I just used a small paint brush and acrylic paint. It doesn’t have to be perfect, just something to cover up the brown edges. I glued the monogram to the bead board using wood glue. Here is a tip I learned from my first MDF nightmare, apply the glue with a paint brush instead of straight from the glue bottle, it prevents from having excess that can squeeze out from behind the monogram. Once it’s glued just put something heavy on it and let it dry overnight. I apologize for not taking pictures, it really is simple when you have the right kind of back: paint, glue, hang so there aren’t many pictures needed.
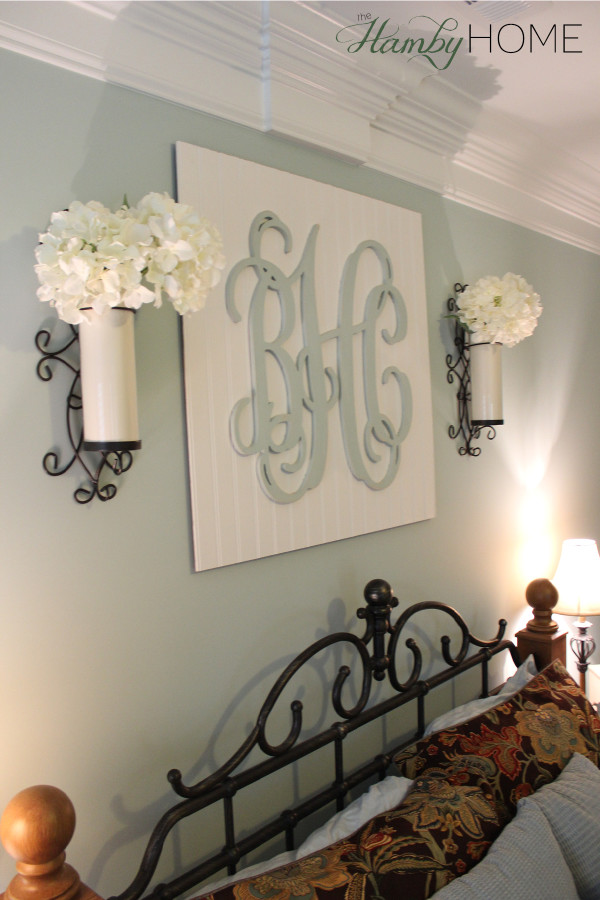
My husband has one per week limit on wall hanging because he really hates doing it so I called in my engineer sister to help me! I love my husband but I often joke that too much wall hanging may lead to divorce…so when necessary, bring in outside help! We added two little D-ring hangers but because bead board is so thin, we had to add them to the back where they screwed into the monogram. The great thing about doing that is it also reinforces the monogram to the bead board with the screws as well as the glue.
I loved how it turned out. I didn’t think of this originally but the bead board worked perfectly because our interior doors have bead board accents. This project should be pretty simple if you learn from my mistakes! Use light backing, apply glue with a paint brush and you should have a beautiful monogram wall art in no time
You can order a similar wooden monogram HERE>> (affiliate link)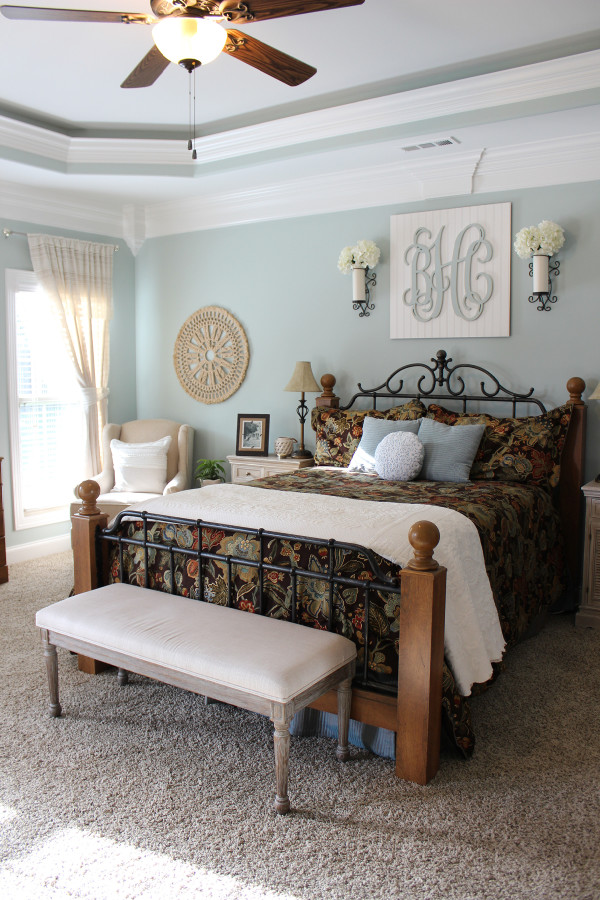
Follow me on Instagram | Facebook | Bloglovin to never miss a post!