
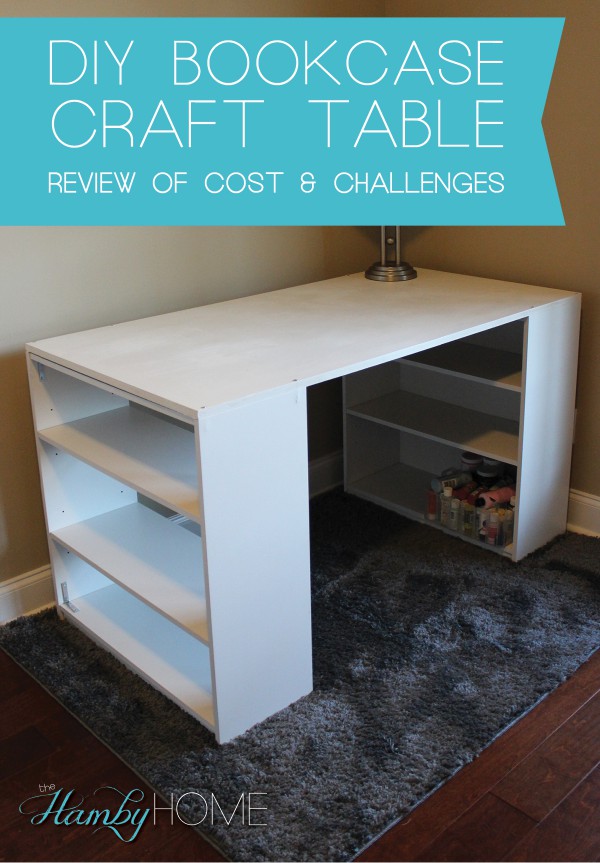
DIY Bookcase Craft Table – Review of Cost and Challenges
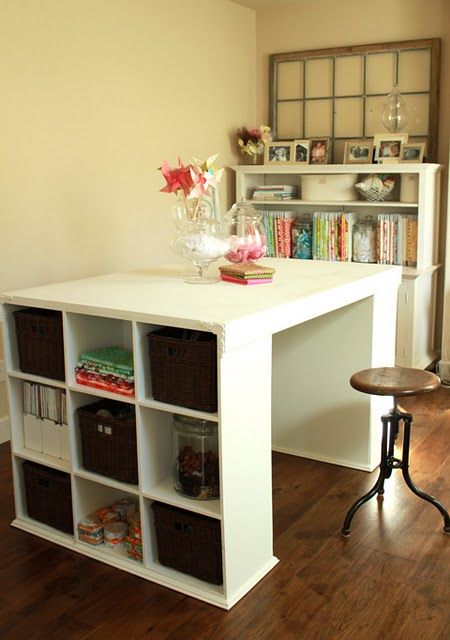
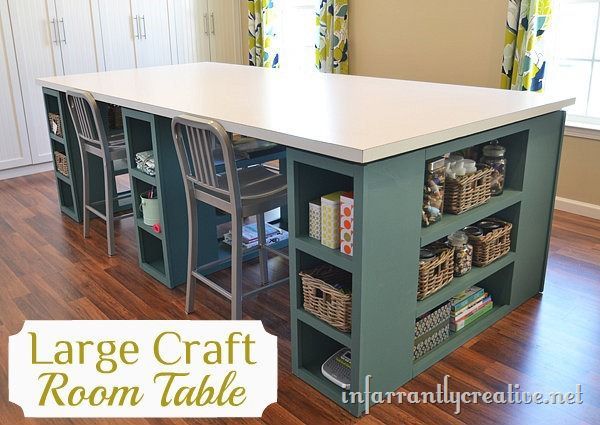
 I’m sure you have all seen those beautiful “DIY” craft tables floating around pinterest like I have. Seriously, some of these craft rooms are of dreams!!
When we built our house I knew I wanted a craft table/area in our office and had these in mind. They’re cost effective, provide storage space and customizable to the size you need, does it get any better? I read some tutorials and thought wow, this should be super easy!
The purpose of this blog really isn’t to tell you how I made it because there are tons of tutorials out there that are much better than what I can offer you and the desks look much better than mine. However, what I wanted to share with you was a review of the price and some of the challenges we ran in to. And just so you all know, woodworking is not a skill of mine or my husbands and I feel like some of the tutorials are hard to gauge on how easy or hard they are for an average non-woodworking experienced person.
Here is what I used:
- 2 Book Shelves – I bought the cheapest 3-shelf bookcases from Walmart for about $19/each
- MDF board from Lowes – I chose MDF because it has a really smooth surface unlike wood that might need sanding. Another benefit is it’s super heavy and strong for your table top. The board was about $34 (much more than the wooden top would have been) and I had them cut it to the exact size I needed and had lots of the board left for future projects (wall art, outdoor signs, garage shelves, etc. – I will find something to make with leftover MDF to help make the cost worth it)
- White Semi-Gloss Paint – $16-ish – I bought a gallon because I have two bookcases I plan to paint this spring and knew I would want to use the same paint.
- Screws or Nails
- Optional: Angled Brackets – $3 for a pack
So if I’m considering just the portion of the MDF and part of the paint that were used, I would say that this desk cost me about $60 total except obviously I spent more than that to get the supplies.
You could make it cheaper with a regular wooden top and you may already have paint at home, we left all of our paint cans at the old house so we’re starting over on our supply! J
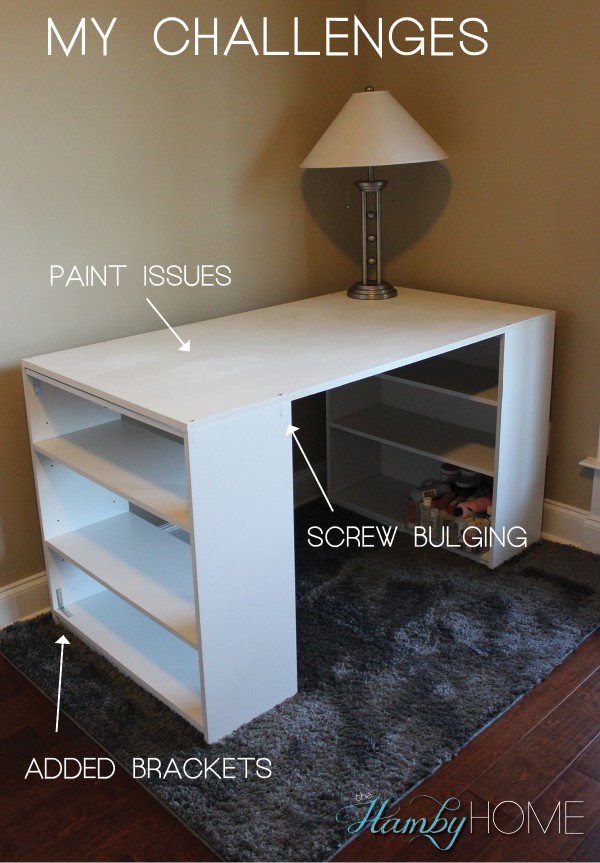
Challenge #1: I painted the table top outside in the cold and windy weather which didn’t leave me with the best paint job. I finally just decided it was good enough for now considering it may get paint and glue and whatever else on it at some point…although hopefully not, my ocd can’t handle that! I figure I can always go ahead and paint it again later just inside the house.
Challenge #2: My book shelves are not very thick so drilling a large screw into that small area ended up being a little challenging and in a couple areas you can see the screw bulging out a little. I plan to put another wooden piece on the front later to give it a more finished look so I don’t really care, but just so you are aware.
Challenge #3: I decided to take the cardboard backs off one of the book cases so I would be able to access the supplies from either direction. Although it was a thin cardboard piece, apparently it did provide some structural purpose. Removing it actually weakened the book case and then required us to add some extra supports to try to strengthen the sturdiness of that book case. So just keep that in mind if you want to have the shelves open on both sides. You may either want to splurge on some nicer book cases or make sure you get some brackets to help strengthen to bookcase.
So overall, I LOVE my craft desk. I have lots of working space and it fits in this little nook of our office perfectly and I’m excited to have all of those shelves to store my supplies. This project didn’t end up being as cheap as I would have hoped although it’s still probably cheaper than buying a new particle board desk elsewhere. So do I regret doing it, no way!!! It isn’t perfect but DIY’s often aren’t perfect and we still saved money! The only thing I can think of that might would have been a better option is finding a used desk that had a flat top and drawers or storage built in and painting it but honestly, I just really like the look of this desk! I hope this helps if you were debating making a bookcase desk of your own!
Now I can’t wait to get all my craft supplies organized and things on the wall! I also need to work on the lighting in that room because right now it’s pretty terrible at night.