
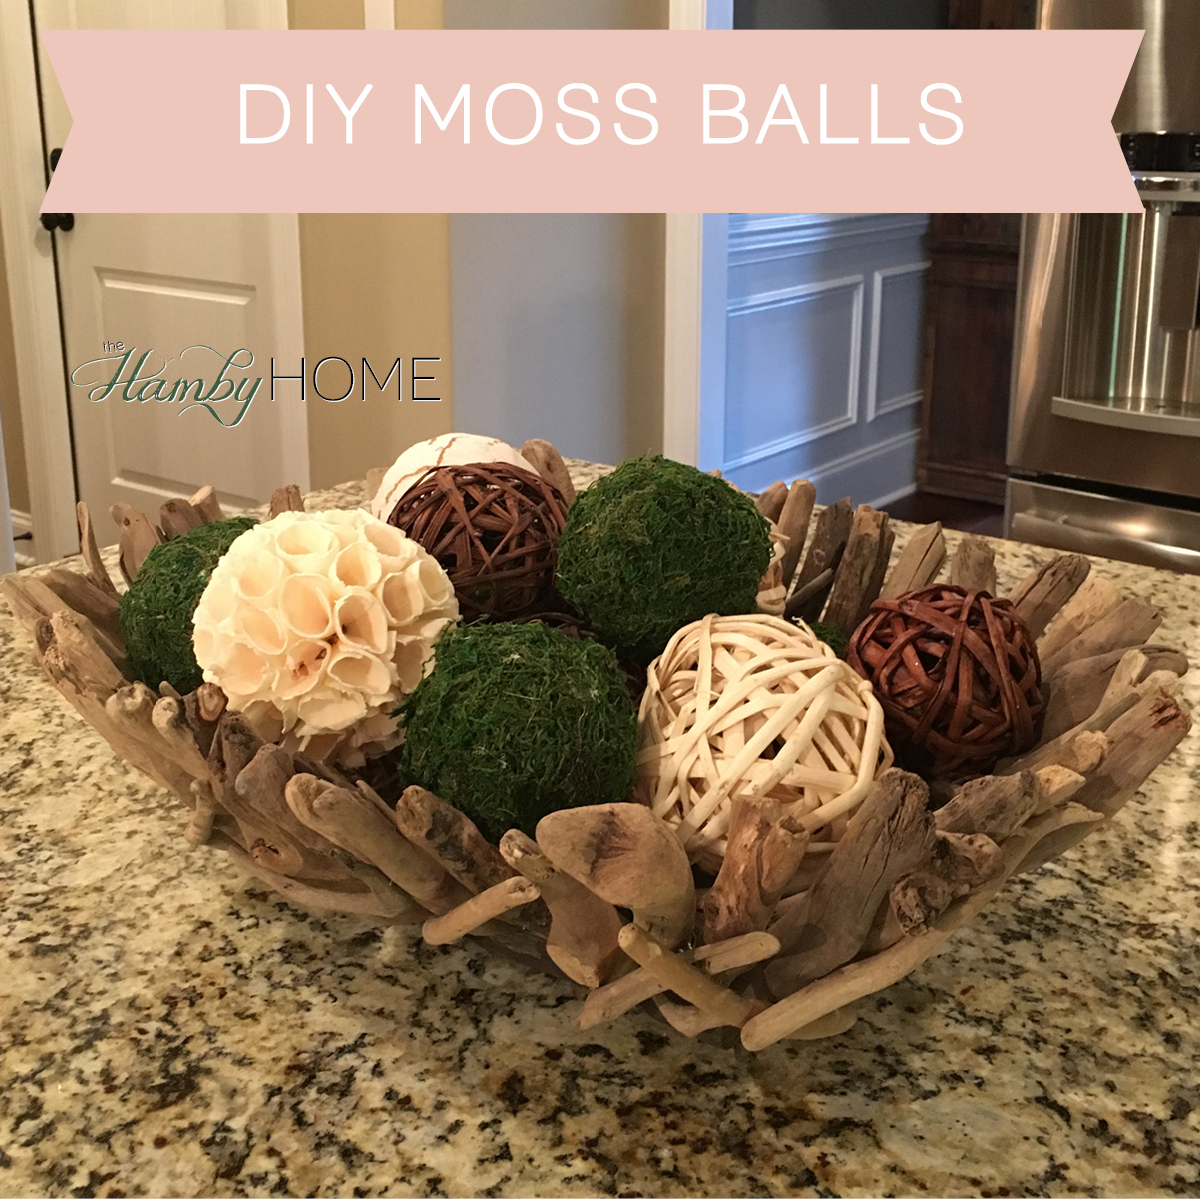
DIY Moss Balls
For our wedding favors, me, my family and friends and anyone I could beg to help all made DIY Pearl Ornaments that you can read about here. I bought a large box of styrofoam balls for the ornaments and still have tons of them left 3+ years later. After we moved and uncovered the box, I started brainstorming DIY projects that I could make to utilize those balls. I love using moss items in my house, they’re the perfect natural accent, so I decided to attempt to make some DIY moss balls to use for decor. One great thing about this project was that I had everything on hand so there was no cost out of pocket, SCORE!!
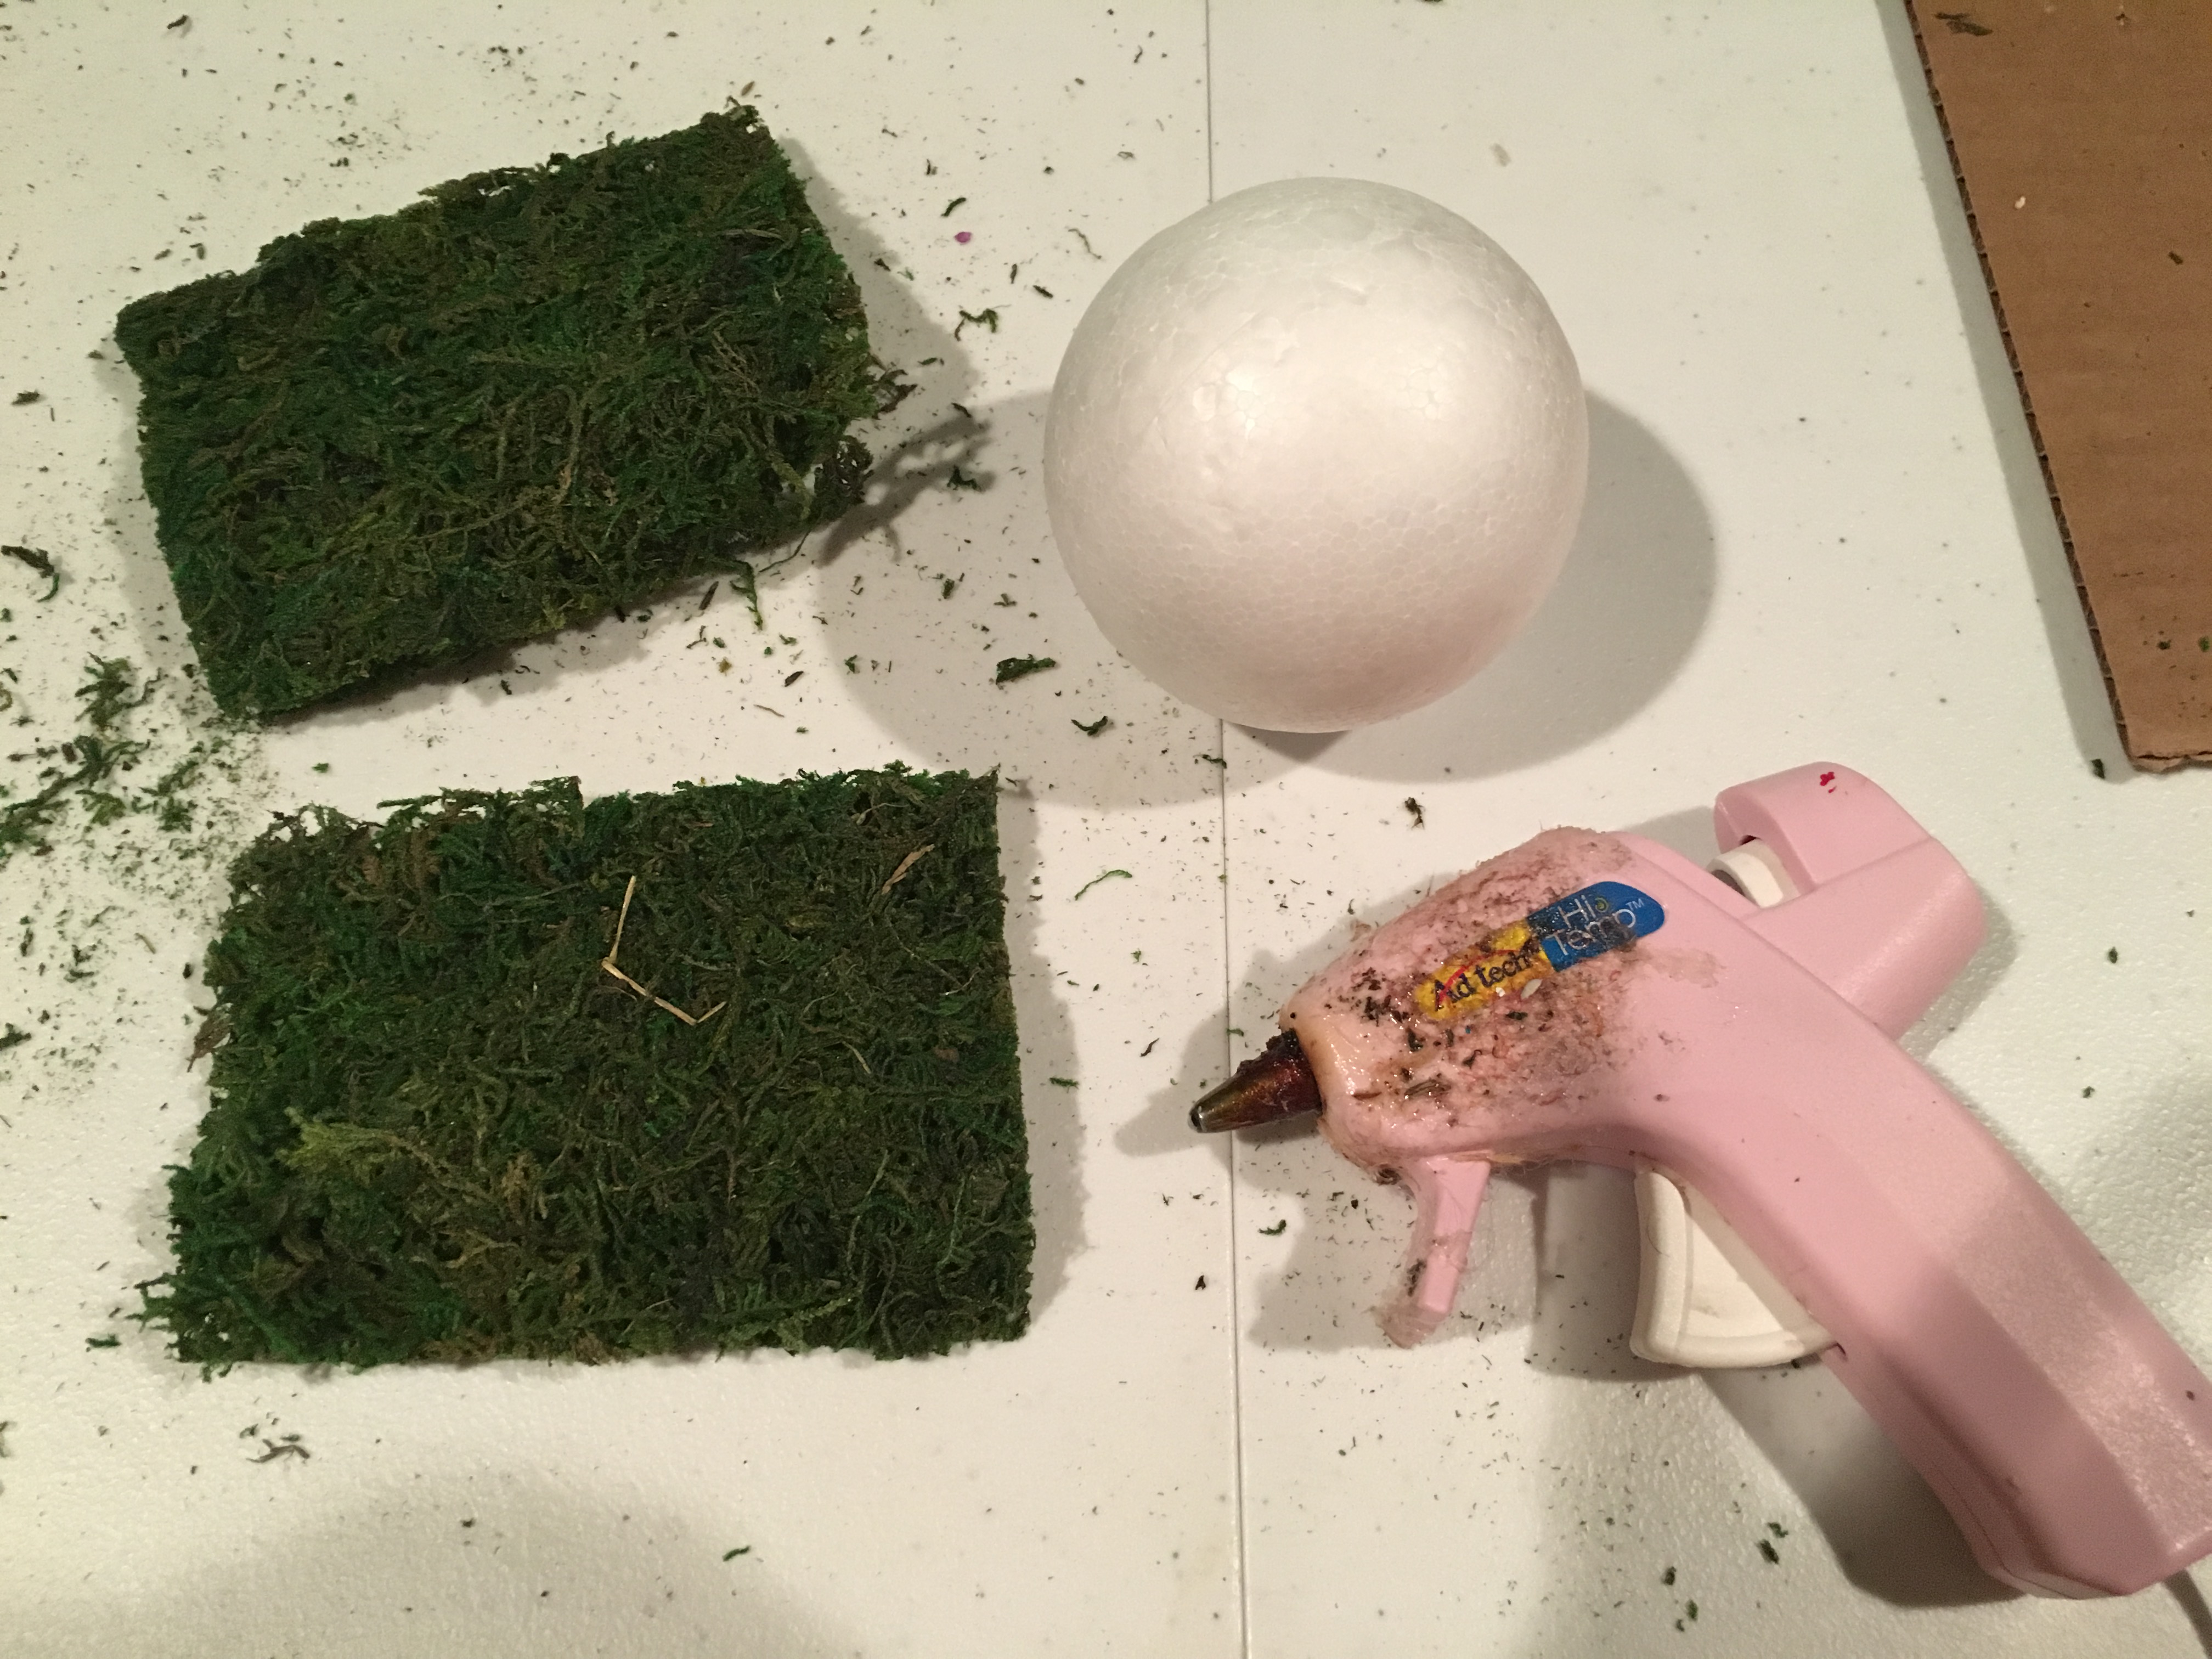
Supplies:
- Moss Sheets – I used a moss “tablerunner”
- Styrofoam Balls
- Hot Glue
Here is how to make them:
Step 1: Cut the Moss Sheet into two squares larger than the diameter of the ball, there is no magic or measurement to how large I cut them.
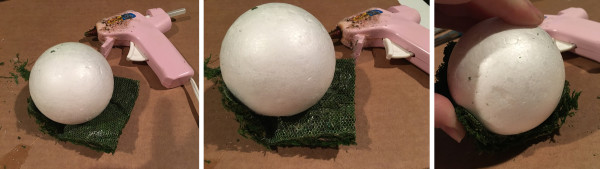
Step 2: Cover the back of the sheet with hot glue and lay the ball in the middle and roll it around to each side where the moss adheres to all sides of the ball.
Step 3: Repeat Step 2 and cover the opposite side of the ball. I tried to stagger the corners on the ball (see picture below).
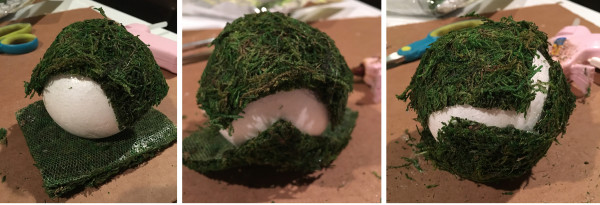
Step 4: Cut extra strips to fill in the negative space. It doesn’t have to be perfect, the moss is imperfect and is forgiving.
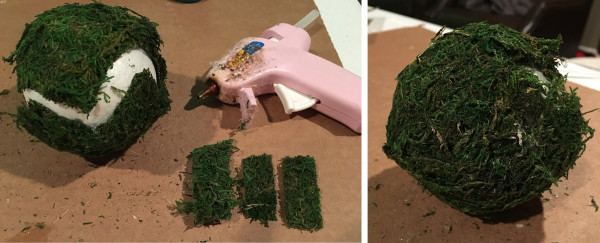
Step 5: If you see any styrofoam showing through or any strange spots just take some of the moss that has fallen off the sheets (it will happen – this stuff is messy) and hot glue those spots.
Tip: Use a paint stirrer to help press down on the moss to the ball to keep from burning your fingertips.
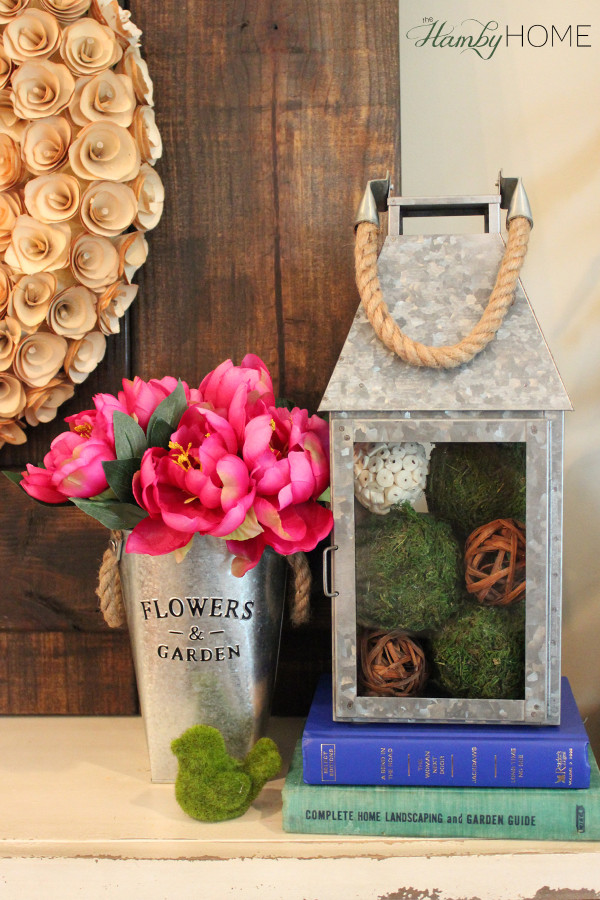
That’s it! You can buy moss balls at several stores but you can DIY many more of them for the same price, especially if you already have some of the supplies at home! I’ve used these in lanterns, bowls, etc.
Follow me on Instagram | Facebook | Bloglovin to never miss a post!