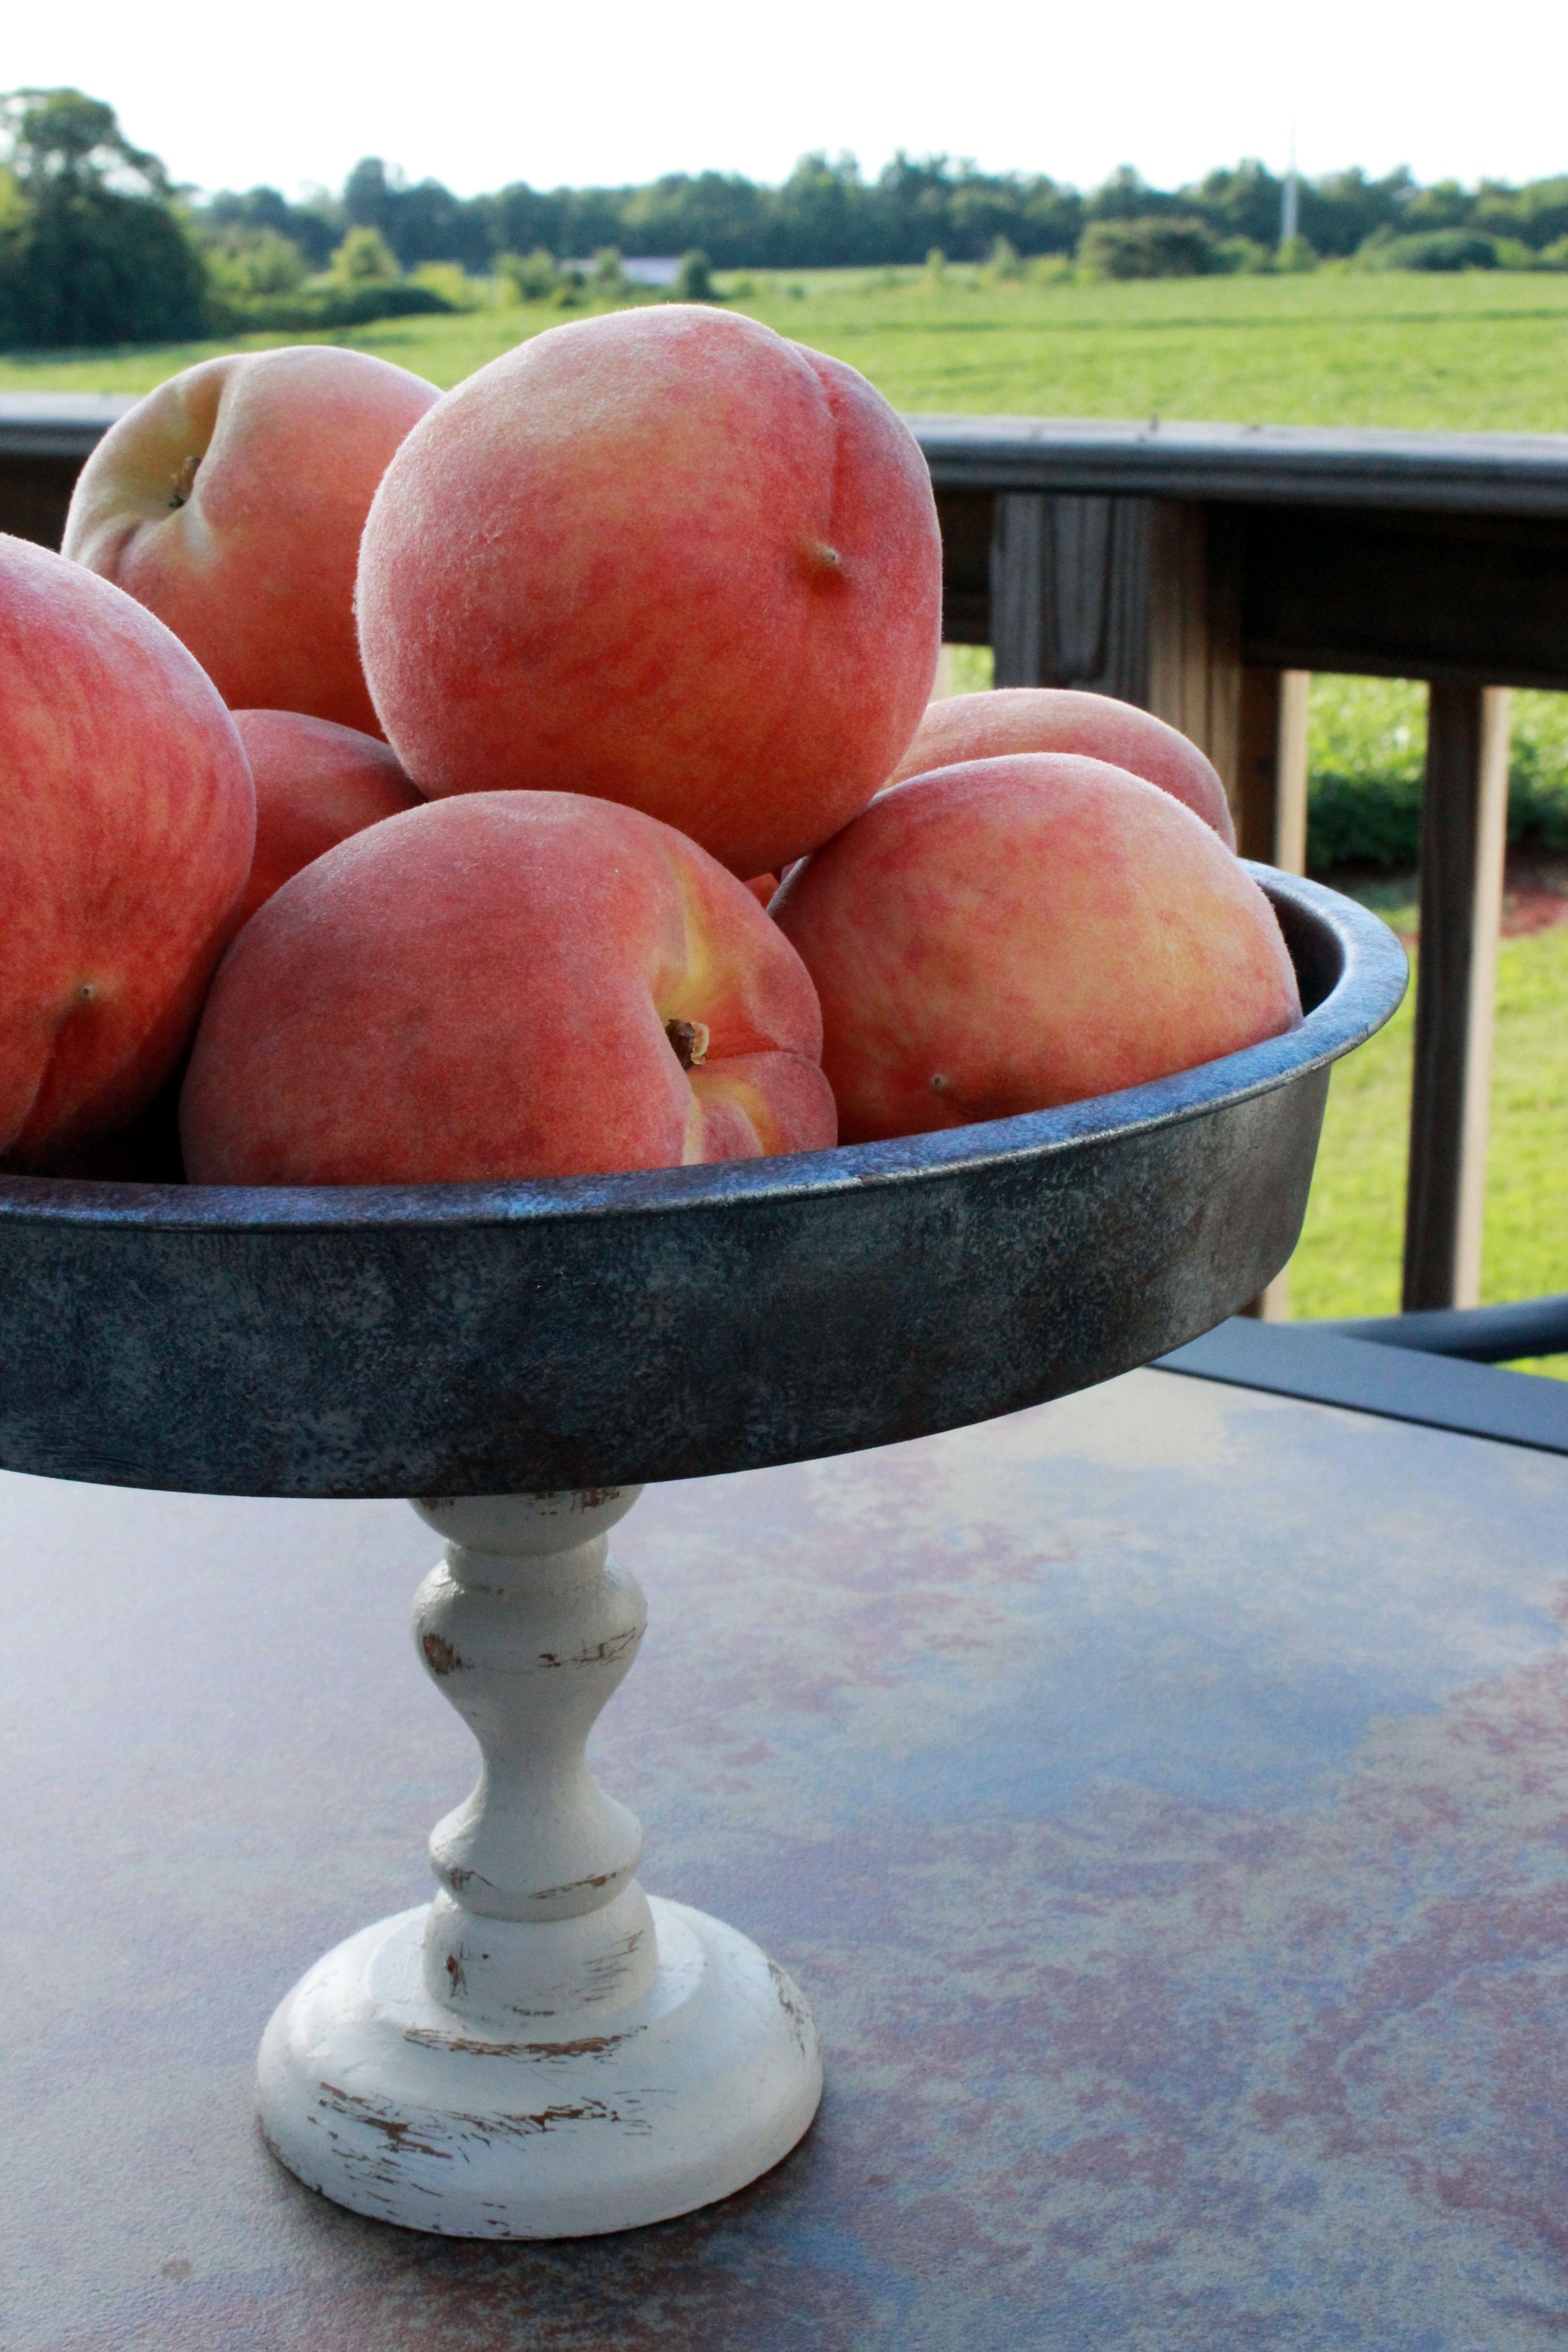
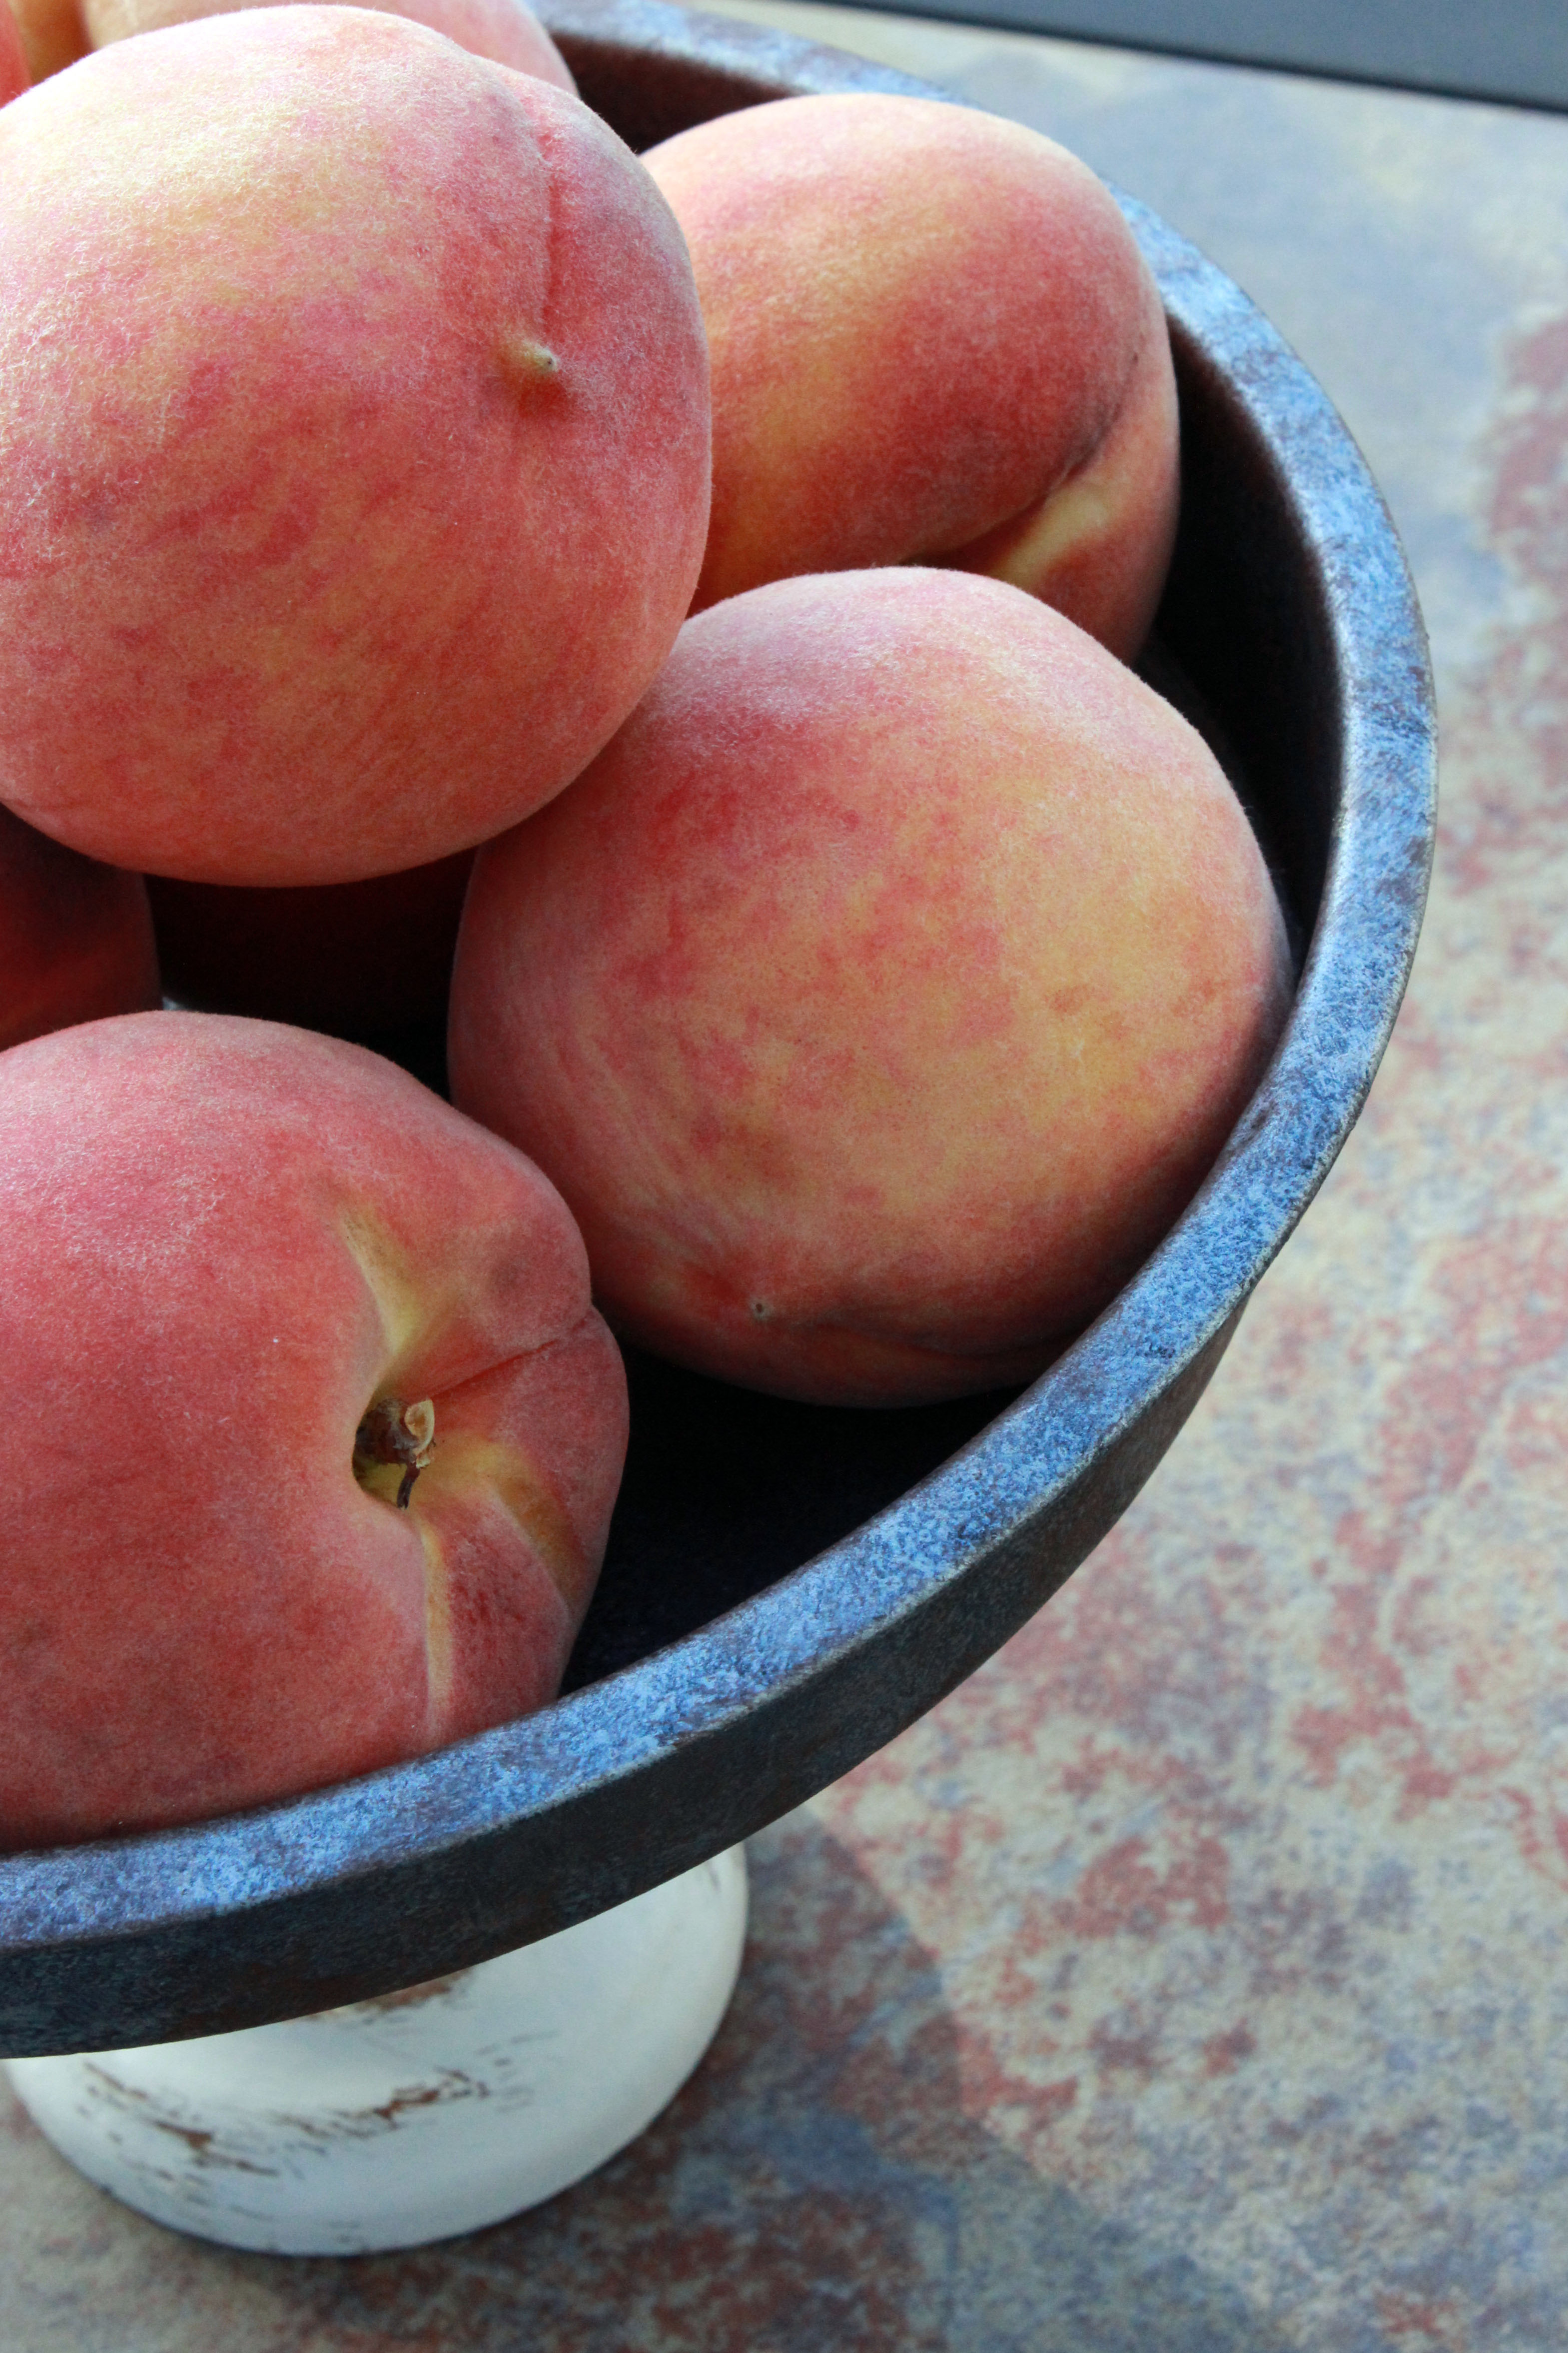
DIY Galvanized Platter Tutorial
I did a post yesterday on how to achieve the rustic galvanized look with paint. You can refresh your memory here.
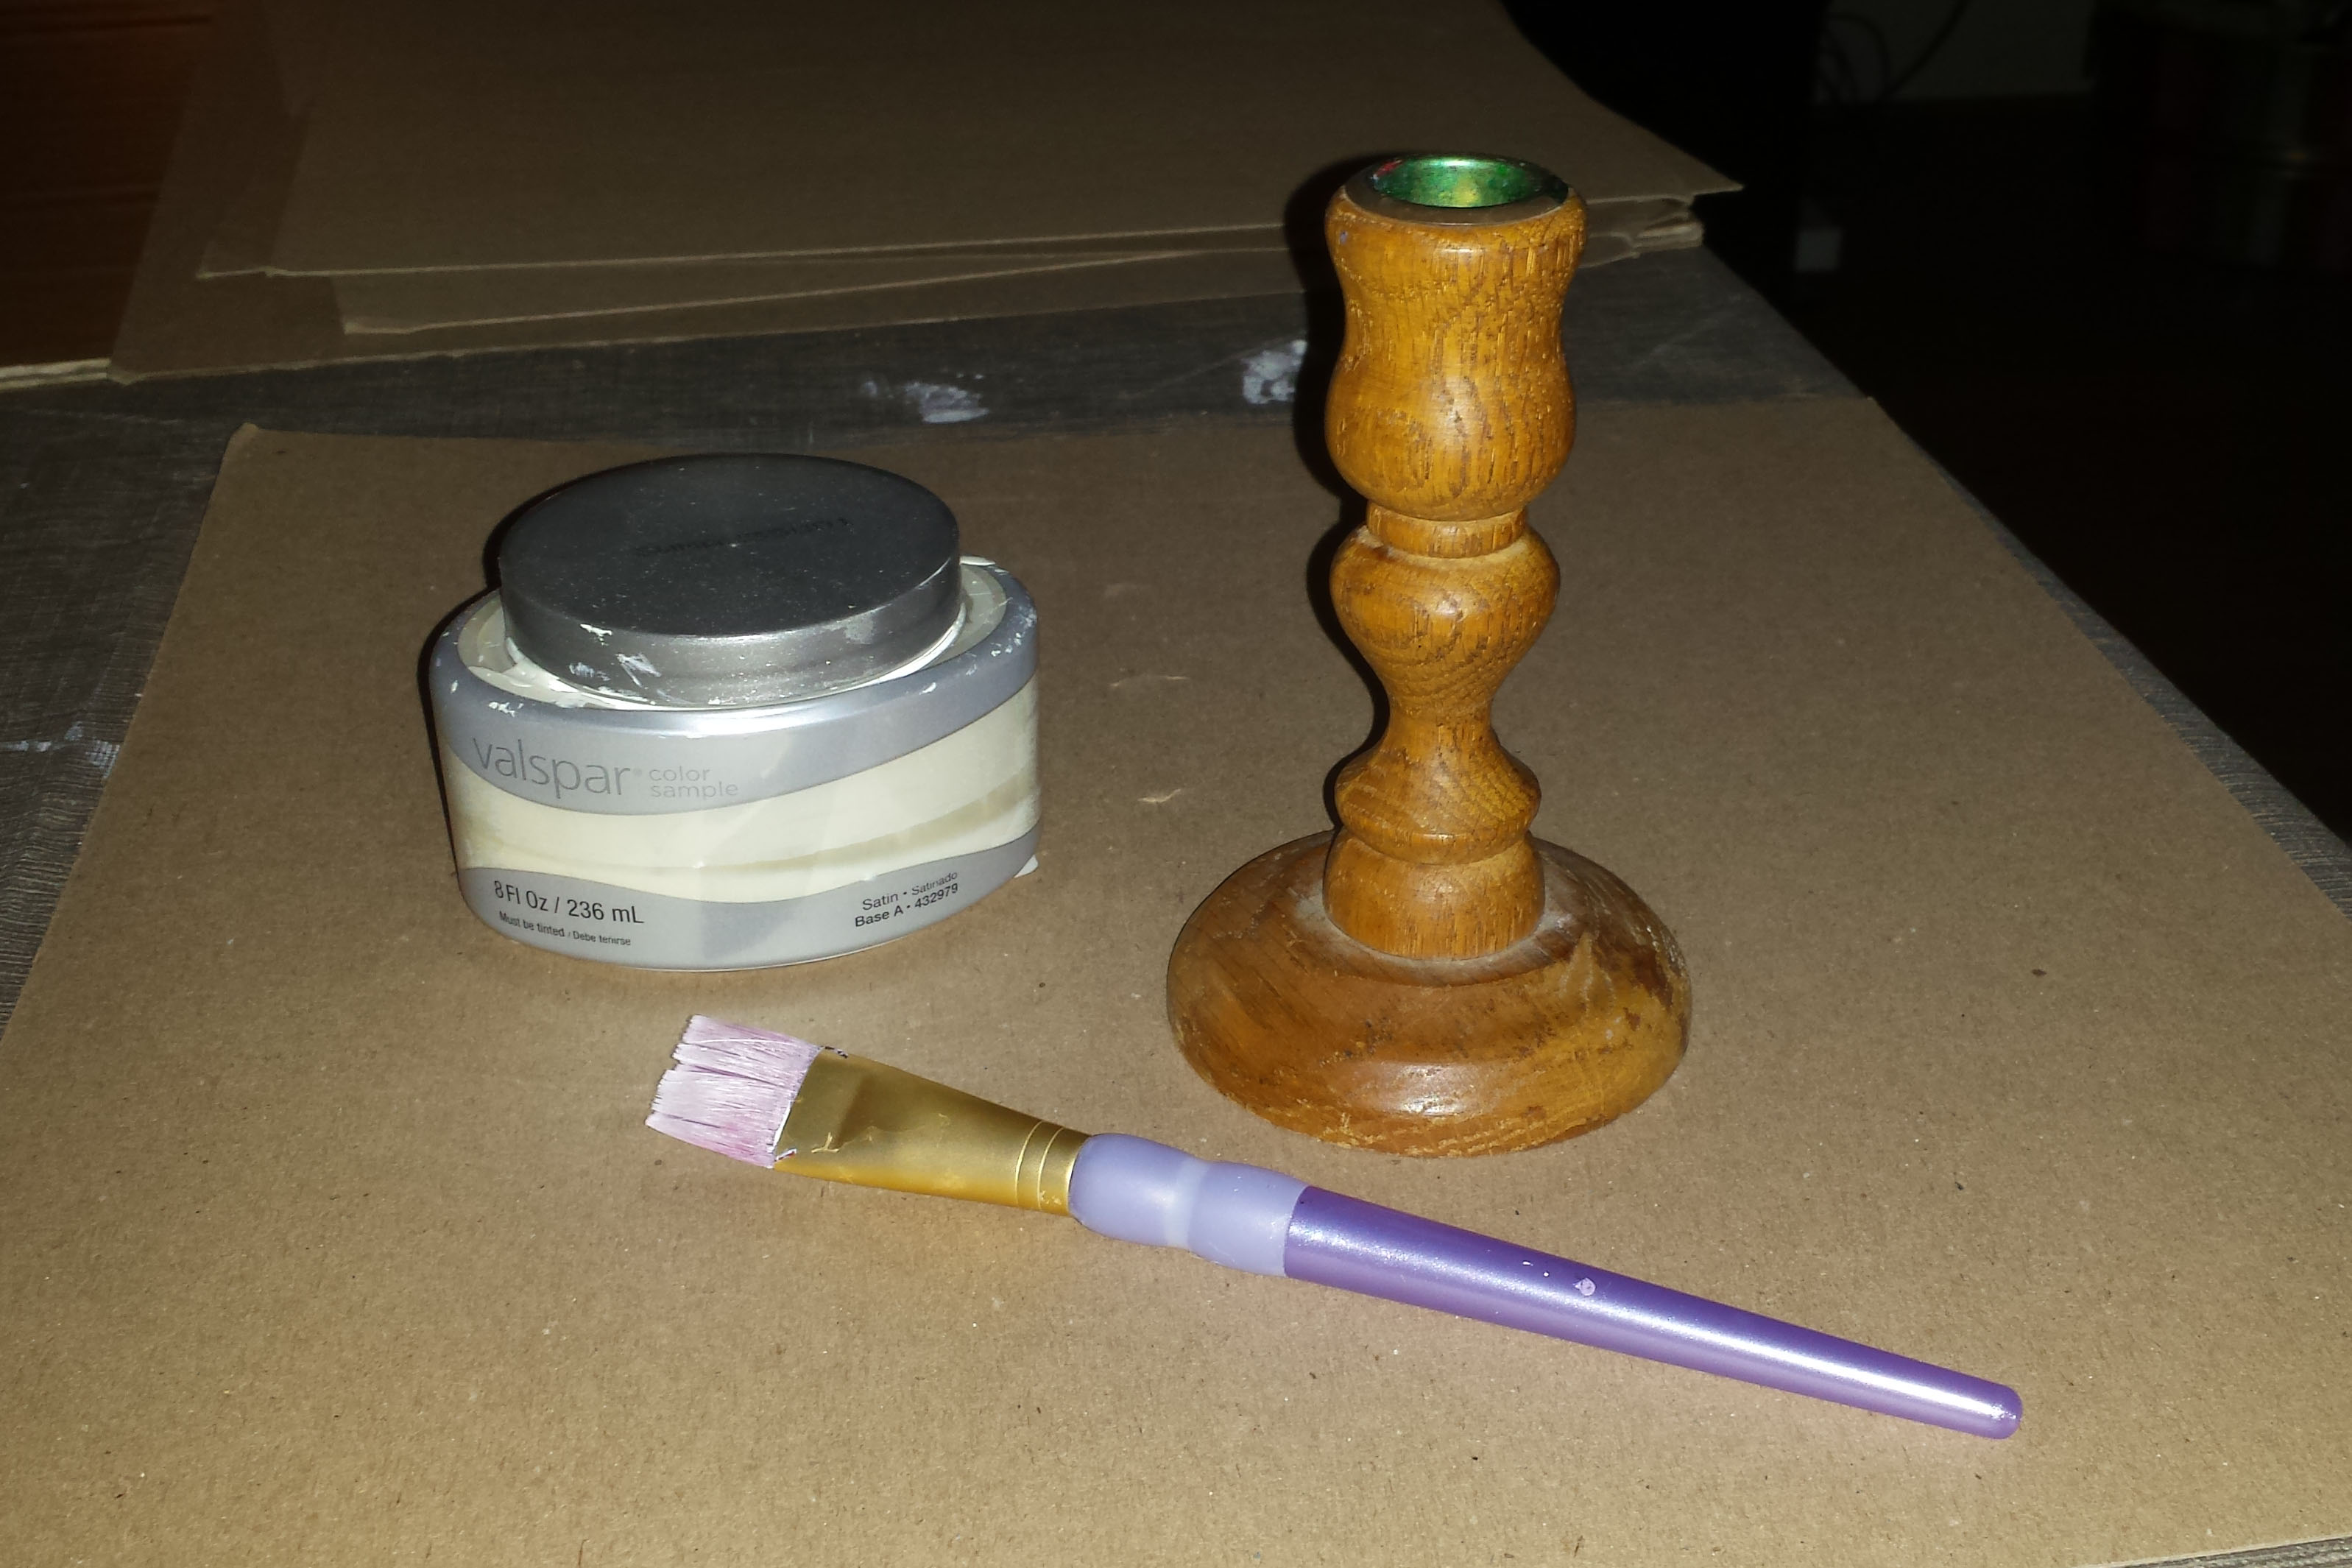
Today I’m going to complete the DIY Galvanized platter tutorial. Once you have your galvanized plate completed, all that you need is a candle stick (preferably wooden – I got this one at the thrift store for $1), paint, paint brush and sandpaper.
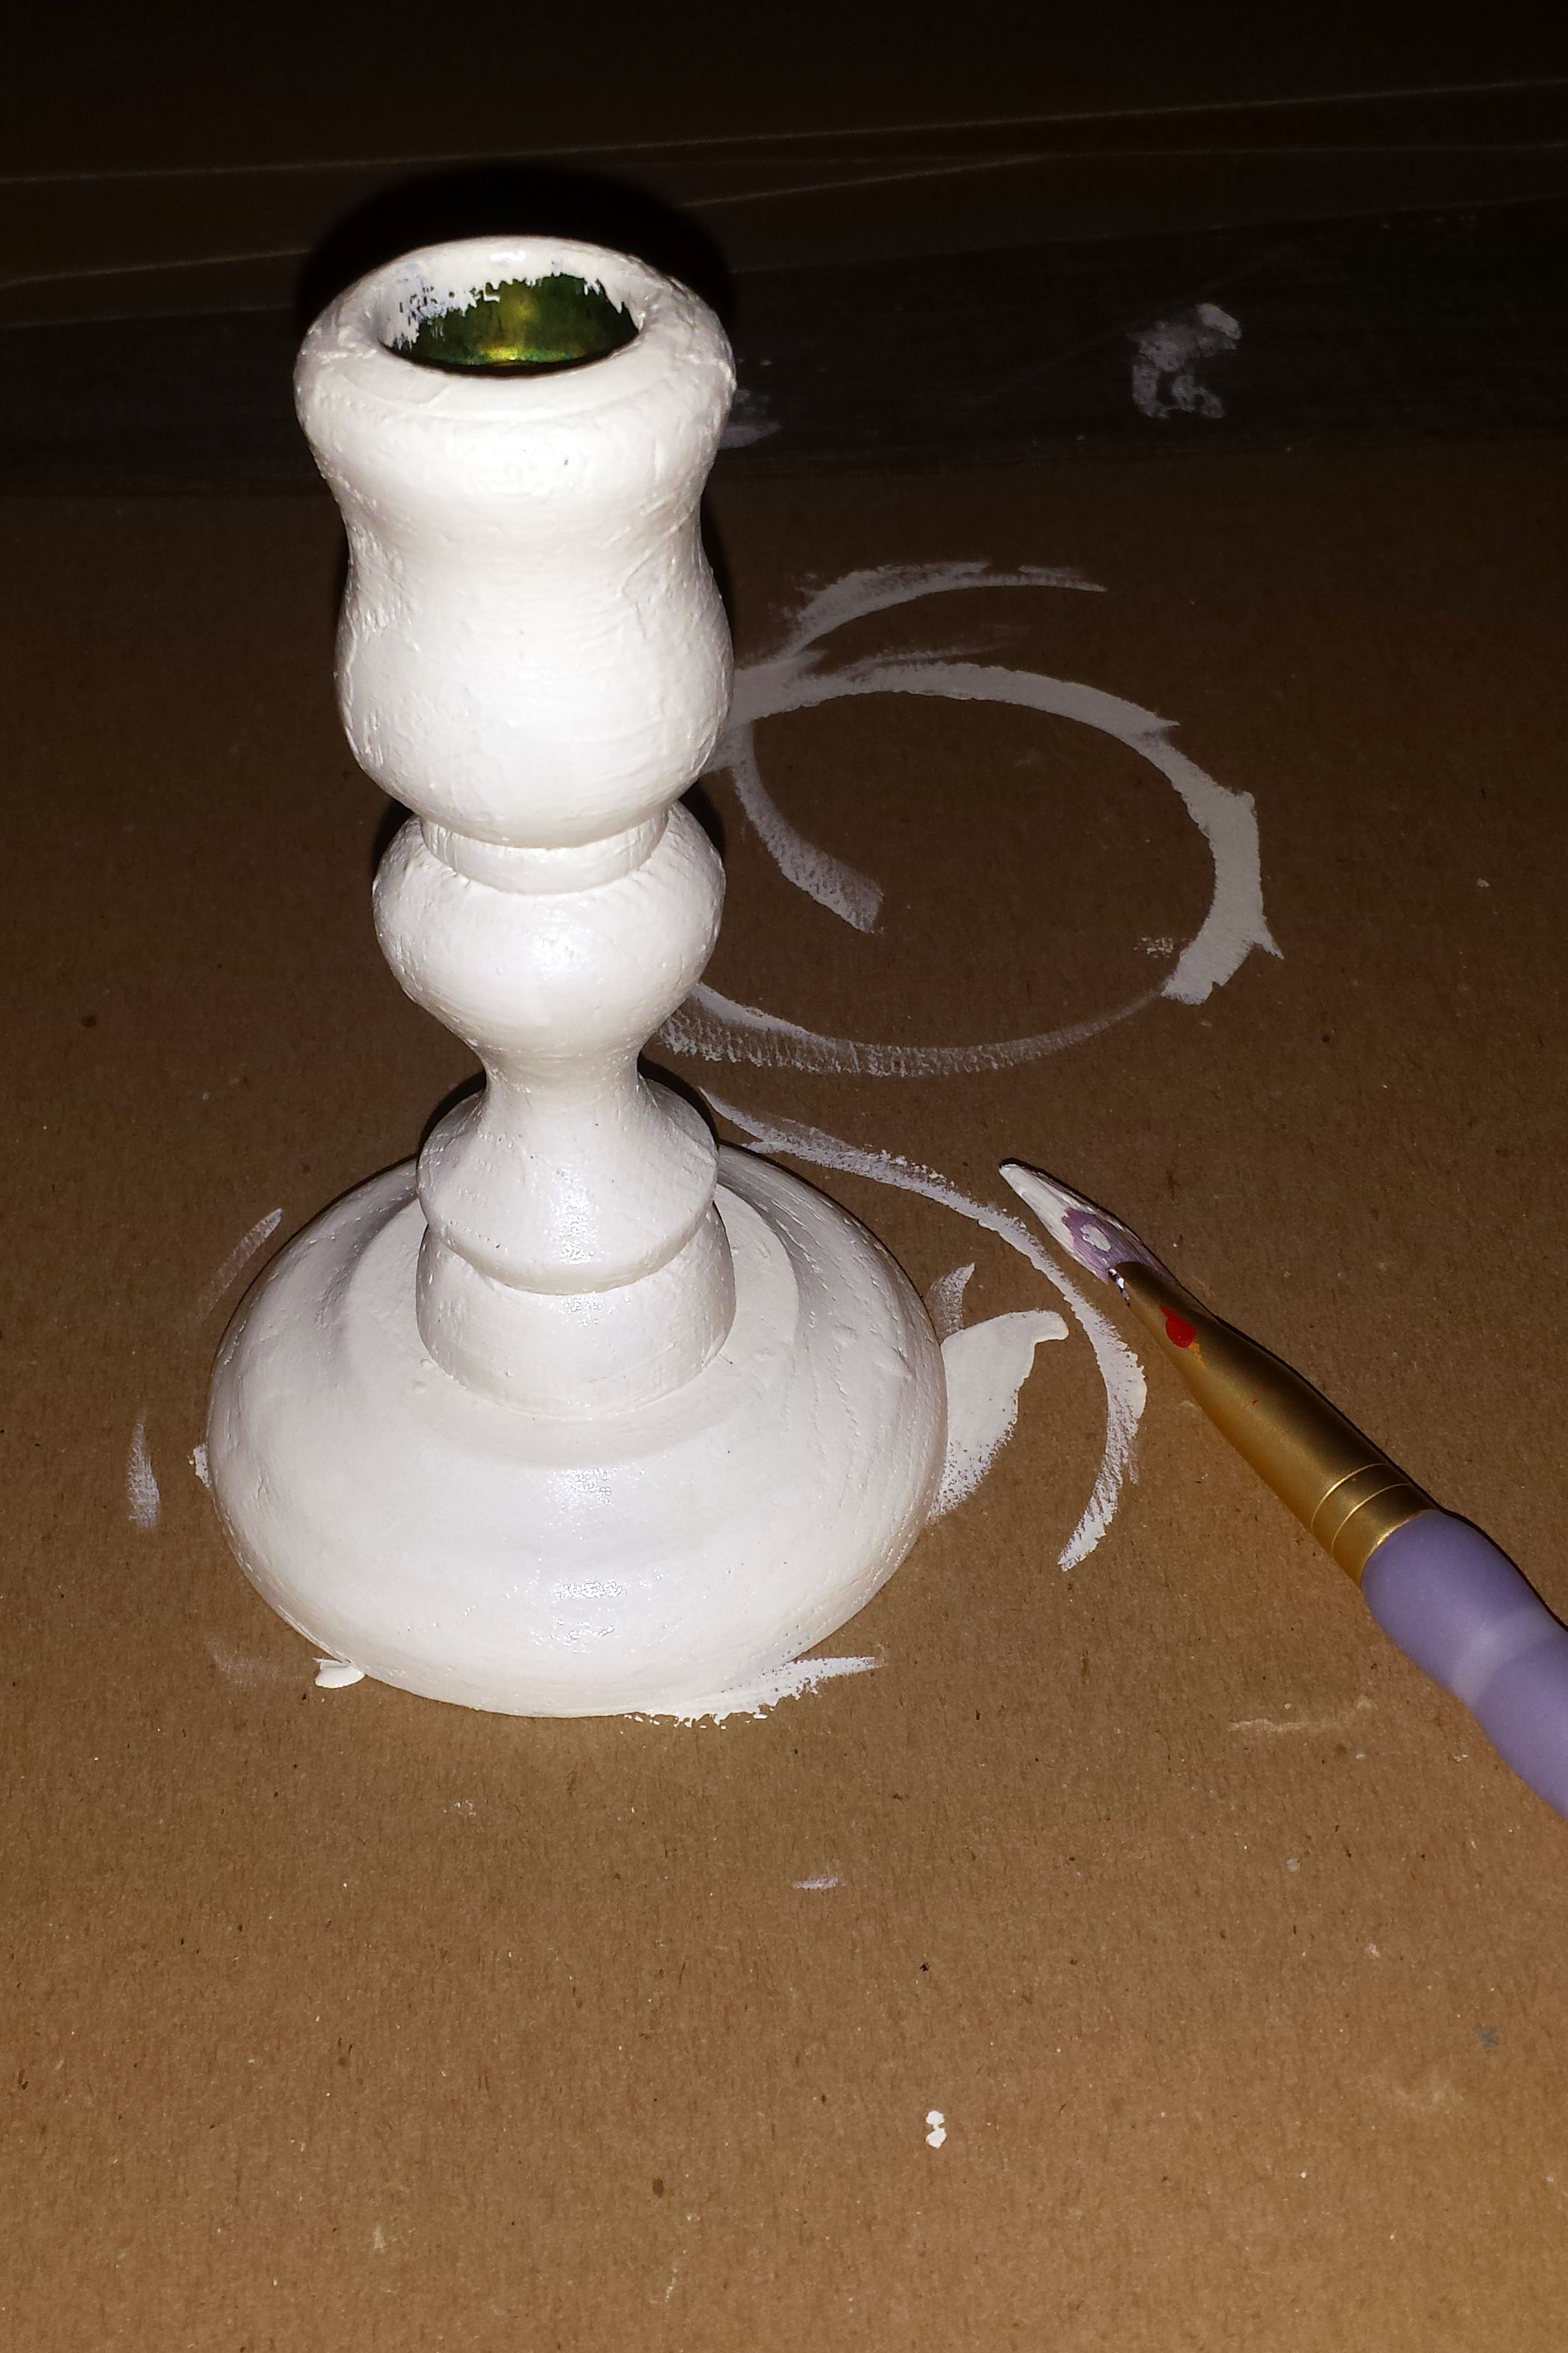
For the base of the platter, I just used some off white paint that I had around the house. There is no need to buy paint if you have something that will work already. This is a small can of wall paint from Lowes and it will work perfectly for this. All I did was paint the candle stick with two to three coats of the paint to get full coverage.
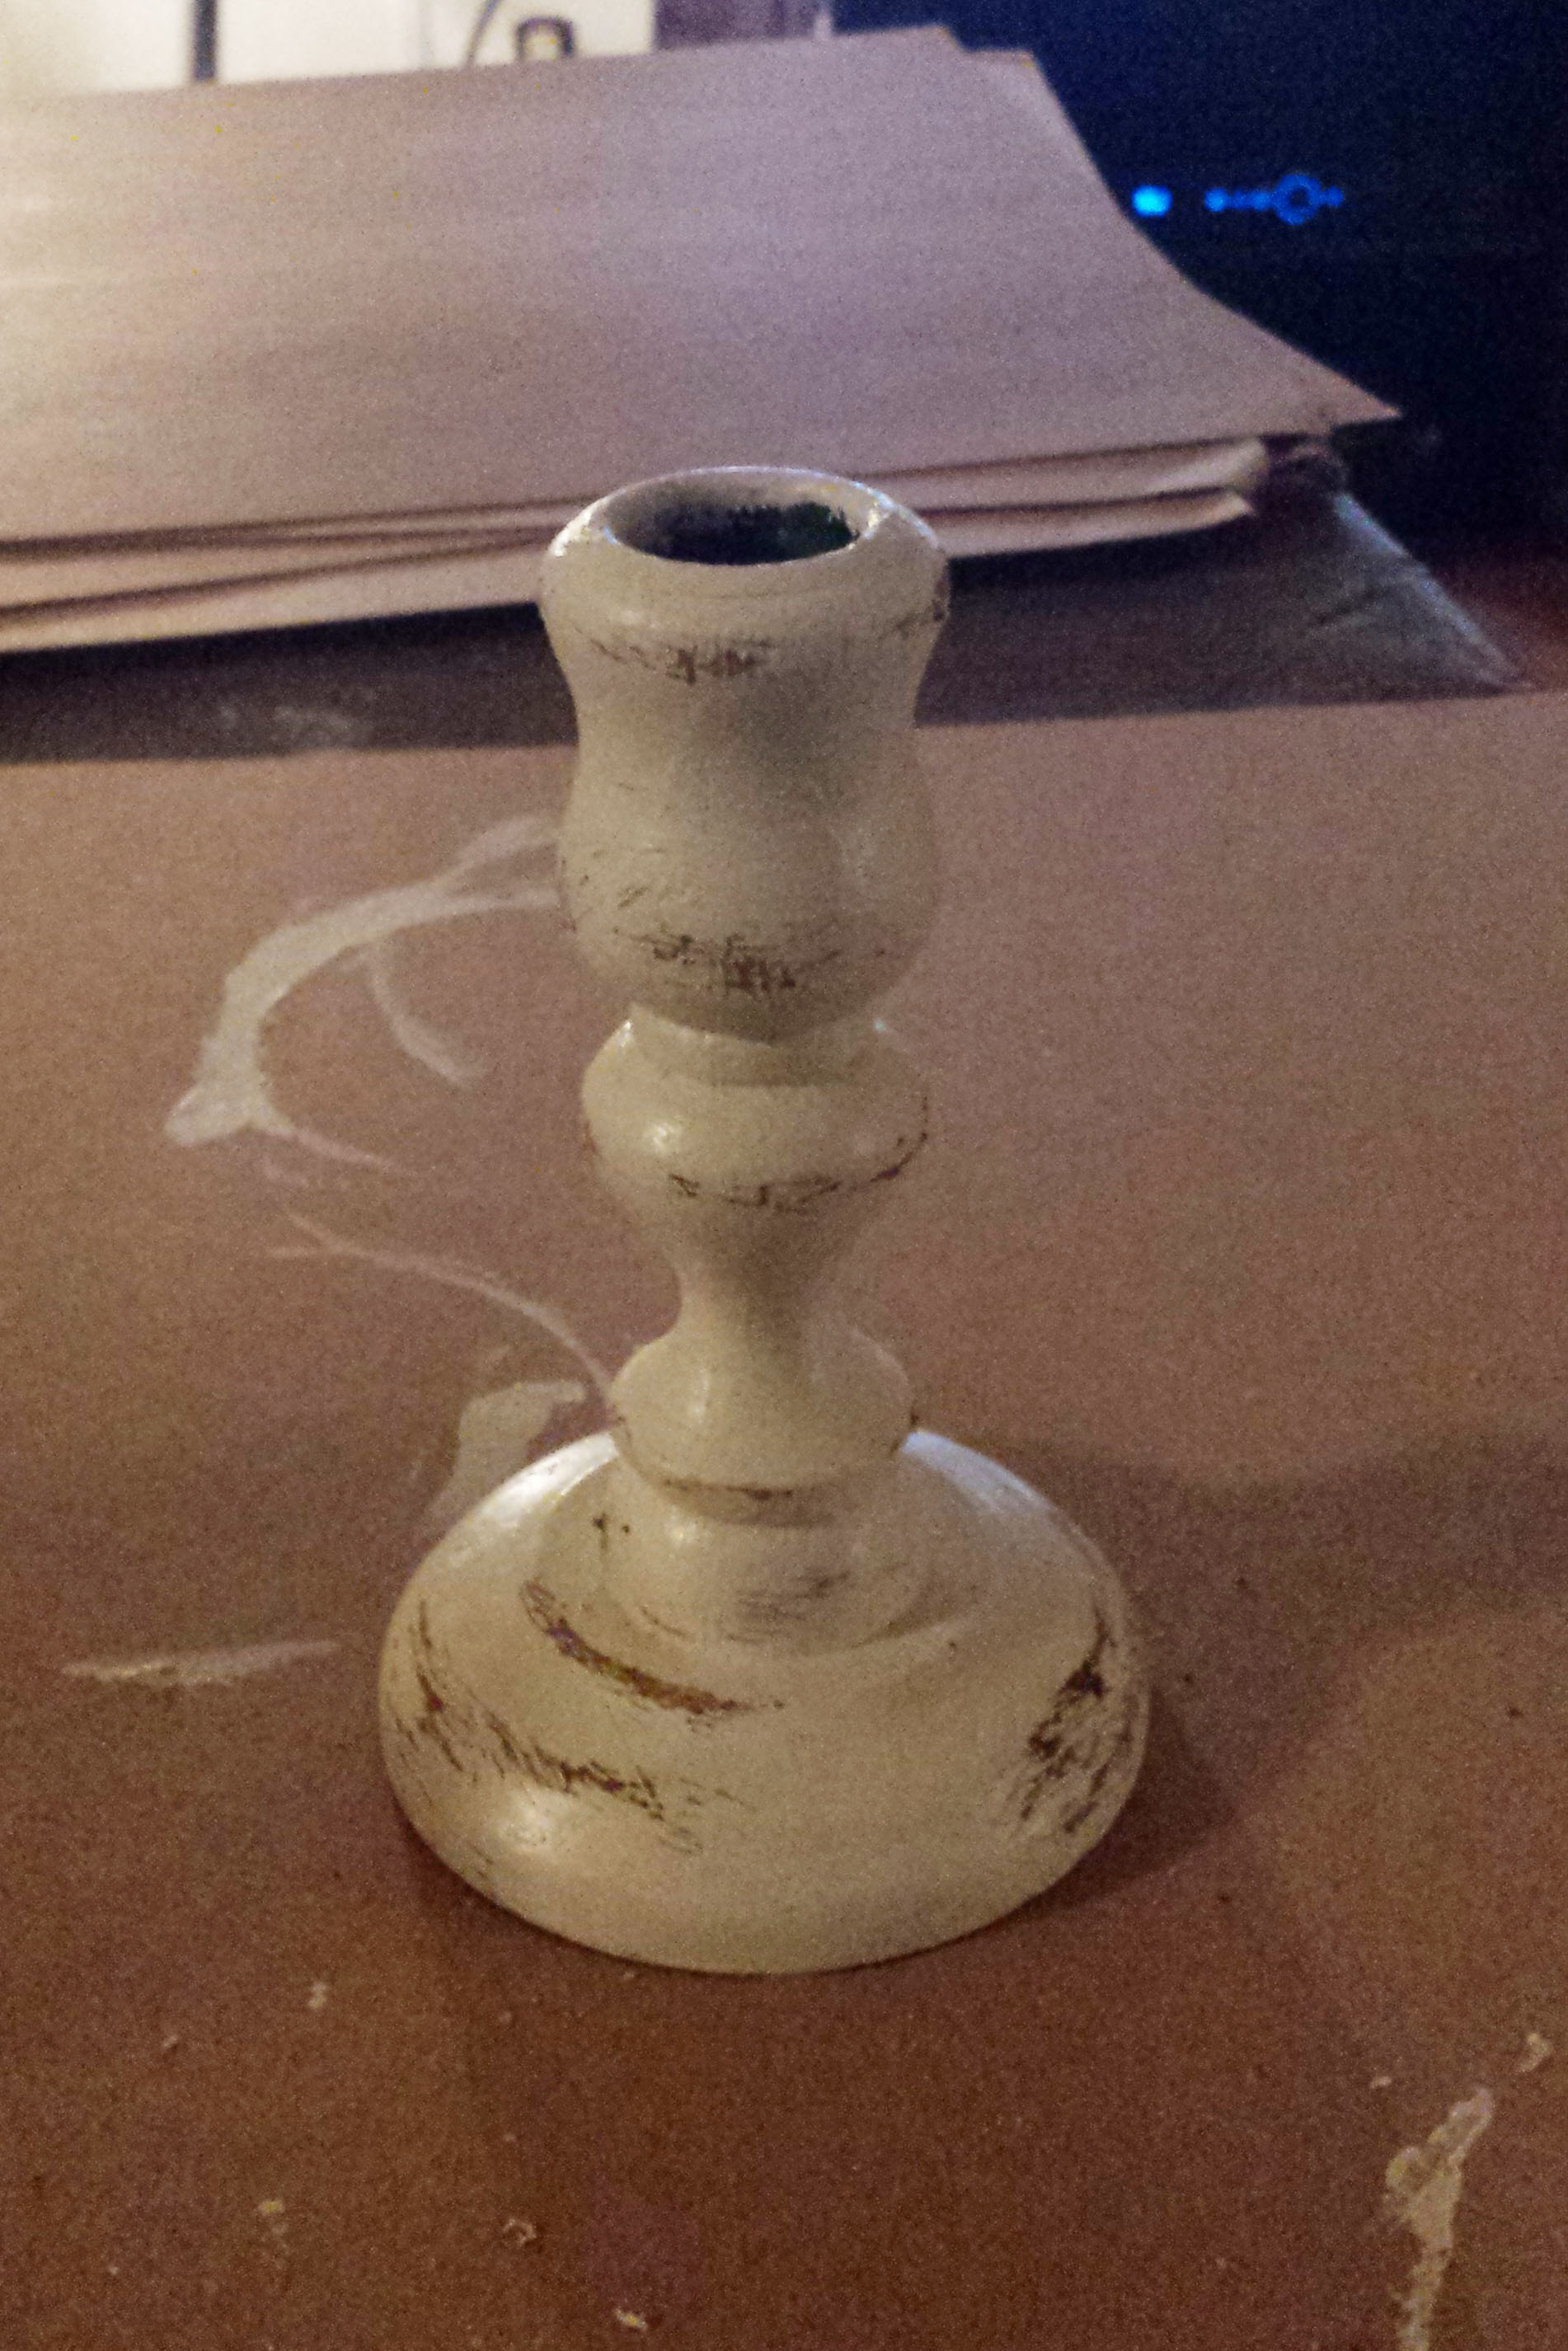
Then, once it was dry I took some sand paper and just buffed the edges to give it a distressed look.
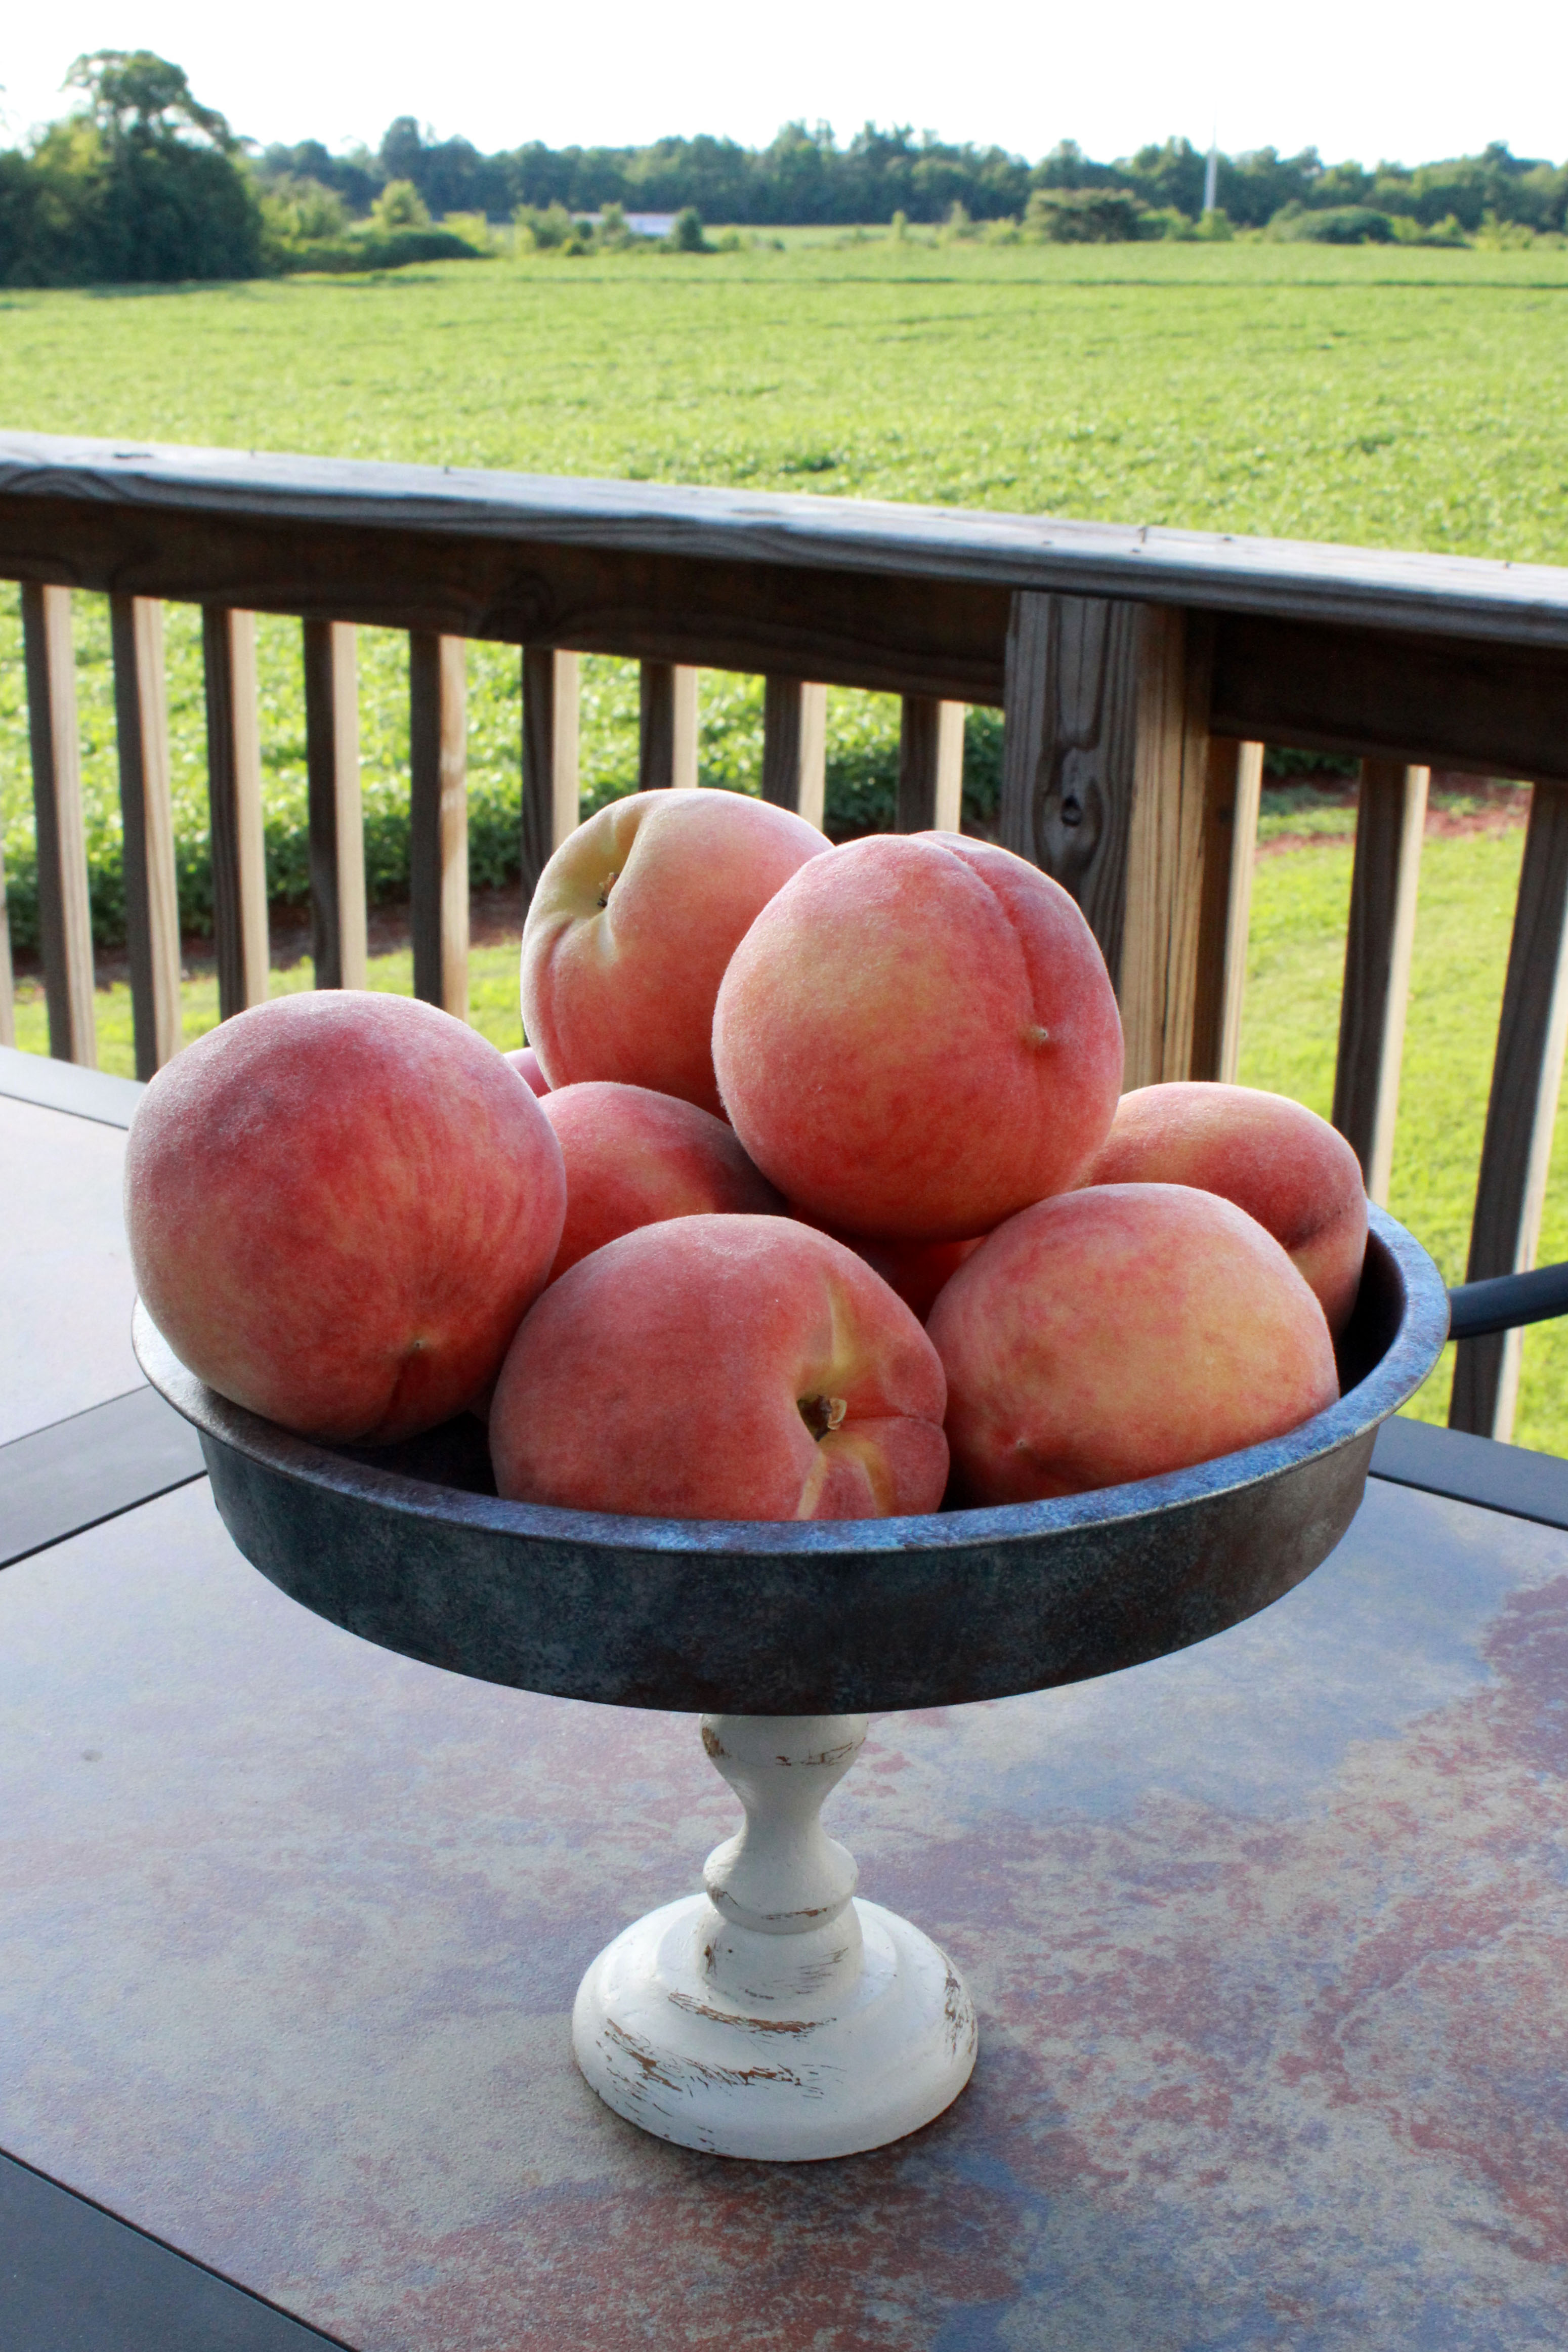
Then using a strong glue (I just used what I already had), glue the top of the candlestick to the center of the pie plate and allow to dry the recommended time on your glue. That’s all there is to it! Now you have a nice old looking platter for a very small expense. I paid $1 for the plate and $1 for the candlestick and the rest of the supplies were things I already had on hand.
This platter is great to hold fruit in the house for everyday use or would be really cute with cookies or cupcakes at a party.
If you have two or even three plates and two candle sticks you could do a two or three-tier platter which I may end up doing with this one if I run across some more pie plates when I’m thrifting!


