
DIY Wooden Pool Sign
My mother in law has been looking for a “pool sign” to go over the doorway to her pool for as long as I’ve known her. We’ve been together at Home Goods several different times over the past couple years where she’s been searching for a sign but just hasn’t found the right one. She encouraged me the last time she was in town to start making my gifts for holidays so I decided to take her advice and for Mother’s Day I would make her a pool sign. There is something special about a custom, hand-made with love gift that I hope people can appreciate. Plus, often times the gifts end up costing less when you DIY vs buying something in store.
Supplies You Will Need:
- Wooden Board for back of sign – I picked this up from Lowes, it was approx. 21×17 but you will choose your size based on the size and amount of letters being used
- Wooden Letters – I purchased mine from Michael’s
- Heavy Duty Glue – I picked up Elmer’s ProBond Advanced from Michael’s. The glue you choose should be determined by where the sign is going. I knew hers would be in the garage where the heat and humidity would reach it, if it was inside you may could use hot glue or another glue that isn’t professional strength
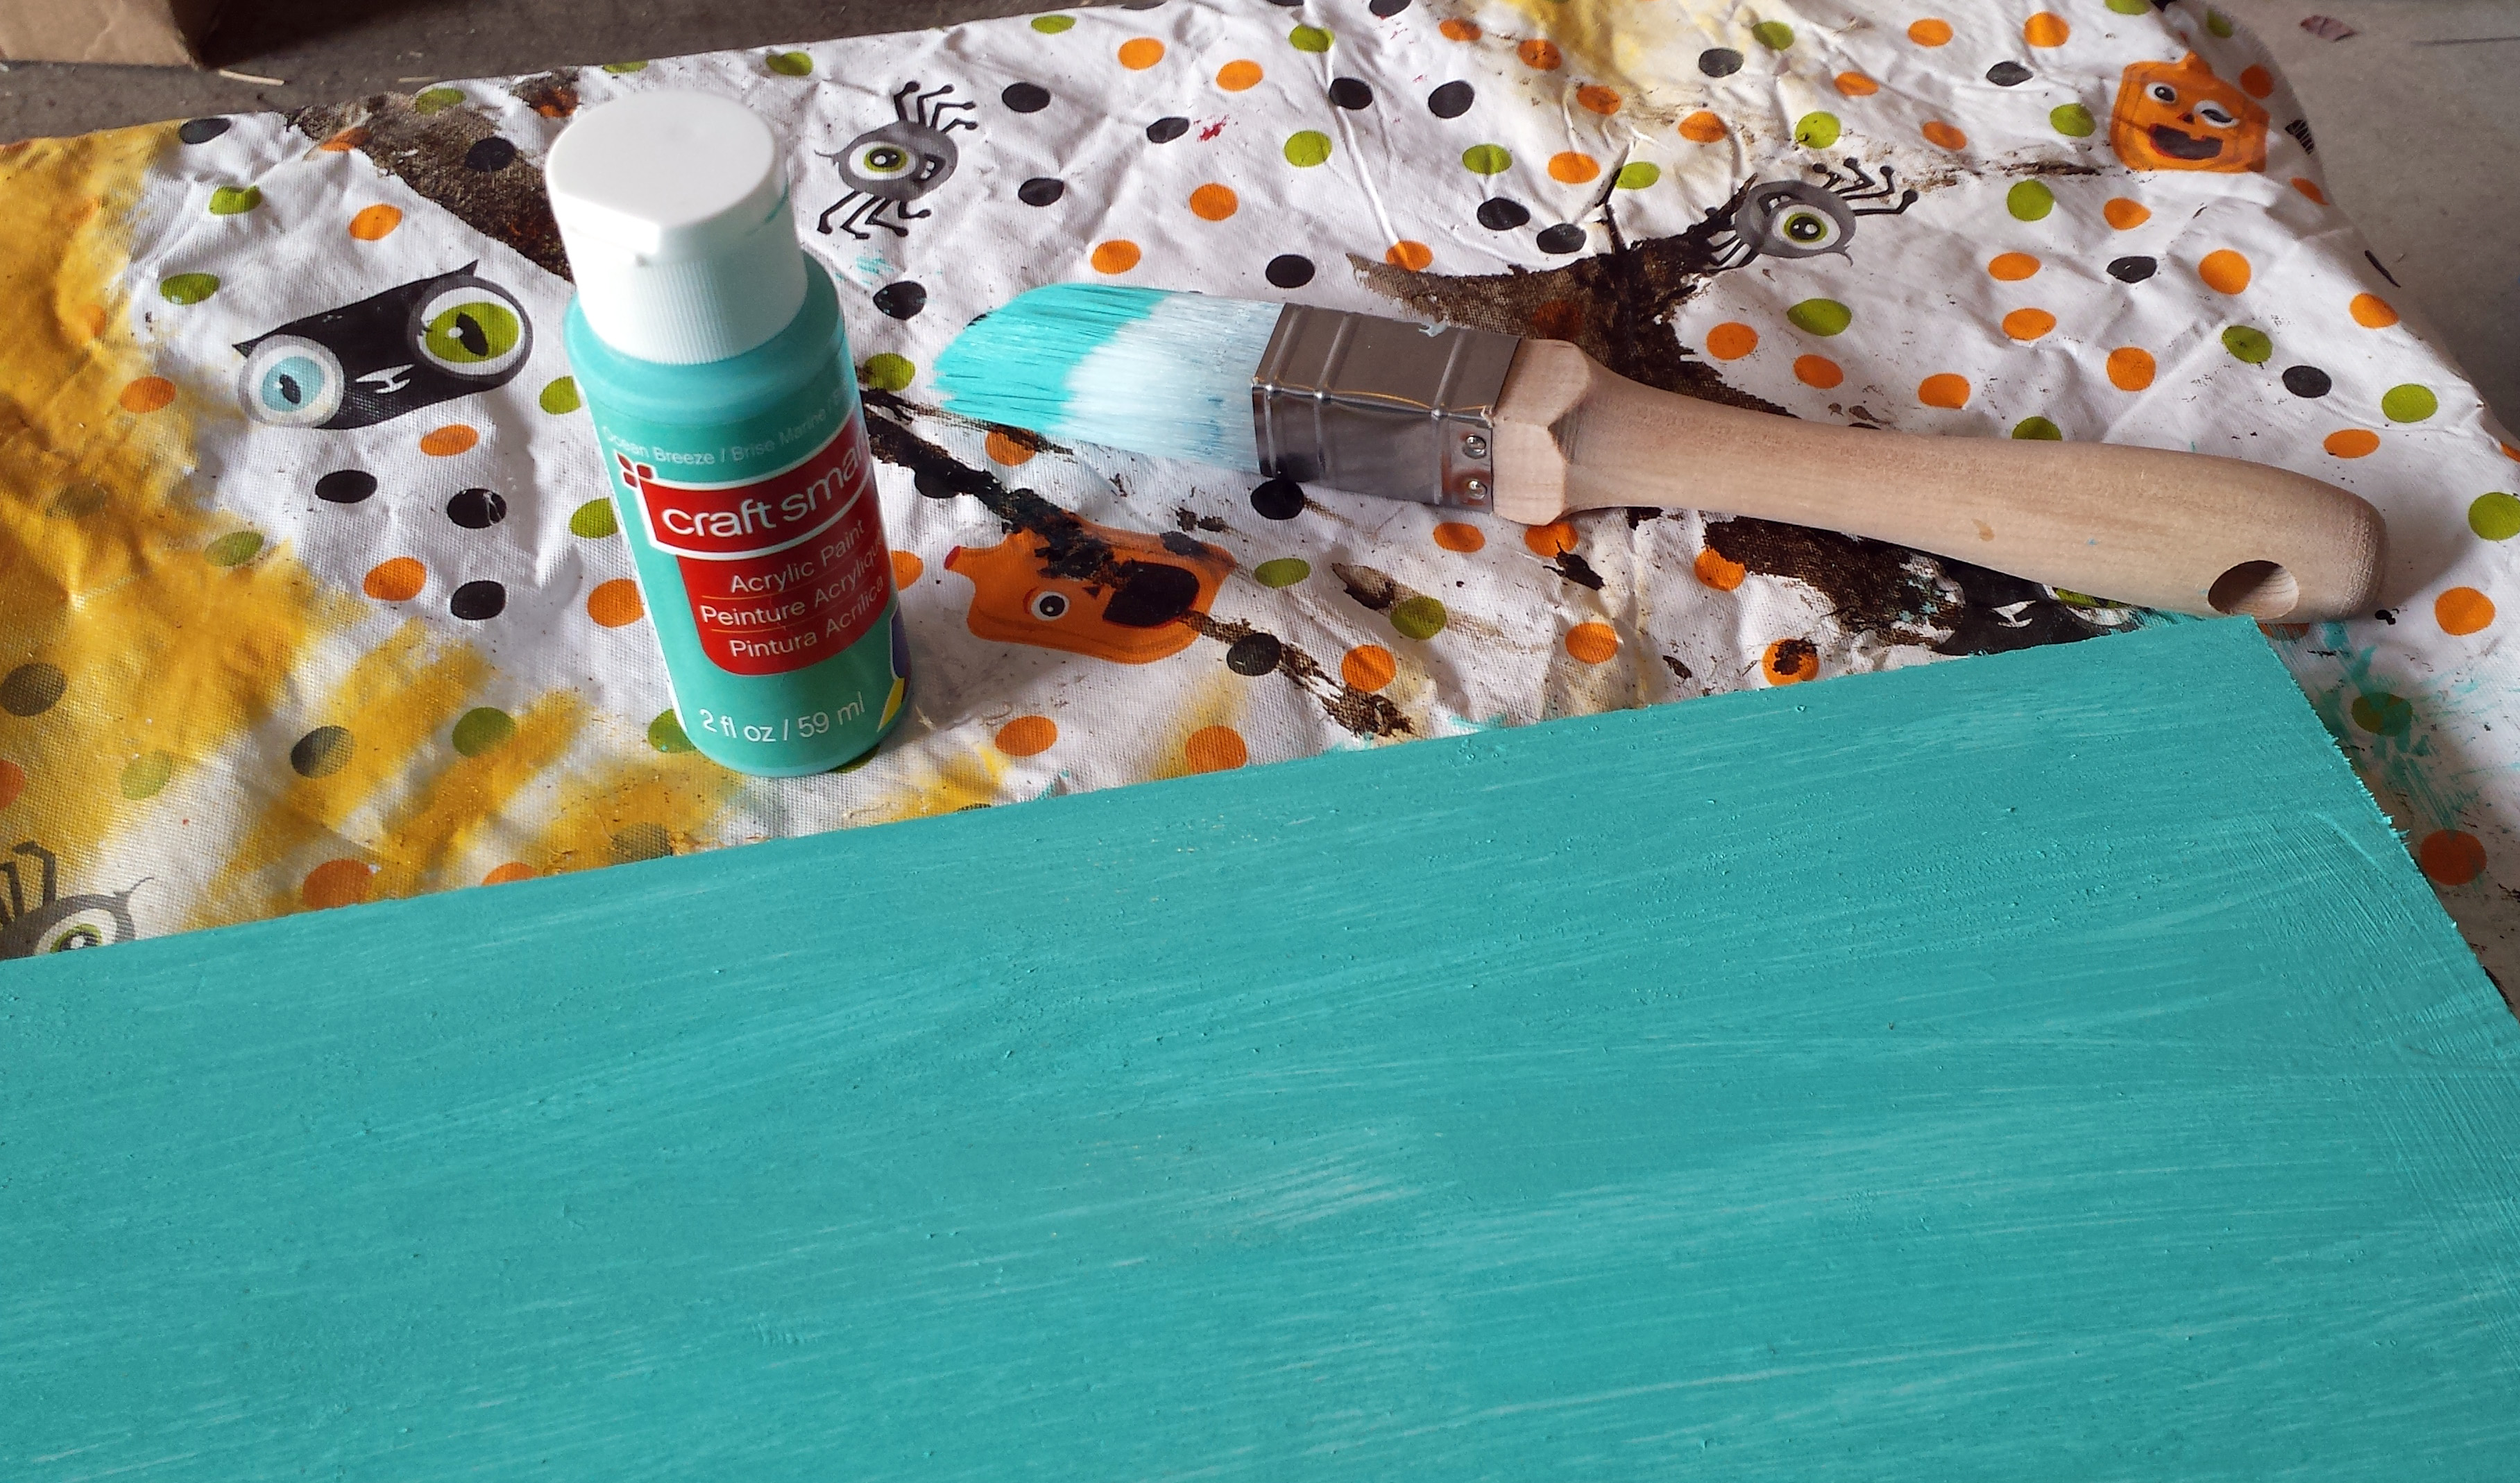
- Paint – I used acrylic paint that I had (Ocean Breeze and Yellow were the colors used)
- Paint Brushes
- Ruler (optional but recommended)
- Mixwax Polycrylic Sealer – also depends on where the sign is being used
- Sander or Sandpaper

How I made it:
Step 1: Paint Wooden Board to the desired color, leave it to dry.

Note: I painted mine one color and decided it wasn’t bright enough so I went back and painted over it with another color leaving the brush strokes showing and some of the first color peaking through to give it some texture and character.
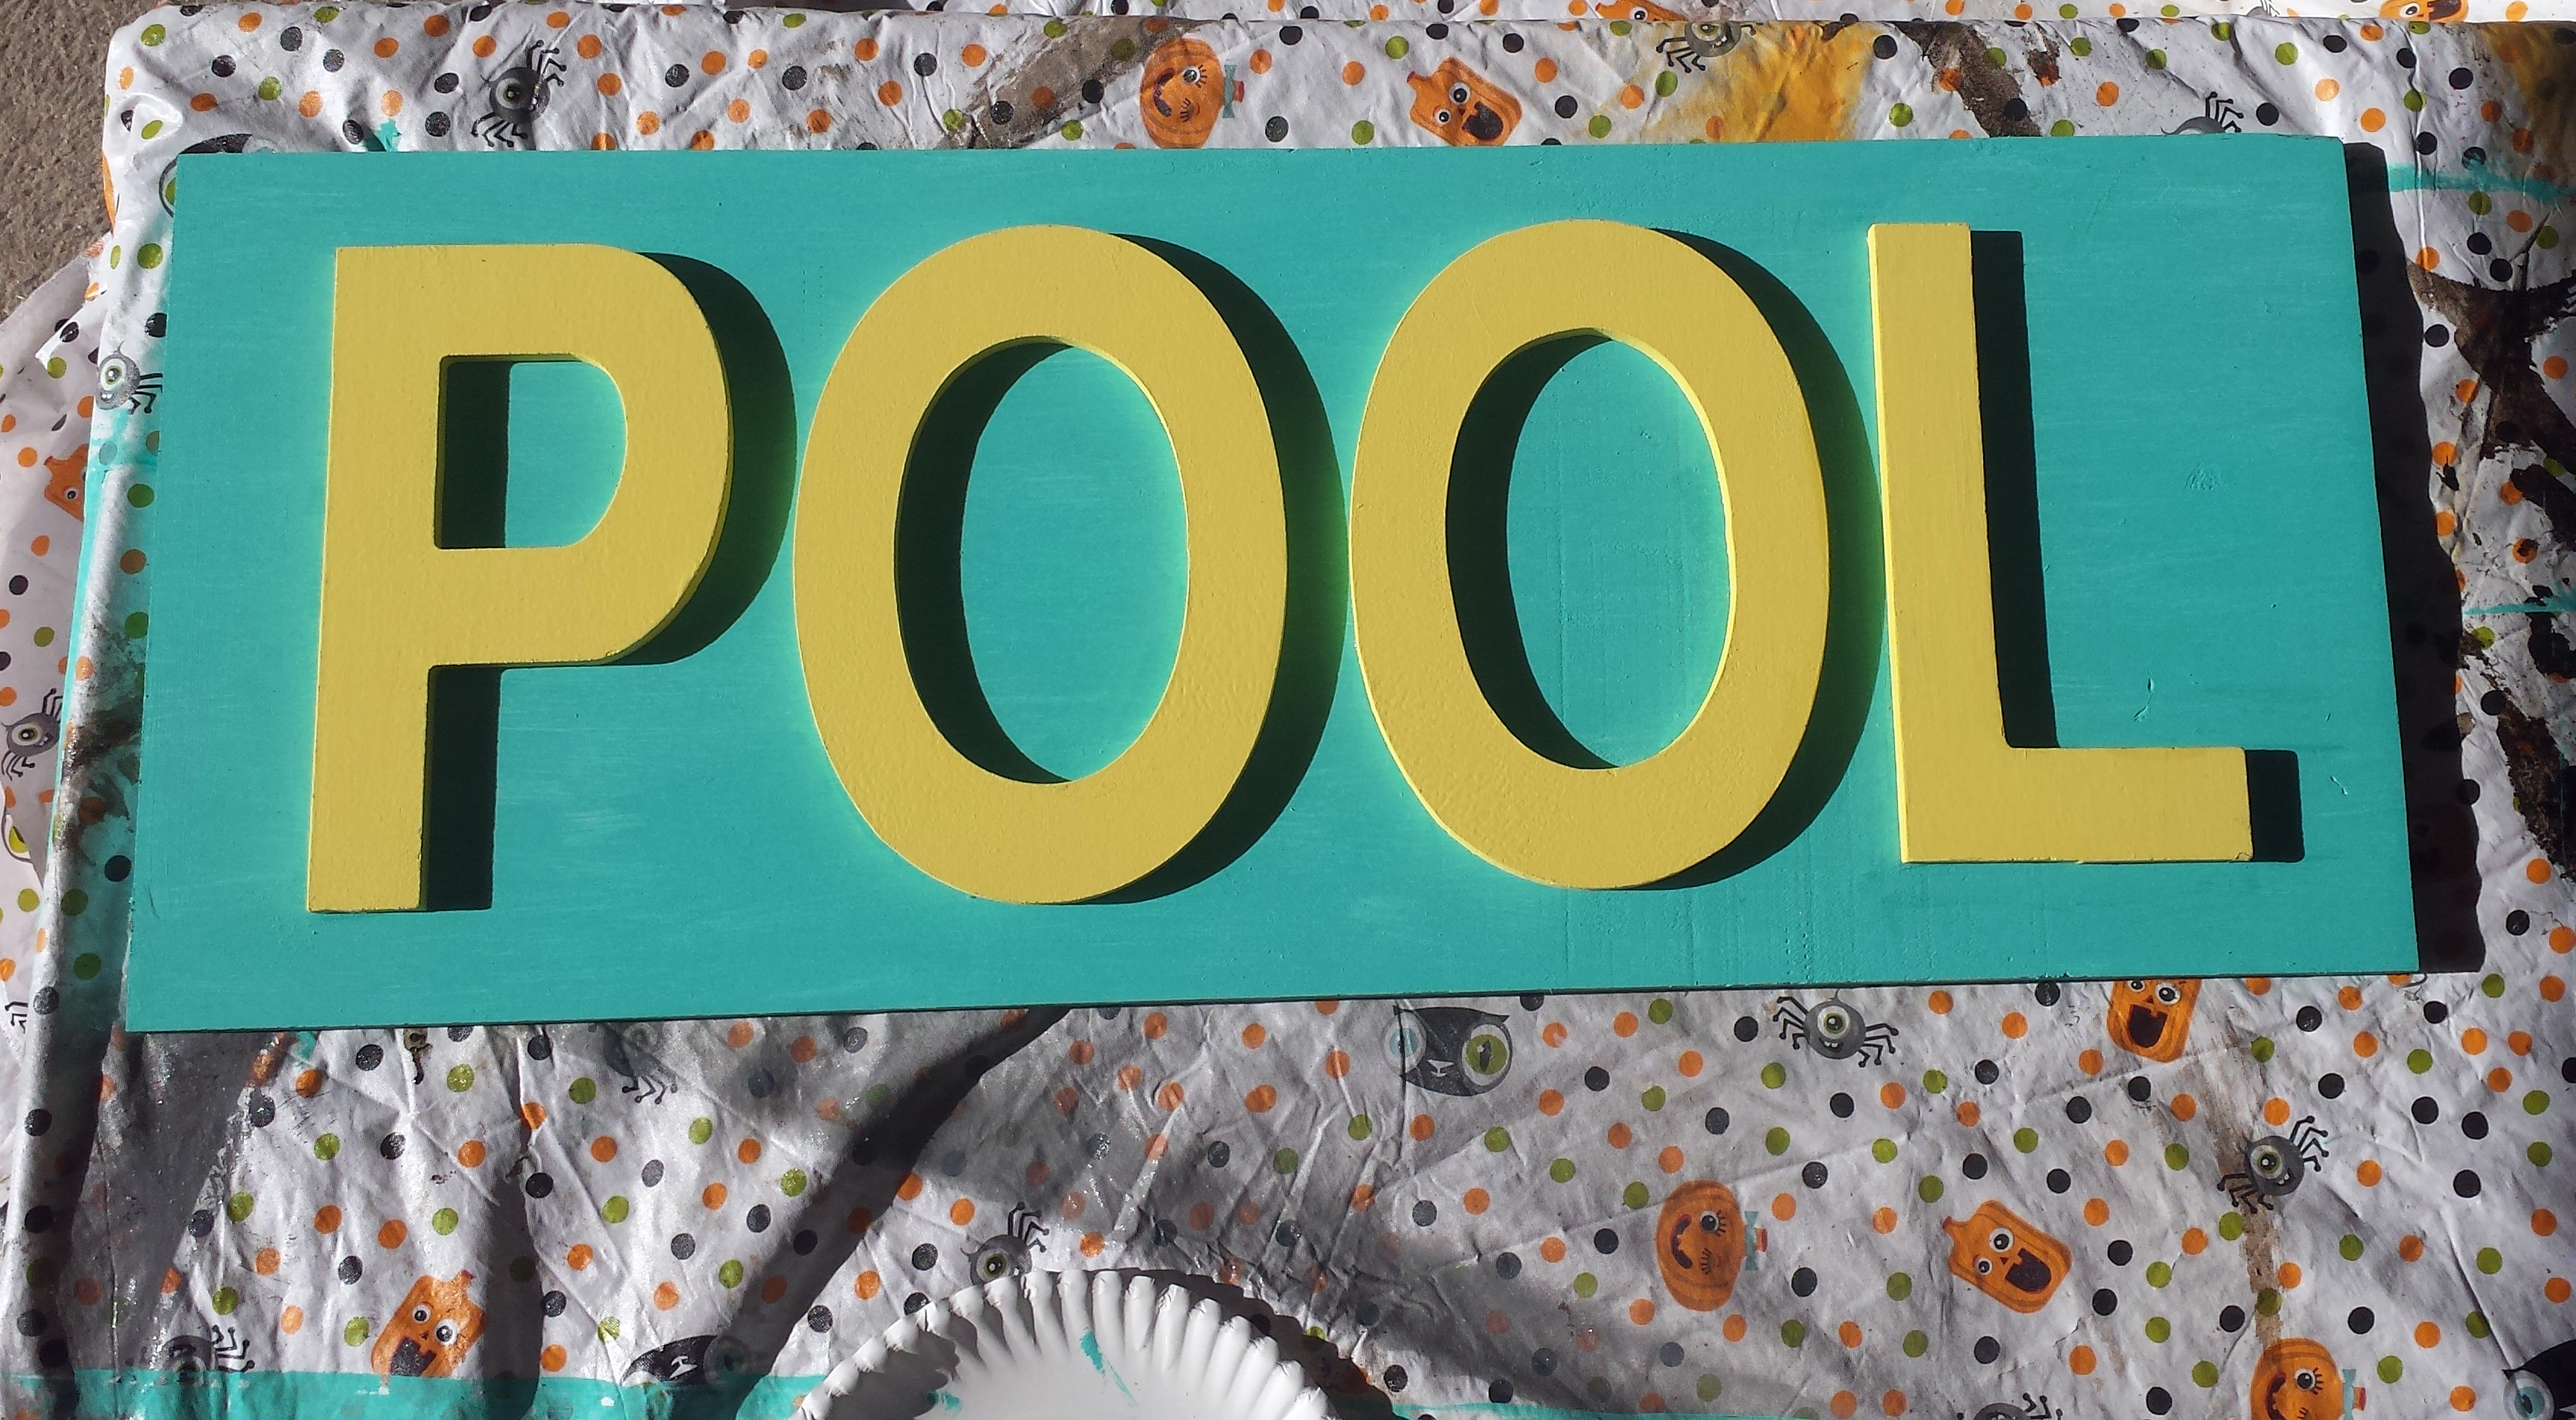
Step 2: Paint Wooden Letters to your desired color leave it to dry


Step 3: Measure, Re-measure, then Glue Letters to the desired location on the back board. You can wing this if you would like but I’m OCD and I knew if it wasn’t lined up and spaced properly I’d hate it.


Step 4: Wipe away any glue that may be showing out from under the letter. I just used a napkin to wipe it away. My glue suggested to let it dry for 24 hours.

Optional Step depending on glue used: Touch up any areas that may need paint touch up. My glue dried glossy so I had to paint over the areas where I had wiped off the glue.

Optional Step depending on project: My backboard was too long for my sign so at this point, I measured and used a circular saw to trim off the edge of the wooden board. Then I sanded it a little and re-painted that edge to match the rest.
Step 5: Take palm sander or sand paper and distress away as much as you’d like. I love the character that you get with distressed edges.
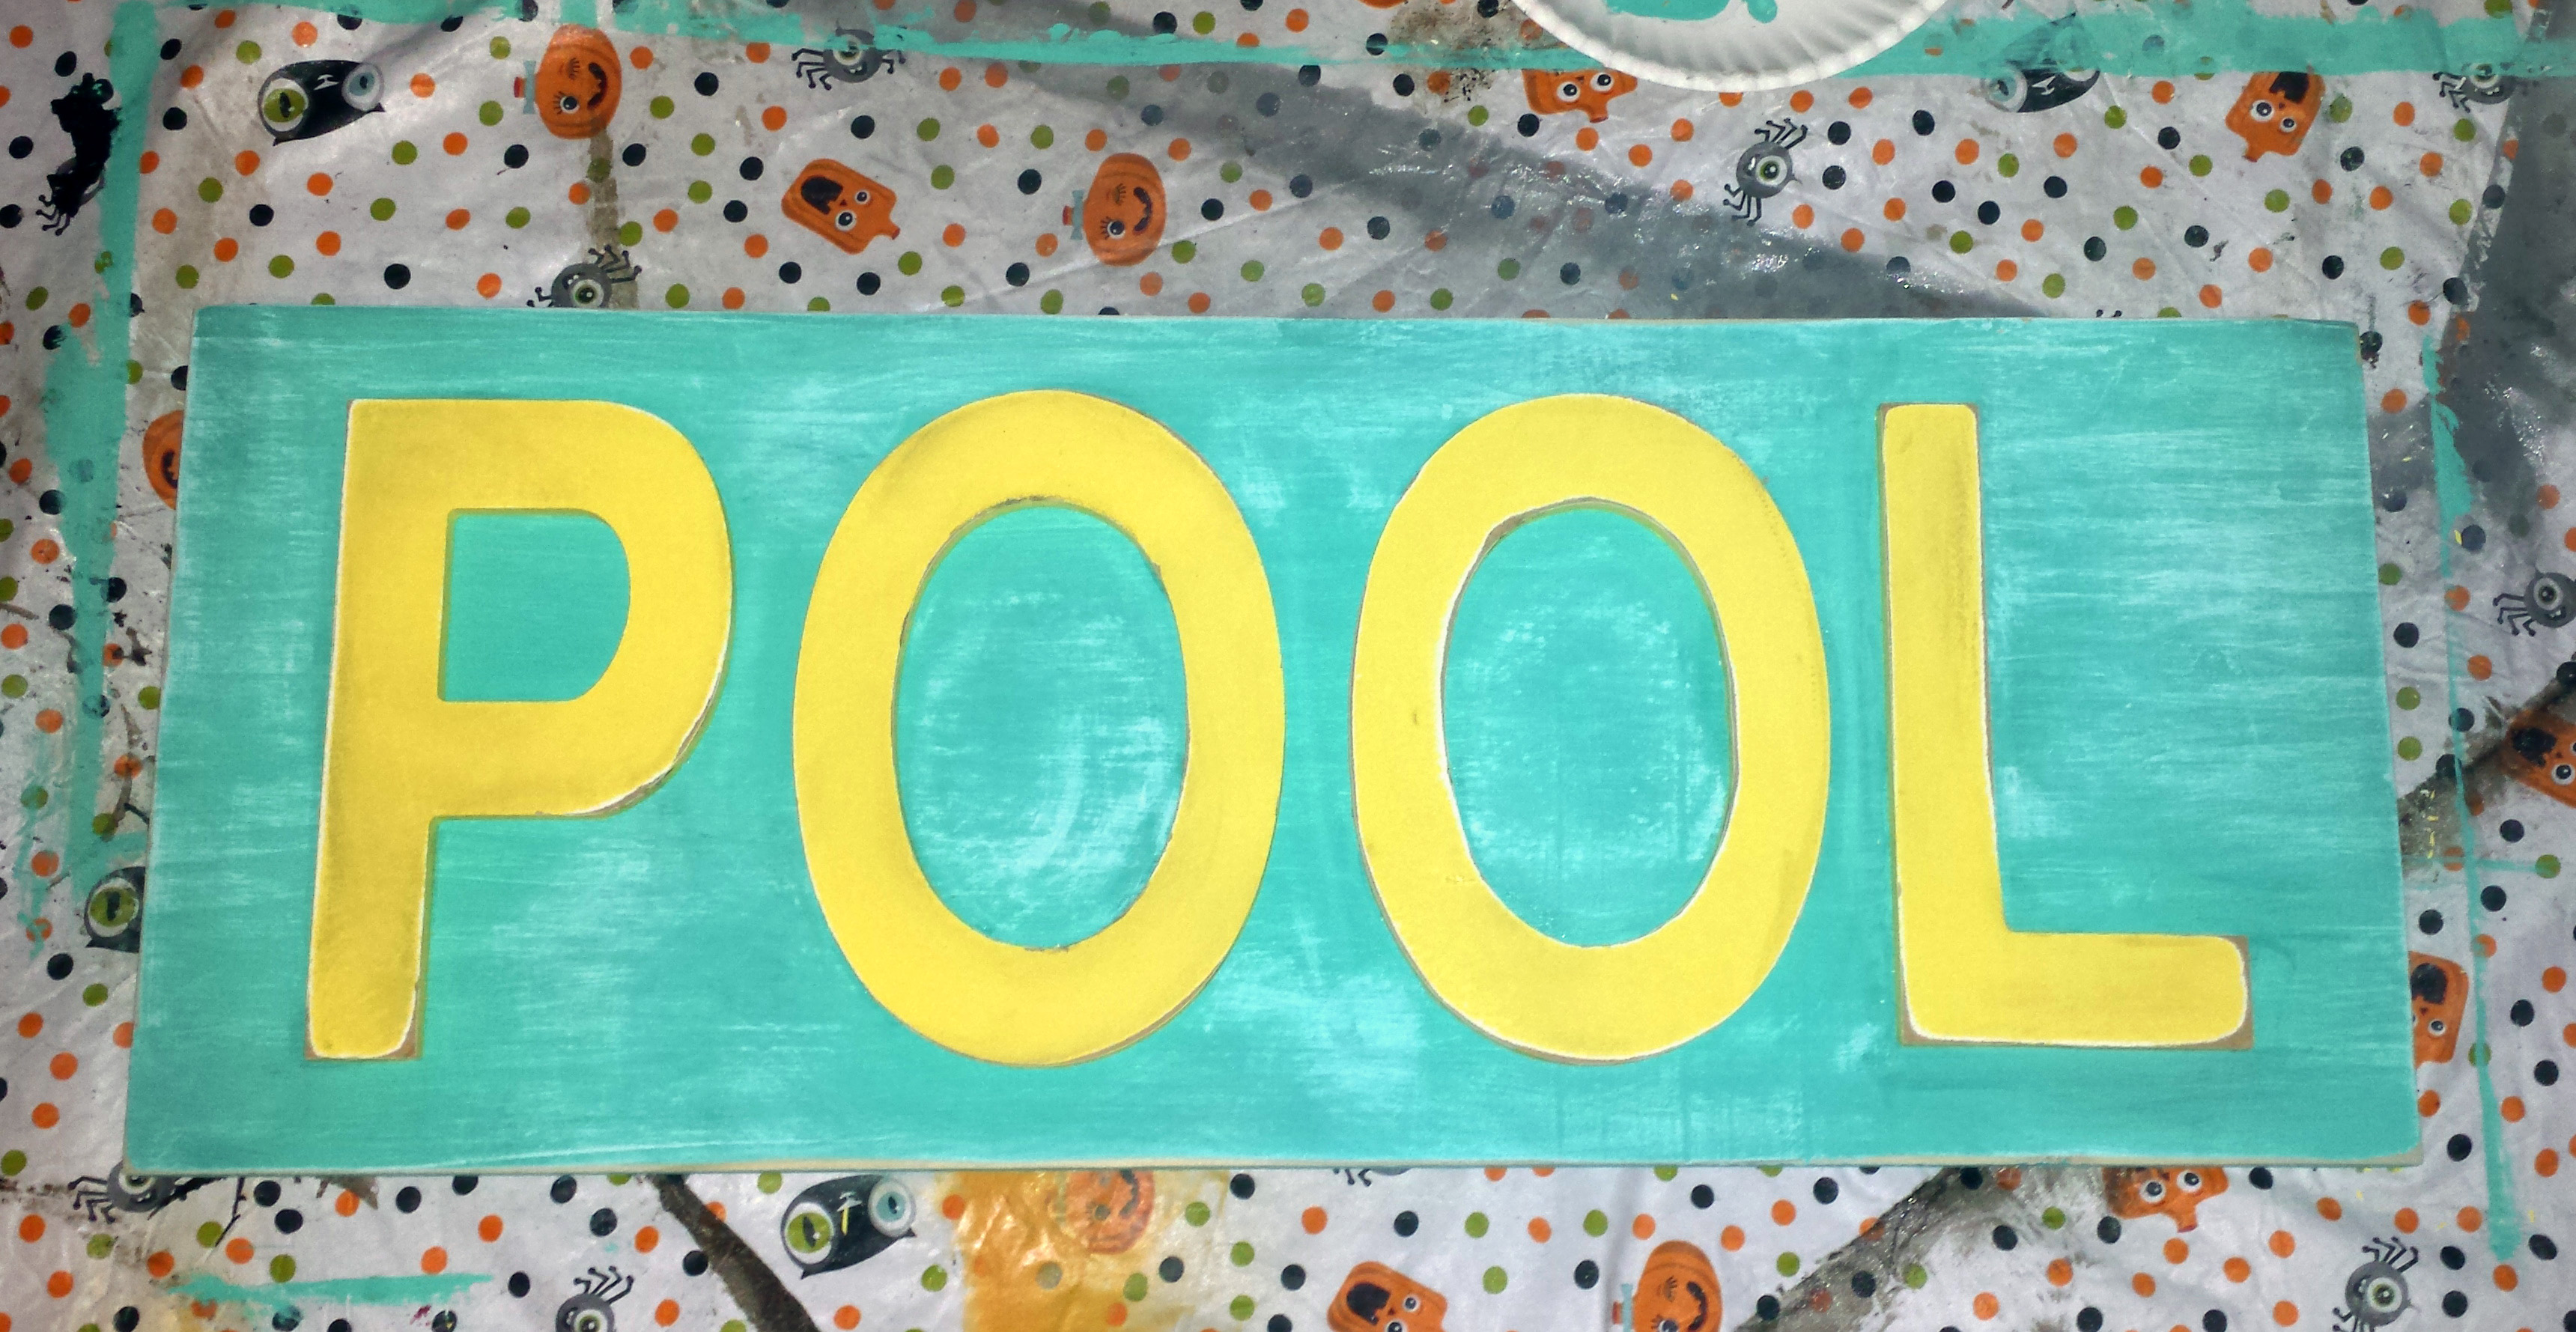

Optional Step depending on placement of sign: Spray/Paint over with the Polycrylic and allow to dry. This will help protect it from any weather elements such as heat or moisture/rain.
And here is the finished product! My MIL loved it and I can’t wait to see it up above her doorway when we go visit them for the 4th of July!
