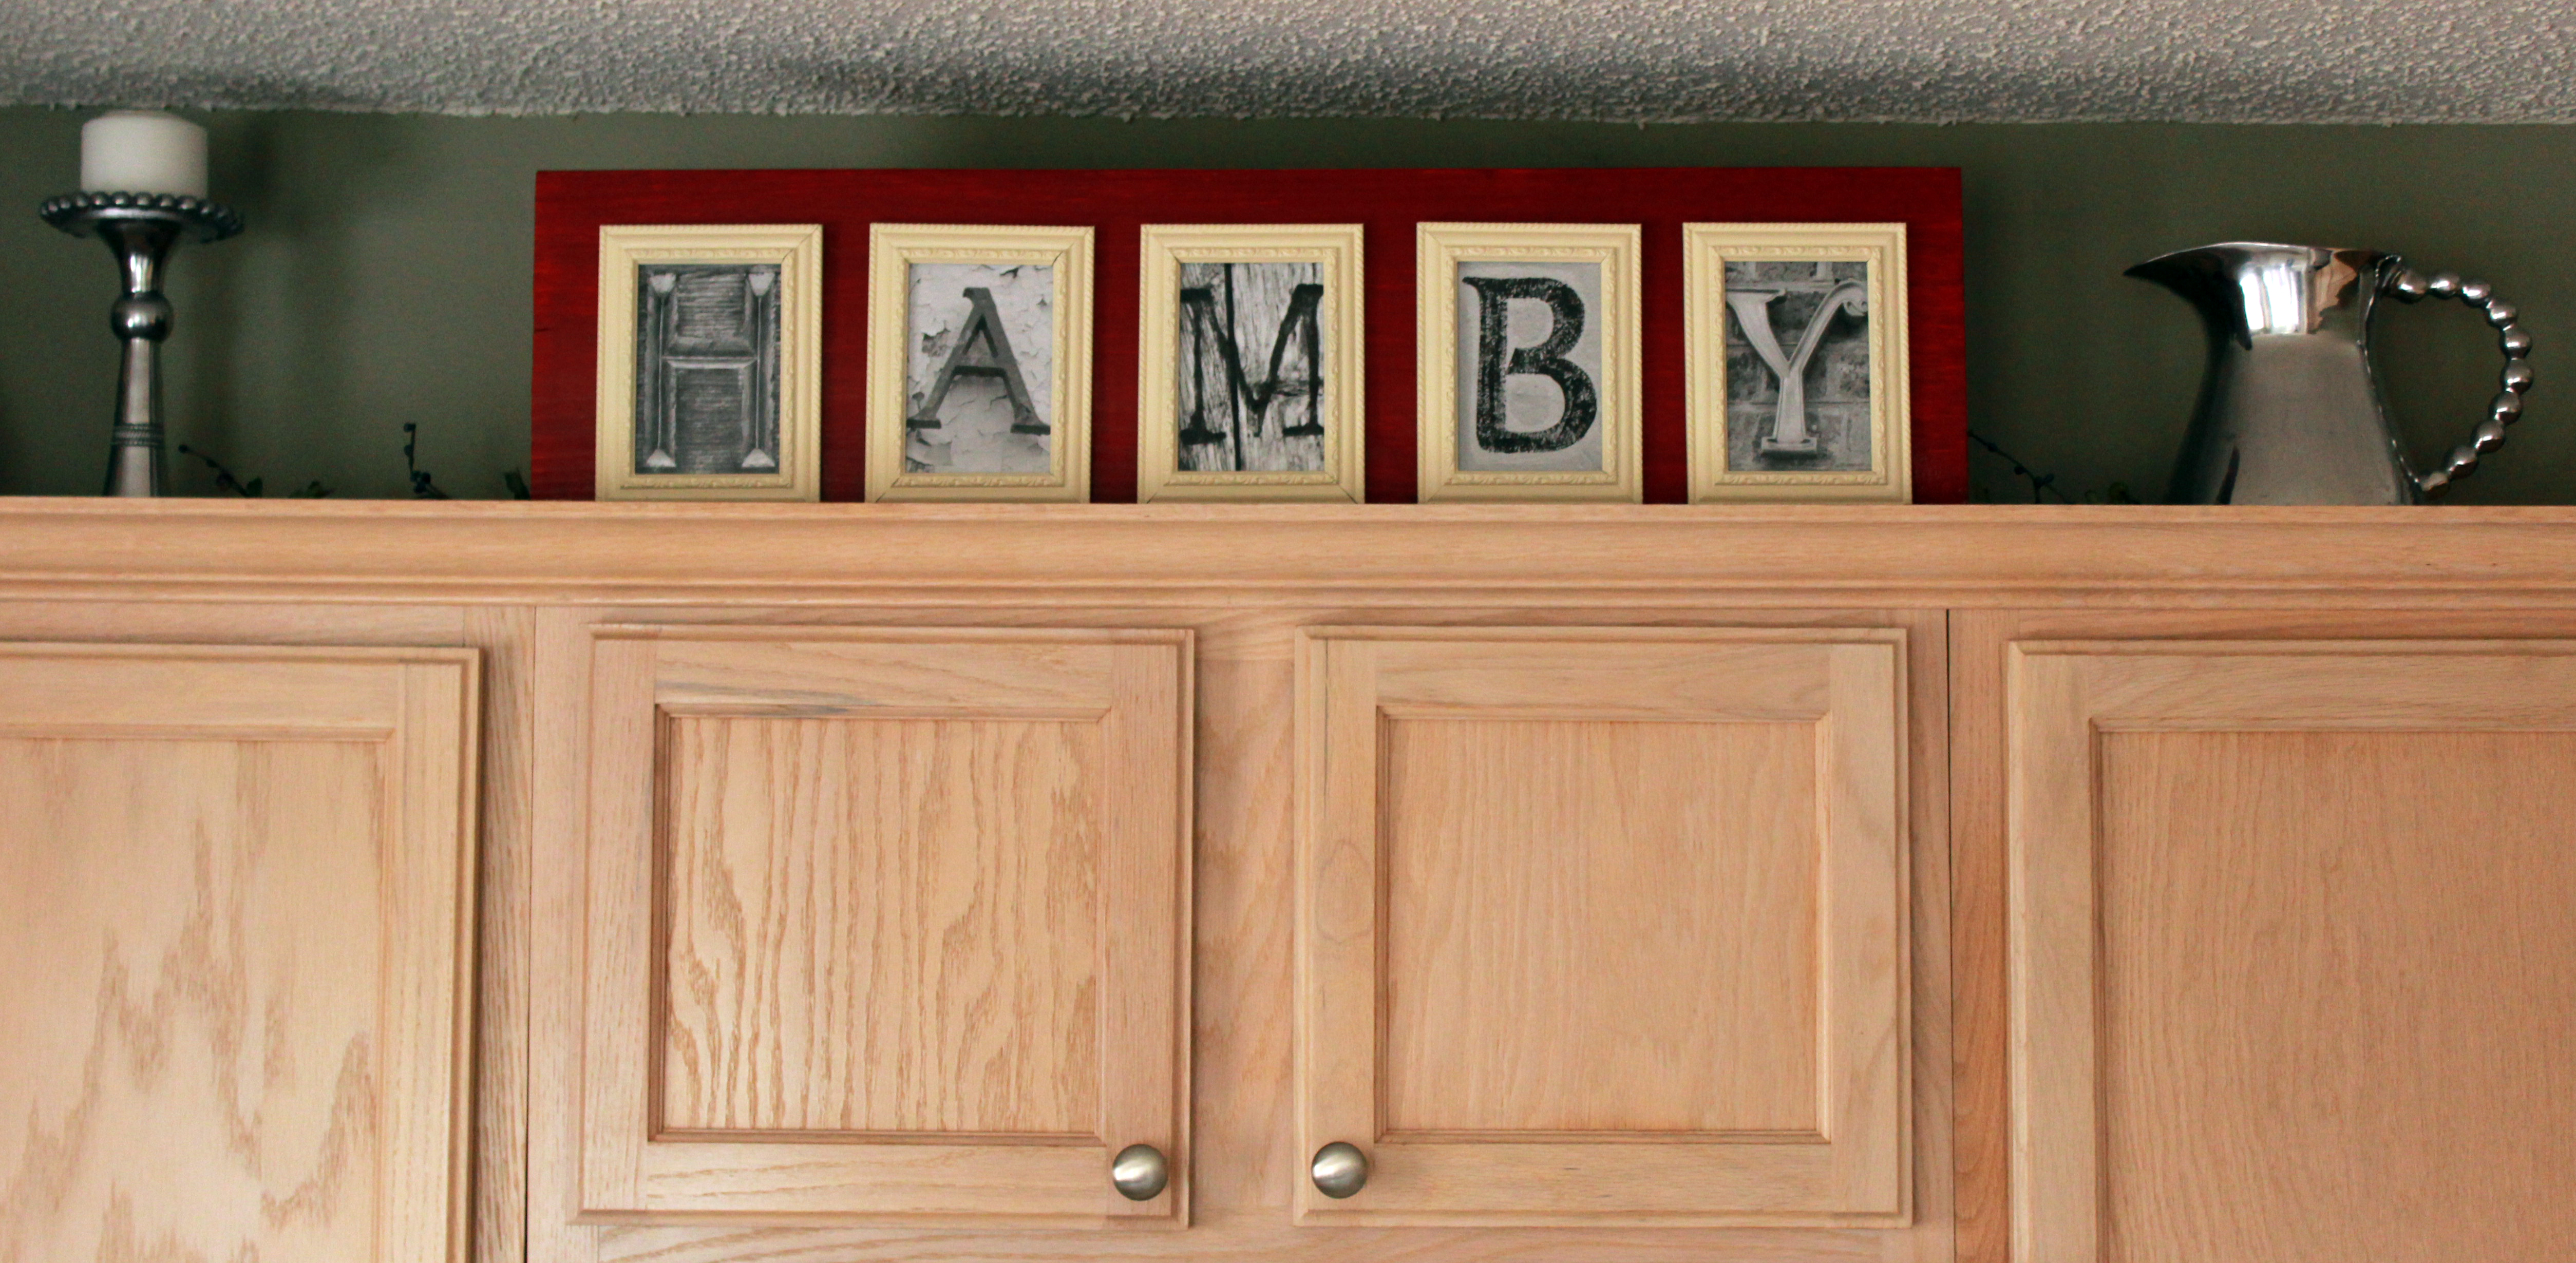
DIY Letter Photo Art
I have had my eye on letter photo artwork for YEARS! I love the concept of spelling something out with photos that look like the letters. When I first joined pinterest years ago this is one of the first tutorials I ran across and pinned and I have had it on my to-do list ever since! I really didn’t want to spend the money to buy the images to use so this was the most frugal option! I followed the tutorial from Shanty 2 Chic exactly so you can check her tutorial out of here is how I did it.
1. Decide what word you want to spell out. I chose our last name. I chose my favorite letters available from this AWESOME free flickr site and downloaded them and just turned them into Black and White.
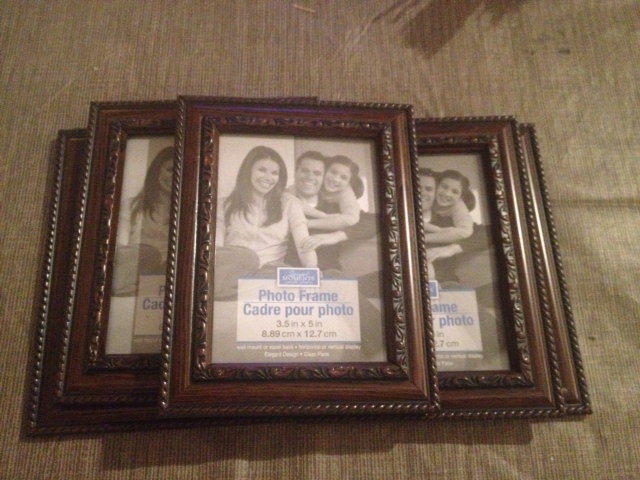
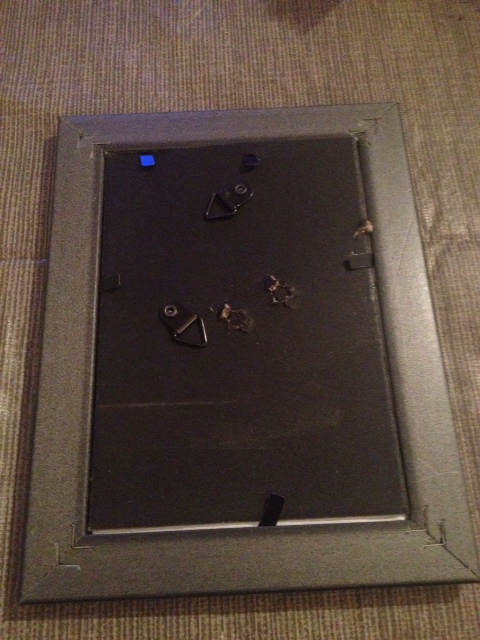
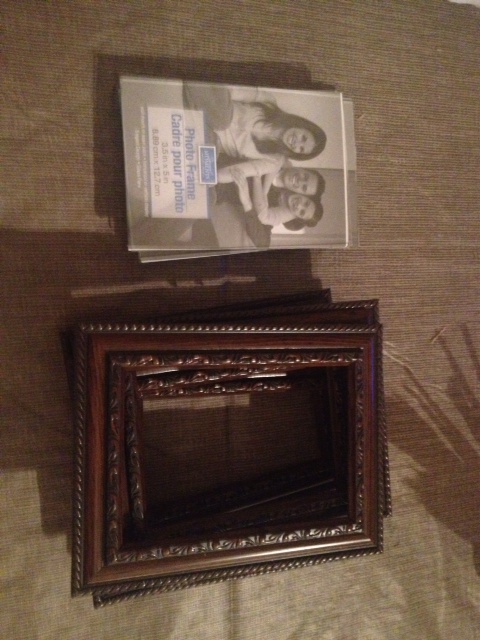
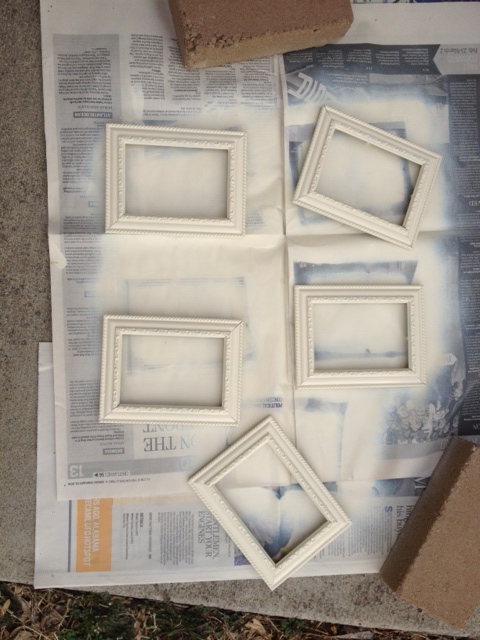
2. Buy the amount of frames that you need to have one per letter from Dollar Tree. They are cheap frames but will work perfect for this project. Remove the back board that props the photo up and also remove the hanging clamps because you will want it to lay flush to the board later on. I had to go back and remove those hangers later when I realized they kept it from laying flat. Go ahead and remove the glass and backing from the frames to prepare for the next step.
3. Spray Paint the Frames to the desired color
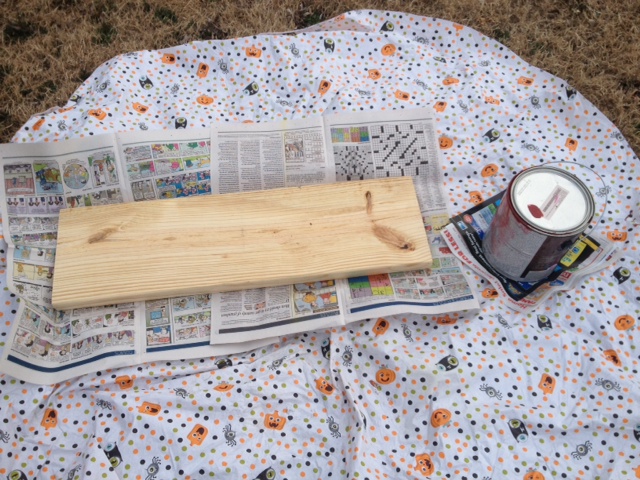
4. I purchased a 2 x 10 like she mentions in case I want to use it standing up eventually vs hanging on the wall. This required some measuring and planning for me. I had to cut the board down but I wanted to make sure I cut it to the correct size. I sketched out the end result to make sure I had enough room for 1 inch between each frame and 1.5 for the outside border. I then cut the board to the correct size.

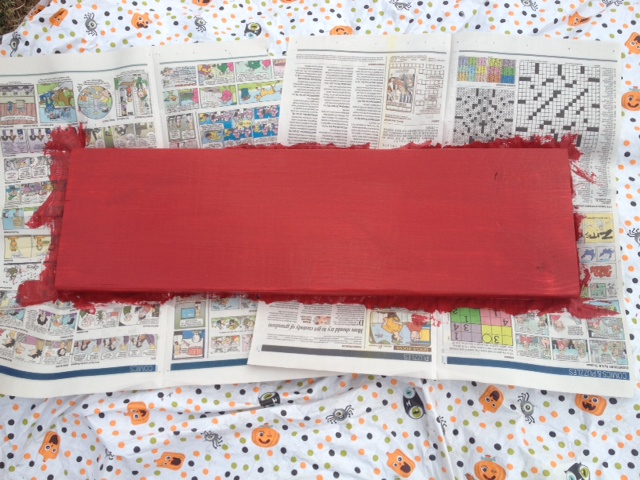
5. Then just sand or buff the edges and paint the wooden board to the desired color. I just used some red paint that I had already from painting our front door and shutters. I painted the entire surface but didn’t paint too thick because I wanted the wood lines to show through the paint.

6. Once everything is dry you put your print out letters into the frames (I just printed on normal computer paper). and start preparing to hot glue the frames to the back board.
Have you ever taken pictures with your phone and then they’re not in your album? Well – me neither, until now! I KNOW FOR A FACT that I took pictures of the next step and they are nowhere to be found. My phone is 2.5 years old so I think it’s on the fritz. So i apologize there are no pictures for this next step, I had good intentions! I’ll try to explain the best I can!
7. Lay out your frames where you think they need to go on the board. I used masking tape to tape off the top of the frame line and another strip to tape off the bottom of the frame line. This helped me a lot because then I just had to use my ruler to determine distance from edges and apart from each other. Once you have them all in the right place just hot glue the back of the frames and place back on the board!
Pretty simple really and inexpensive too! I didn’t have a great place for it so I just put it in our kitchen above our cabinets for now until I find a better spot!