
Refinished Headboard
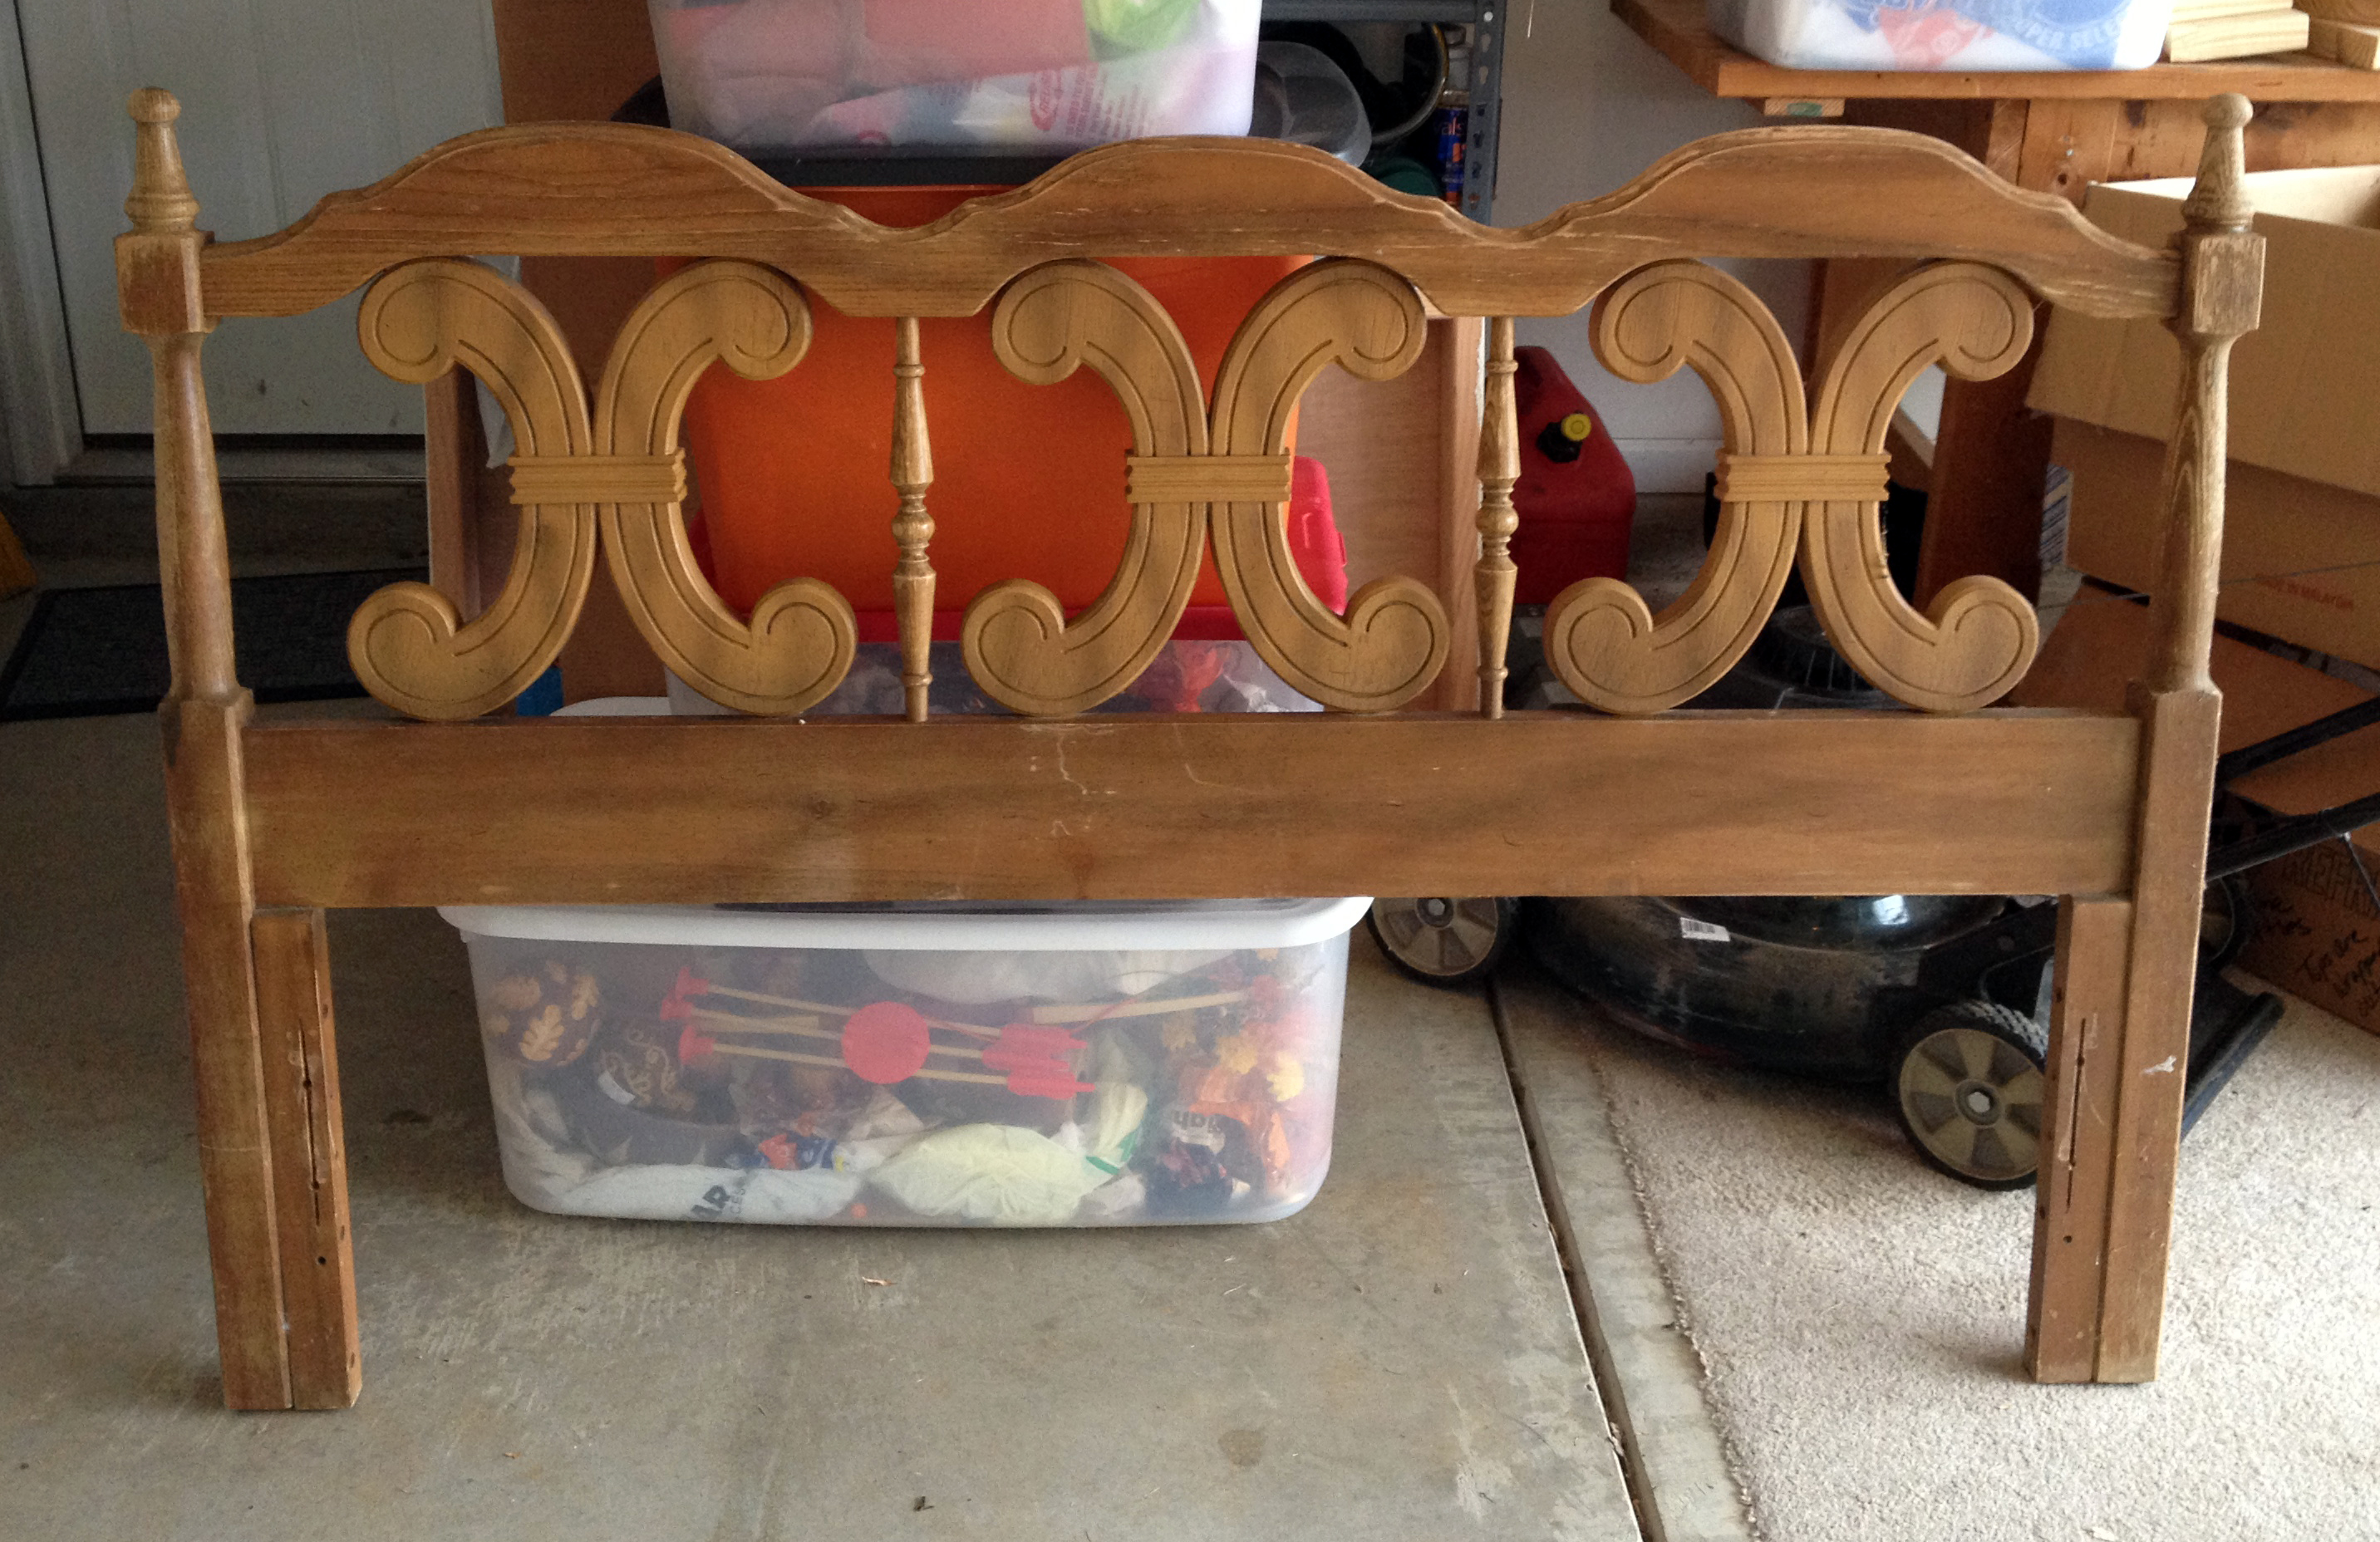
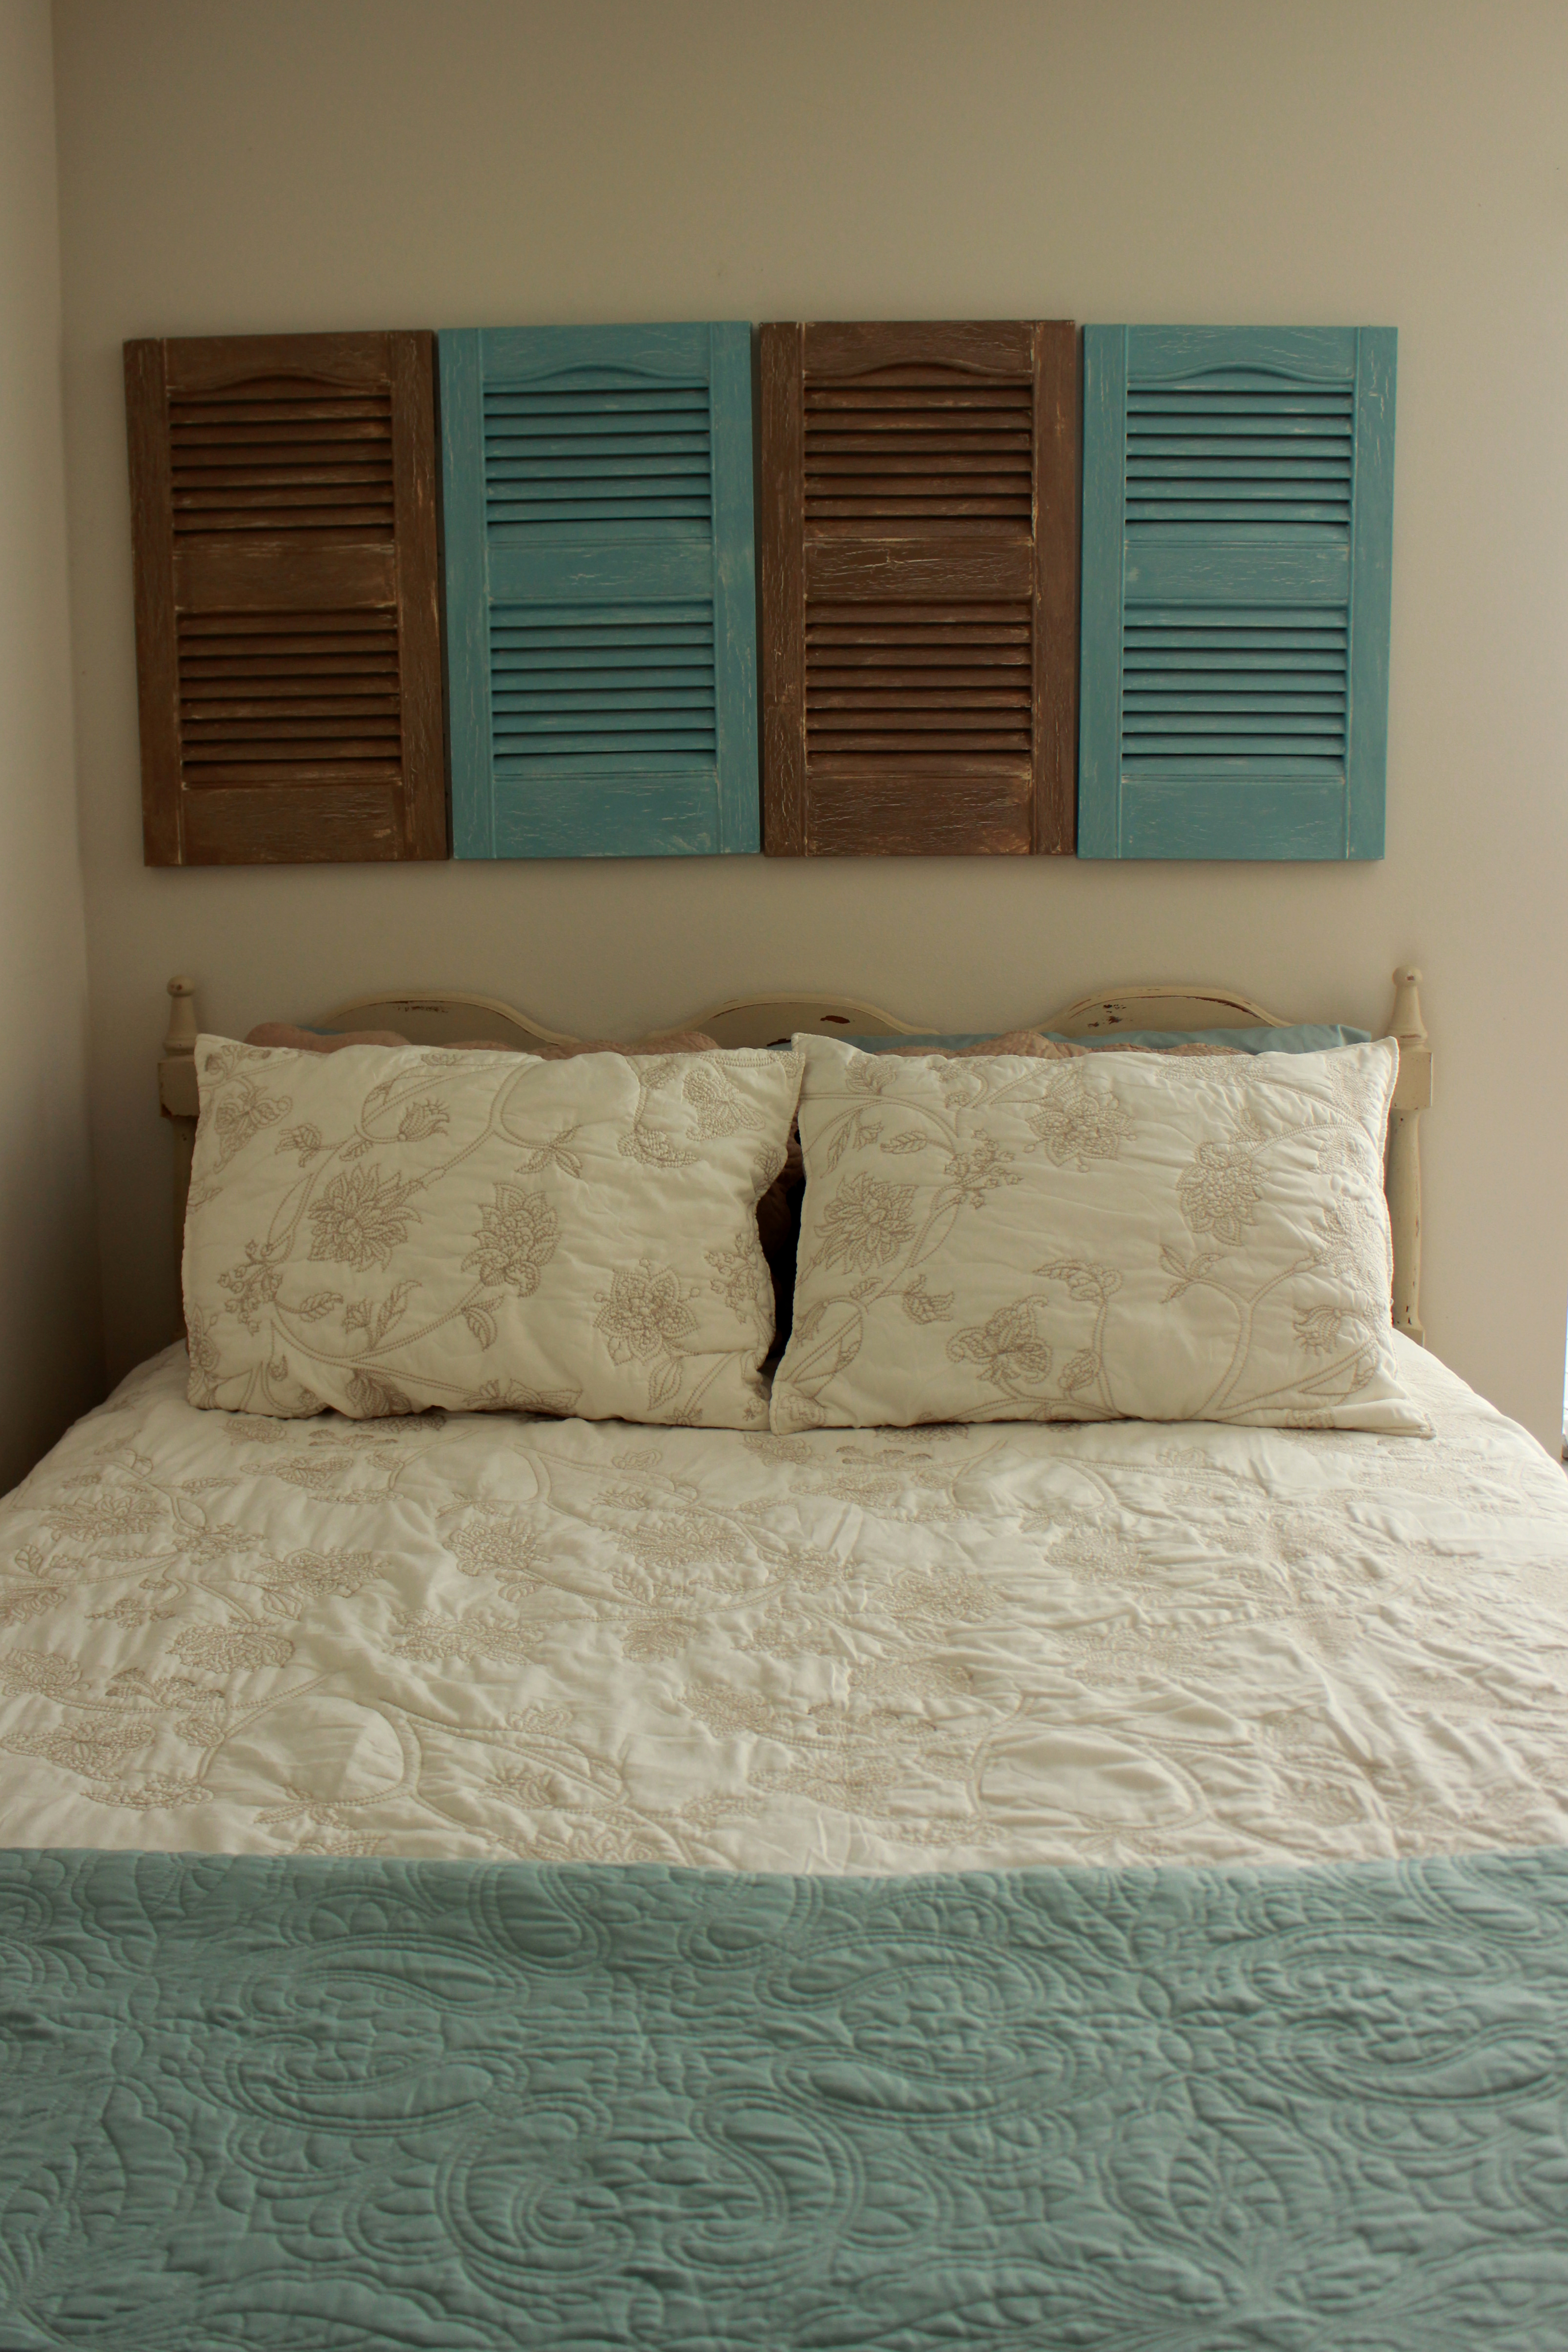
I have told you that I have become quite the scavenger for anything left on the side of the road. It’s worked out in my favor because not only did I get the old windows that look awesome in my house but I found a wooden headboard too! I briefly mentioned the headboard on my post about my shutter decor that was being used in the absence of a headboard back in October. Yes, this headboard has been sitting in my garage for about 6 months and I finally got around to finishing that project last weekend.
We needed a headboard in our guest bedroom but we didn’t want to spend a lot of money because when we move we plan to get new bedroom furniture and ours will be moved to the guest room. I saw this one on the side of the road and enlisted my dad’s help in getting it home. We keep joking that I need a little truck with all my finds on the side of the road but it’s true! My little car isn’t big enough these days! The great thing about things you pick up on the side of the road is if it doesn’t work out as planned then you can just put it back out on the side of the road and you aren’t out any money! It’s a low risk DIY adventure!
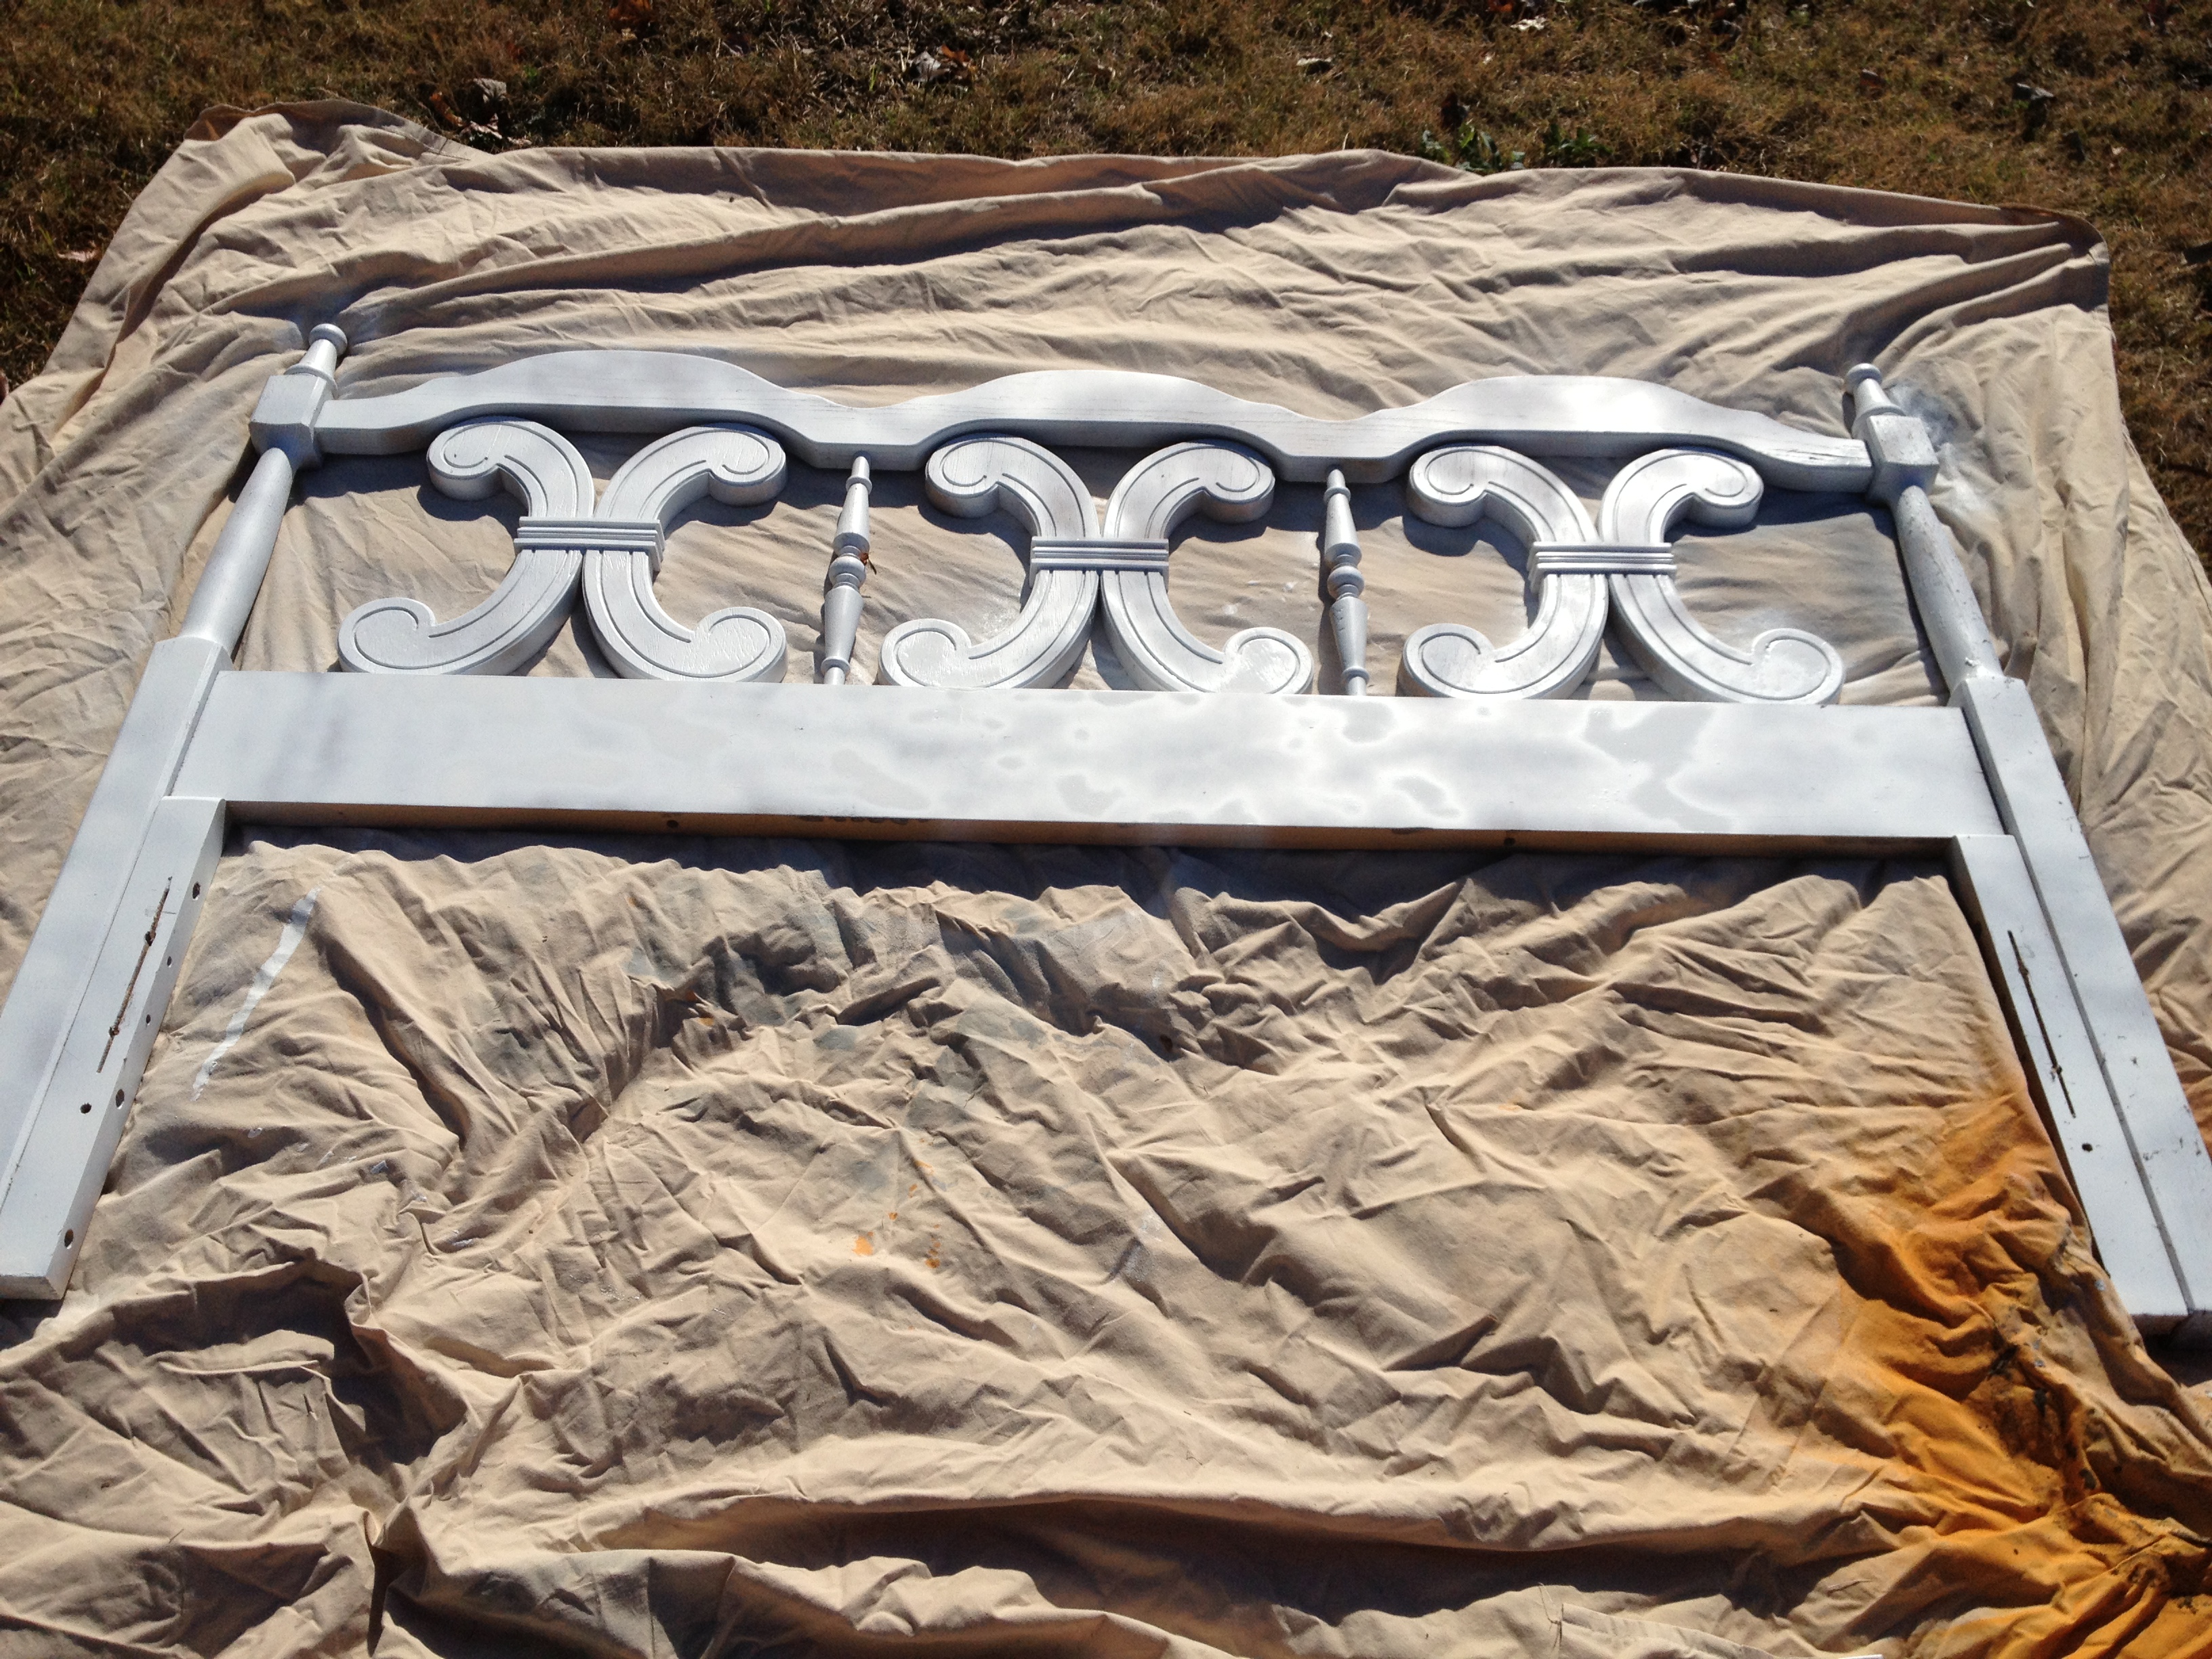
The first thing I did was wiped off the headboard with a wet rag to remove any dirt or dust. Then I used a spray paint primer to prime the headboard. Honestly I don’t think this step was necessary and I don’t intend to prime anything like this in the future.
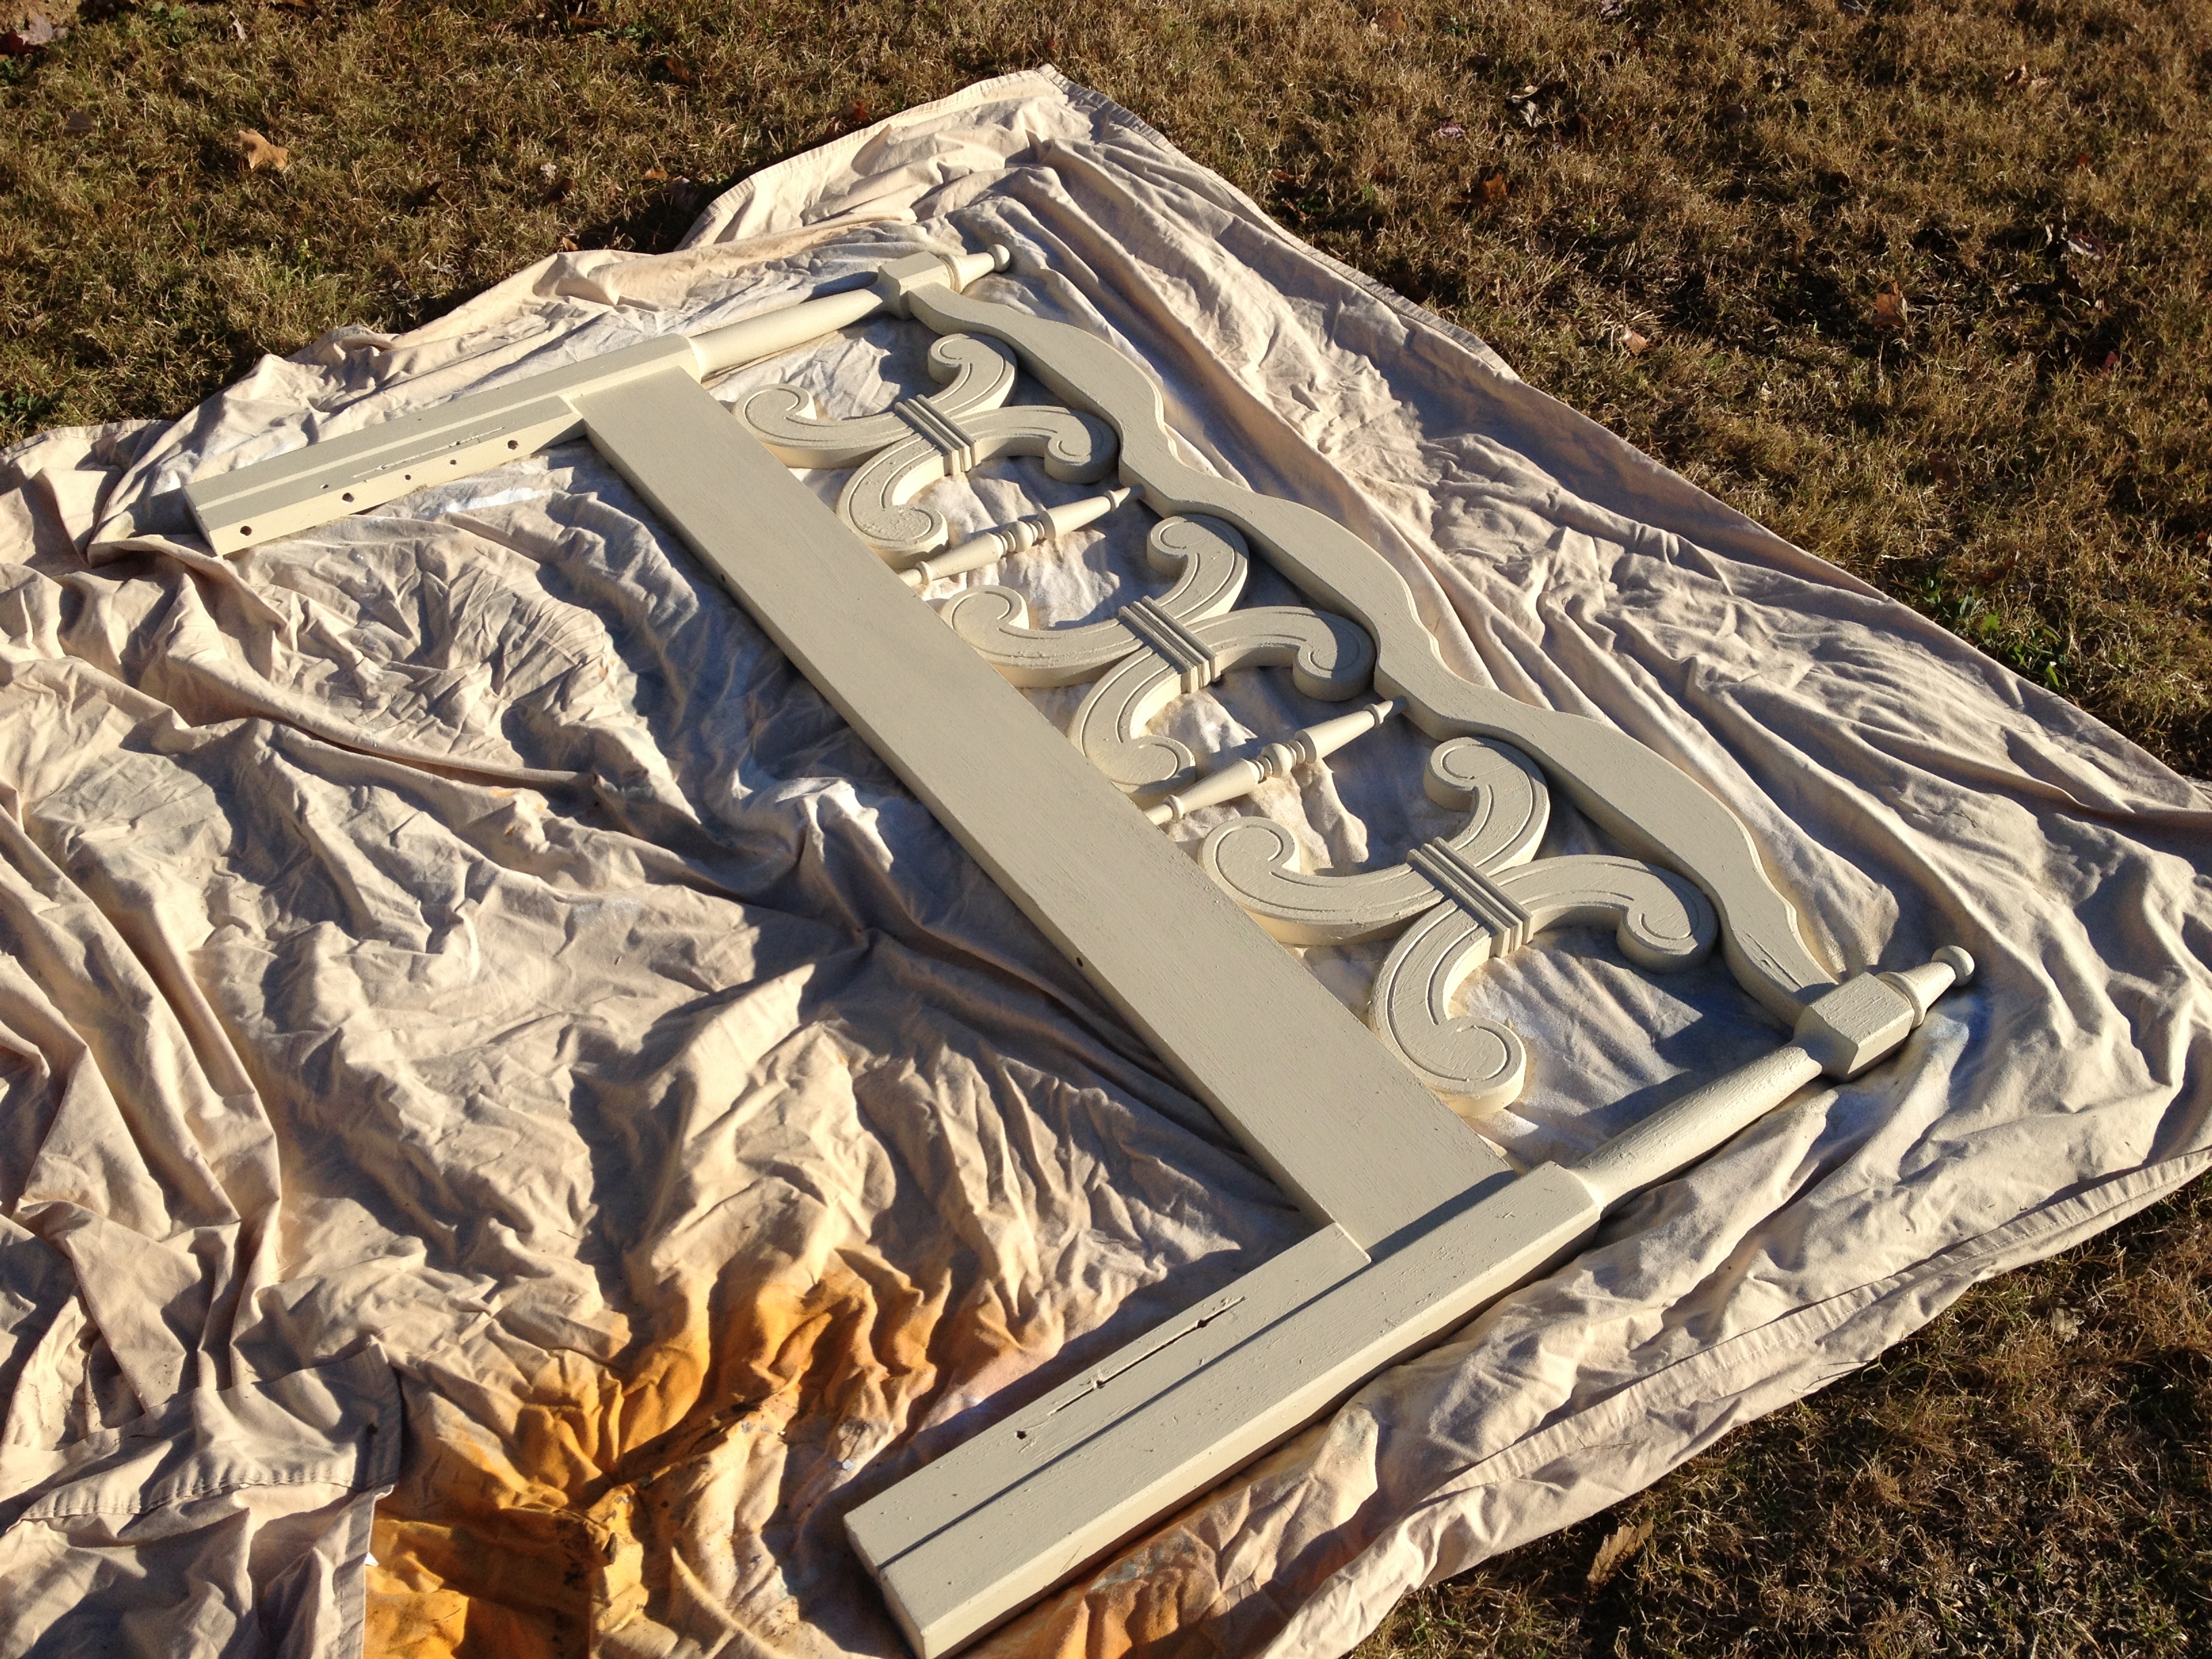
A lot of people are using chalk paint these days but I had some off white interior paint from Lowes leftover from another project that I thought would work perfect and it did. I painted the entire headboard front and back and make sure to get good coverage all over. This required a second coat of paint in a few areas.
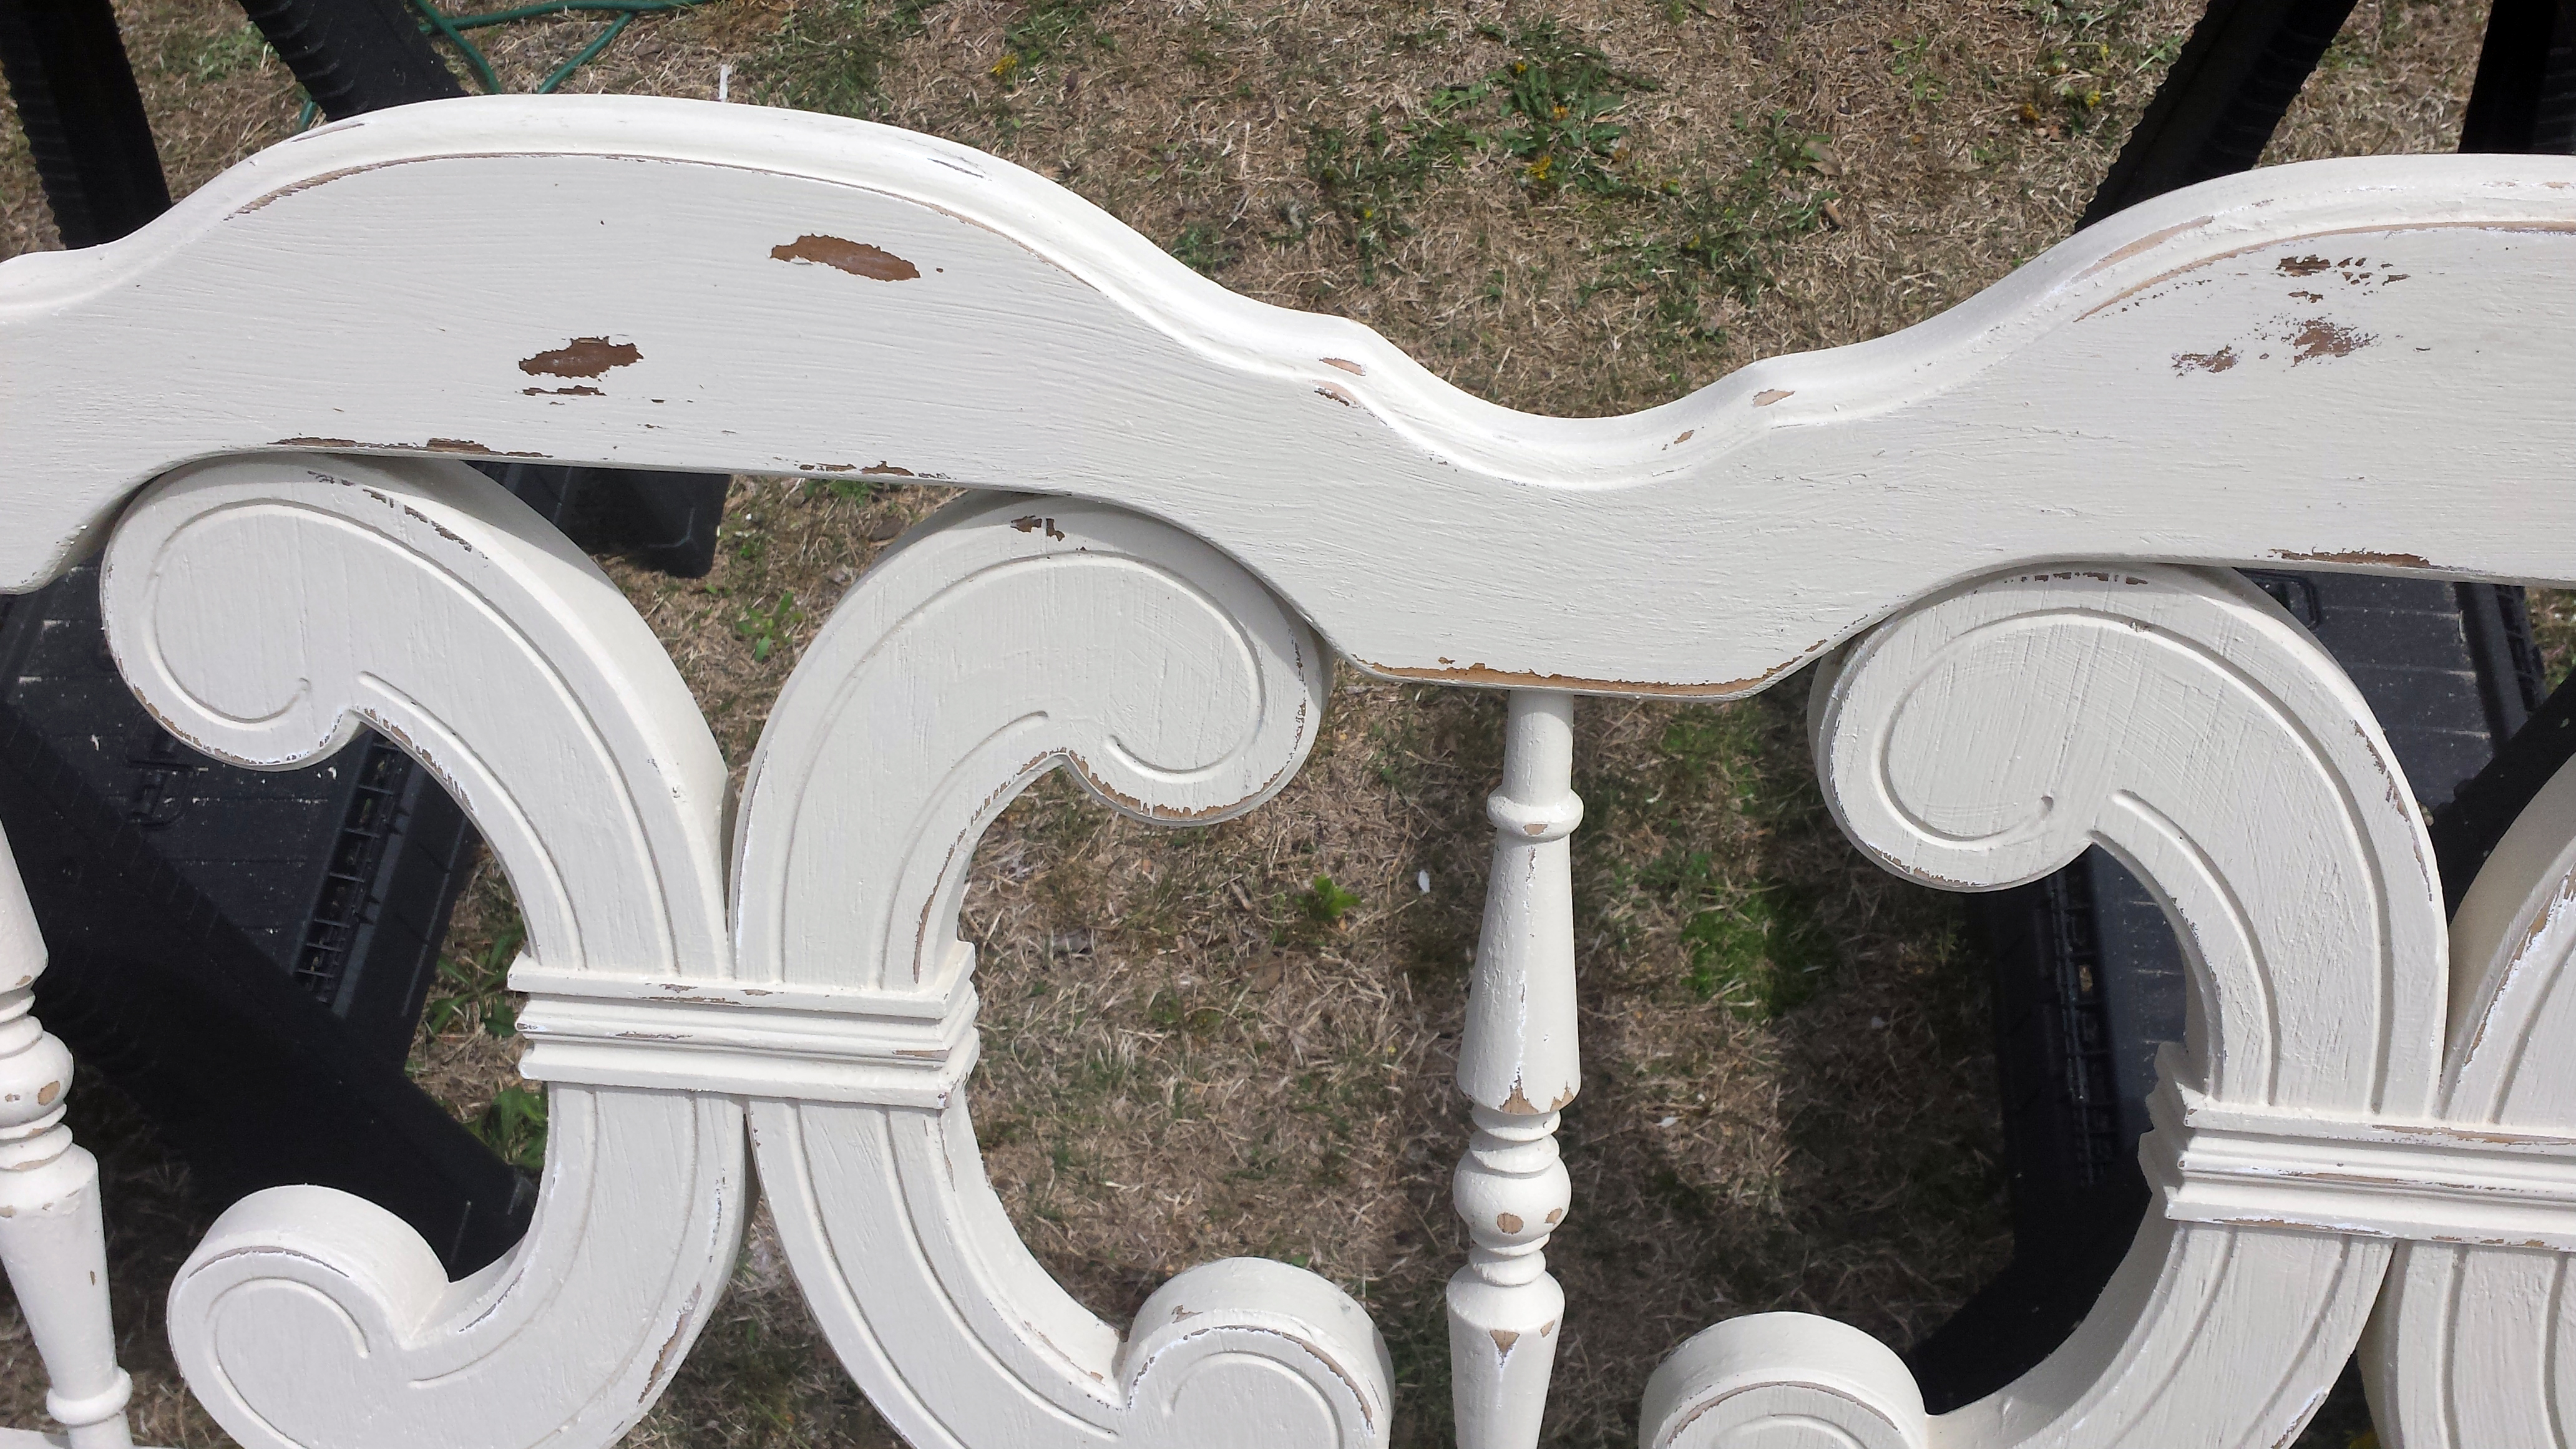
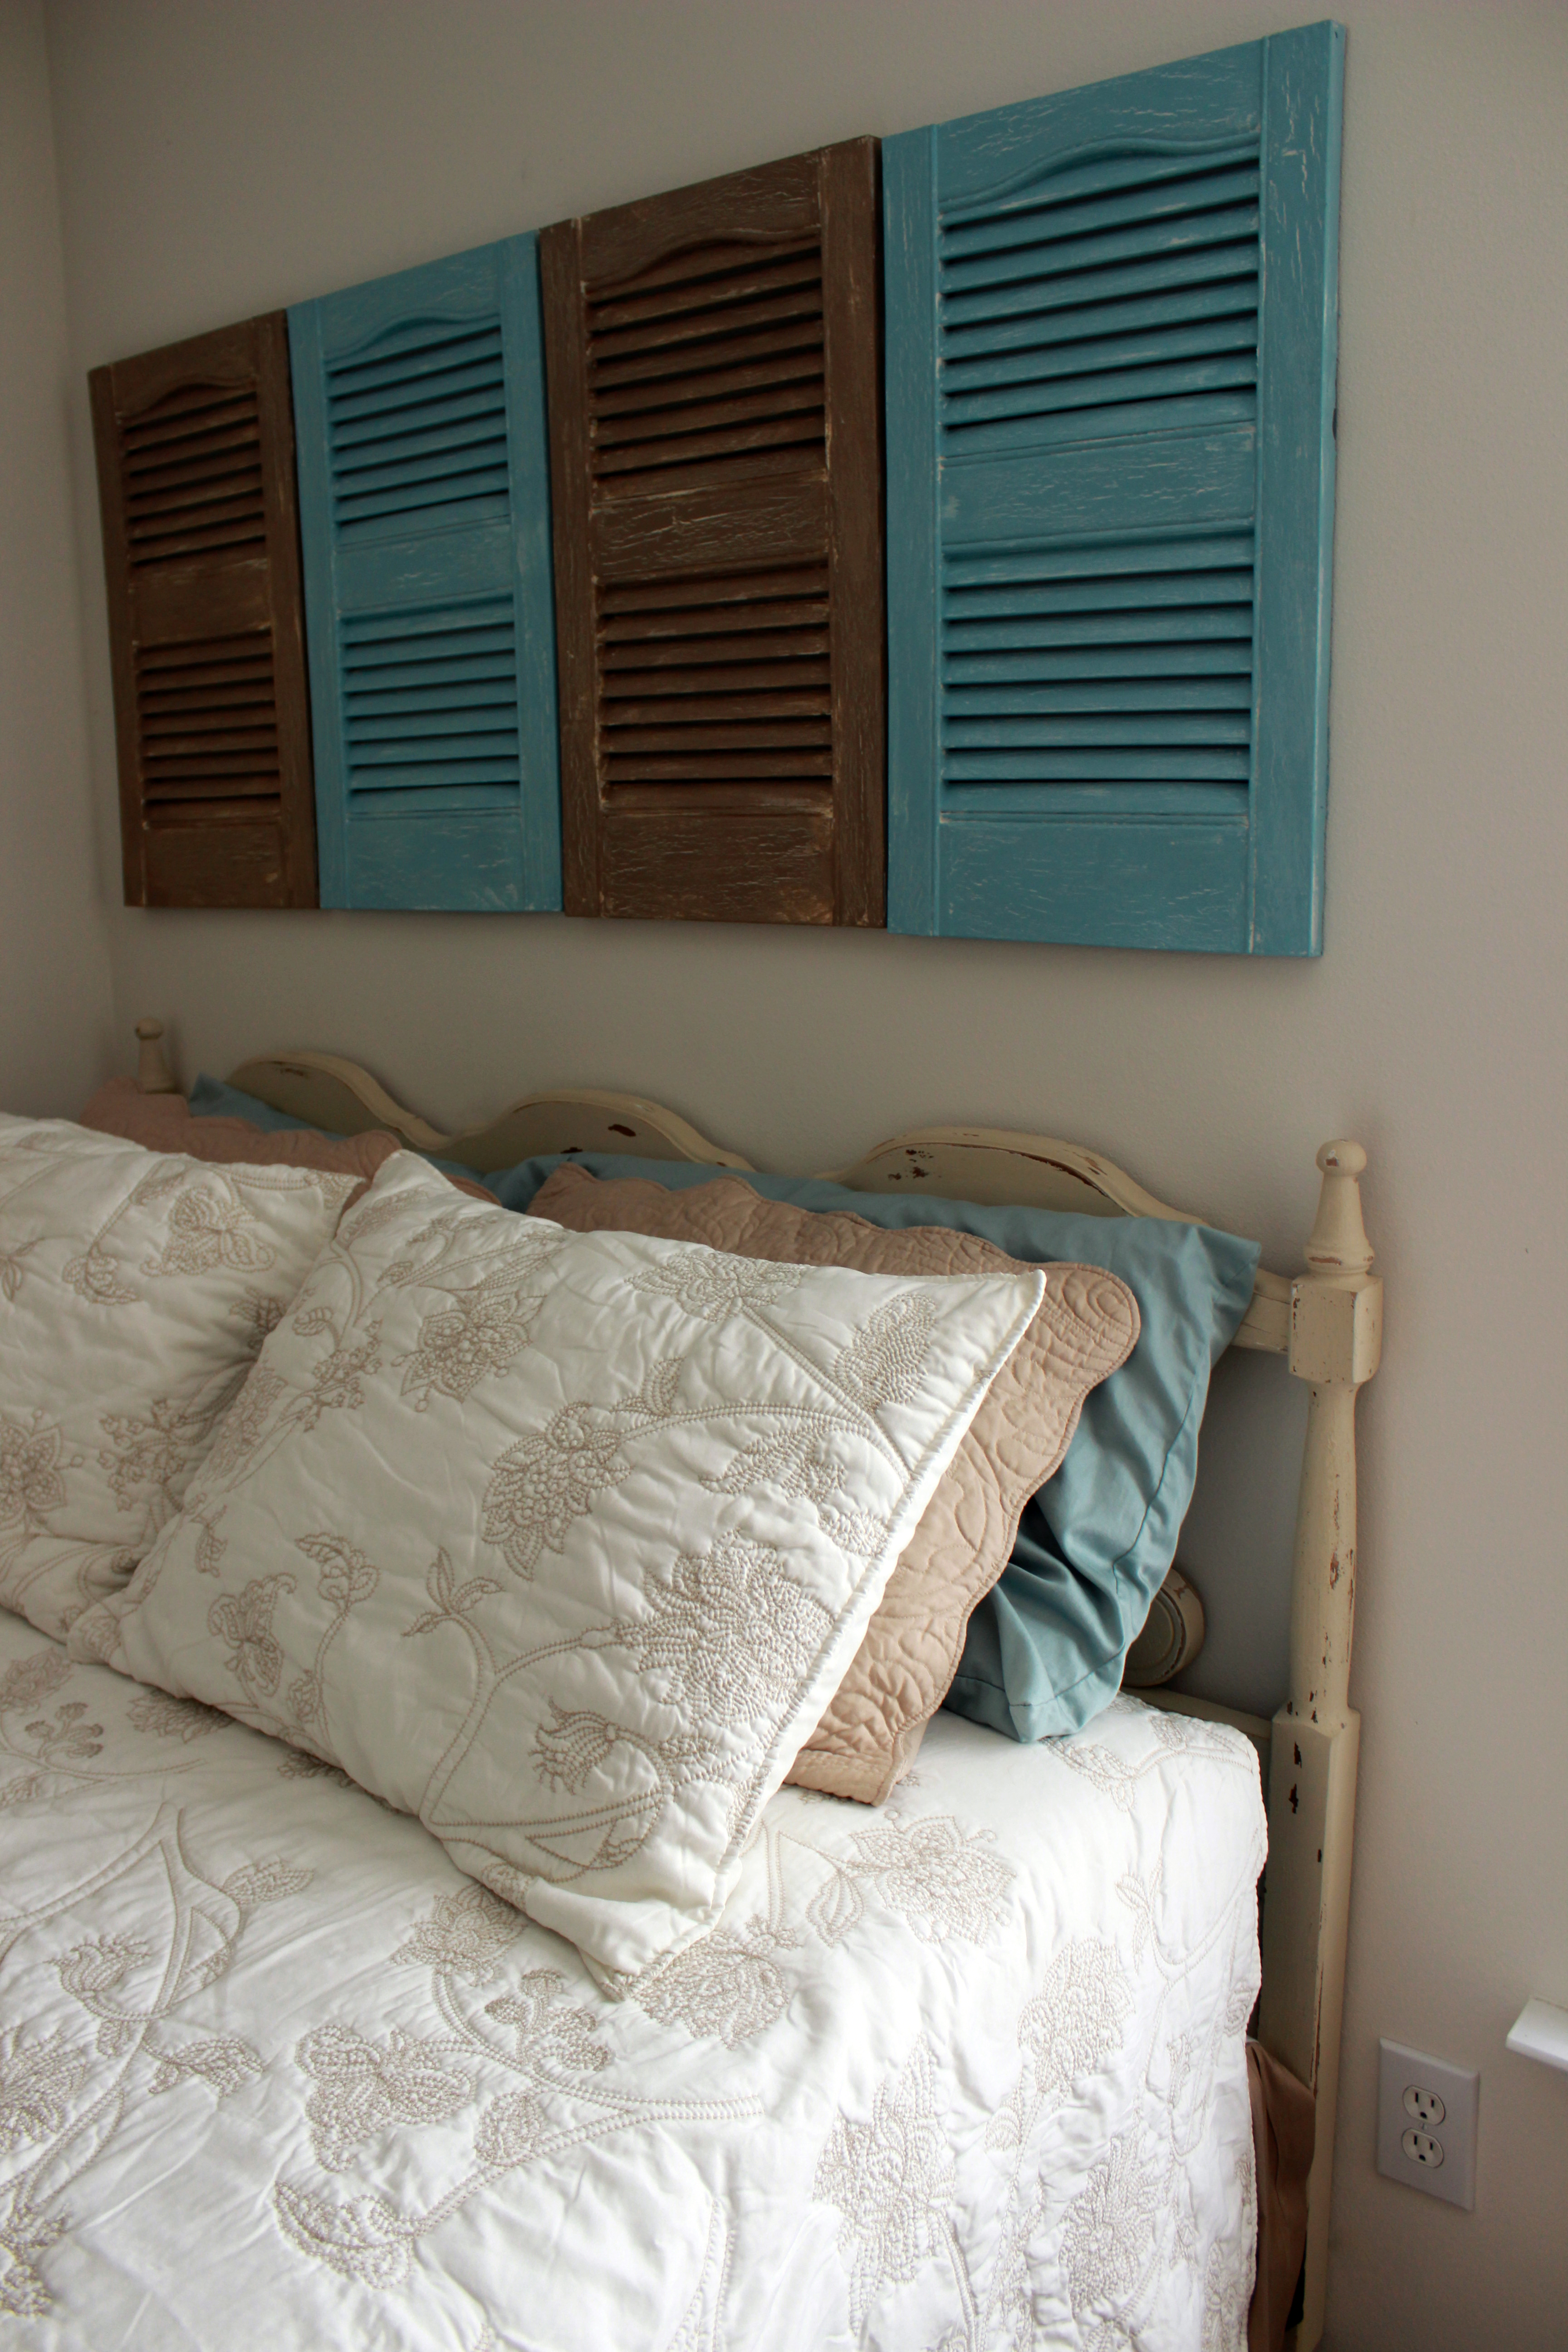
Once it was dry I used the Black and Decker Mouse sander and started distressing it. This was my first time distressing a piece and I loved it! There is no right or wrong way to do it, it’s super easy and it looks awesome. I just tried to distress randomly and focus on the areas that would most likely be bumped, scratched and beat up over time. I couldn’t be more pleased with the way this headboard turned out and it is perfect for the guest bedroom. Even better, I didn’t spend a single penny on this project. Free headboard + old paint = a Win for the Hamby Home!
Once we attached it to the bed frame we realized it sits a little lower than I expected but that just means the shutters get to stay where they are which works out just fine with me! This is how my free headboard looks now!

Now all I need is some throw pillows!