
DIY Grain Sack Ribbon

I often like to change up my ribbon on my Christmas trees so they don’t look EXACTLY the same year after year so I started shopping around and found the cutest grain sack ribbon that I was dying to order and use for my tree!
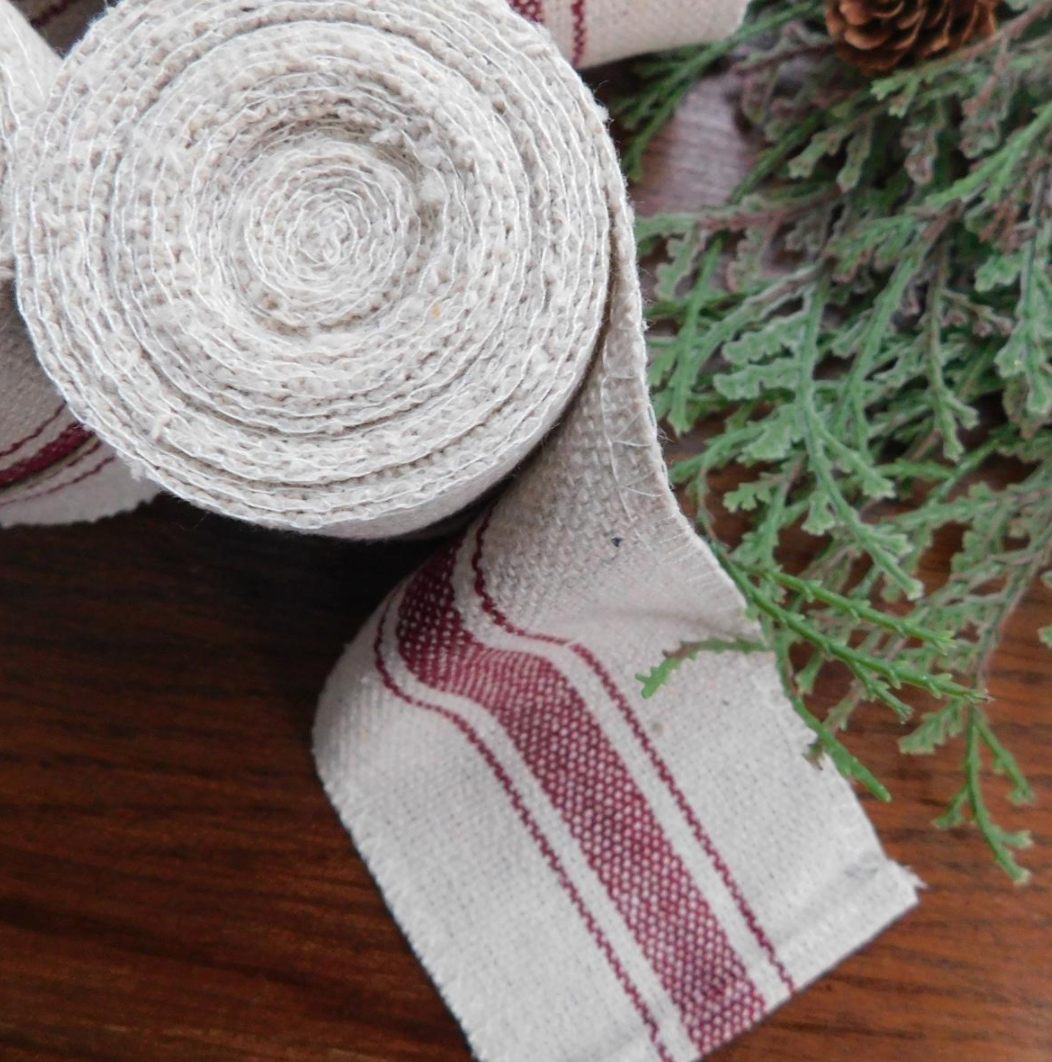
You can find it HERE>>
But as much as I love it, my frugal self just had a hard time spending what it would cost to get enough to use on my tree. Queue the debate over time vs money.. But once I got the idea in my head I had to at least try to DIY some just to see if it would work.
Supplies:
- Drop cloth – I ordered the 4 x 12 and used about half of it
- Painters Tape
- Foam Paint Brush
- Craft Paint
- Sand Paper or Sanding Block
DIY Steps:
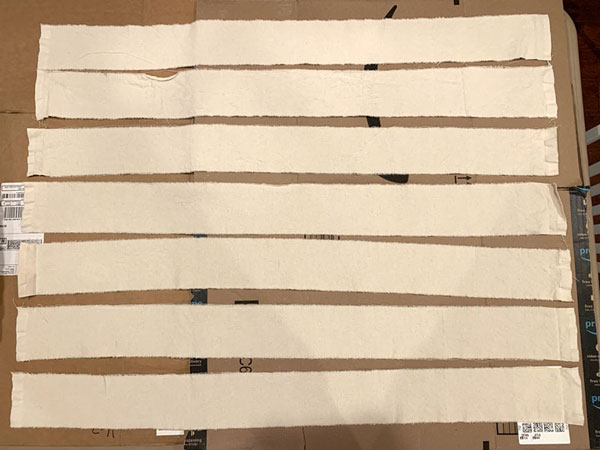
Step 1: Tear strips of Drop cloth
This was actually super easy to do. Just cut a couple inches at the width you want and just rip it apart and it surprisingly rips in a pretty straight line! I ripped mine to be around 4 inches wide and then 4 feet long.
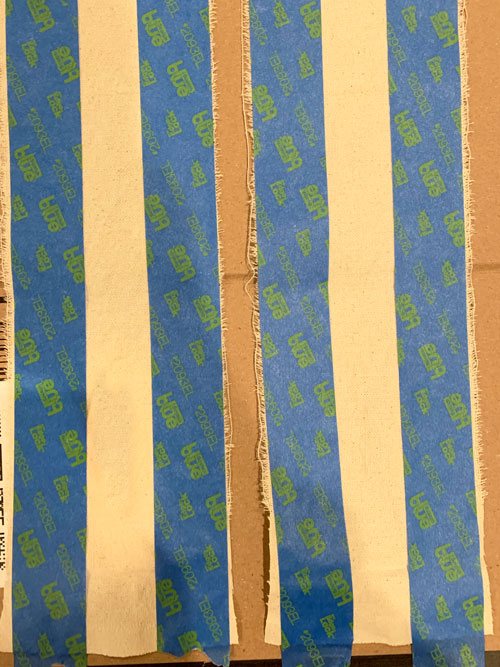
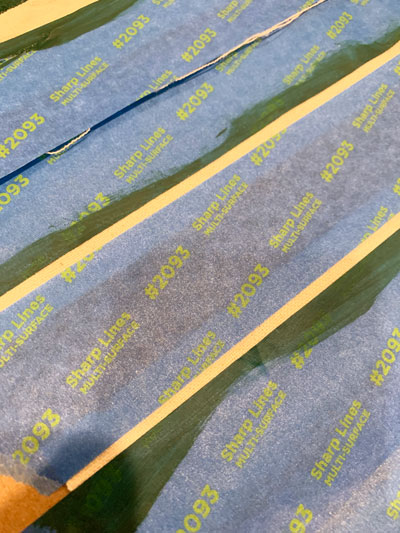
Step 2: Tape off for the center stripe
I had several rolls of painters tape on hand so I just started taping off the sides leaving the area in the center open for my middle stripe. Make sure the edges are pressed down and applied well to get a crisp line.
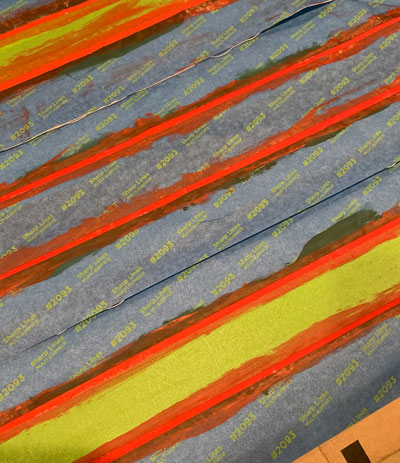
Step 3: Paint!
I used whatever craft paint I had on hand and decided to go with mostly green since I have some red ticking stripe garland. This just needs to be a quick and dirty paint job, no reason to worry about full coverage or perfection.
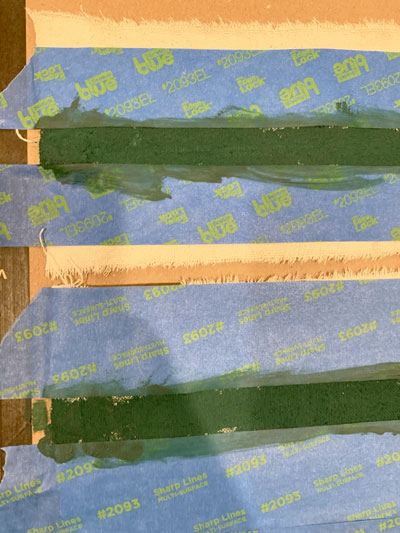
Step 4: Add More and Move the Tape
Luckily the drop cloth soaks up the paint pretty fast so by the time I got through all the middle stripes, the first ones were dry and I was able to remove that tape and reuse it for my smaller stripes. I started by applying a piece of tape along the center stripe. Just make sure the tape is wide enough to cover it and some drop cloth on both sides. Then I used the tape I removed and placed it on the outsides leaving a narrow strip of drop cloth on both sides of the middle stripe just painted.
Step 5: Paint Again
Same as Step 3, You can use the same color like you see in the inspiration ribbon but I decided since I was DYing it, I’d customize it to be red and green.
Step 6: Remove Tape and Let it Fully Dry
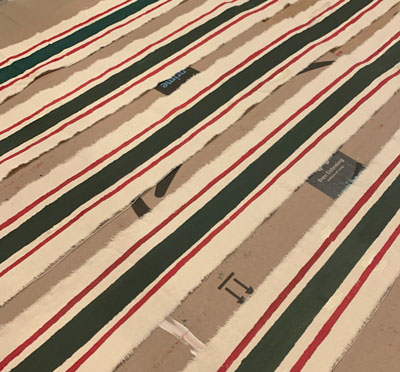
IF you have any areas where the tape didn’t seal great (I had this because I used boxes underneath and didn’t have a flat surface), you can mix some craft paint to a similar shade of the drop cloth and clean up those areas and it hides those imperfections pretty nicely!
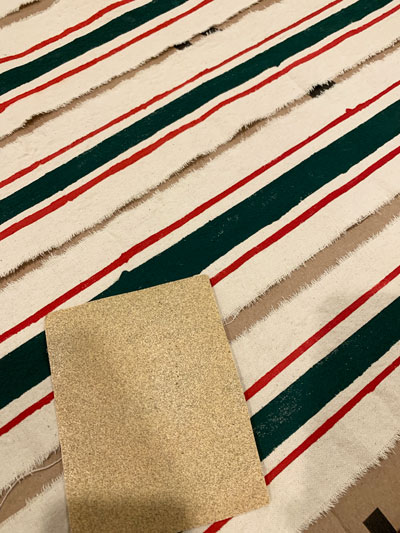
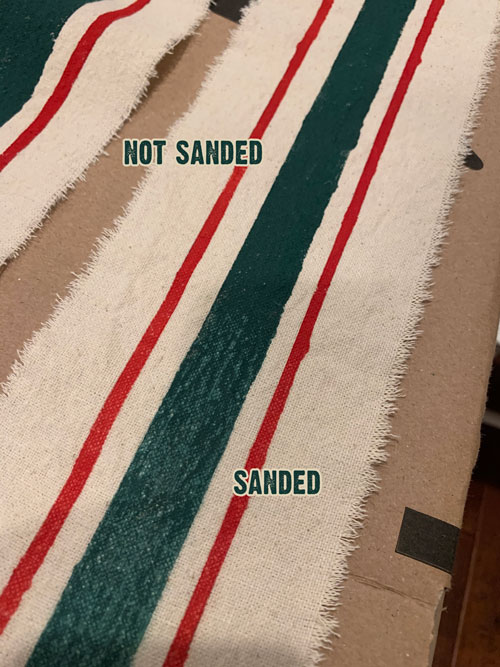
Step 7: Sand
I think this step is what really makes it look like grain sack vs just striped ribbon. It also helps hide any imperfections. I just took some sandpaper I had on hand and ran it along the stripes to give it a more distressed appearance.
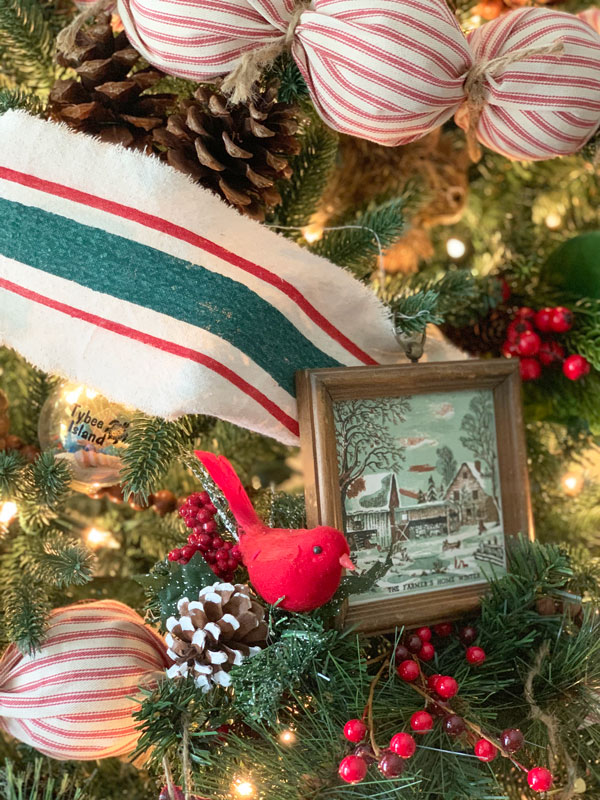
I used about 9 strips of 4 foot ribbon on my tree (approx 36 yards) and since all I had to buy was the dropcloth it only cost me $16 and I still have around half or more of the dropcloth to use for future projects. So that’s a little more than if I purchased 5 rolls of the grain sack ribbon I found which would have cost me $65 + tax and shipping.
So I’d love to hear.. Would you attempt to make your own DIY grain sack ribbon to save around $50? I’m still not sure if it’s better to spend the time or money but I love the sense of pride you get with a DIY and love that I was able to customize it to be red and green!