Plaster Lamp Makeover
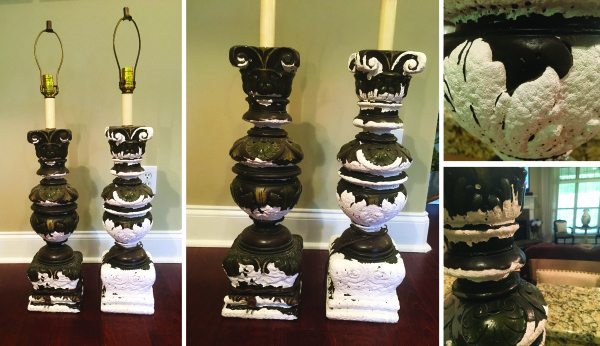
Early last fall I went with my friend Diann to a local flea market for the first time. We go twice a year to the Nashville flea market with some friends which is always an awesome flea market so this one seemed somewhat like a bust at first. As we were leaving I saw these two lamps sitting in the grass. They were in pretty rough condition but I couldn’t get over the shape and size of them! These are extremely heavy lamps and the base is about 2 foot tall. I figured they would be out of my “makeover worthy” budget but asked anyways and the guy told me $10 for the pair…SAY WHAT?! STOP IT and TAKE MY MONEY! I don’t know if you’ve been lamp shopping lately but they get pricey even at Target and Walmart.
These lamps were made of plaster and had some sort of top coat on them (the brown) that was chipping off in areas and on one of them worse than the other but I figured they could be salvaged with a little love.
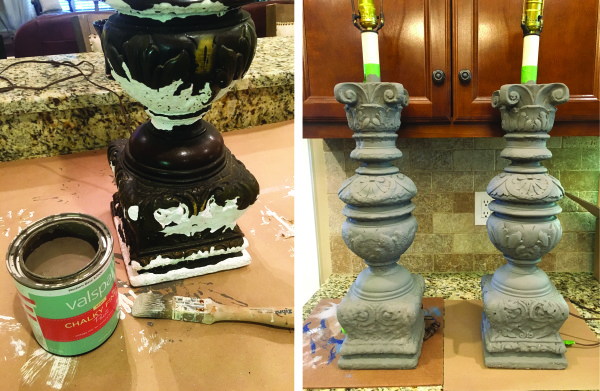
When I’m crafting I try to use what I already have on hand as much as possible. Paints and supplies add up. I decided to use this greige color from Lowes for the base coat that i had used on a previous project. I didn’t worry about the broken plaster, I just painted right over everything until I got a solid coat of paint covering both lamps.
Once that was completely dry, I used a dry brush technique to lightly brush on a creamy white (Valspar Kid Gloves color) chalk paint and then wiped it off using an old t-shirt.The key to this technique is very little paint and light brush strokes.
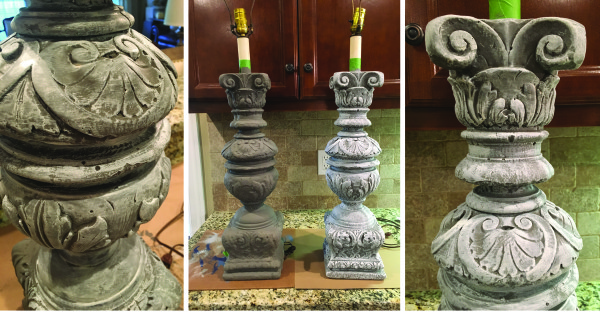
Now, honestly, I could have left them like this. I actually really love the look but it was a little too gray and cool toned for my warm toned house. If I had used warmer toned paints to begin with I probably could use done without the wax but as I mentioned, I was trying to use what I had on hand.
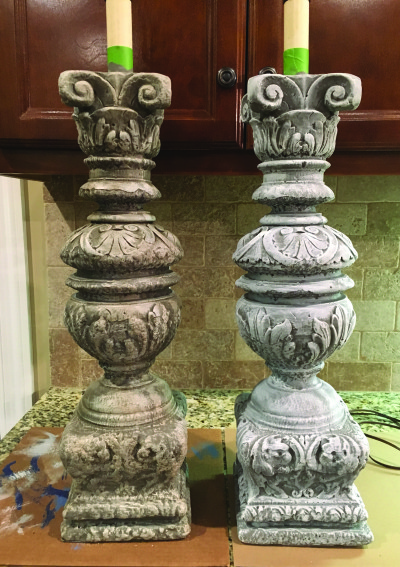
So then I just took some dark wax I had and lightly waxed the entire lamp to warm up the colors a bit and the buffed as much off as possible to keep as much of the contrast. Here is the waxed vs not waxed so you can really see the difference.
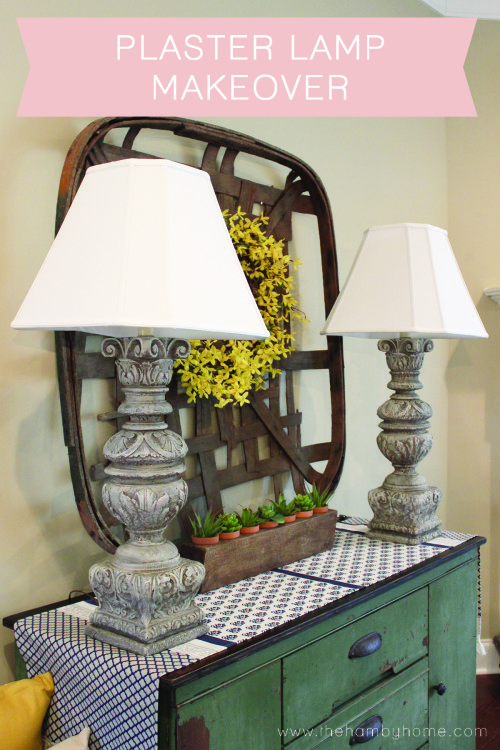
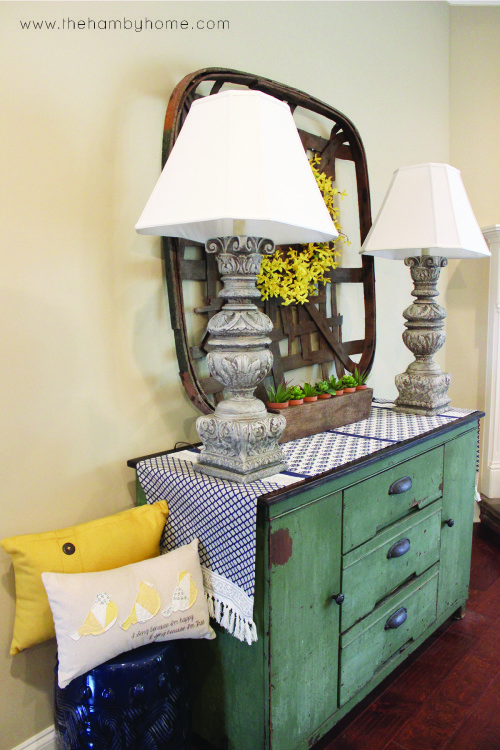
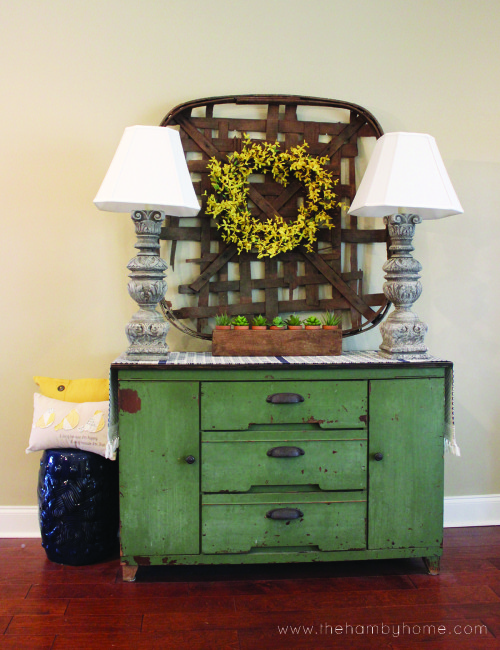
I bought some shades from Target and Voila! I love that they are something unique that nobody else has and that I only spent $10 + Shades on them since I had all the supplies!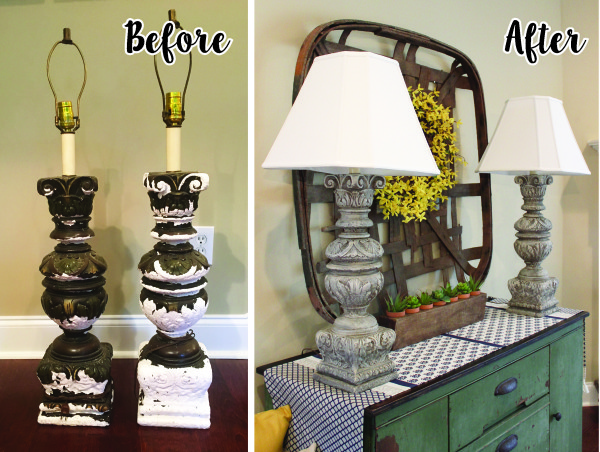
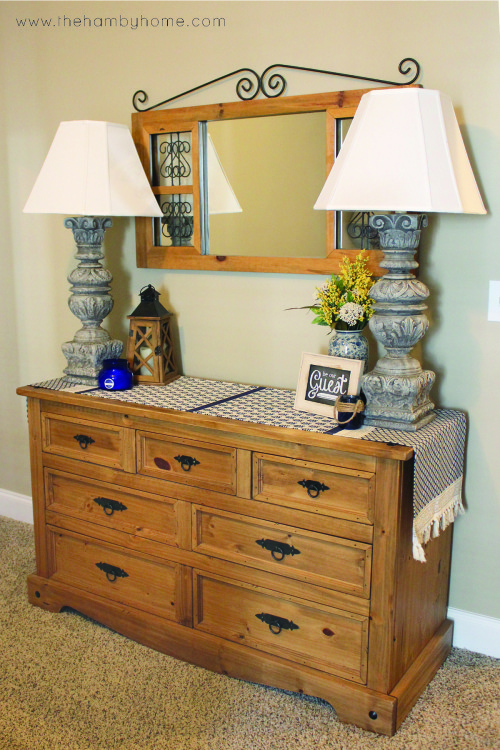
I’ve used them in our guest room and our living room and once we get larger nightstands, I plan to move them to our bedroom!

