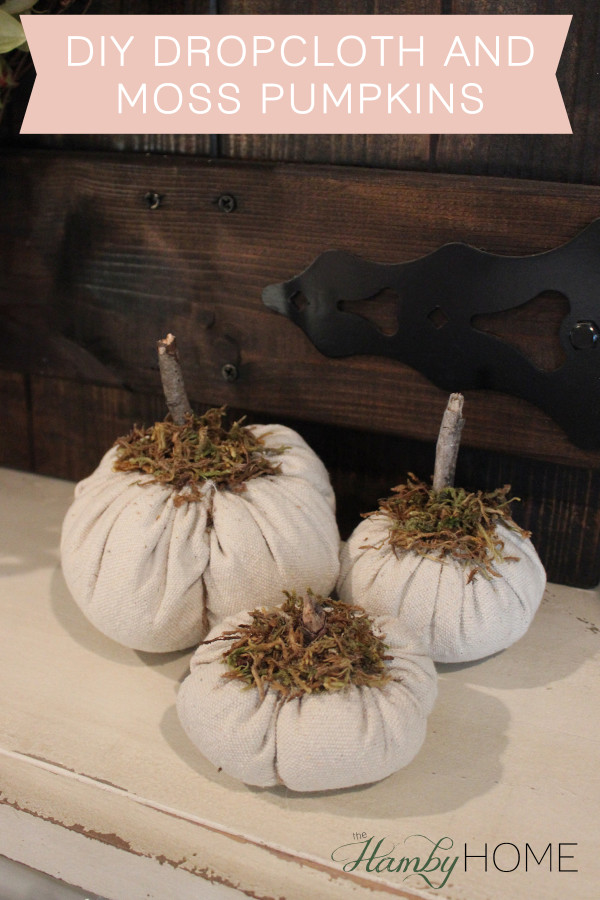
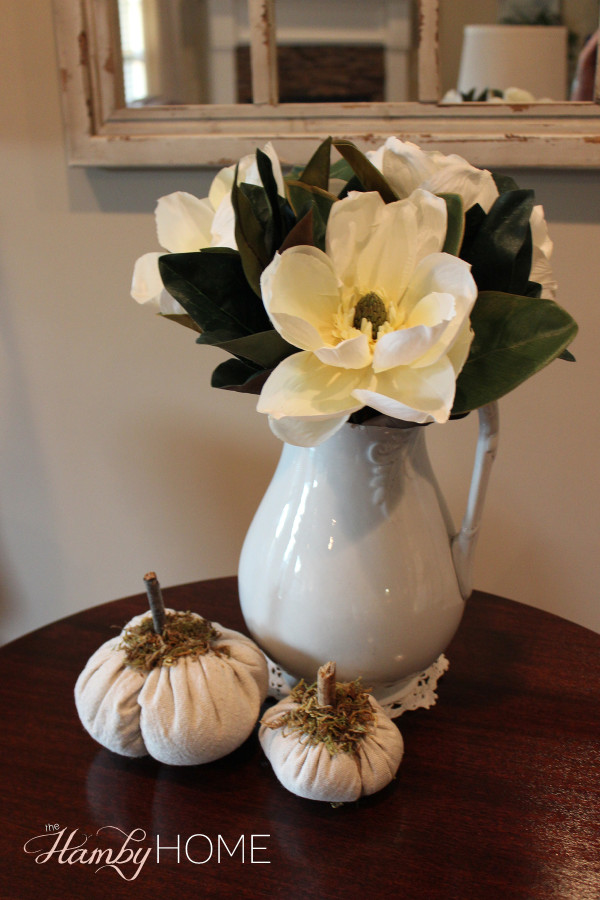
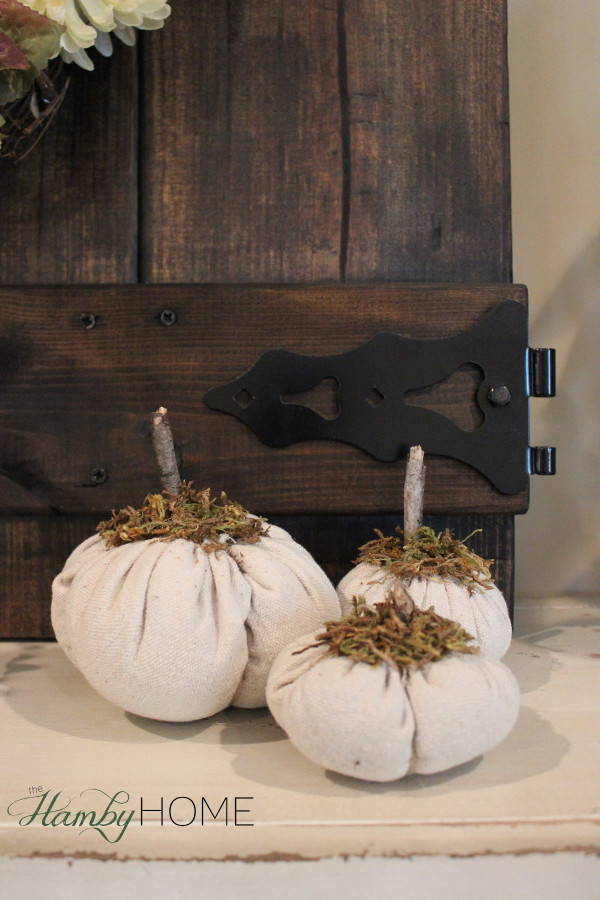
DIY Dropcloth and Moss Pumpkins
I keep seeing DIY fabric pumpkins and I LOVE them and knew I wanted to for this upcoming fall. I was having a craft night with some of my husbands family and decided it was the perfect project to do together. We decided to work on these in pairs to speed up the process and it also made it easier to have two sets of hands to stuff and tie it off. Bonus: Aunt Sharon did all the stitching since that’s not a skill set of mine 🙂
Supplies Needed:
- Dropcloth
- Needle and Thread
- Pollyfil
- Moss
- Stick
- Hot Glue
- Jute Twine (Optional)
Steps:
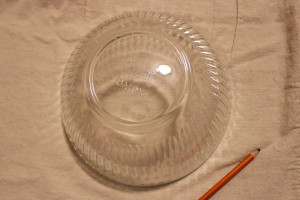
Step 1: Trace a circle onto the dropcloth using anything round to trace. We used a medium bowl for the small pumpkins and a trash can lid for the larger ones.
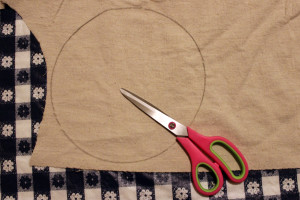
Step 2: Cut out the dropcloth circle
Step 3: Thread your needle (Double threaded if possible). Using a basic stitch weave your needle in and out around the entire circle. Gently pull your string so it cinches your dropcloth leaving enough room to stuff the polyfill.
Step 4: Stuff the dropcloth pouch with polyfill. We tried to fill it as much as possible Then gently pull the string ends as tight as possible and tie it off. I say gently because we broke our string a couple times and had to start over. The hole on the top varied between hardly any space at all and about an inch depending on the amount of stuffing but the moss will cover it so I didn’t worry about it.
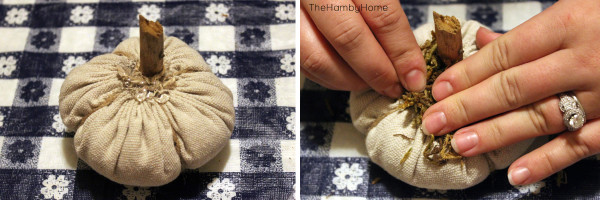
Step 5: This is optional, we did some with and some without. Take a strand of jute twine underneath and tie at the top to give it more of a real pumpkin shape. Repeat and tie another strang perpendicular to the first. Trim or tuck in the ends of the twine.
Step 6: Insert the stick into the top opening. I used any extra twine to secure the stem for extra sturdiness.
Step 7: Hot glue the top hole to secure the stem and also wherever you want the moss to stay.
That is all it takes! These took less than ten minutes a piece since we were working together. I love how they turned out and I especially loved the price, the only supply I needed was the polyfill and it was $5 for a large bag. We made 4 larger ones and 6 smaller ones and I still have supplies to make many more. I don’t know where I’m going to use them yet since I don’t have all my fall decor out but I’m sure you will be seeing these beauties!

