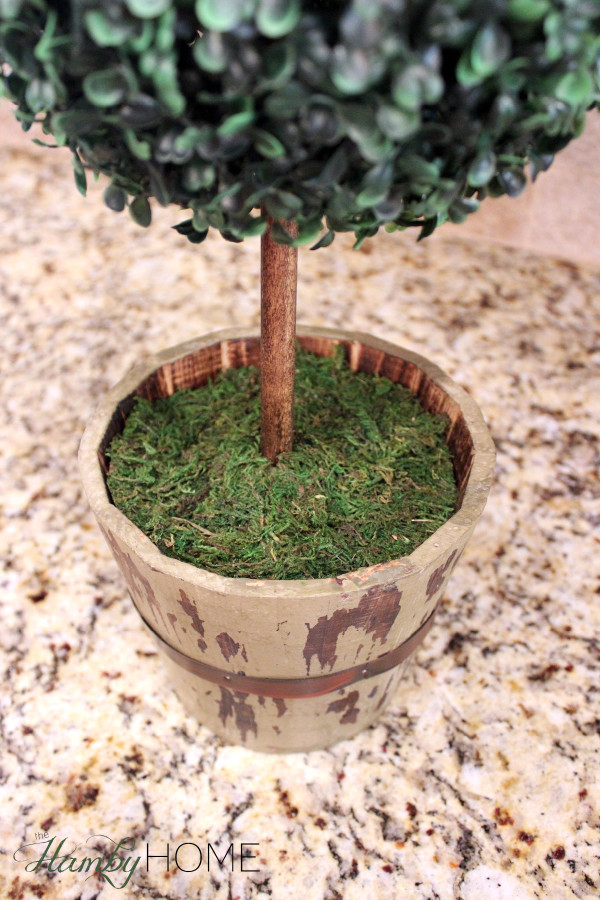
DIY Boxwood Topiary
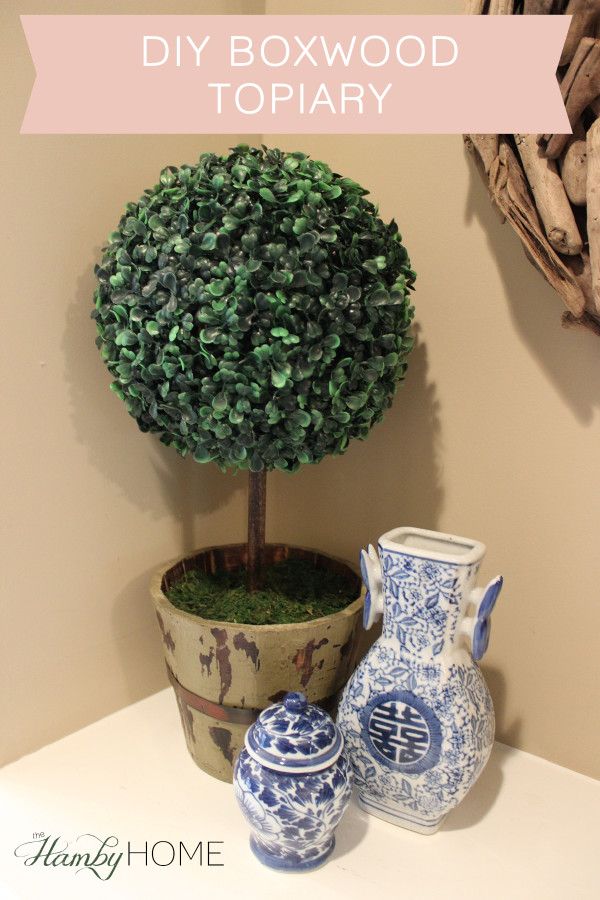
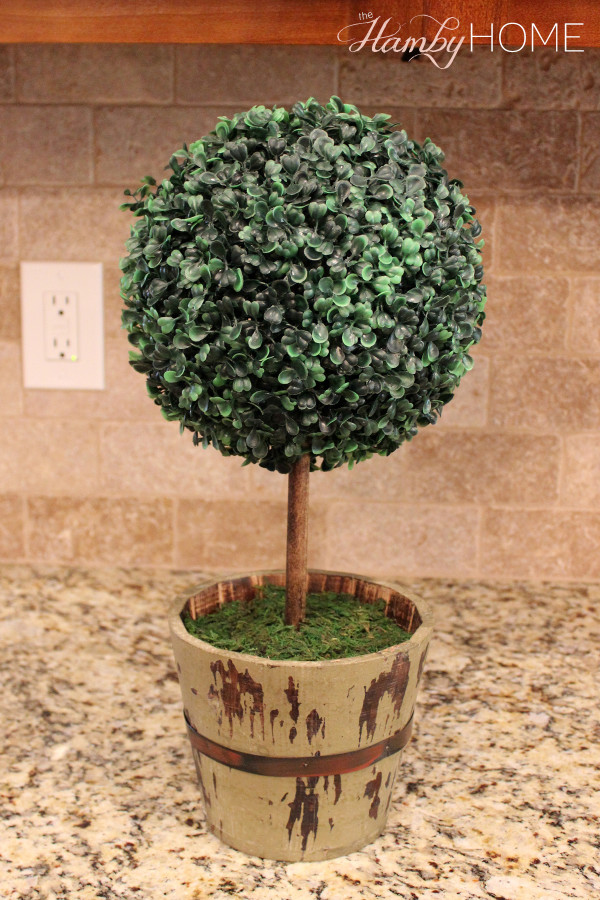
I was at Hobby Lobby last weekend and found the cutest little rustic bucket and since it was 50% off that week, I just HAD to bring it home. It would be super cute with some hydrangeas in it but since I didn’t have any at the time, I used all supplies I had around the house to make a topiary.
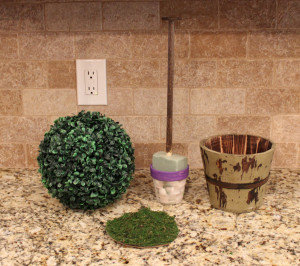
Supplies Needed:
- Boxwood Ball
- Wooden Dowel
- Stain
- Floral Foam
- Moss – I used the scraps left over from my Moss Initial
- Hot Glue
Here is how I made it:
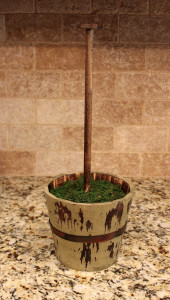
- Using my mider saw, I cut the wooden dowel that I had in my stash of wood scraps to the height that I wanted my topiary. I also trimmed the end of a paintstick to put on the end to keep the dowel from going through the top of the boxwood ball.
-
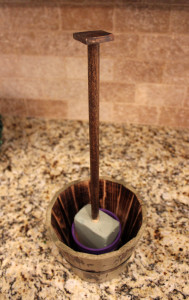
Next I stained the dowel and hot glued the paintstick end on the top.
-
I used an extra clay pot I had messed up painting with some floral foam inside to keep the dowel sturdy and straight in the bucket. A larger block of floral foam would work as well.
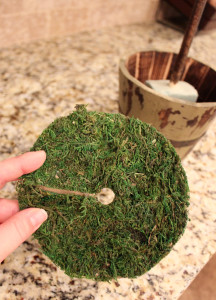
- I traced around the bucket onto some cardstock and cut it smaller to fit inside the bucket. I hot glued my moss scraps onto the cardstock and placed it in the bucket.
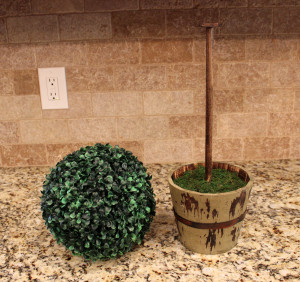
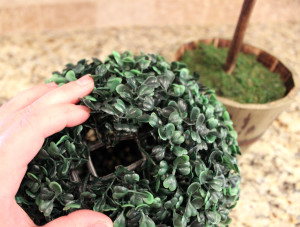
- I clipped a little section of the boxwood ball and just put the ball onto the dowel.
That’s all! I didn’t take pictures of the process because it was so simple and I didn’t know if I would share this but I loved how it turned out and thought someone may find this helpful! Luckily I’m a craft and home decor hoarder and had all of these supplies already which made this a very inexpensive project.

