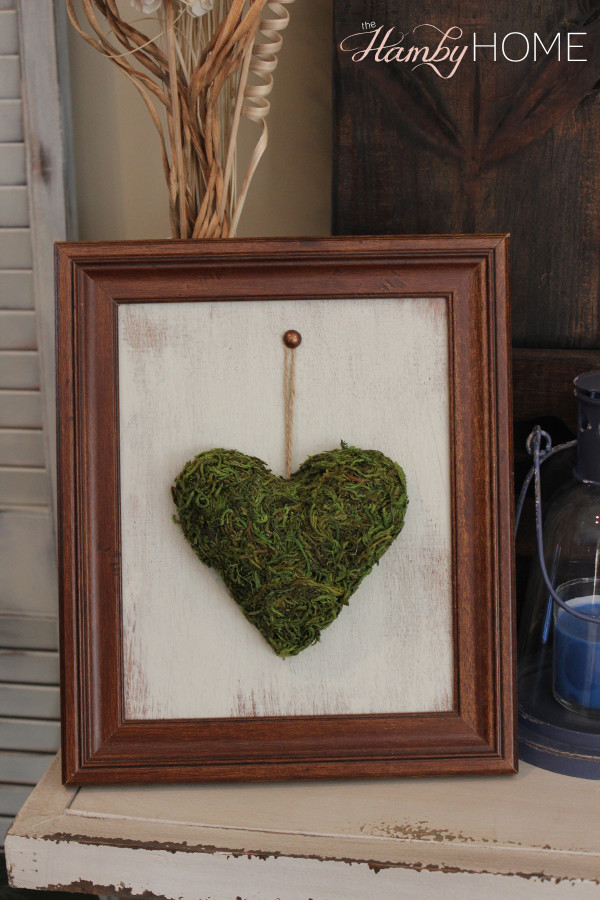
DIY Moss Heart Art
Some of you may have seen my periscope this past weekend sharing this project and the details but I thought I’d share it on the blog as well. You can follow me on Periscope, the username is hambyhomedecor.
I picked up this moss heart at Michael’s with their Summer 70% off sale. I didn’t have any plans for it but I love moss décor so I had to bring it home. I had some scrap wood that was left over from these DIY signs and thought it’d be cute to use the moss heart on one and that is how the project was born.
Supplies:
- Wooden Back – mine is 8 x10 thin wood paneling cut from Home Depot
- Moss Heart – Michaels $7.99 with 70% off
- Hot Glue
- Twine
- Upholstery Nail
Steps:
Step 1: Roughly Paint and Dress wooden back. I just used paint I had around the house and didn’t worry about full coverage. After it was dry, I roughly sanded it up.
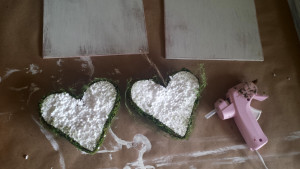
Step 2: Cut the Moss Heart in half. This moss heart was really thick and wouldn’t lay flat so I took a serrated knife and gently cut it in half trying to keep the halves as intact as possible.
NOTE: The moss heart has a mesh cover to keep the moss intact, one of the halves kept the cover and the other did not.
Step 3: Hot Glue the twine. The heart came with hanging by twine so I added a twine hanger to the half without it. Glue it where it looks like it’s hanging but the bottom edges will be covered by the heart.
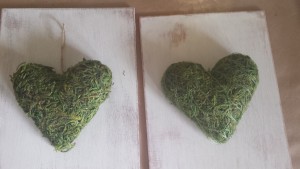
Step 4: Hot Glue the edges of the Moss heart and press onto the board.
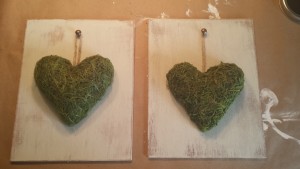
Step 5: Hammer an upholstery nail to the top of the twine hanger so it appears like it’s hanging by the nail.
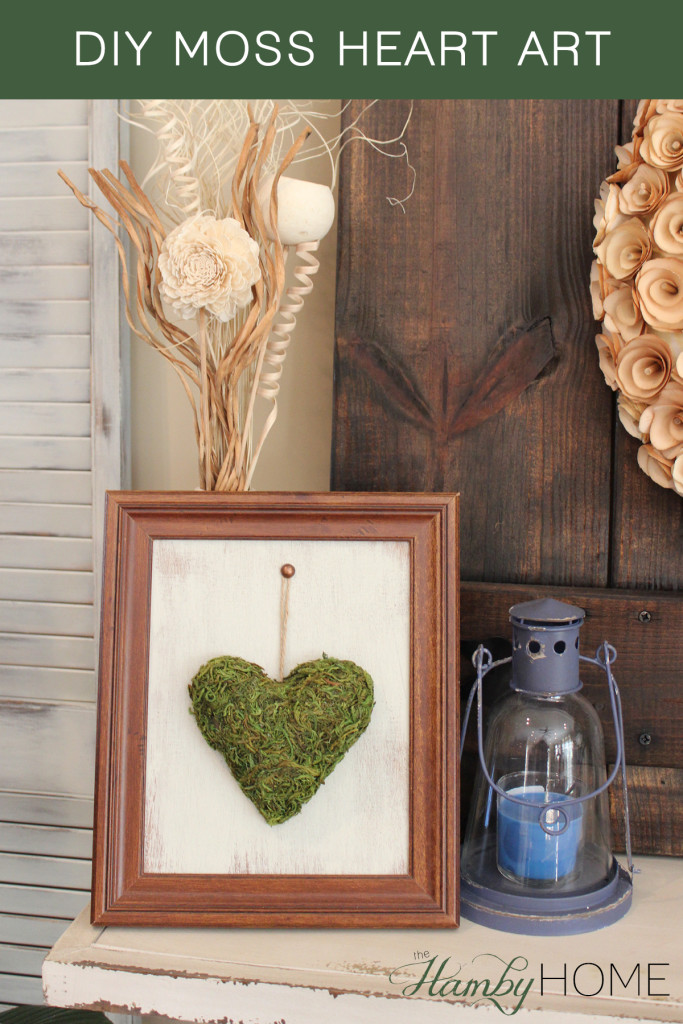
That is all there is to it! This project took about 10 minutes for both and was so inexpensive since I had all the supplies around the house. I put it in a simple wooden frame that was given to me and just removed the glass.
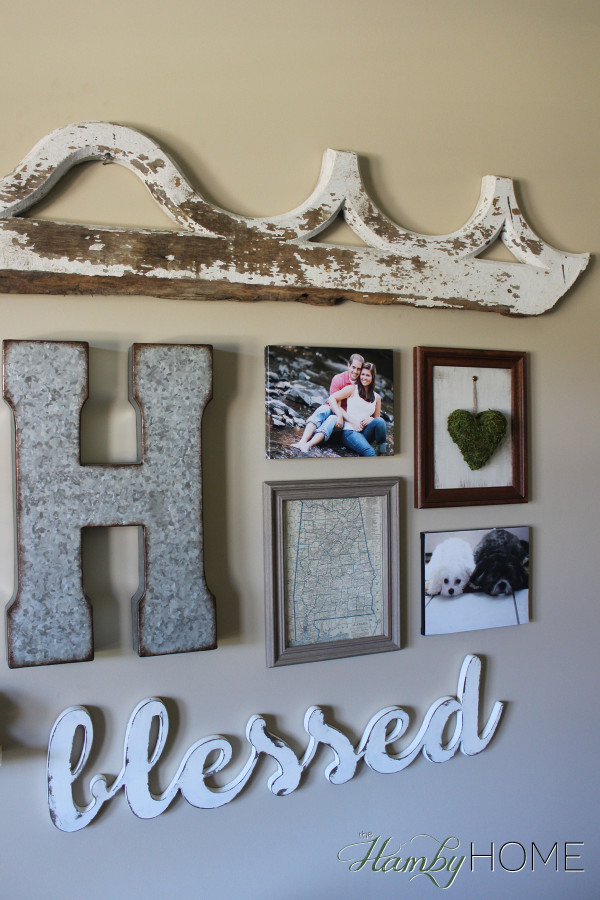
And since then I’ve added it to my office gallery wall that you can find HERE.

