DIY No Sew Dropcloth & Lace Pillow Covers
What do you do when you have left over drop cloth from these DIY curtains and leftover lace from these curtains…well you make matching pillow covers of course! Let me be honest…I DO NOT SEW!!! My husband has a pair of pants that need a button sewed back on and he should just take those to the alterations place…I just don’t do it. I usually save up all my items that need buttons or stitching for when my grandma is in town (once a year). I’m that bad… but this fabric tape is MAGICAL! I used stitch witchery on the first set of curtains but I’m over it and now I will only be using the fabric tape because it’s easier and I am lazy! J The curtains and pillow covers are the first sewing-like project I’ve done so I’m learning as I go!
Supplies:
- Dropcloth
- Lace
- Fabric Tape
- Pillow – I just used some throw pillows we were no longer using
This was all leftover DIY supplies so the only thing I had to buy was more fabric tape because I ran out after the first pillow.
How to Make the No Sew Drop Cloth Cover: I used this tutorial to make the No Sew Drop Cloth Pillow Cover for the first part of the pillowcase and she does an excellent job of explaining how to make the drop cloth portion of the cover. I’ll walk you through it but you can refer to her tutorial as well.
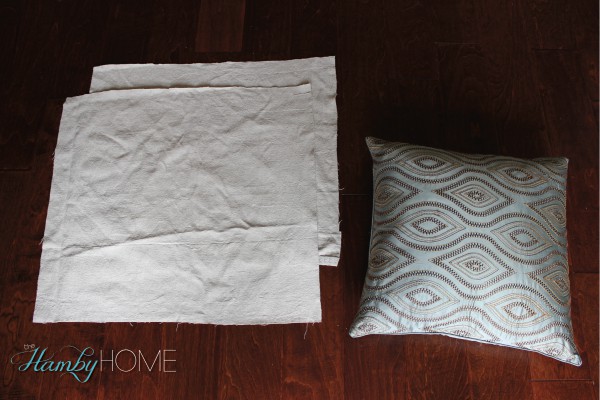
Step 1: You will need two squares that are larger than the pillow that you’re covering for one pillow case. My pillow was 18 x 18. I added 3 inches on one side and 7 inches on the other side that will be tucked in so I cut my squares to be 21×25-ish.
Step 2: Lay one piece on top of the other making sure that the sides of the fabric for the pillow are facing each other. Top piece facing down and bottom piece facing up. (This will be turned inside out later).
Step 3: Using the oh so magical fabric tape, apply along the edges of one short side and both longer sides making sure it’s not too close to the edge.
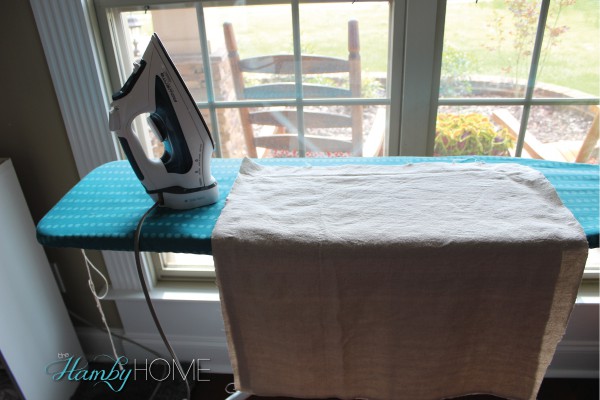
Step 4: Iron the drop cloth and especially the edges to secure the “seam”.
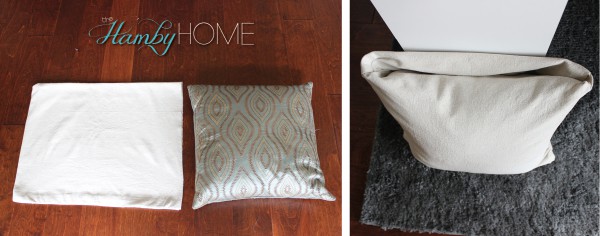
Step 5: Flip right side out and insert pillow. Tuck the open edges in like shown in picture. Fluff it a bit and Voila!
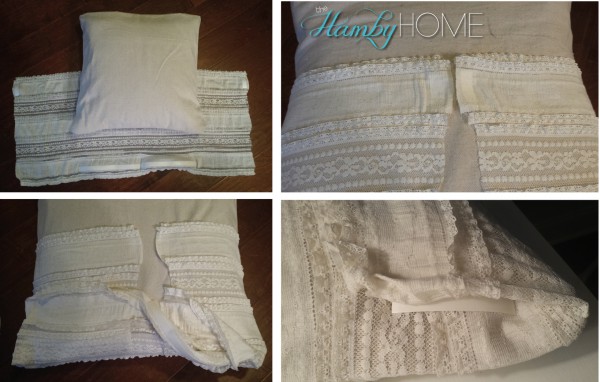
How to Add the Lace: First off, let me say that there is probably a better way to do this. This pillow ended up being kind of like a mullet…business in the front and party gone wrong in the back. Luckily nobody should ever see the back of these pillows except us since they’re in the bedroom but I’ll just show you how I did them… but you may want to try another method!
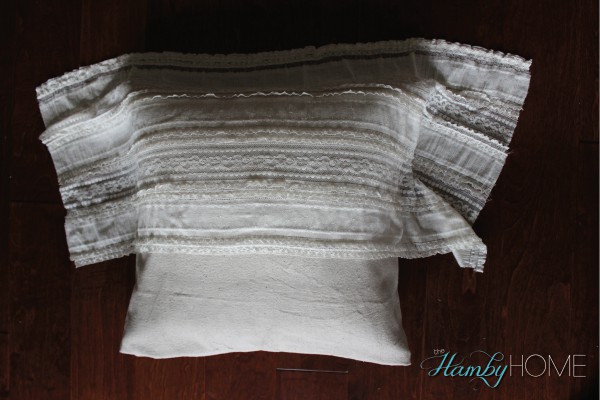
Step 1: Figure out how much lace you want covered the front and how you want it to lay. I decided I wanted the top part with lace and the bottom just plain drop cloth so I drooped the lace over and found where I wanted it to hit the pillow and then gently laid it face down.
Step 2: Start taping the lace to the back panel. I taped the sides first to make sure I kept the lace horizontally even on the pillow. Then I folded the top over and taped it to the back. I added some tape on the sides of the fold to secure them down.
See…it’s not pretty but hey, it worked!
Hindsight, I probably would have added the lace on the front of the drop cloth panel prior to creating the pillow cover. If I had done that the lace would have only covered the front panel and the edges would have been hidden on the inside of the pillow cover. This is what happens when you wing it with DIY…you live and learn! 🙂
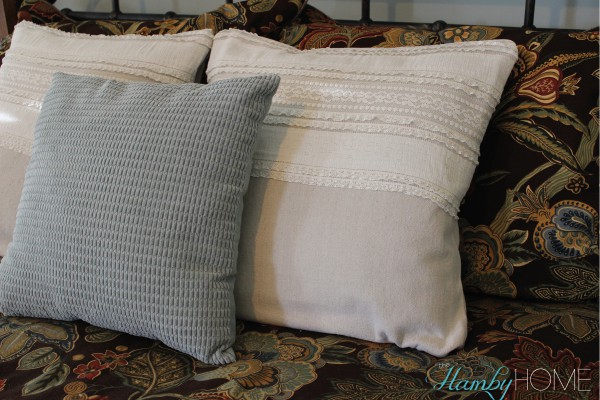
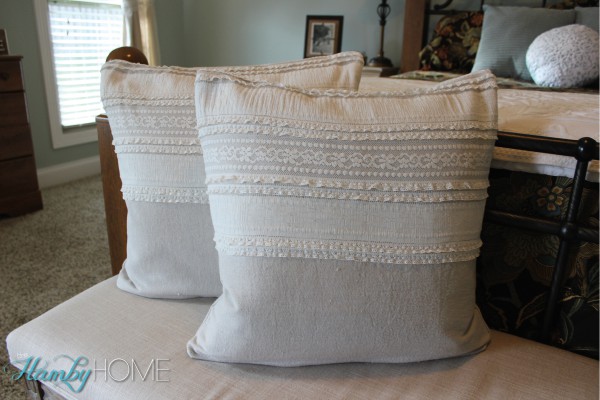
Luckily I love how they look from the front so I’m not too upset about how awful the party in the back looks! 😉 Plus they work perfect in the bedroom with the DIY curtains from last week!

