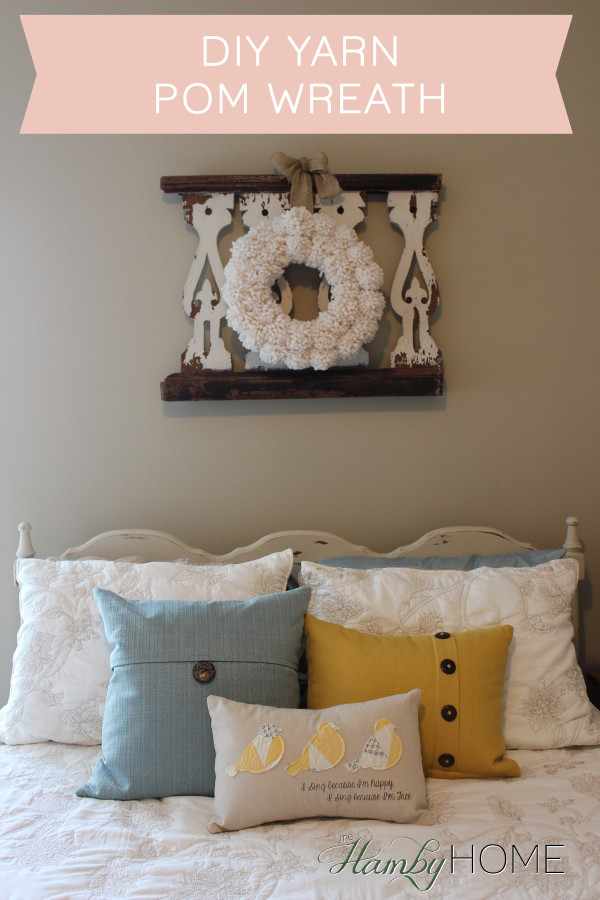
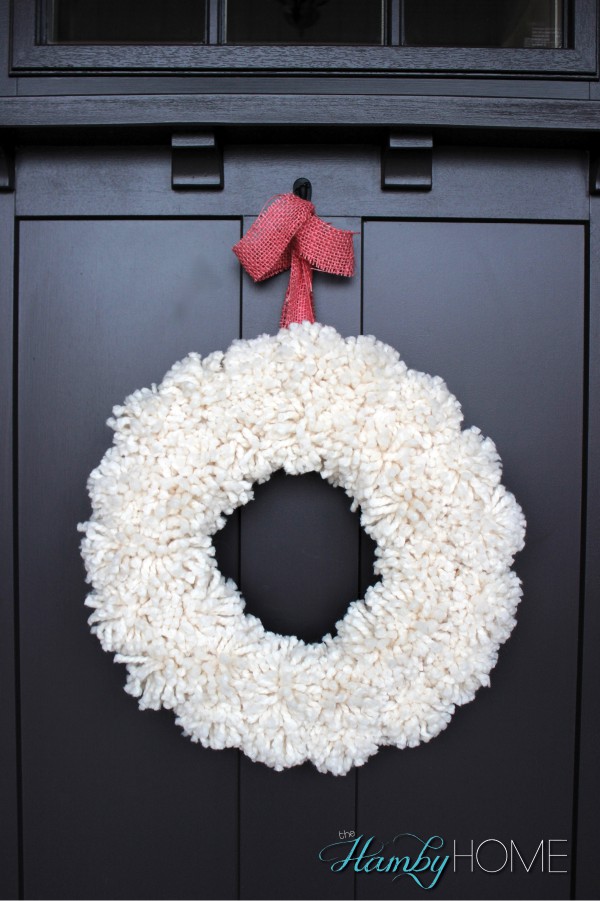
DIY Yarn Pom Wreath Tutorial
I have been seeing these yarn poms used all over the place and knew I wanted to make some!
Miss Mustard Seed did an awesome tutorial on how to make poms and that’s what I used to make my yarn poms. I even ordered the yarn that she used here. What I do love about this yarn was it was super thick and made for very fluffy and full poms. I will definitely buy good thick yarn for any pom projects after making these.
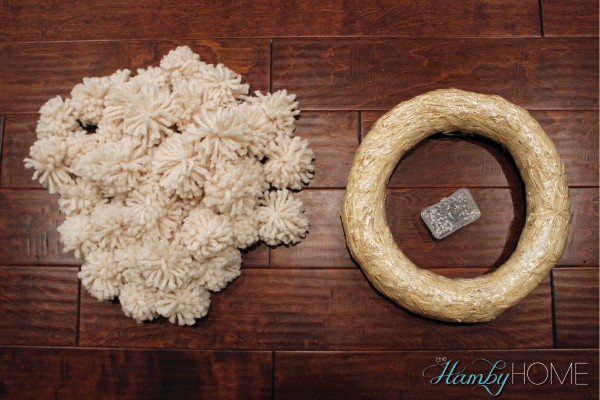
Once you have all your poms made. My wreath took almost two yarn skeins for the wreath and only about 15 minutes. I had about 7 poms left over.
Supplies Needed:
- 2 Yarn Skeins of Yarn Poms – I used this yarn from Amazon
- Straw Wreath From (still in plastic) – I used 12 inch because I wanted to make sure I didn’t run out of poms for a larger.
- Straight Pens
I order from Amazon as much as possible and love that I can order craft supplies there and it not cost any more than if I had gone to Hobby Lobby or Michaels! All of these supplies linked above are from Amazon because if you’re like me, during winter I stay home out of the cold!
How to make them:
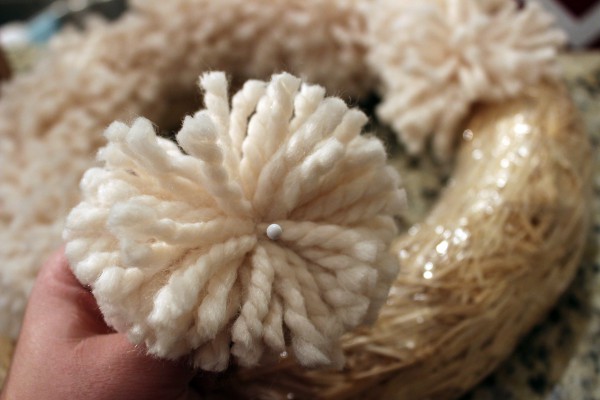
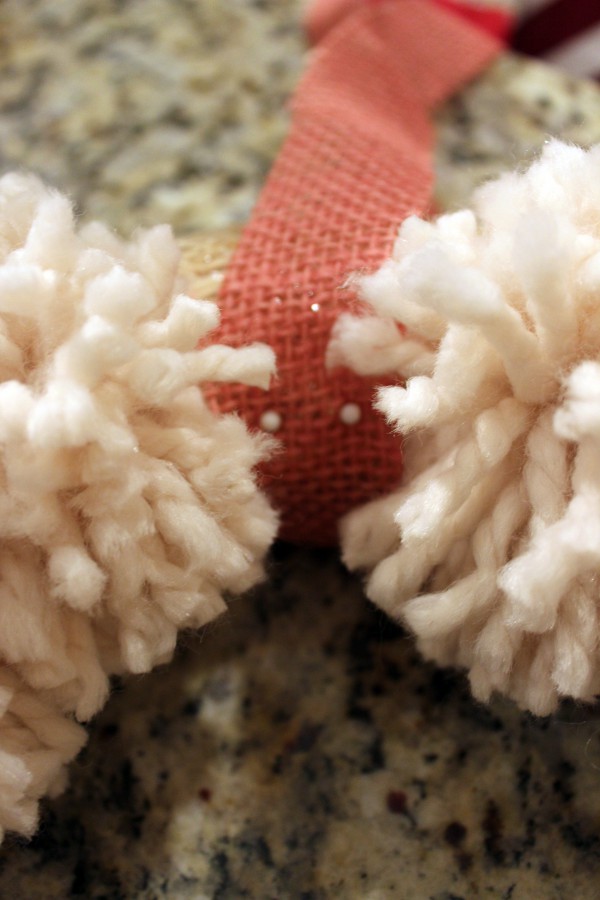
You can use hot glue to attached the poms but I liked the idea of using straight pens in case I ever wanted to take them off the wreath to use them somewhere else (garland, pom flowers, etc.) Plus the pins are not as messy.
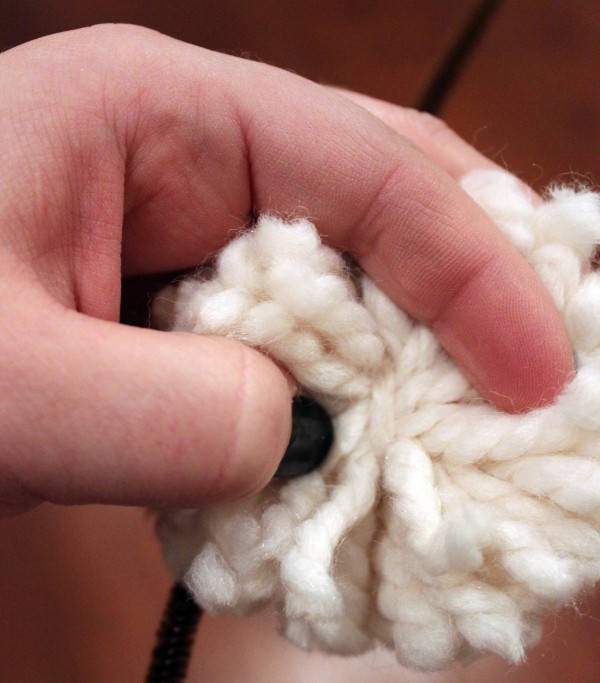
Step 1. Find where you used a piece of yarn to tie off the loops.
Step 2. Add Straight Pen through that loop and attach to the top/inside of the wreath. You want it to cover all the wreath form from the front and leave room for the outer row of poms as well. You will eventually have two rows of poms around the wreath.
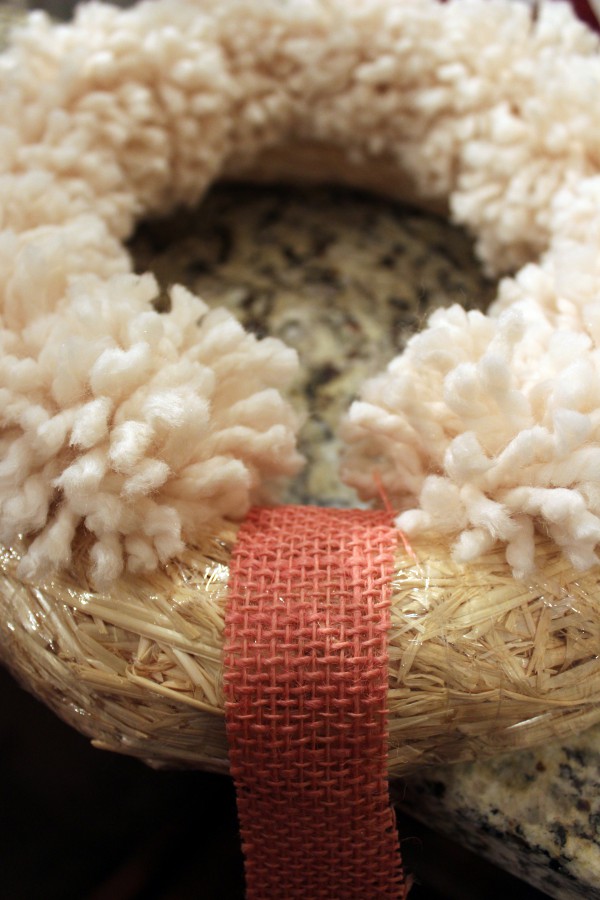
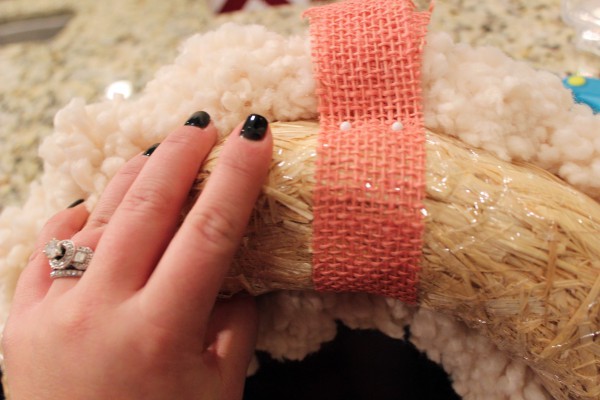
Step 3: Before completing your first inside row, add your hanger if needed. I used pink burlap for Valentines day and just wrapped it around the wreath and secured it with straight pens. You will have to pen through the burlap “string” not a hole in the burlap to make sure it’s secured. Then complete the inside row of poms on top of that burlap.
Another benefit of using pins vs. glue is you can easily remove the poms to switch out the color hanger for a different season or to be used in a different room. You can glue these for a more permanent way to attach but I haven’t had any problems with the poms falling out with the pins.
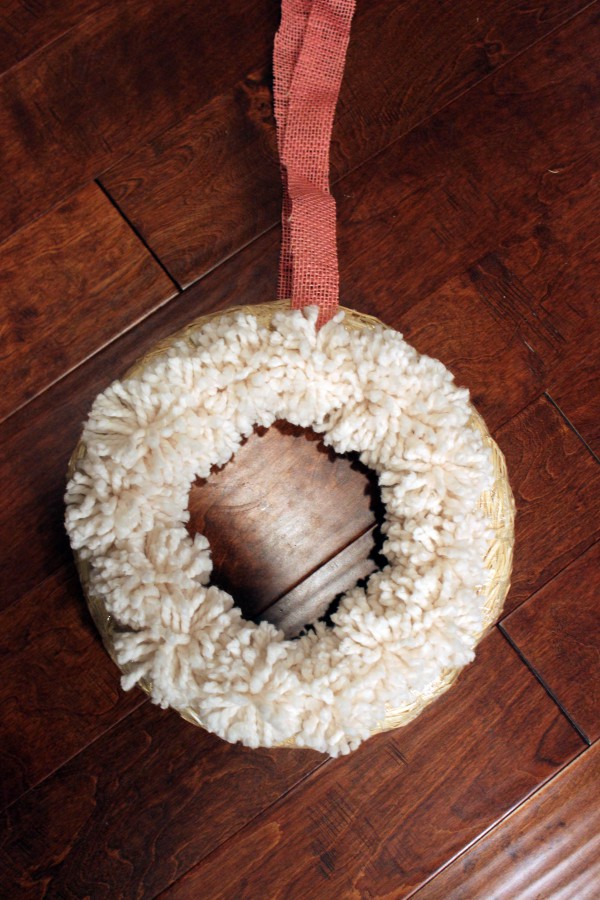
Step 4. Using the same pinning process, complete the outside row of poms. Once the outside row in complete, secure your burlap on the backside as well.
I went back and added extra pins to any of the poms that felt a little loose. One pen would probably work but since mine will be on my front door I wanted to make sure no poms fell off. That’s all! This seriously was the simplest and quickest DIY wreath I’ve ever made!! I love how wintery it looks and how you can customize the colors for the season! I will definitely be making more pom projects in the near future!
And the cutest little photo bomb ever! 🙂

