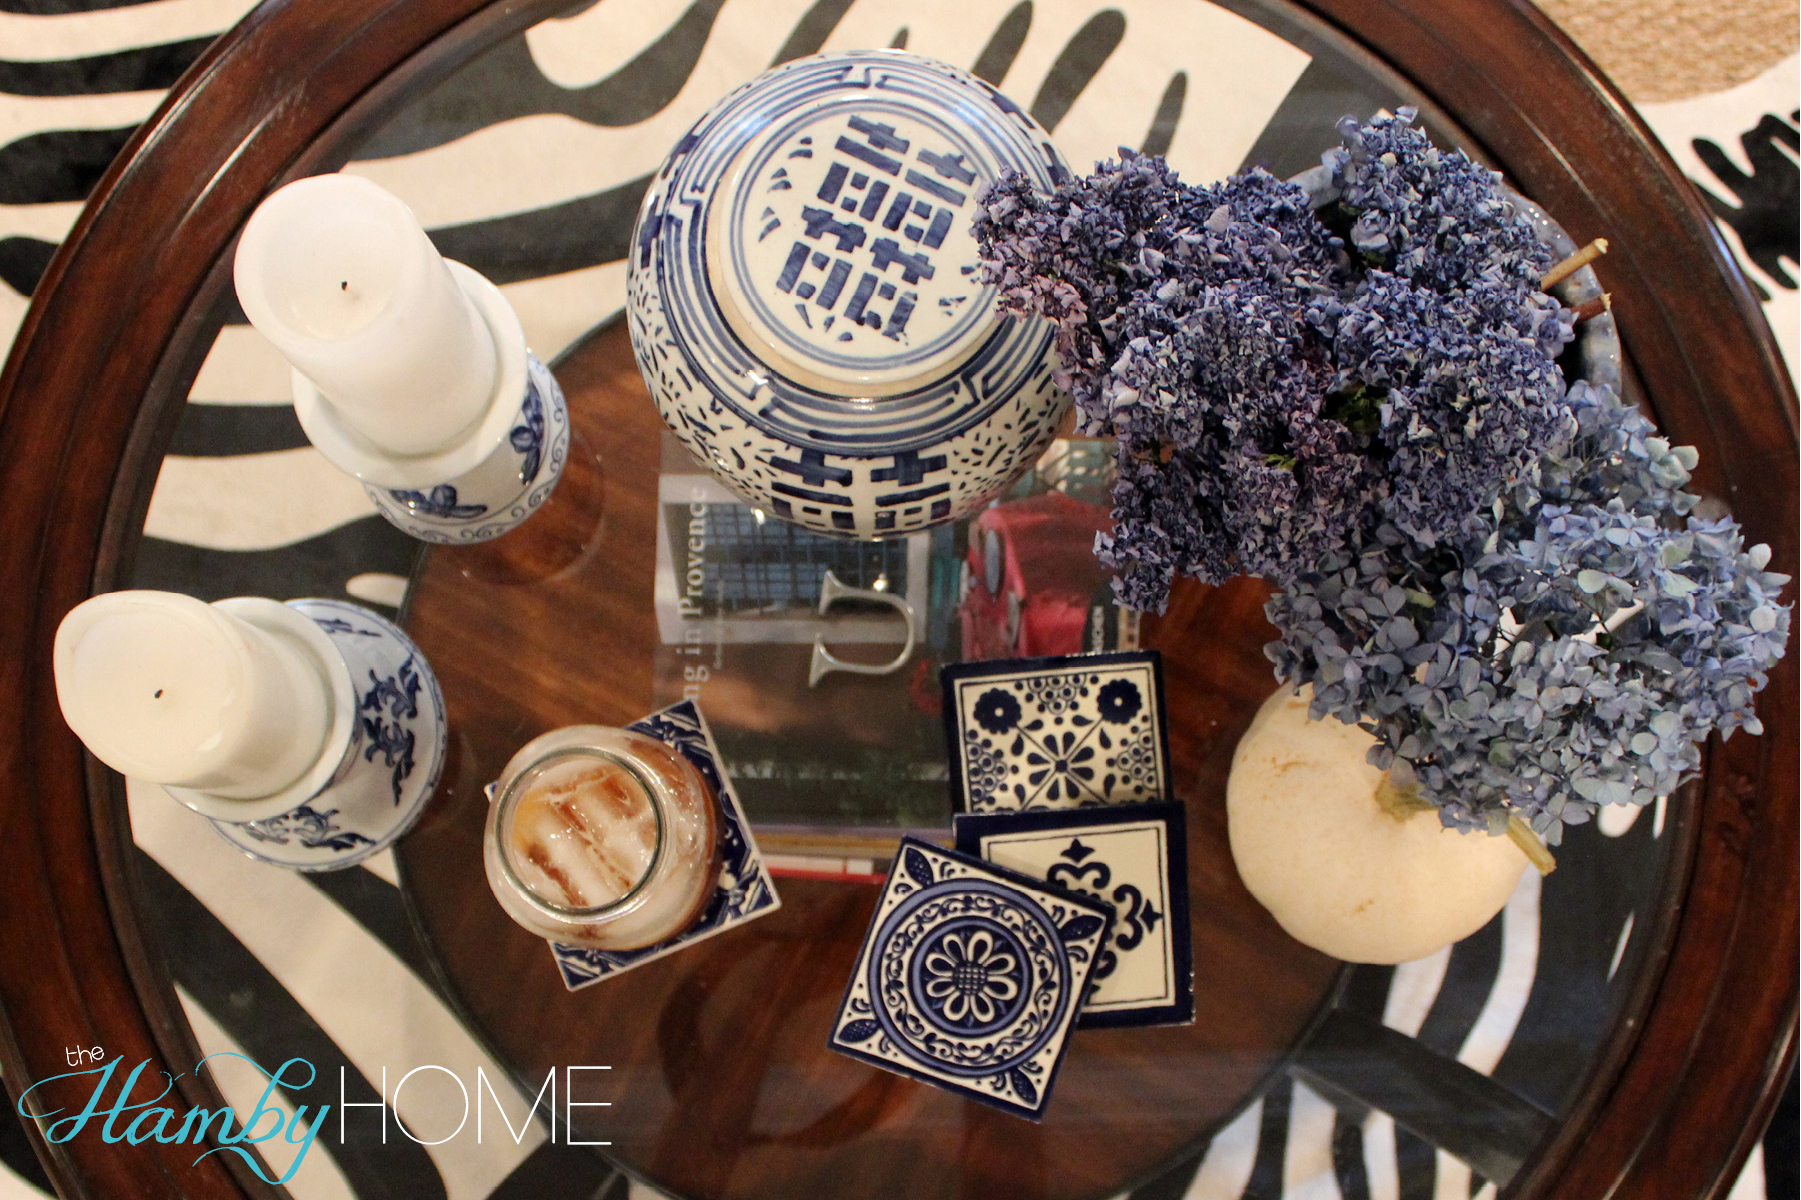
DIY Mexican Tile Coasters
Remember I told you a couple weeks ago about my DIY tile coasters over at Landeelu? Well now I’m going to share with you how I made them!
I’m sure you guys have figured this out by now but I’m OBSESSED with blue and white ceramics. The whole “blue willow” look will never get old to me. It’s been popular for over 100 years now so I don’t see that changing anytime soon! We’re in the process of building a house with an open floor plan and I’m planning to use the blue and white ceramics in the kitchen and living room. Blue and white ceramics are all over the place these days (antique stores, thrift stores, Home Goods, Pier One, etc.) but I have yet to see blue and white coasters which would be beautiful and great accent pieces for our living room. I saw an Instagram picture with blue and white tiles that got me thinking, why not make some blue and white coasters out of Mexican tiles?! And that’s how this project was started!
Here is what you’ll need:

- Tiles
- Cork Sheets
- Acrylic Paint
- Hot Glue
How to make them:
Step 1: Locate Desired Tiles
My first step was to locate some blue and white tiles. I called around all the local tile places and none of them carried blue and white Mexican tiles. I shopped around online and stumbled upon Fine Crafts & Imports and they have a great selection of Talavera Mexican tiles at great prices ($1.30 each)! You could use multiples of the same style but I decided to make every coaster different by ordering 8 different style tiles. That’s another thing I love about the blue and white ceramics, you can mix all kinds of patterns and it works!
Step 2: Paint Tile Edges
These tiles are gorgeous and so fun but the sides are rough and unfinished because they’re typically not used alone. I took acrylic paint and painted the edges of all the tiles to give them a more finished appearance and you would never know that they didn’t come that way. I just used whatever color was used on the edge of the tile to make it look as natural as possible.
Note: If any paint gets on the top of the tile, just wipe it off with your finger and it comes right off! Did I mention how much I’m loving working with these tiles? They’re so DIY friendly!

Step 3: Prep Cork Backing
The tiles are rough on the bottom and need some sort of backing/cushion to protect them from scratching the surfaces they’re used on. I picked up these thin cork sheets from Michael’s and it is perfect for this. The tiles are slightly larger than 4×4 so I marked and cut the cork sheet into 4×4 squares which worked perfectly since the cork sheet was 12×12.
Step 4: Glue Cork Backing
Then all you need to do is glue the cork to the tiles. I used hot glue but any glue will work. Apply glue to the edges and around the center of the cork and place the cork on the bottom of the tile. Press to flatten and secure the cork backing and then flip the tile over and apply pressure.
Note: If you are using hot glue, make sure to apply the glue to the cork, not the tile. I applied the glue to the tile the first time and it cools immediately causing problems securing the cork backing.
That is all!! I’m in love! These will be perfect accent pieces in the living room and wherever they may be used to tie in the “blue willow” and blue and white ceramics I’m using throughout the house!


