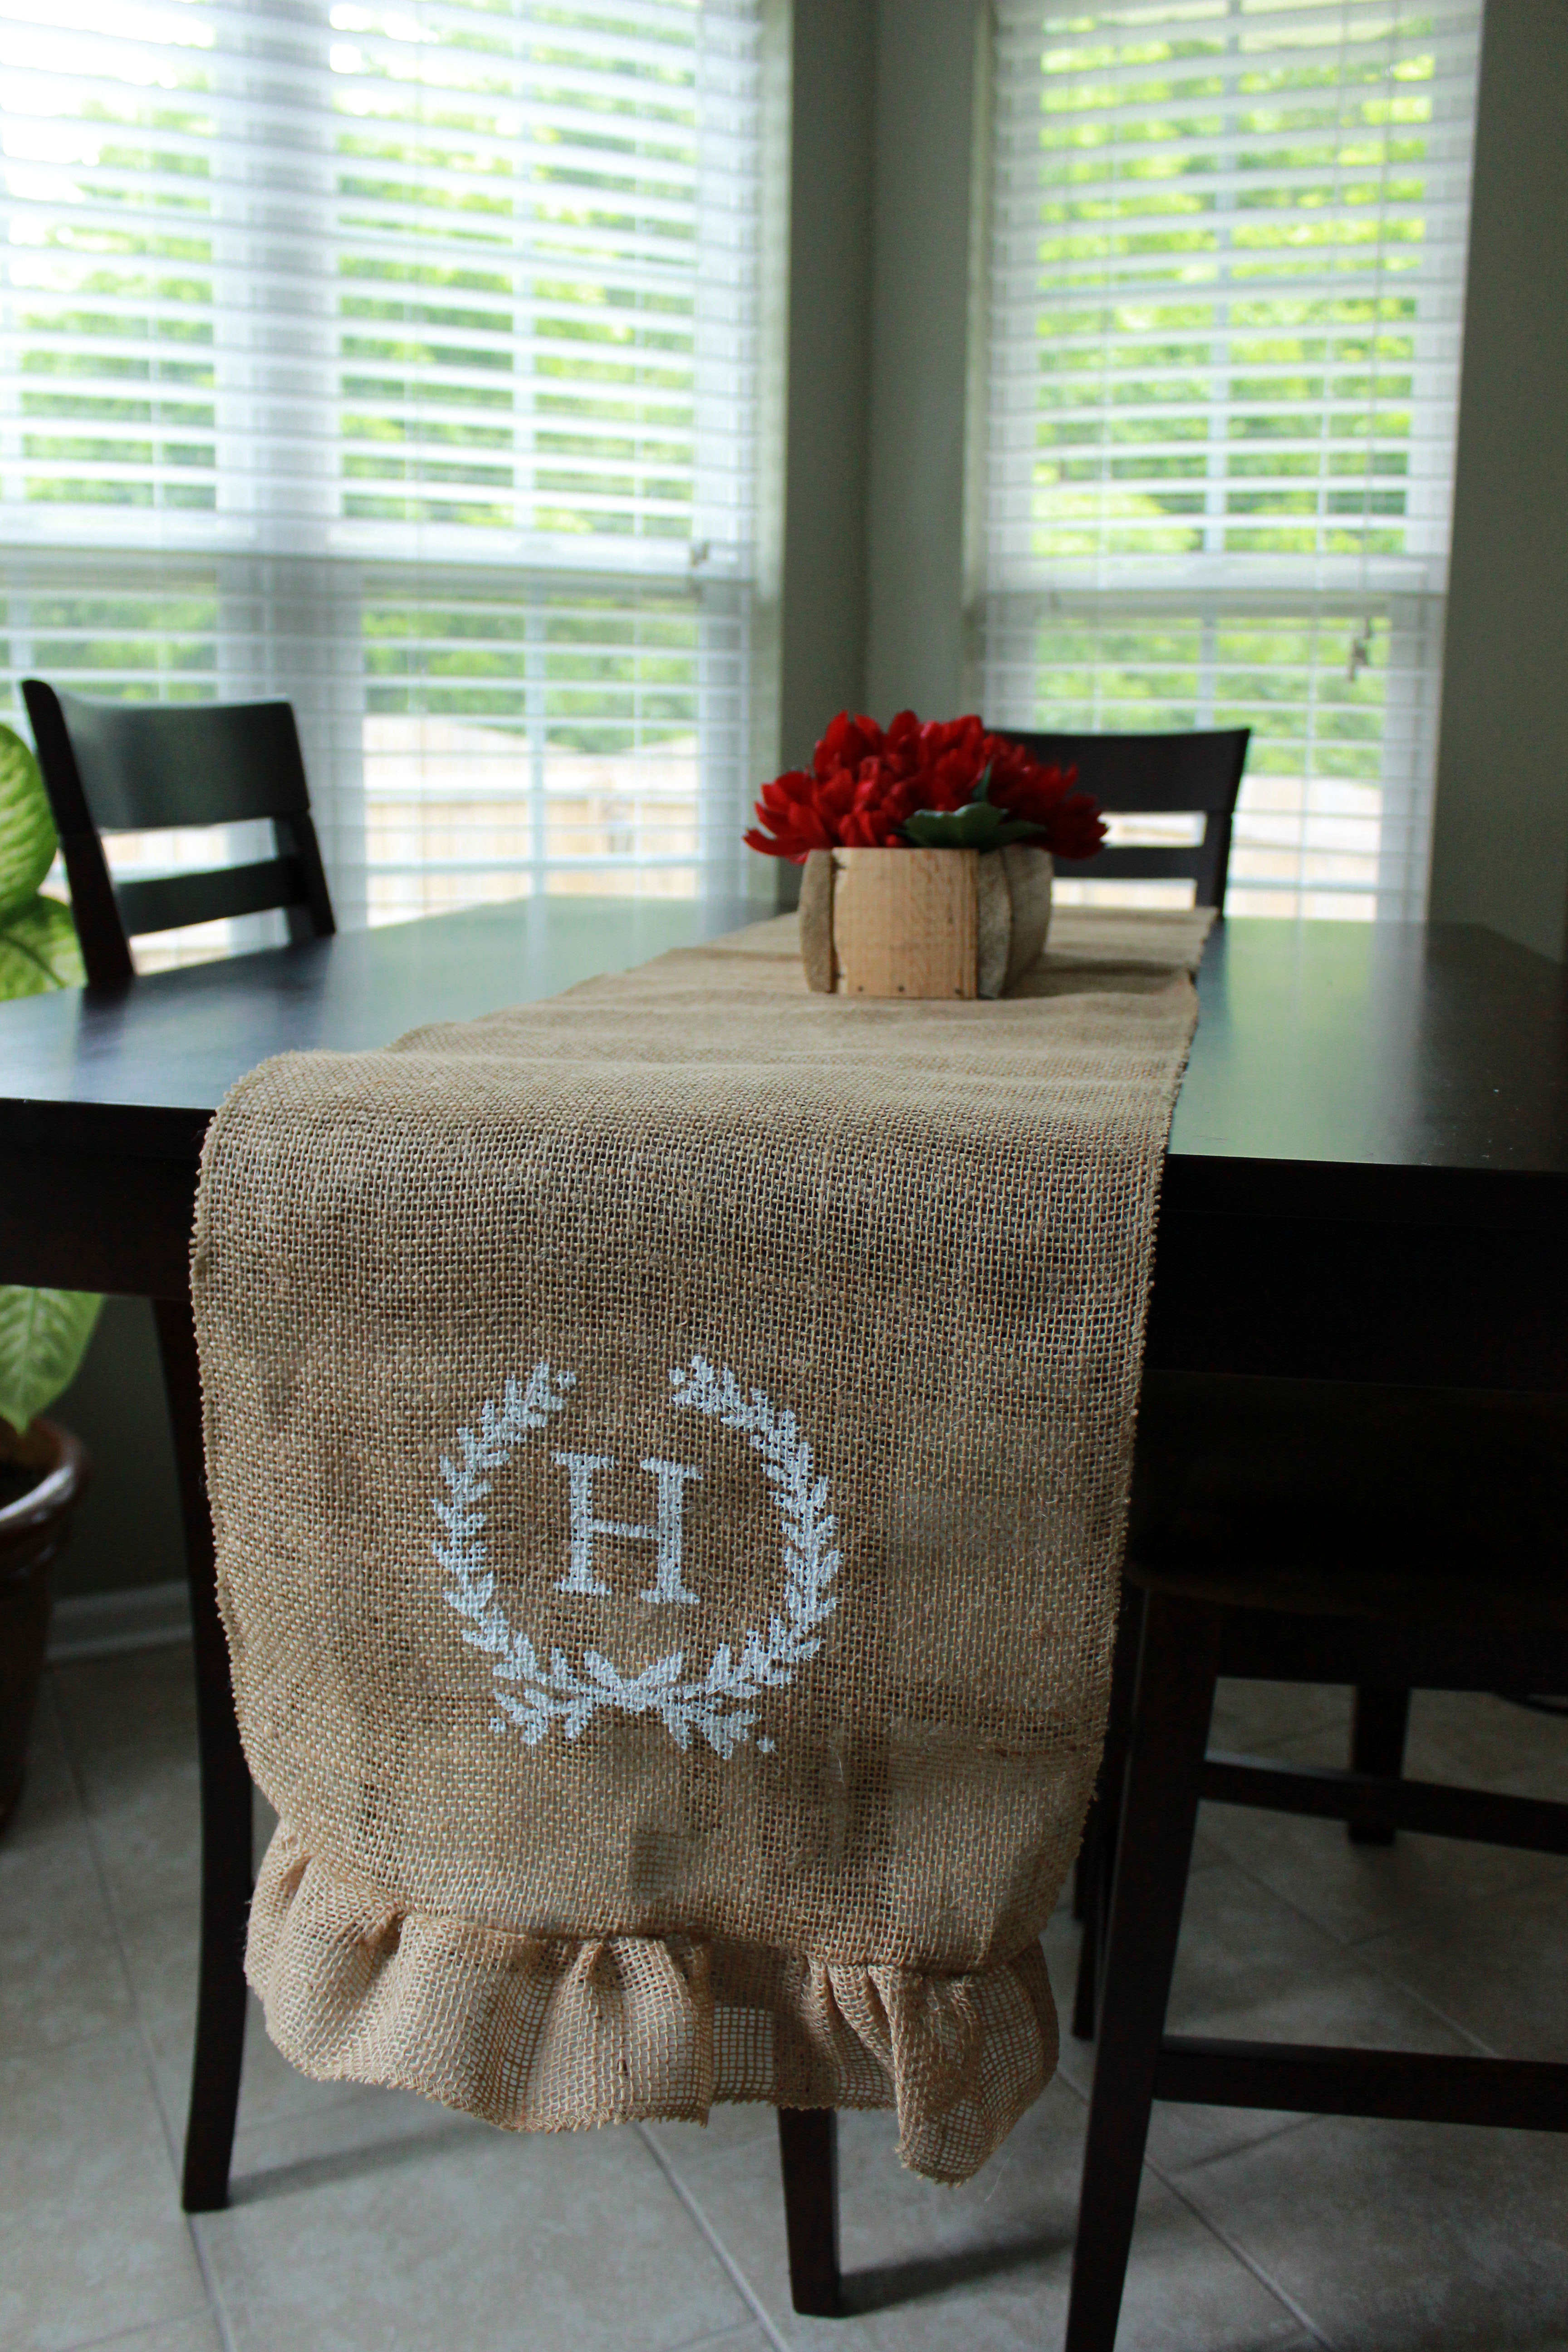
DIY Initial Burlap Table Runner
I apologize for posting so seldom! I’ve been extra busy with trying to sell our house and figure out where we’re moving, etc. I’ll have a big announcement coming soon! 🙂
I recently ran across some burlap table runners for sale on a local garage sale facebook page. This woman had used them for her wedding and had several for sale. I bought them all from her for a really fair price considering the edges are sewn and they had ruffles on each end. Sewing is one thing I cannot do and don’t see myself getting into anytime soon so that limits some of my DIY projects.
I’ve seen the initial table runners and have always loved them. I used the same method I did on my burlap pennant banner here.
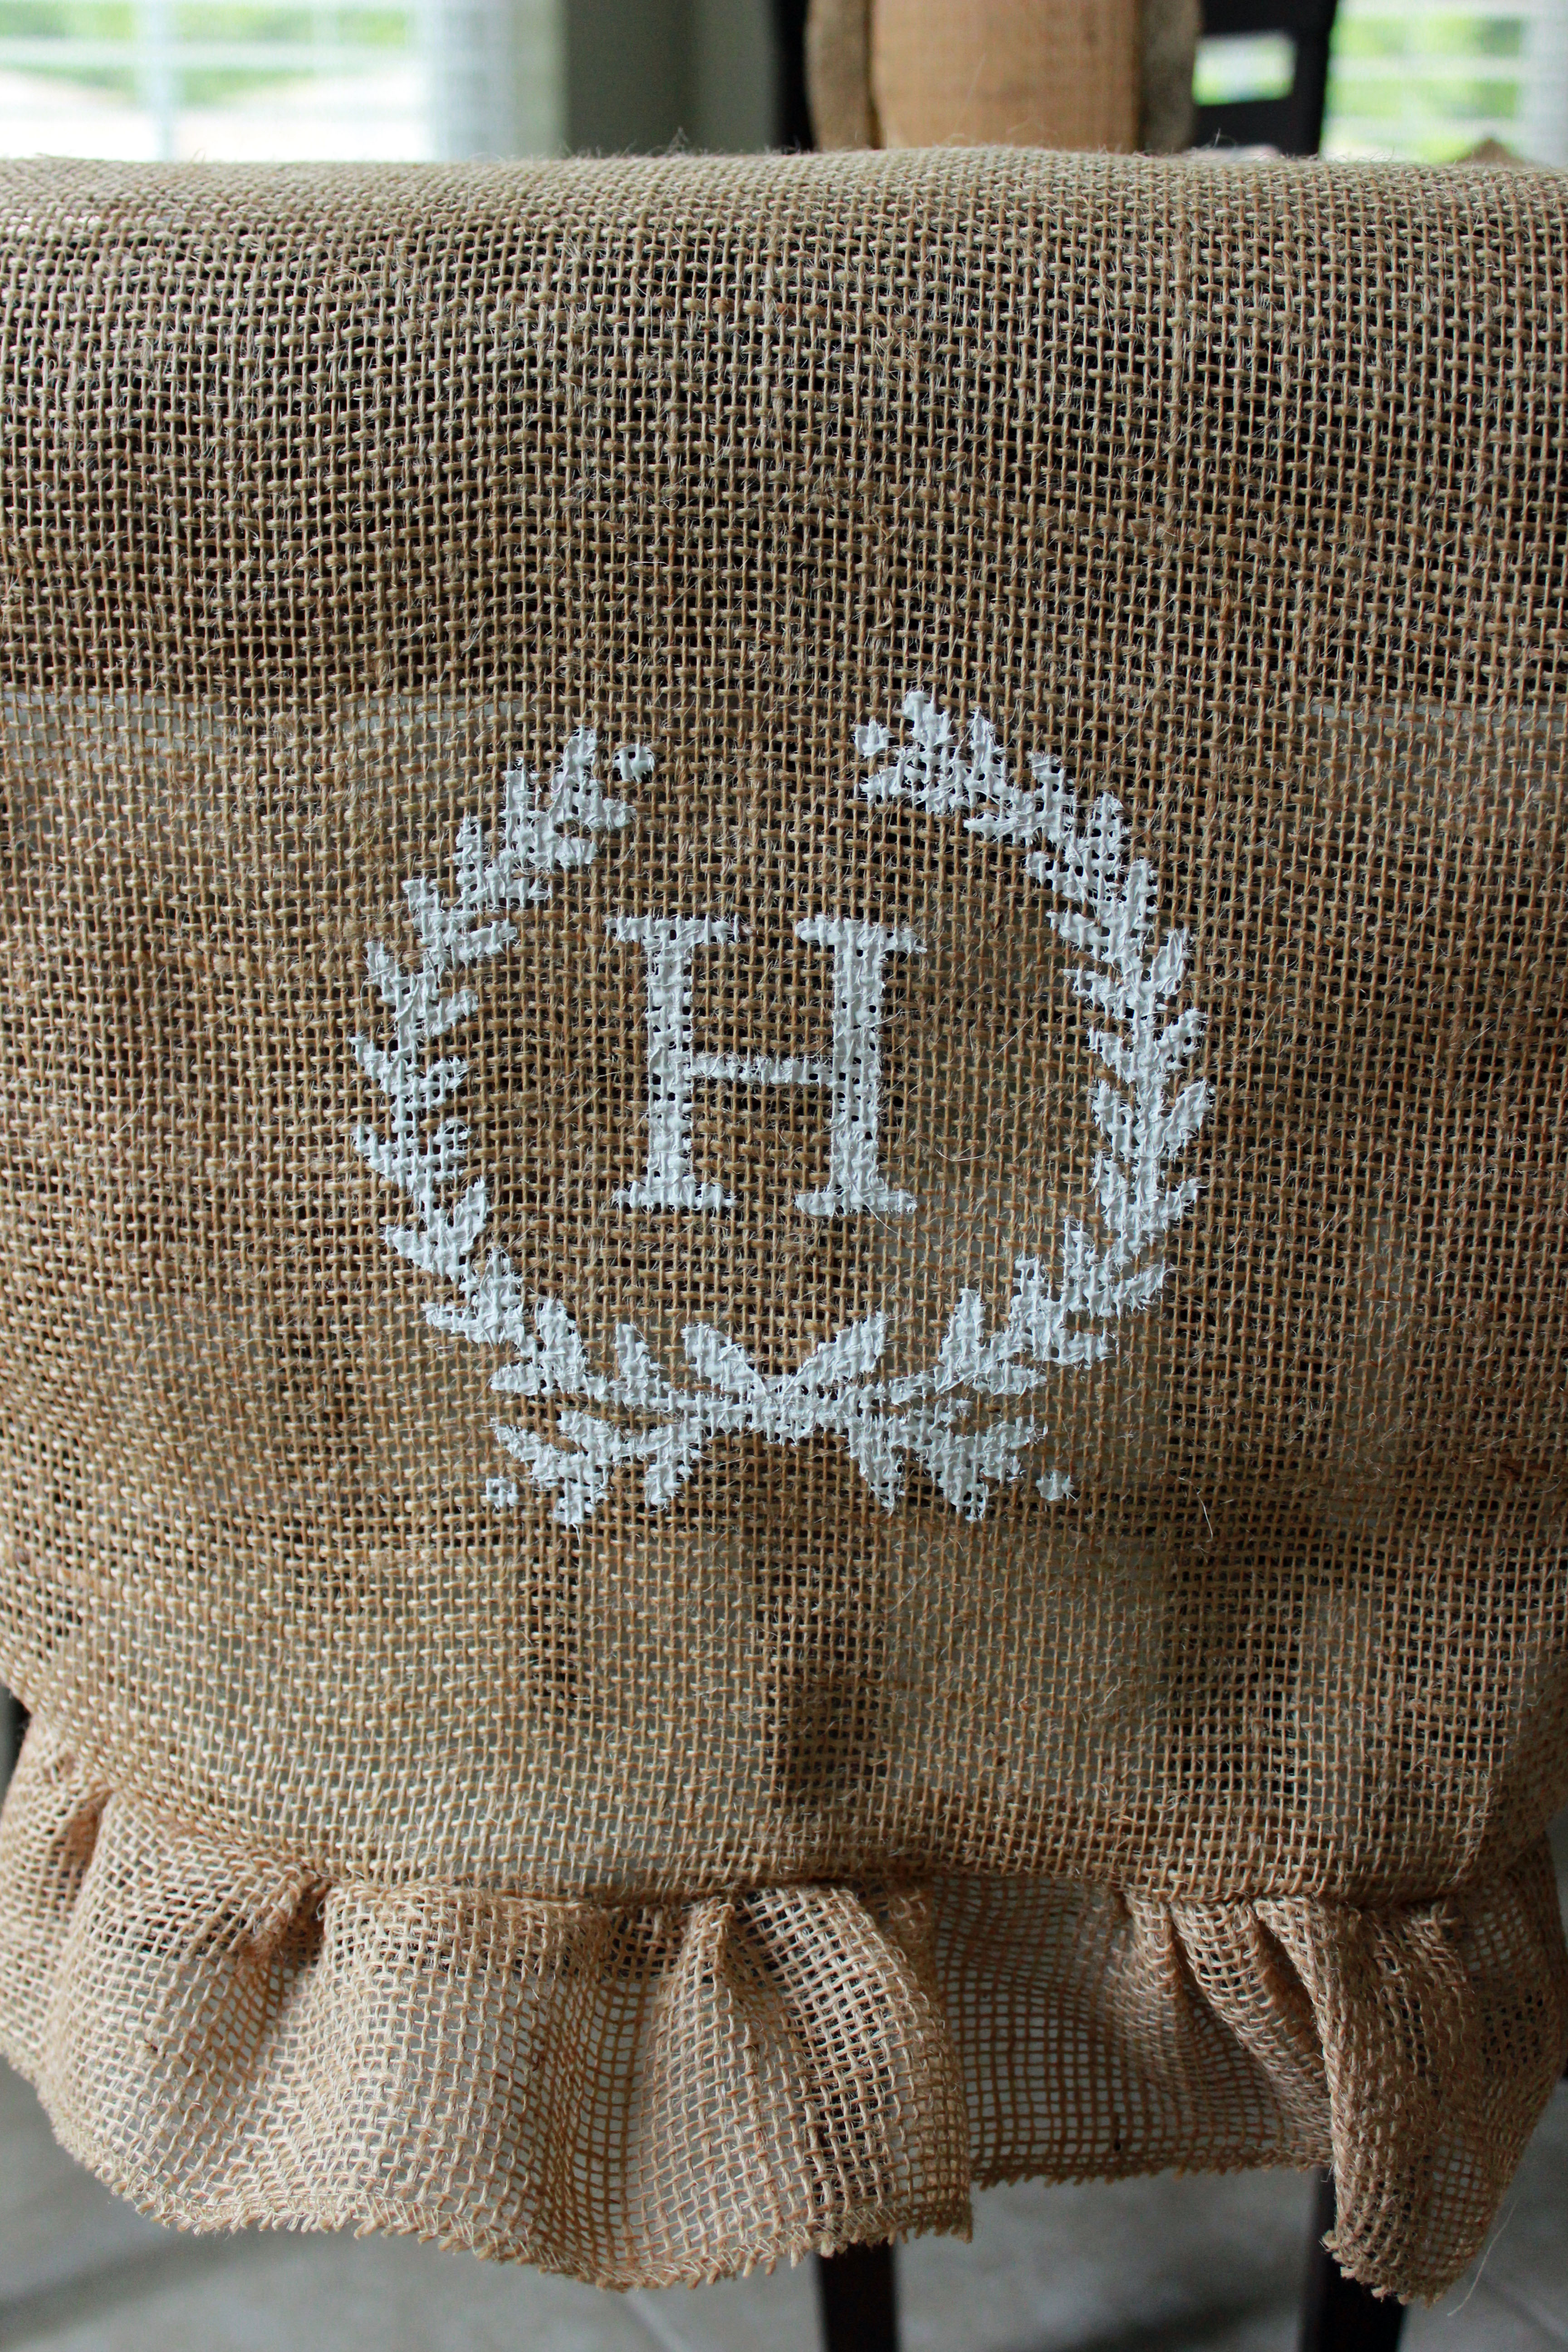
I actually stumbled upon this file on pinterest and since we’re the Hamby’s, I didn’t even have to change out the initial, although it would be easy to do.
I printed this on cardstock in the appropriate size for the table runner.
Then I traced over the “laurel circle” (that’s the name of the leafy circle design) with a sharpie to make sure I could see it through the burlap.
Then I just placed it under the burlap table runner and painted over it in white acrylic paint. If you need a remind of how to do this, see my banner tutorial here.
You may want to paint over the stencil twice to make sure the paint is thick enough and it stands out against the burlap.
Do this on both sides of the table runner and let it dry! That’s all there is to it! Super easy and quick project that is perfect for any kitchen or dining room table! It’d also be perfect for wedding tables!
I think I’ll make the design a little larger than this on my next table runner.
I’ve still got about 4 table runners left if you want a custom burlap table runner for your home. Email my at cchamby87@gmail.com if you’re interested!
This is pictured on a 4ft long table if you are interested but not sure about what length you need.


