
DIY Drop Cloth Hydrangea Pillow
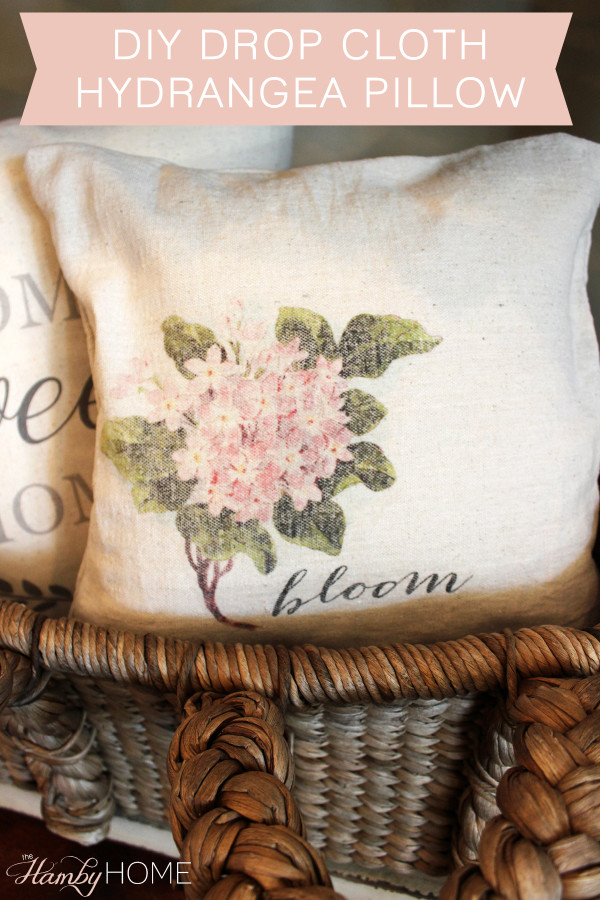
I have some extra drop cloth from my DIY Drop Cloth and Lace Curtains here. I’m often using them for DIY projects that I can make for free or cheap! After making my DIY Kentucky pillow for my husband, it has opened my eyes to all of the possibilities! I wanted spring pillows so I decided to make one since I had everything I needed.
Supplies:
- Drop Cloth
- Fabric Tape
- Poly-fil or pillow form
- Leslie Riley’s TAP Transfer Paper
Here is how I made it:
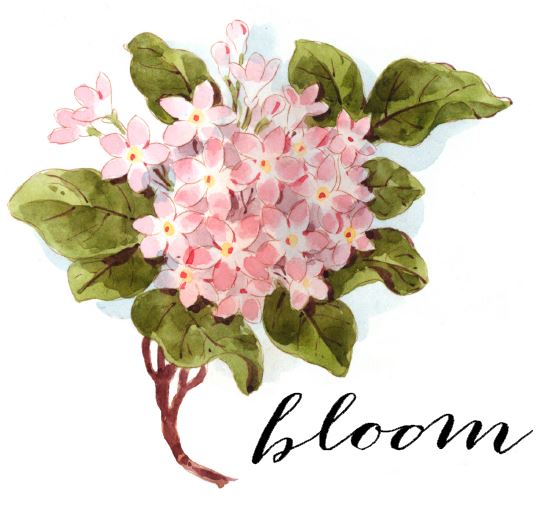
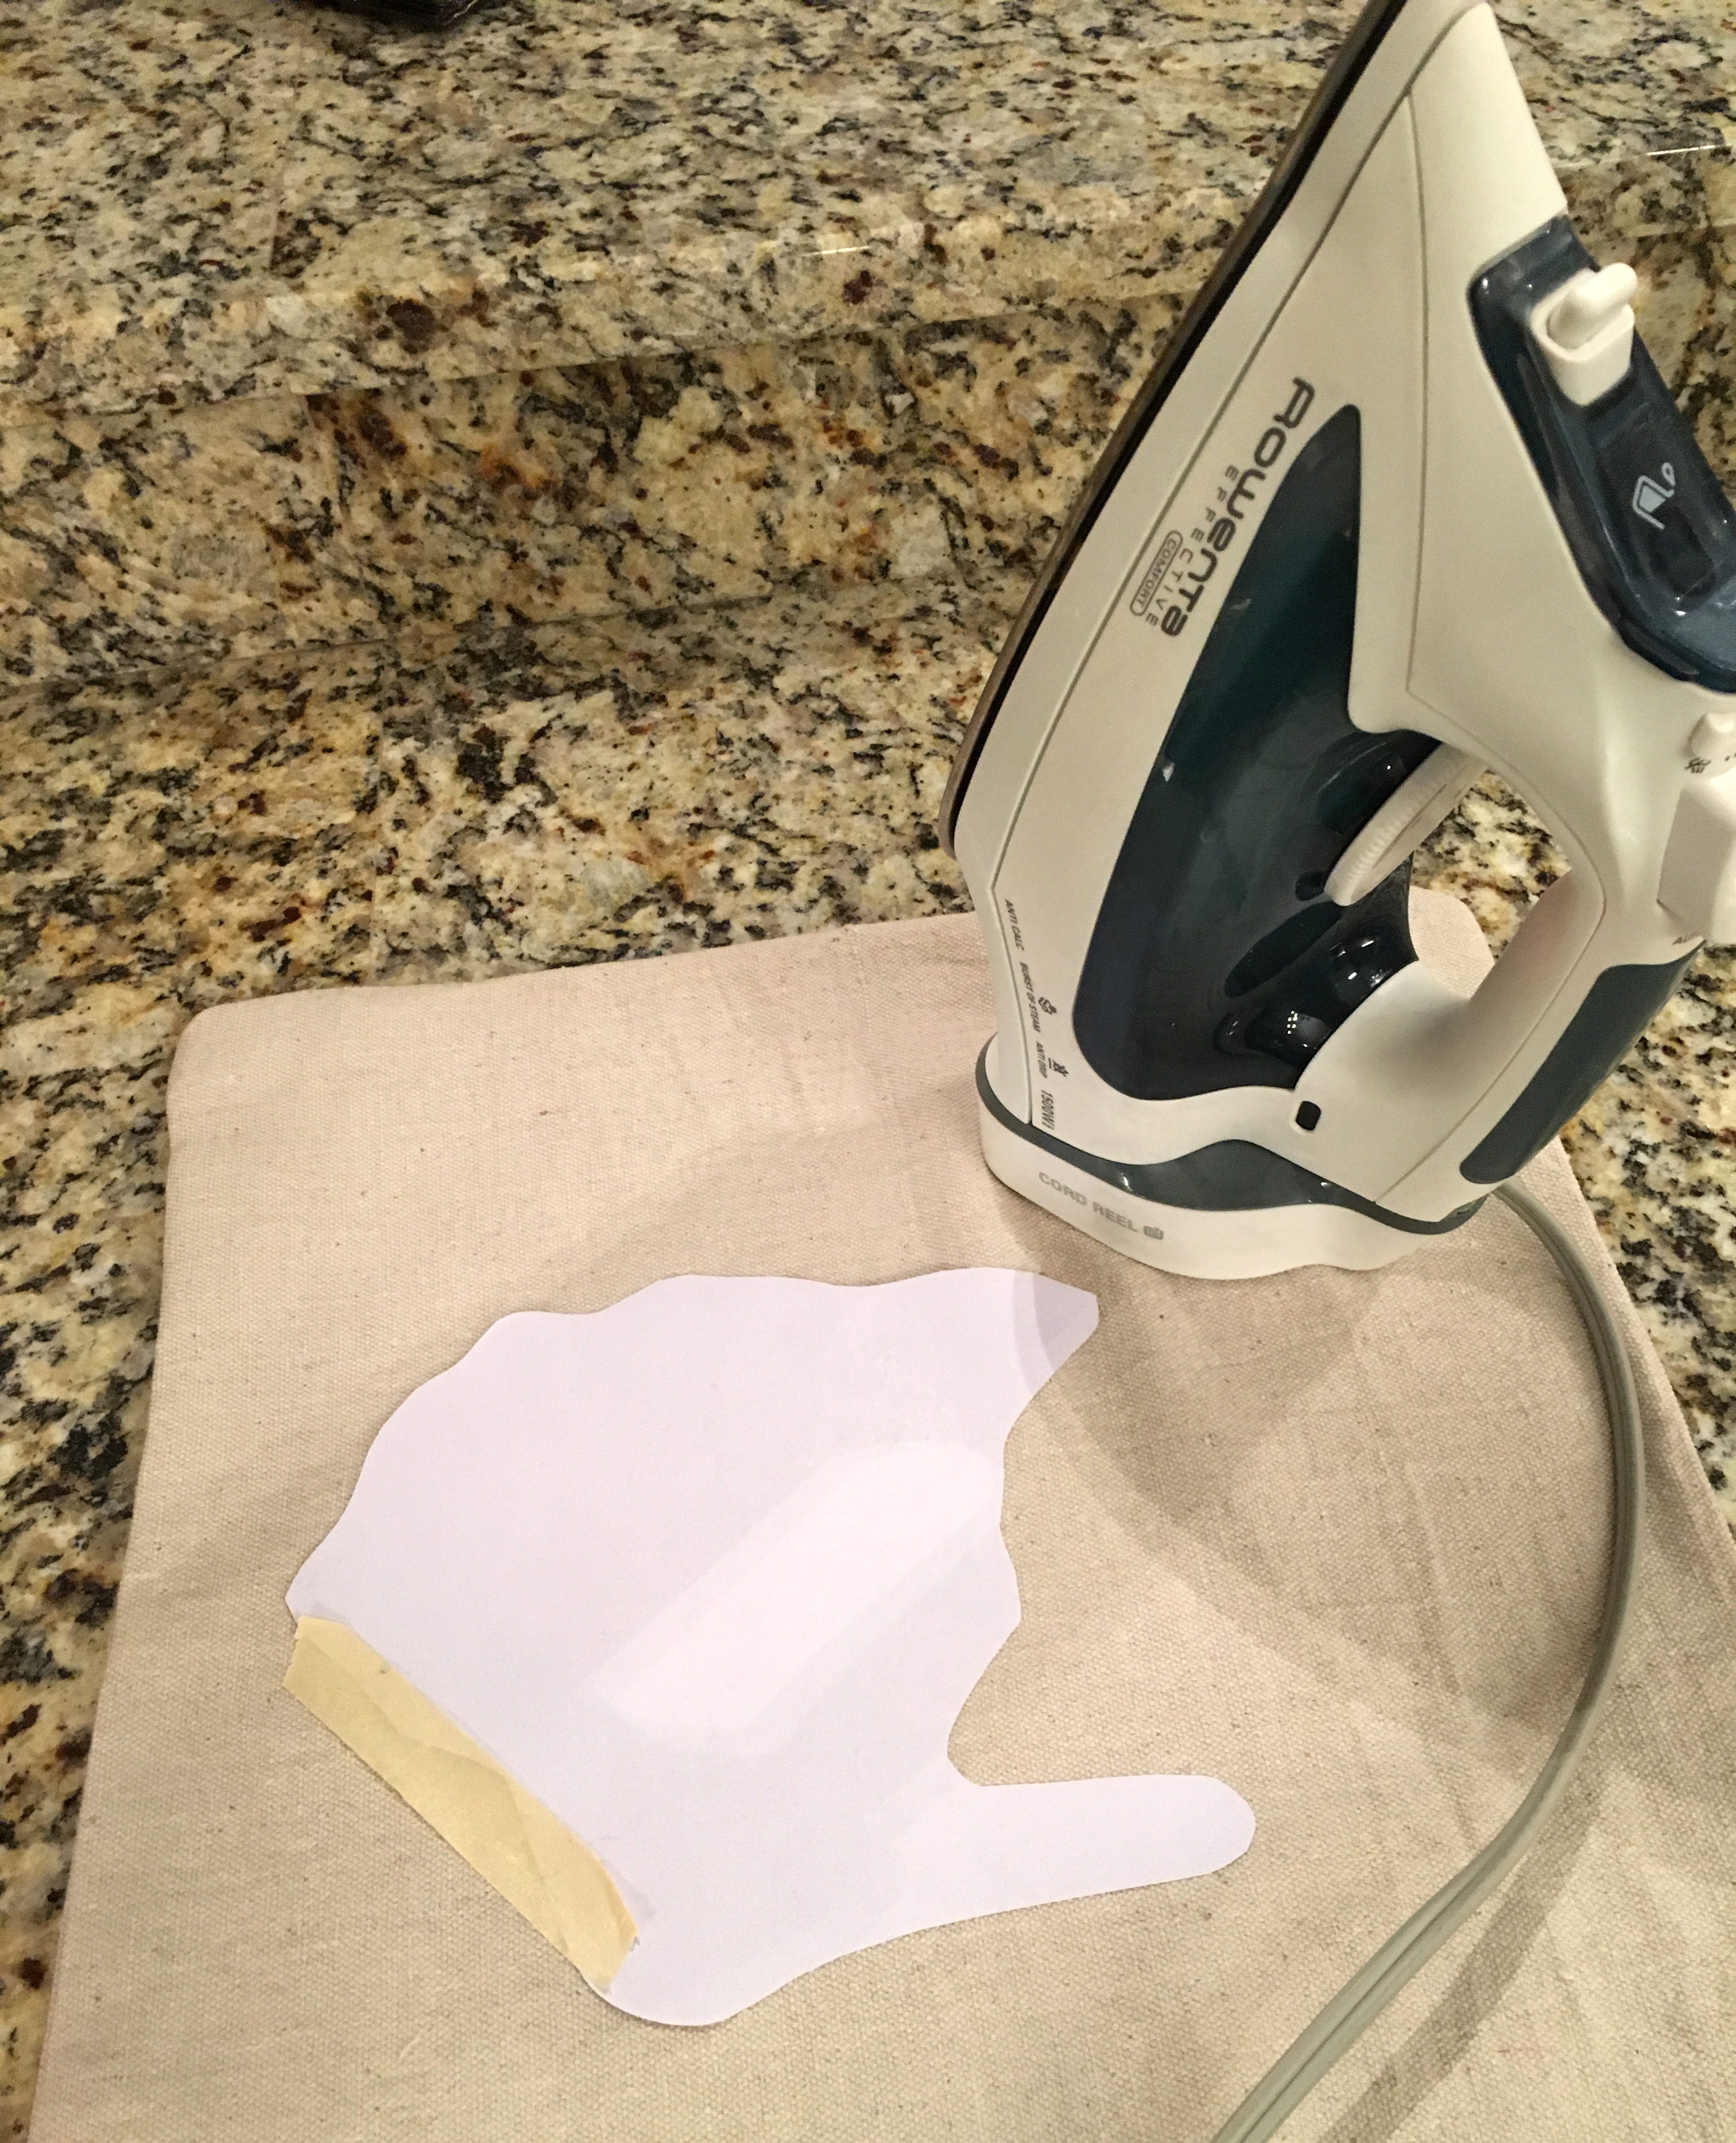
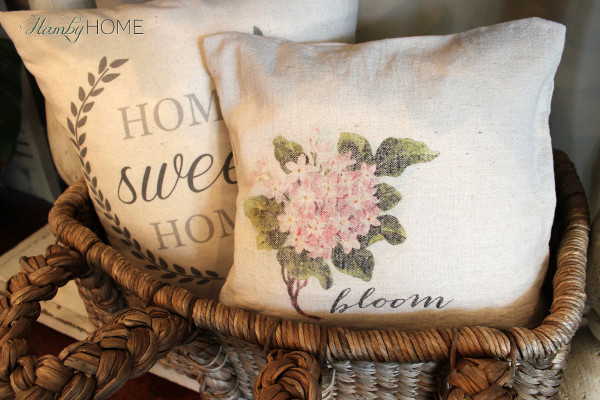
Step 1: Following the instructions on the transfer paper, print out your image. I used this watercolor hydrangea picture from Graphics Fairy here and just added the word bloom and printed.
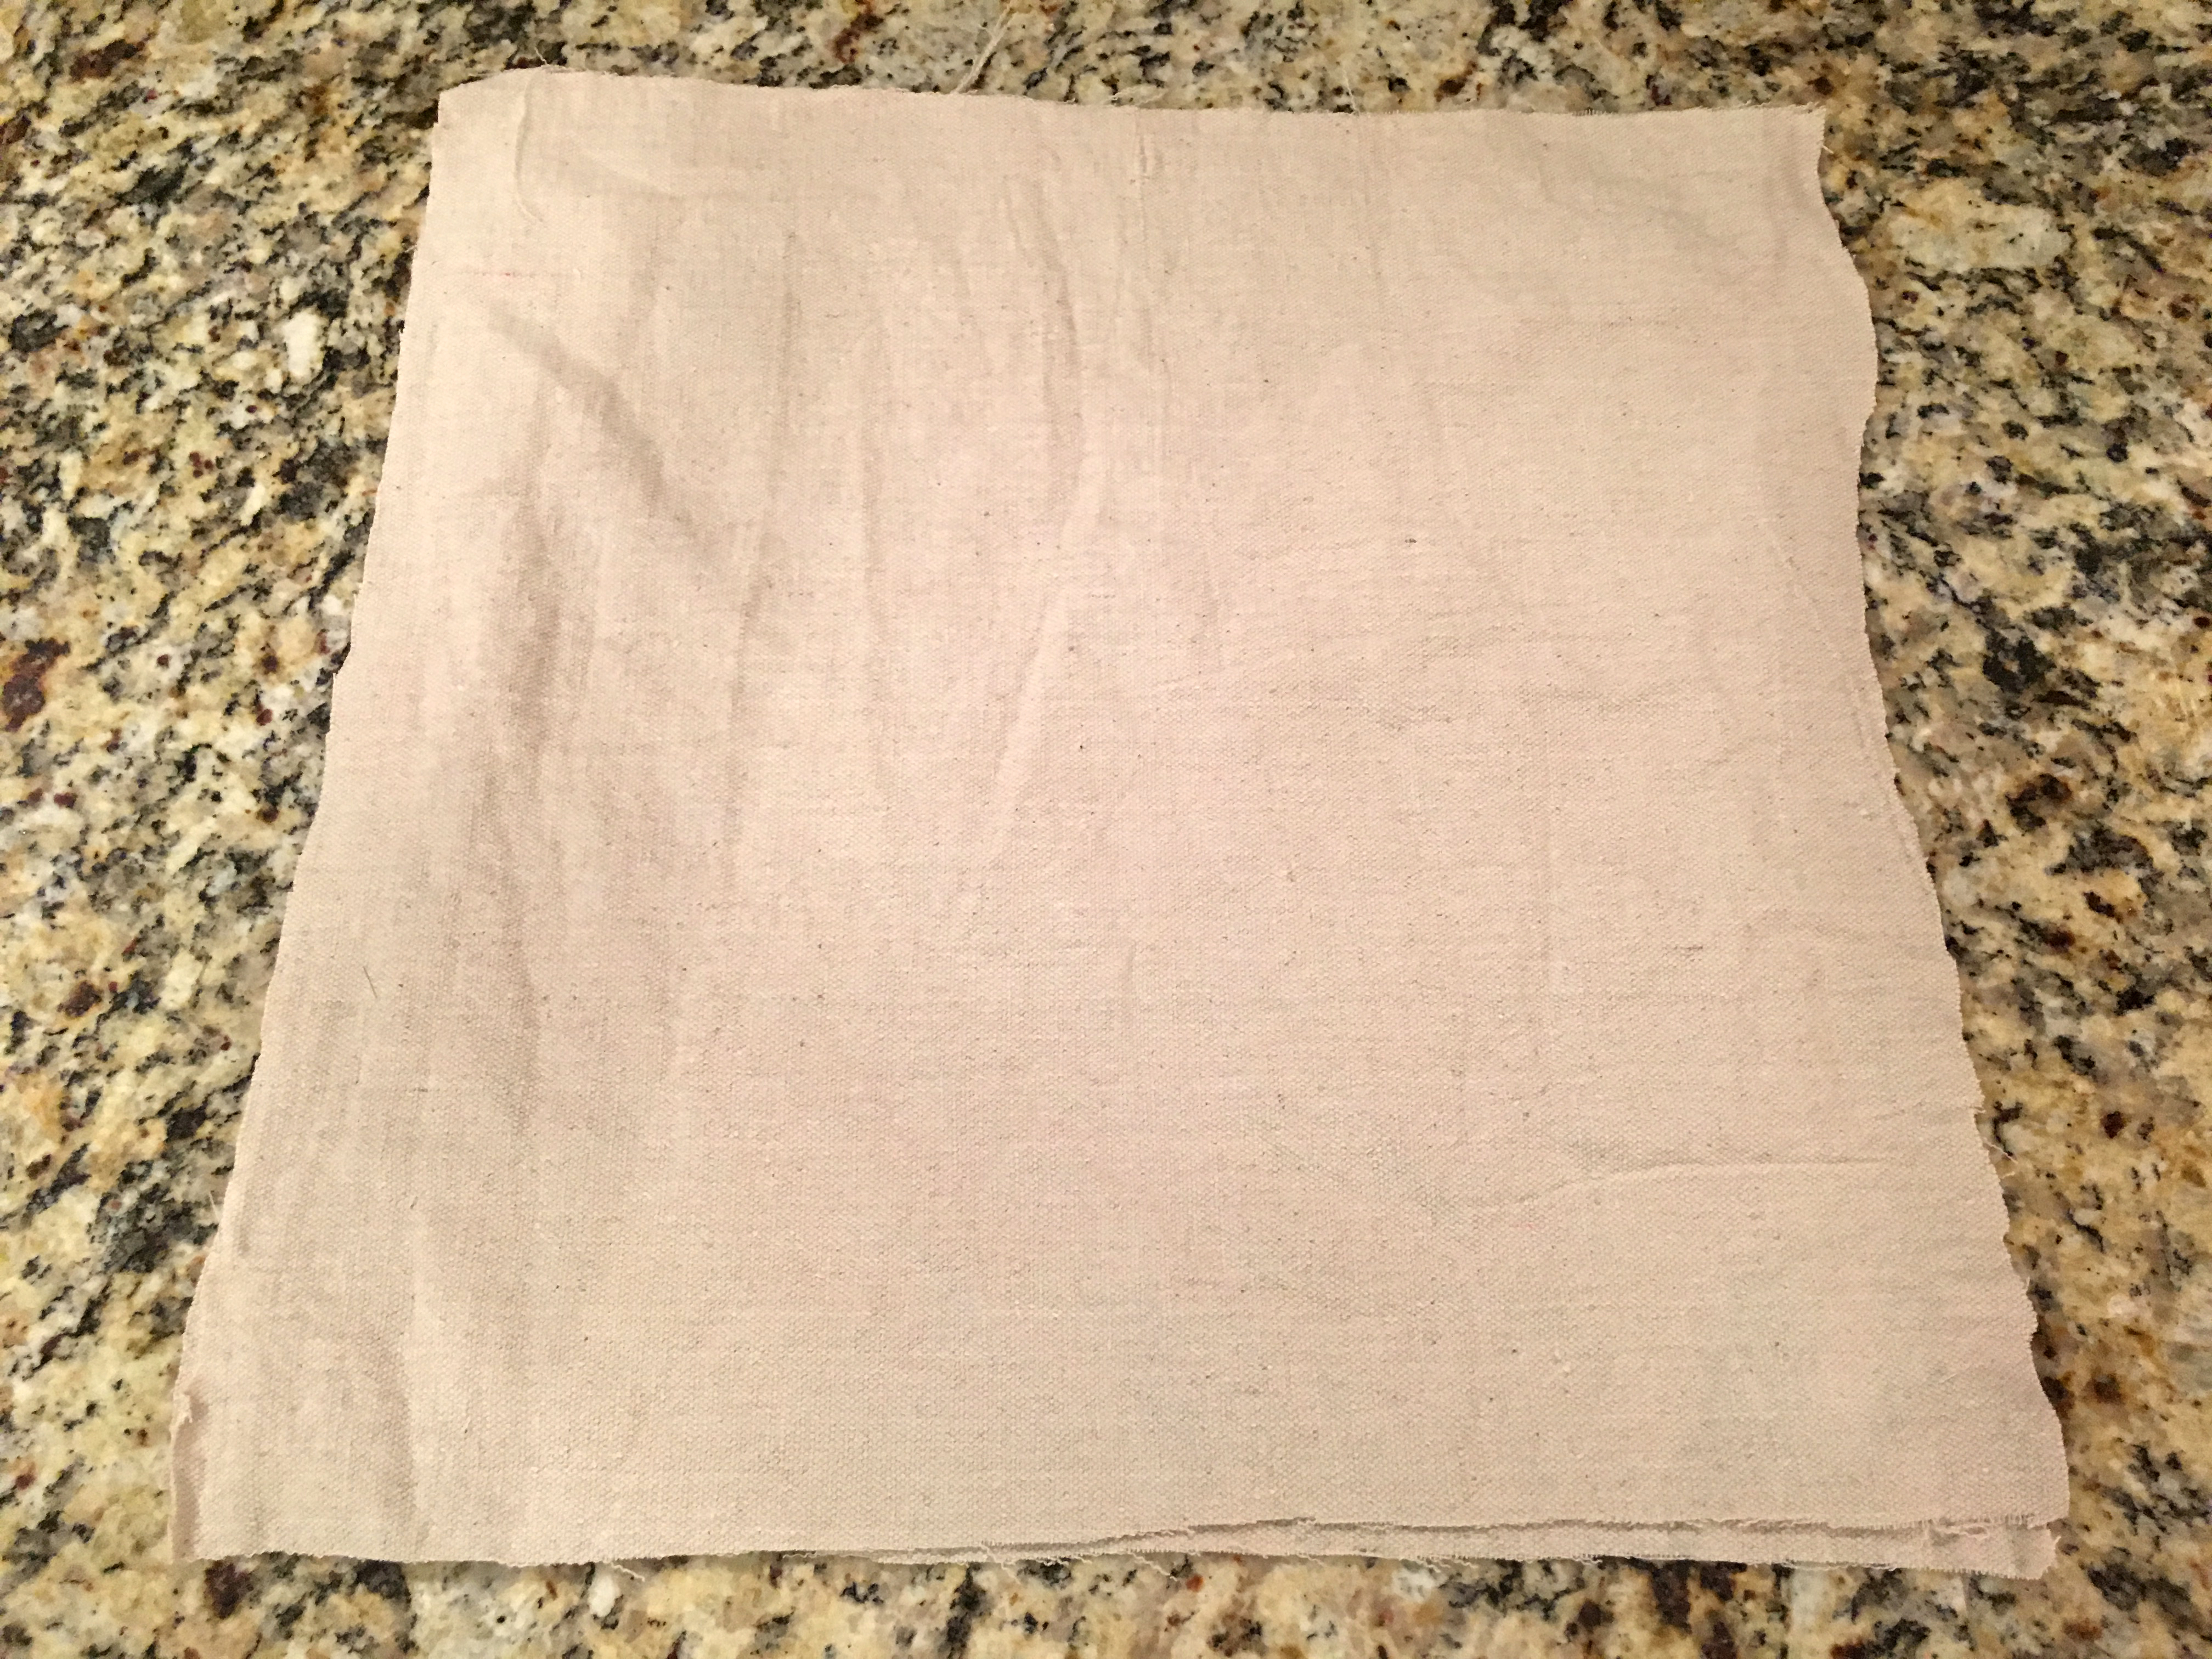
Step 2: Cut out two pieces of drop cloth to use for the pillow cover.
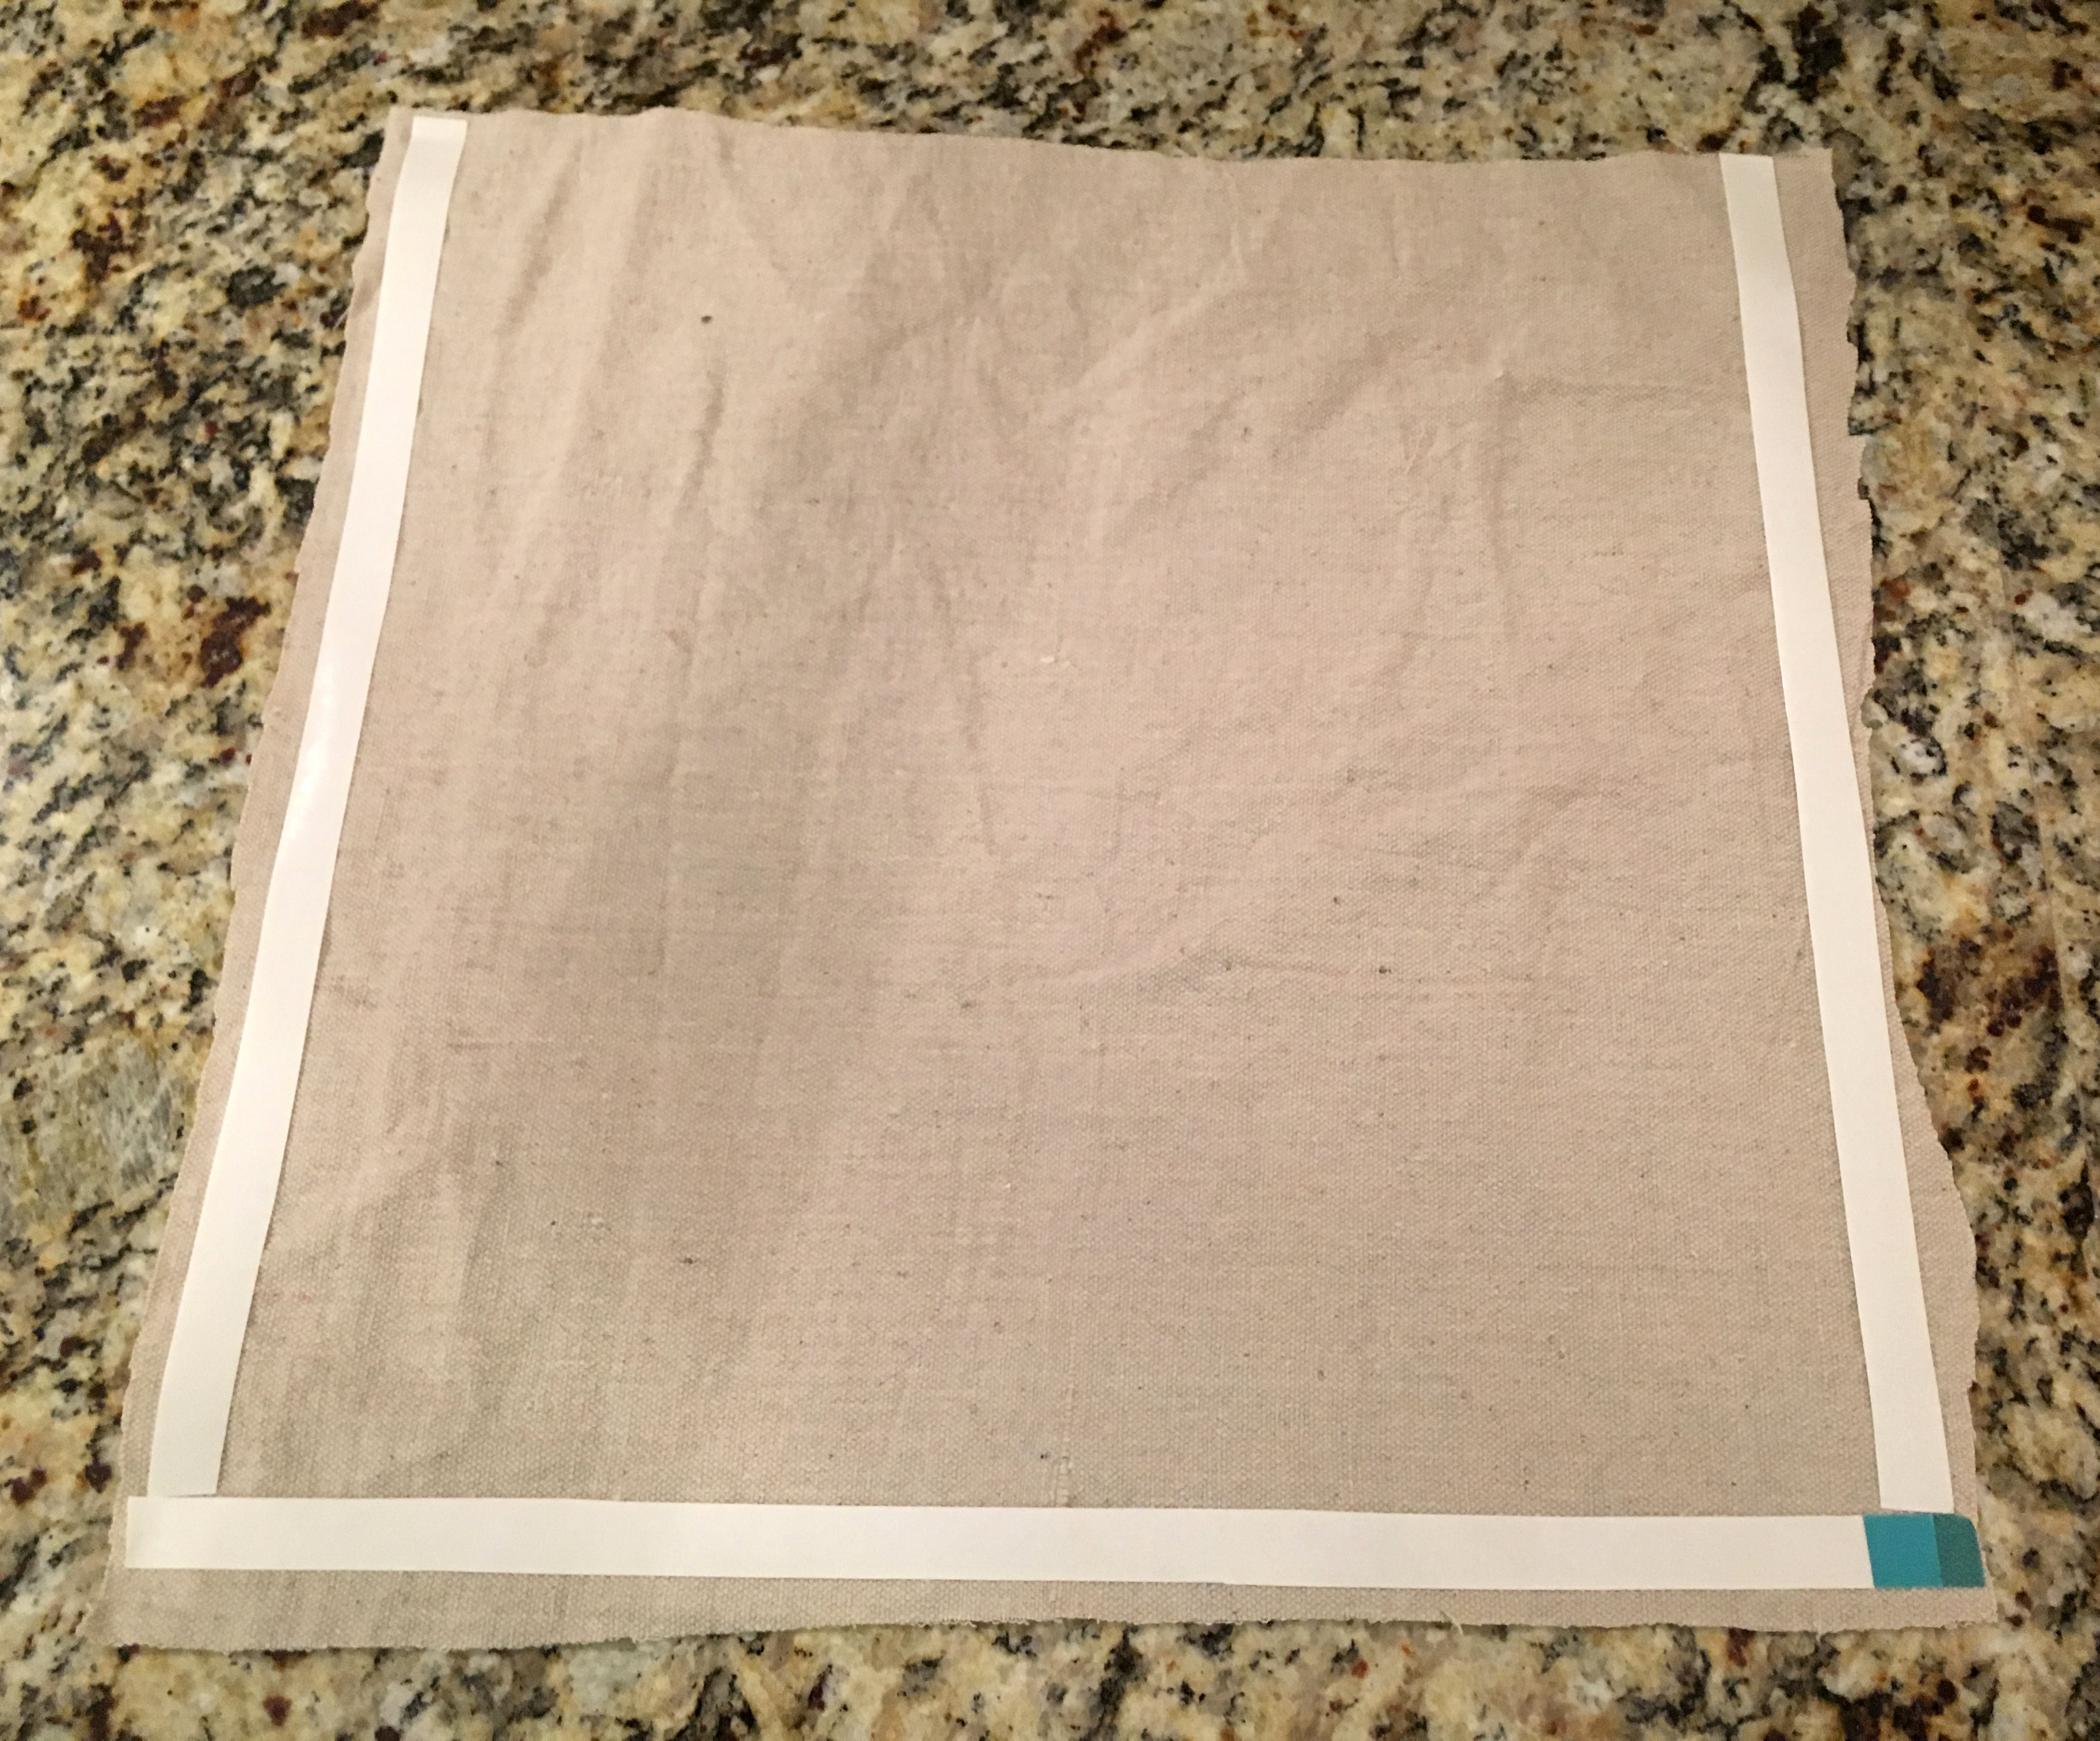
Step 3: Line the edges of 3 sides with the fabric tape. Remove the backing and tape to the second square of drop cloth. Flip inside out.
Step 4: Iron on your image. I found my sweet friend Chloe’s video super helpful for how to use this transfer paper, I definitely recommend watching it so you don’t freak out that you’ve messed it up like I did!
Step 5: Stuff your pillow with the polyfill leaving enough room to fold over the bottom and seal the pillow.
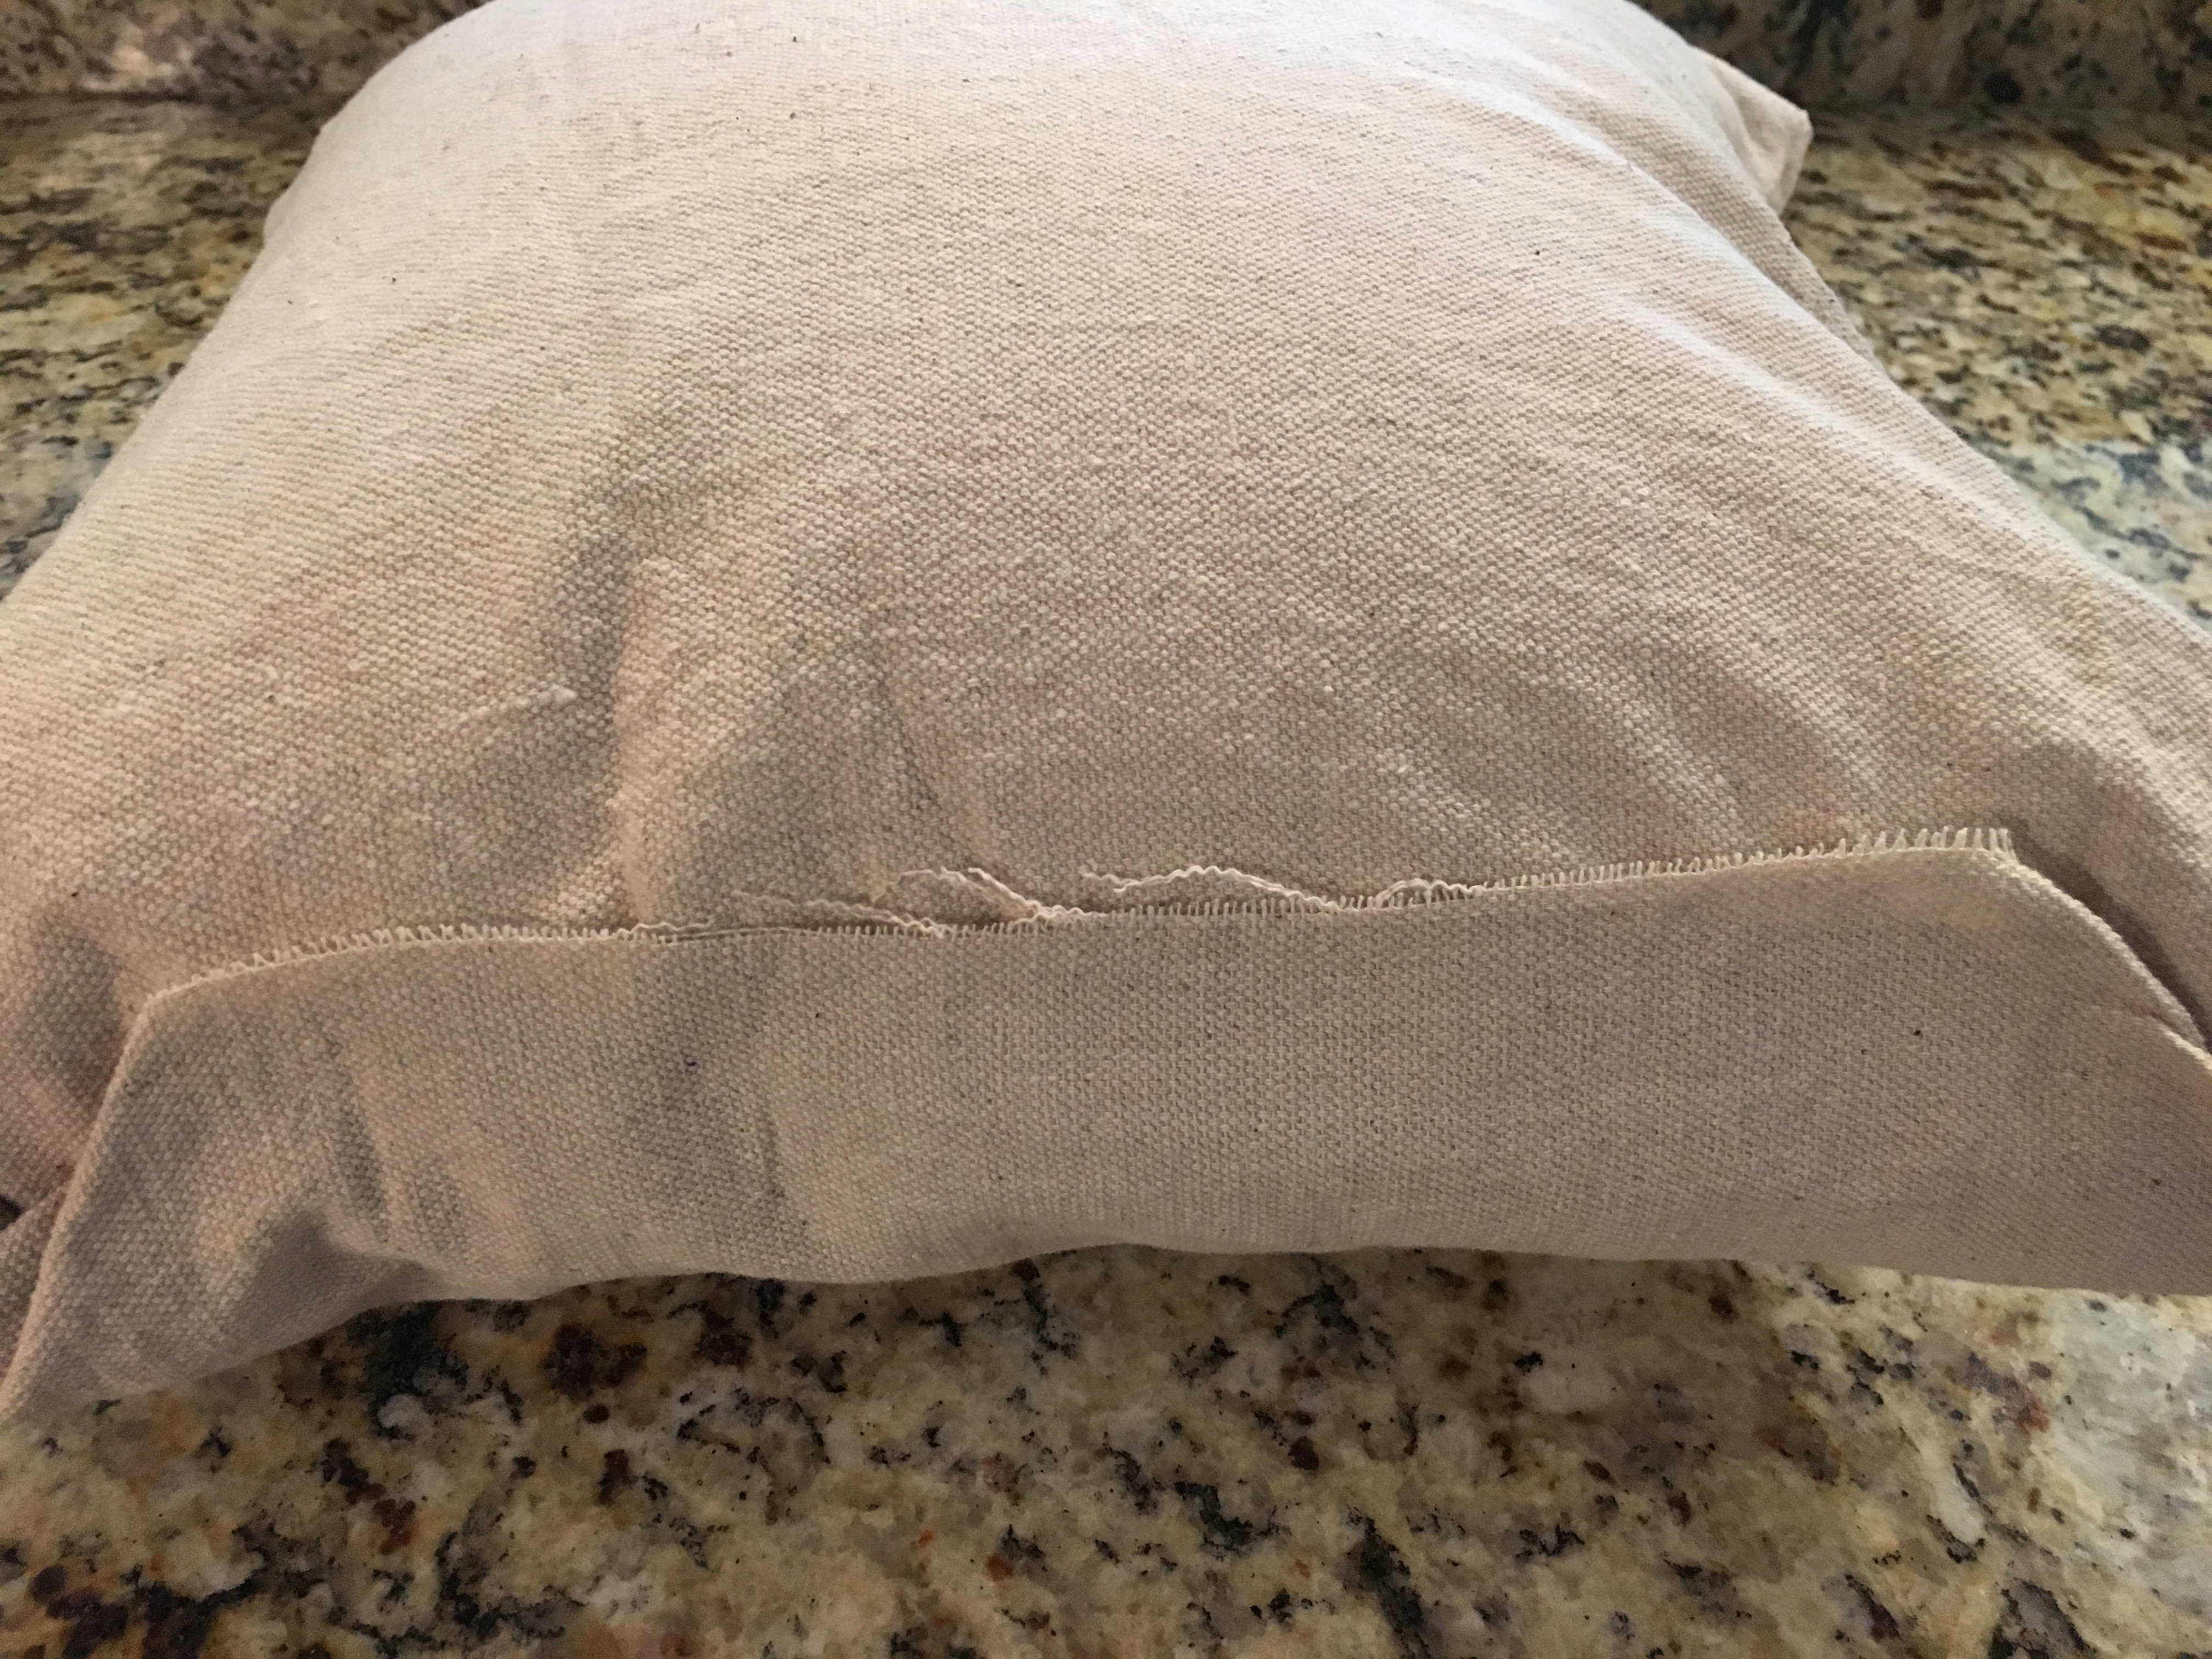
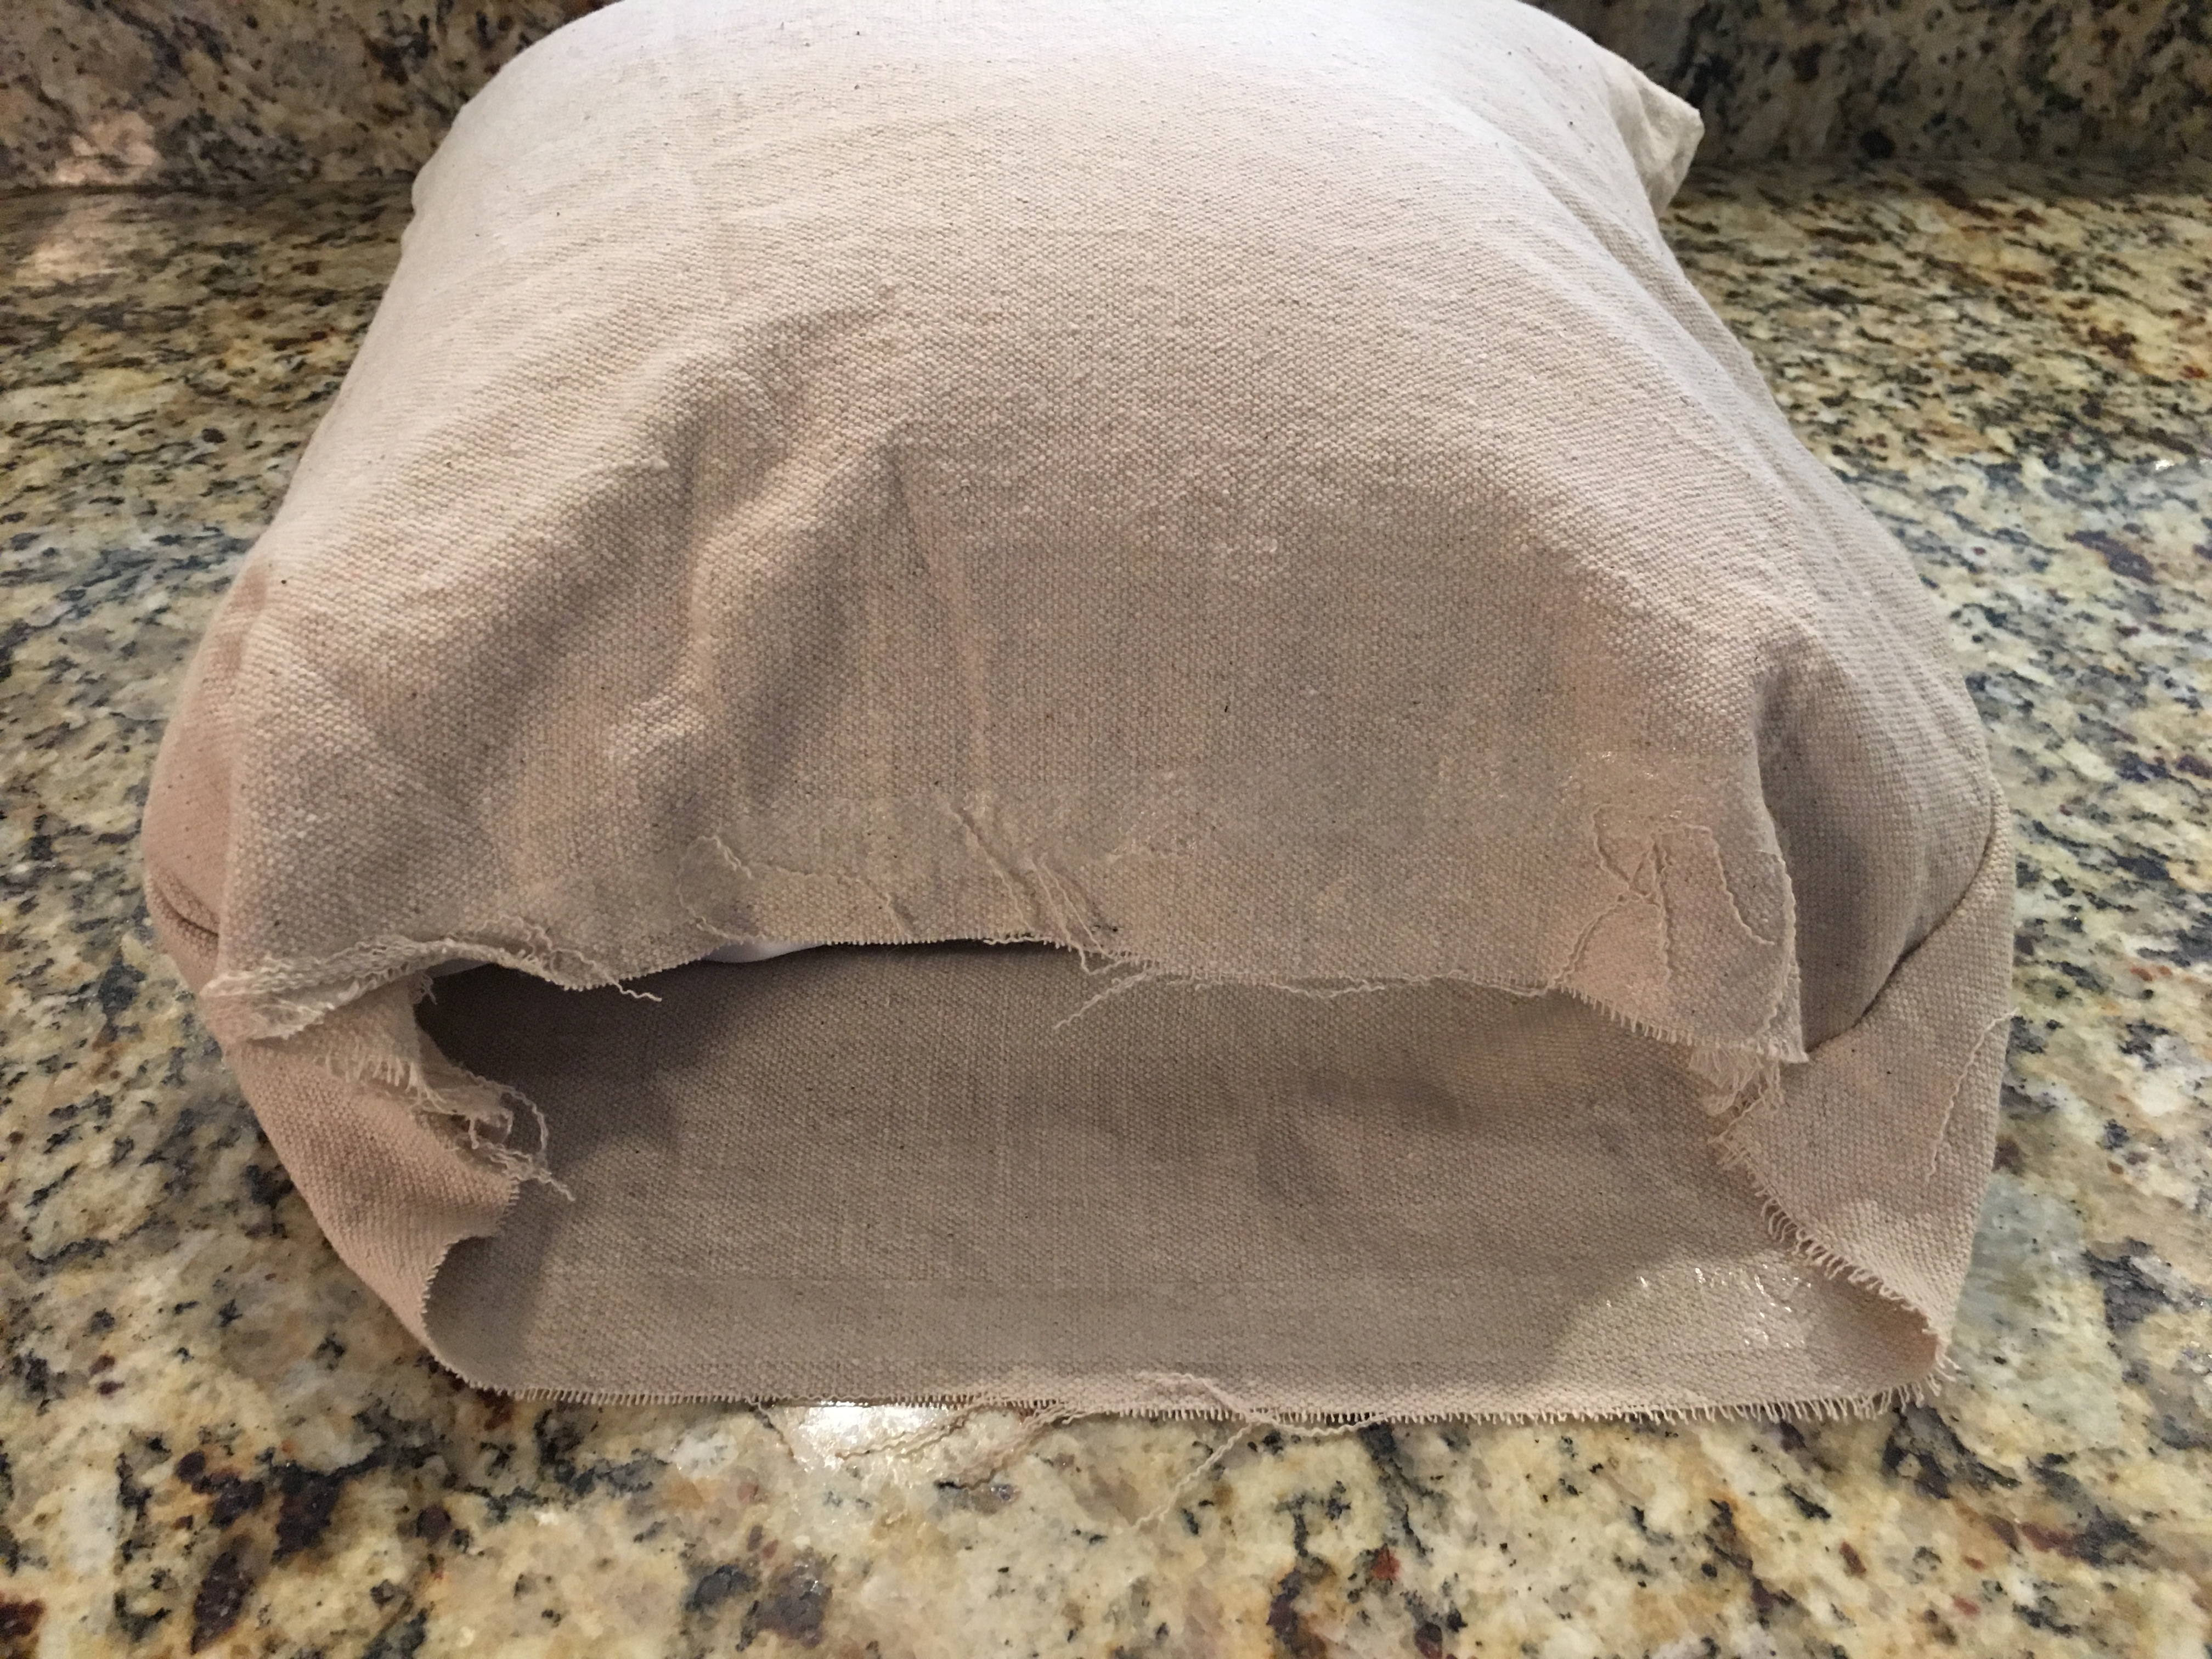 Step 6: I use a gift wrap type method where I tuck in the sides and fold over the front side to the back and secure.
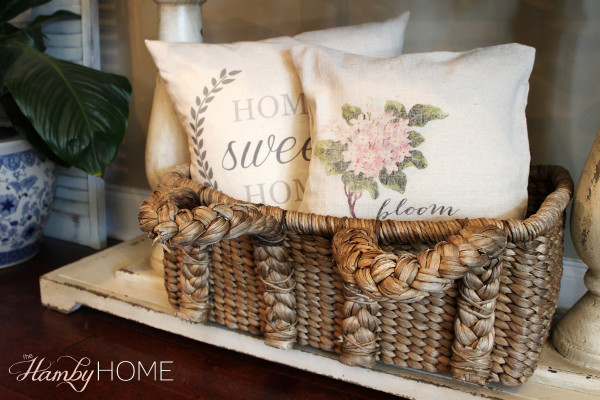
It was great for my Spring decor and I love how easy these DIY transfer pillows are using items I already have in my supplies.
Follow me on Instagram | Facebook | Bloglovin to never miss a post!