
DIY Pruvost Plaque
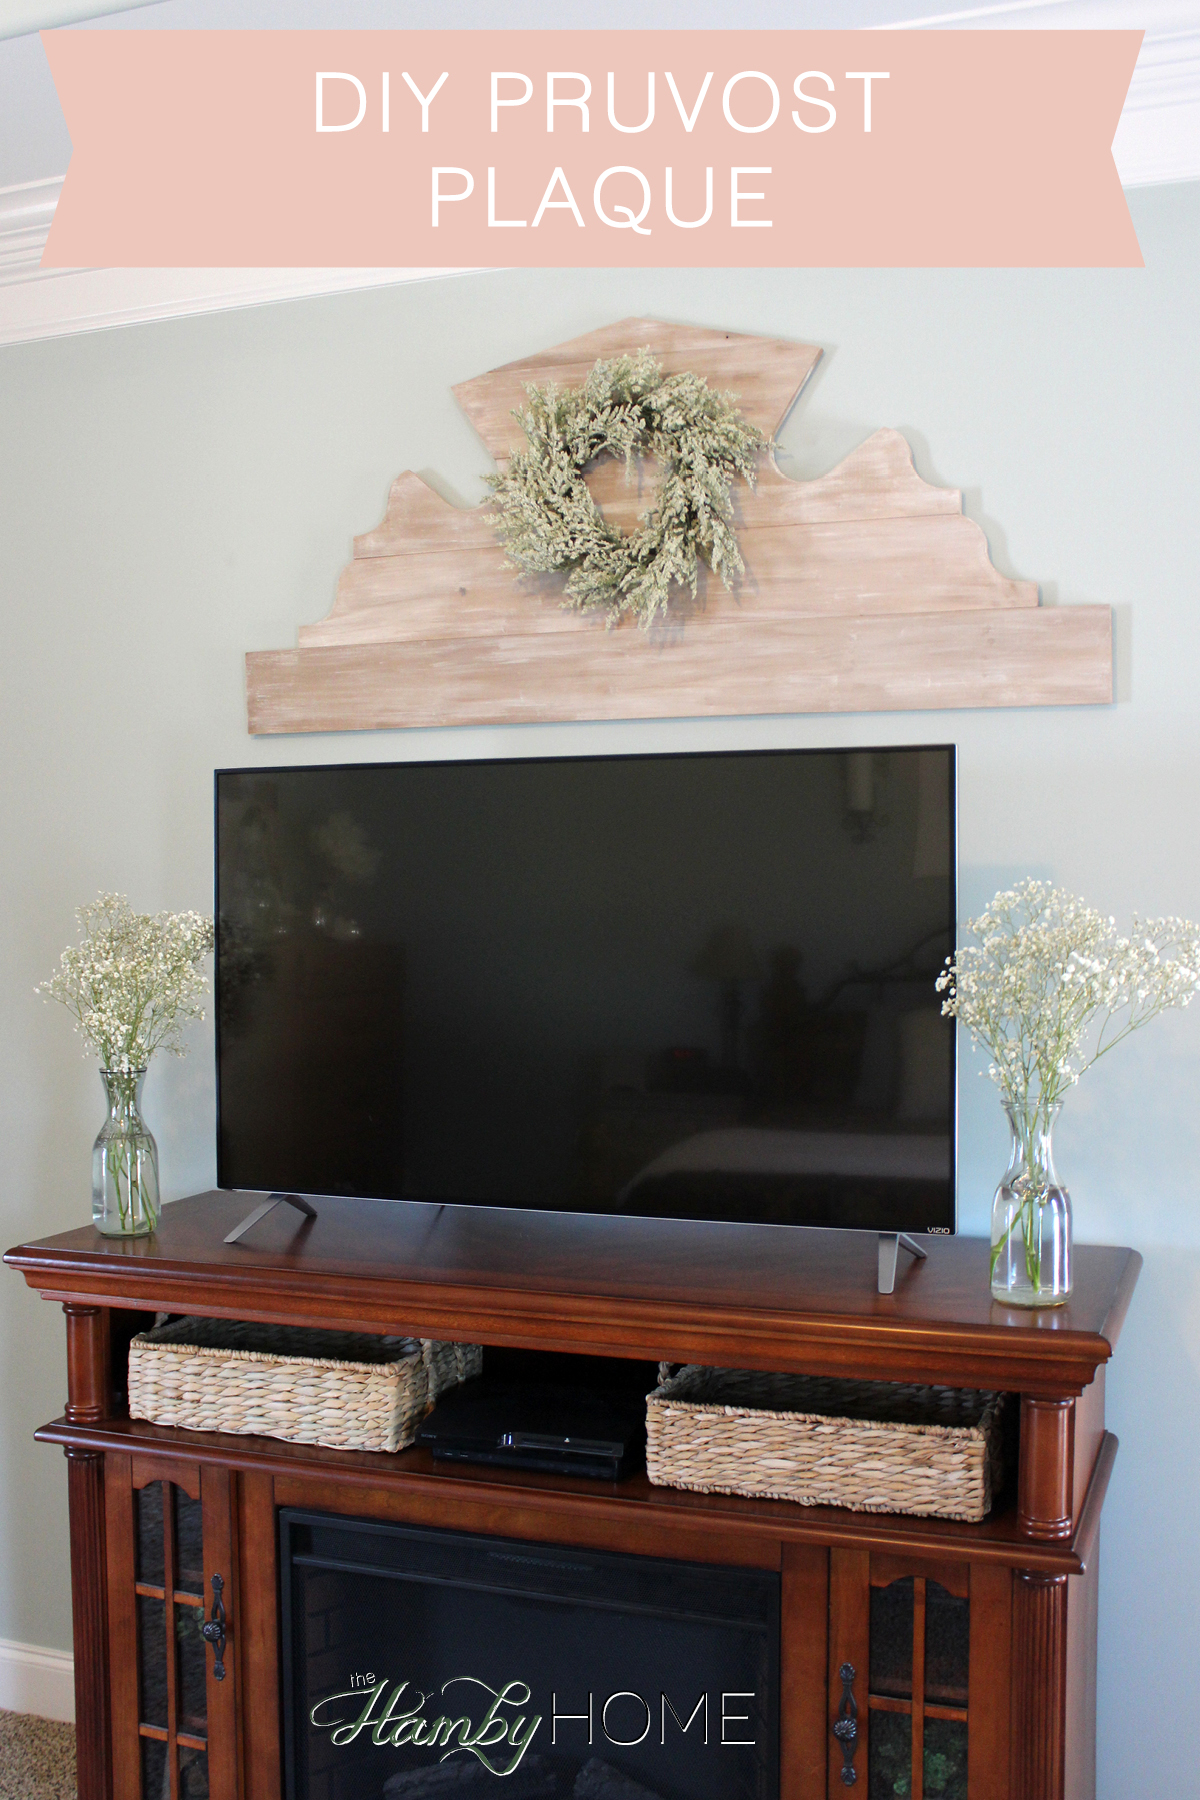
I have been eyeing this vintage inspired pruvost plaque at Ballards for a long time. It is such a cool and unique piece and I thought it would be the perfect piece to use above a TV. My husband got a TV for our bedroom for Christmas. We moved our electric fireplace in there and it was the perfect place for to use one so I decided to try to make one similar.
Here is how we made it:
Step 1: I started by sketching out a plan for the shape of the pruvost on paper. I’ve seen several different ones with different curves so I just used those as a reference and changed it up to suit my taste.

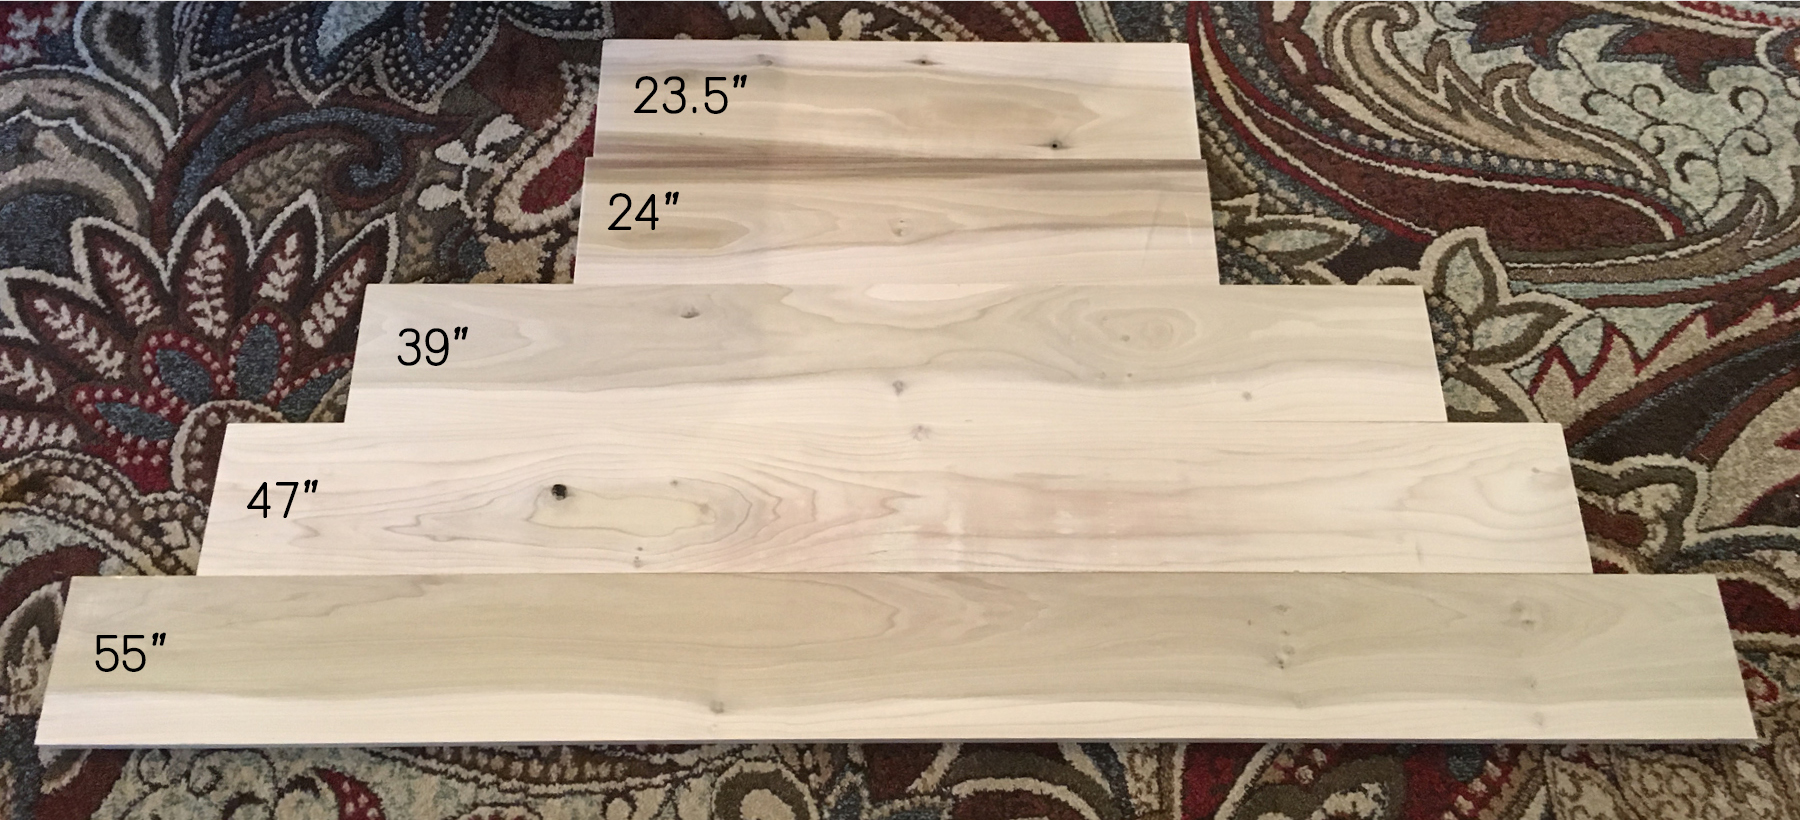
Step 2: I purchased two pieces of pine from Lowes for this project (Qty 1 – ¾ x 5.5 x 12) (Qty 1 – ¾ x 5.5 x 6). Measure and cut your pieces of lumber. Here are the measurements that I used. I started from the bottom pieces to the top because the width was the most important factor for me.
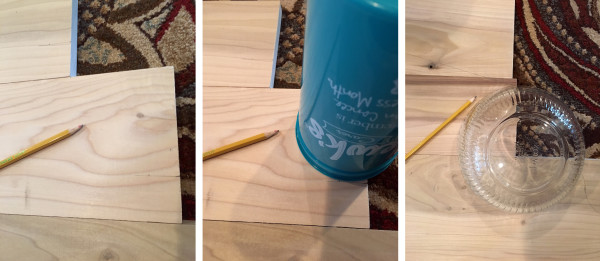
Step 3: Draw the cuts onto the lumber pieces. It’s easier to focus on one piece of wood at a time. I used a ruler, bowl and cup to help with this part. I made notes on the measurements for the curves to help me replicate it on the other side. During this part, I kept the 5 pieces together to draw the cuts so that they pieced together as I wanted.
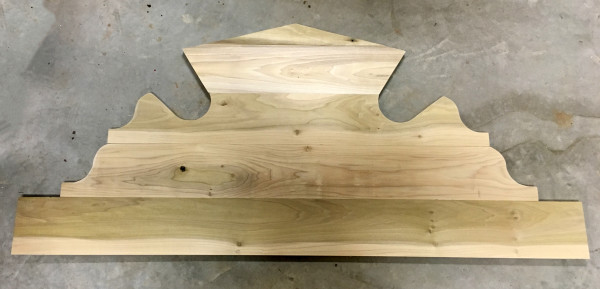
Step 4: Using a jigsaw, cut along the sketched edges of each board. Then sand down the edges to smooth out the cuts. My husband did all of the jigsaw work for me, bless him! 🙂
You can stain, paint, leave as is or whatever you would like. I wanted a lighter weathered look since the fireplace and TV were both darker.
Here is how I finished mine:
Using paint that I had around the house, I painted each piece of lumber separately.
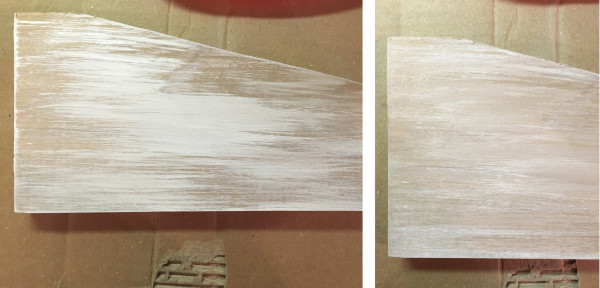
Step 1: I started with a medium brown paint that I watered down and painted all over and immediately wiped it off to leave the wood grain showing through. Make sure you do the edges that will show when it’s all pieced together.
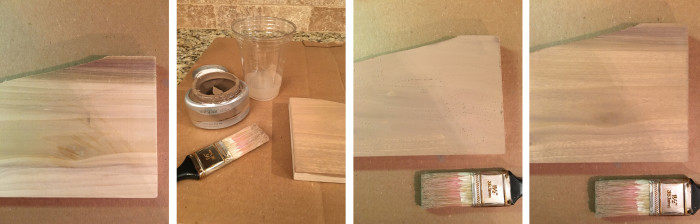
Step 2: Using a dry brush technique, I made light brush strokes with a creamy white paint in the same direction as the wood grain and then wiped them down in that same direction as well. If there is an area that got too light, I dry brushed some of the brown to break up the color. I didn’t do a ton of coverage with the white, just sporadic strokes to give it various colors.
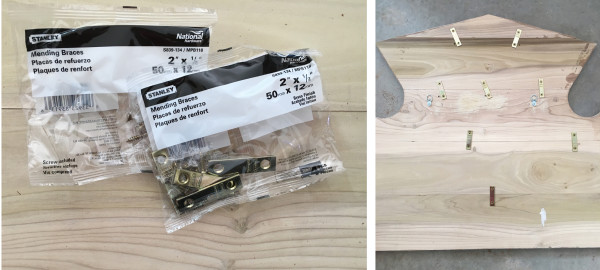
Once the paint was all dry, we just flipped the pieces over, arranged them correctly and attached each piece with metal brackets and then added my hangers.
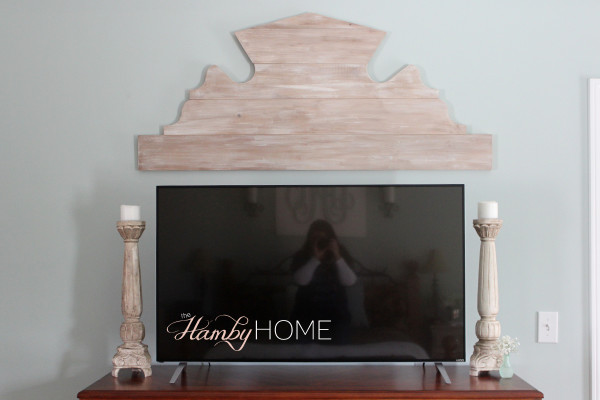
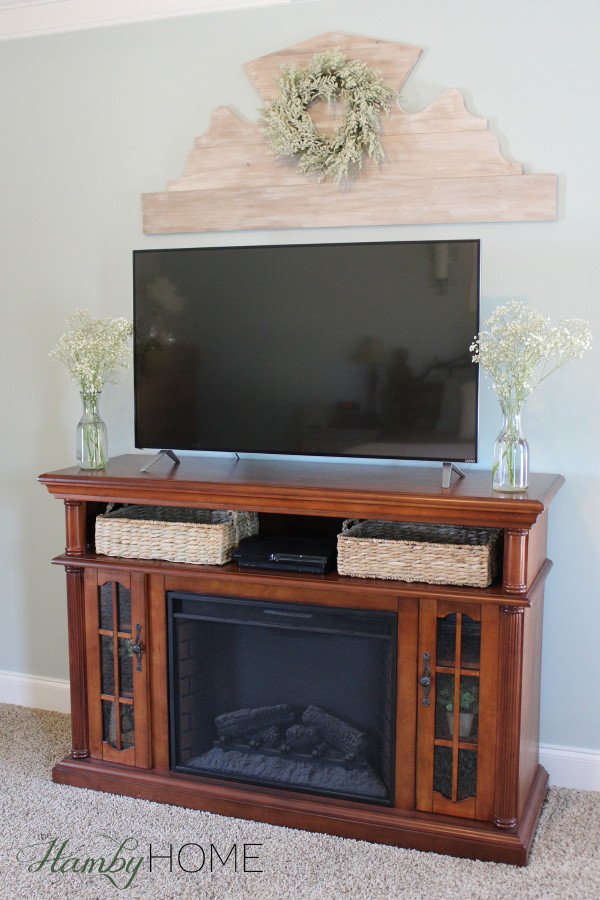
That is how we made it! I love how it turned out! I don’t love the way a TV looks in the bedroom but this makes me a little more tolerable! I made a small simple wreath to hang on the pruvost plaque and I am instantly in love!
Follow me on Instagram | Facebook | Bloglovin to never miss a post!