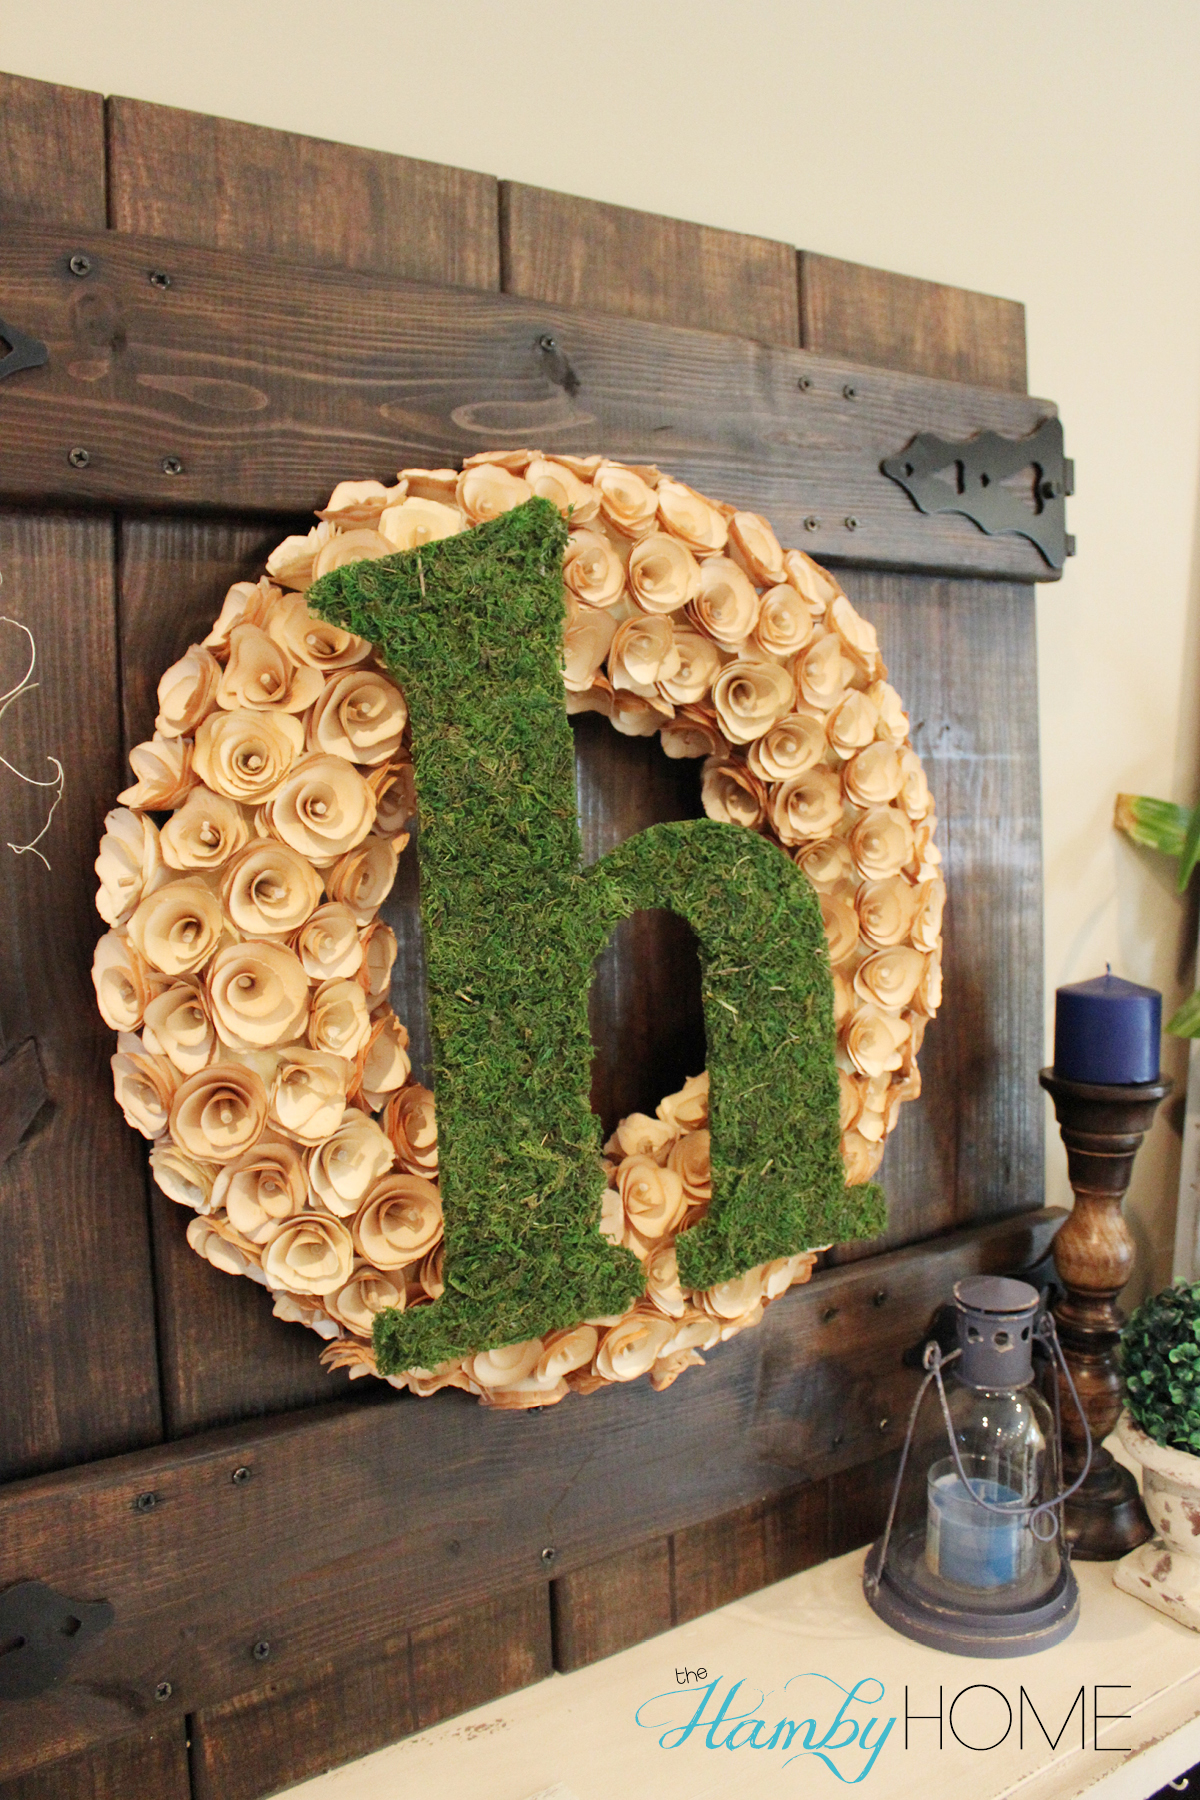
DIY Moss Initial
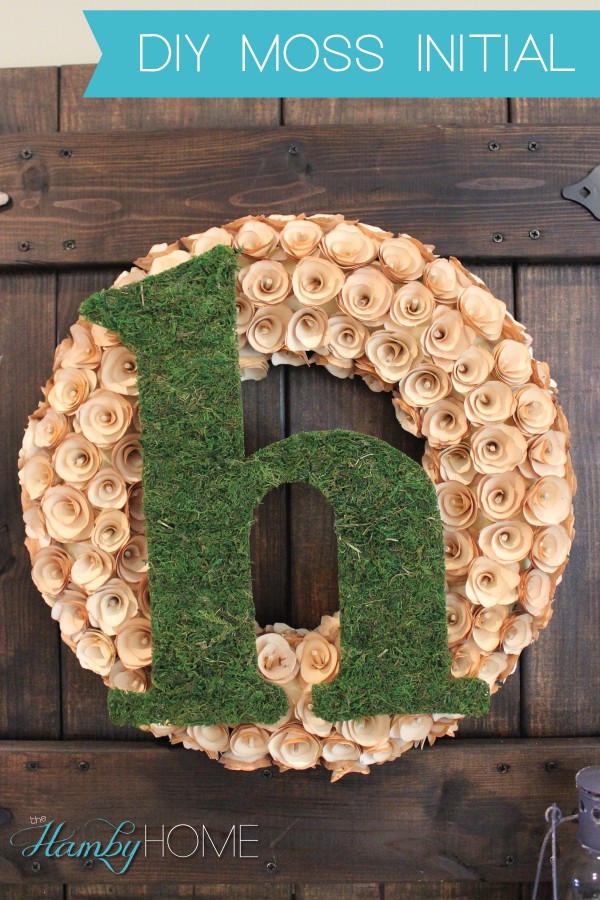
This is a super simple DIY project that I have had on my to do list for almost two years. I love Moss Initials; they’re perfect for front doors, gallery walls and just to hang over old windows, frames, etc.
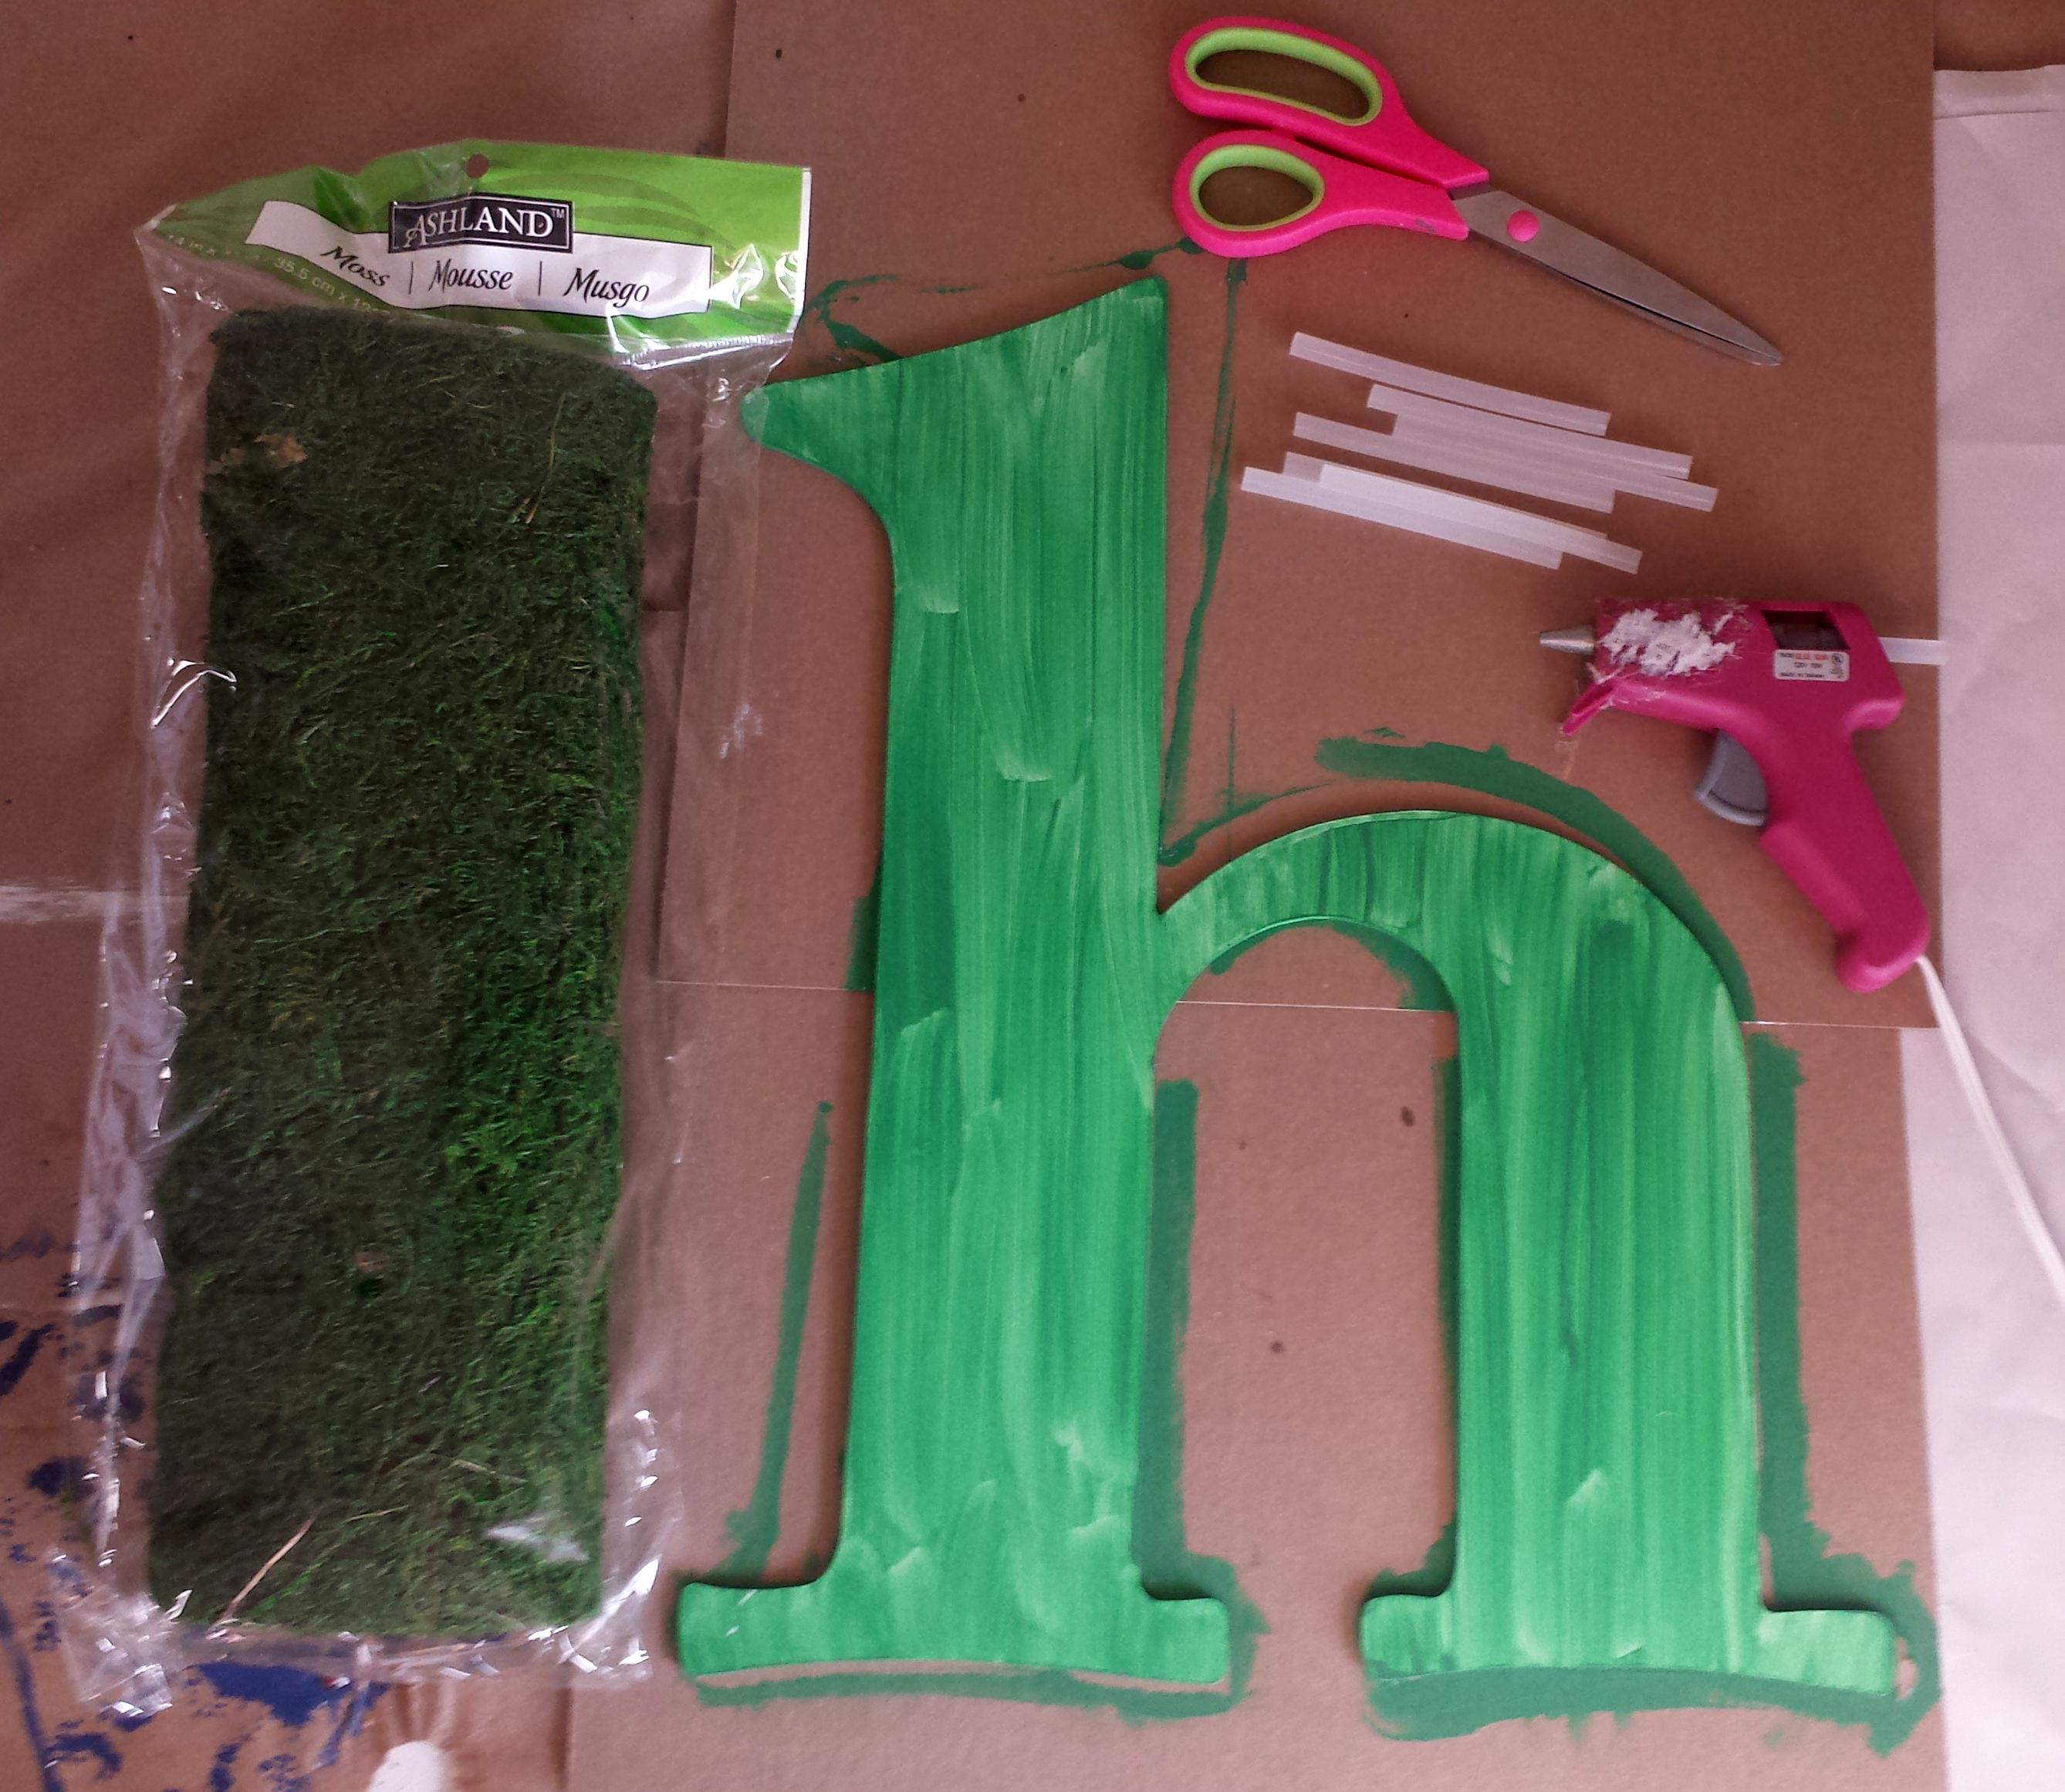
Supplies Needed:
- Wooden Initial
- Green Paint
- Roll of Moss
- Hot Glue
- Scissors
Here is how to make them:
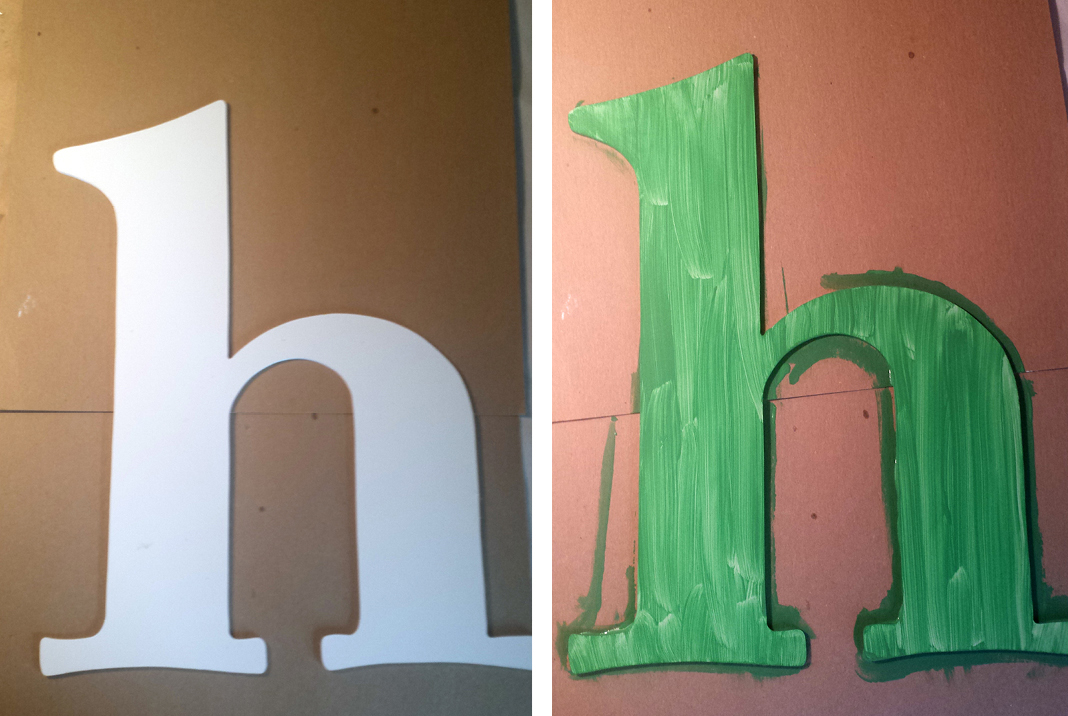
Step 1: Paint Initial Green including the sides. The moss sheets are thin in places but if your initial is green, it won’t be noticeable. This is an easy step to camouflage the wooden initial underneath.
Step 2: After the initial has dried, Roll out the moss to be a little larger than the initial and trim. This will leave you with a square or rectangle of moss on top of your initial.
Step 3: Start Hot Gluing. I just chose one edge of the initial and started there, gluing along the outside of the letter and roughing filling in the inside as well. Complete this until you have glued the entire letter.
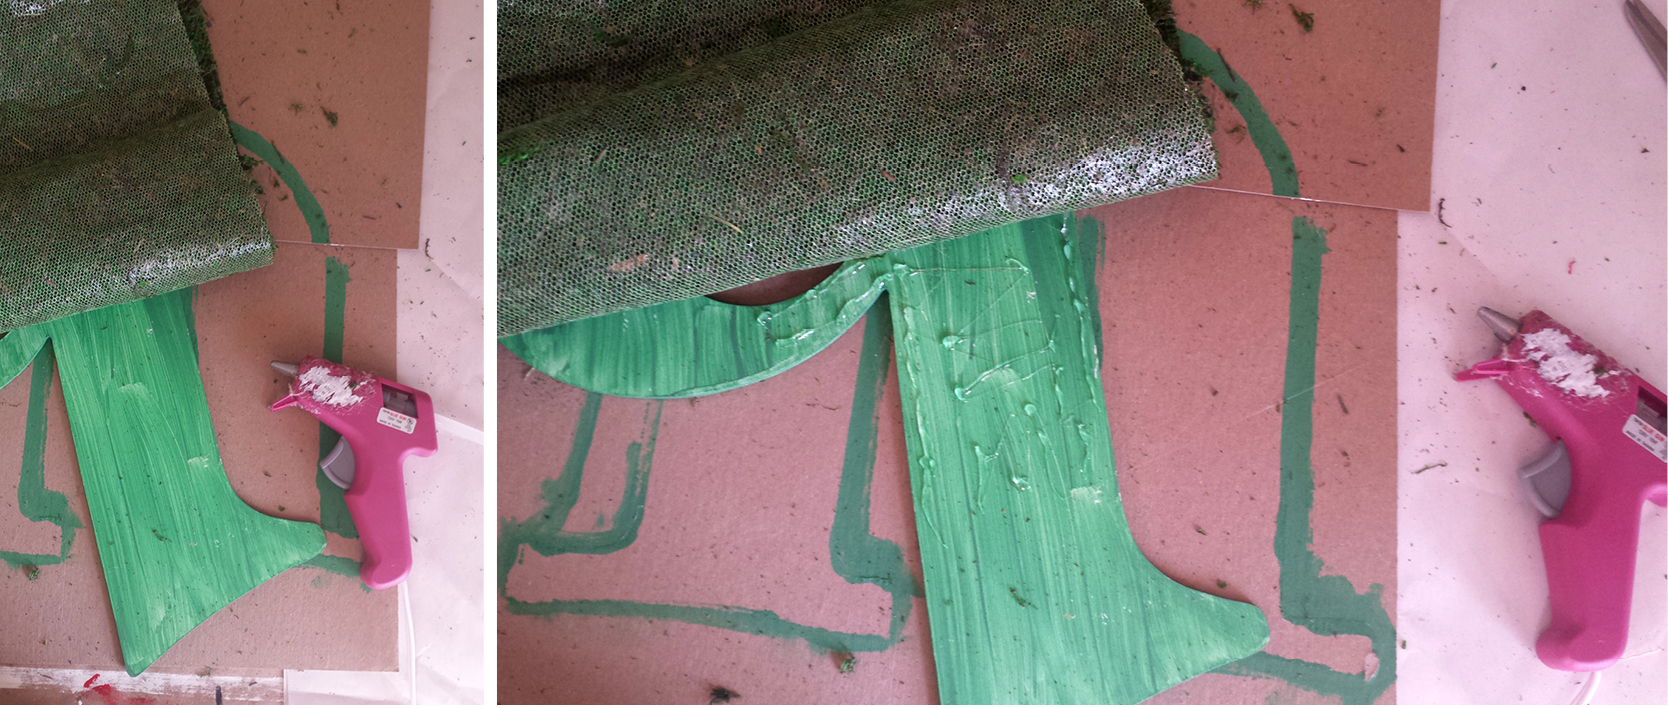
Step 4: Start trimming the moss around the letter. I left a little bit of moss hanging over the wooden initial to make sure you don’t see the letter behind the moss.
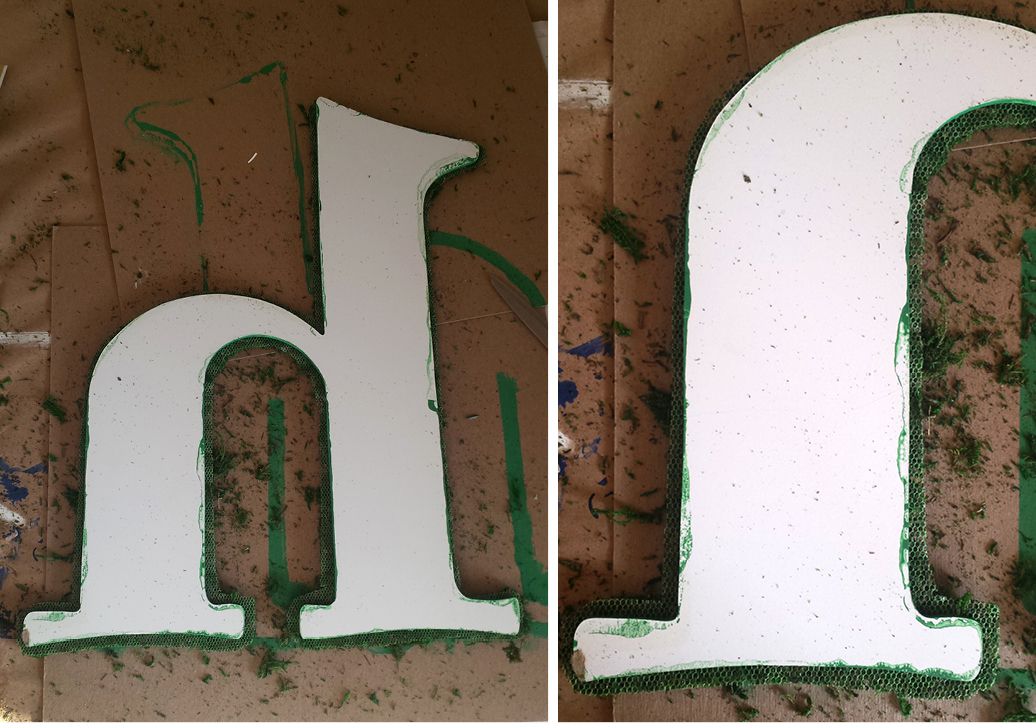
That’s it! It’s a little messy but such a simple DIY. It’d be super cute with a burlap bow!
I like to hang things on top of my wood rosette wreath so I added two little twine hangers that I could hook around the rosettes without being too obvious.