DIY Wooden Spool Tray
You may remember my haul of wooden spools or my wooden spool clocks. I decided to try something a little different for this diy small wooden spool project.
I love the customized trays that people often can use as decoration but they’re also very useful. Whether your bringing wine, cheese and crackers into another room with guests, or hauling all your supplies out the grill, a tray of this size will come in handy.
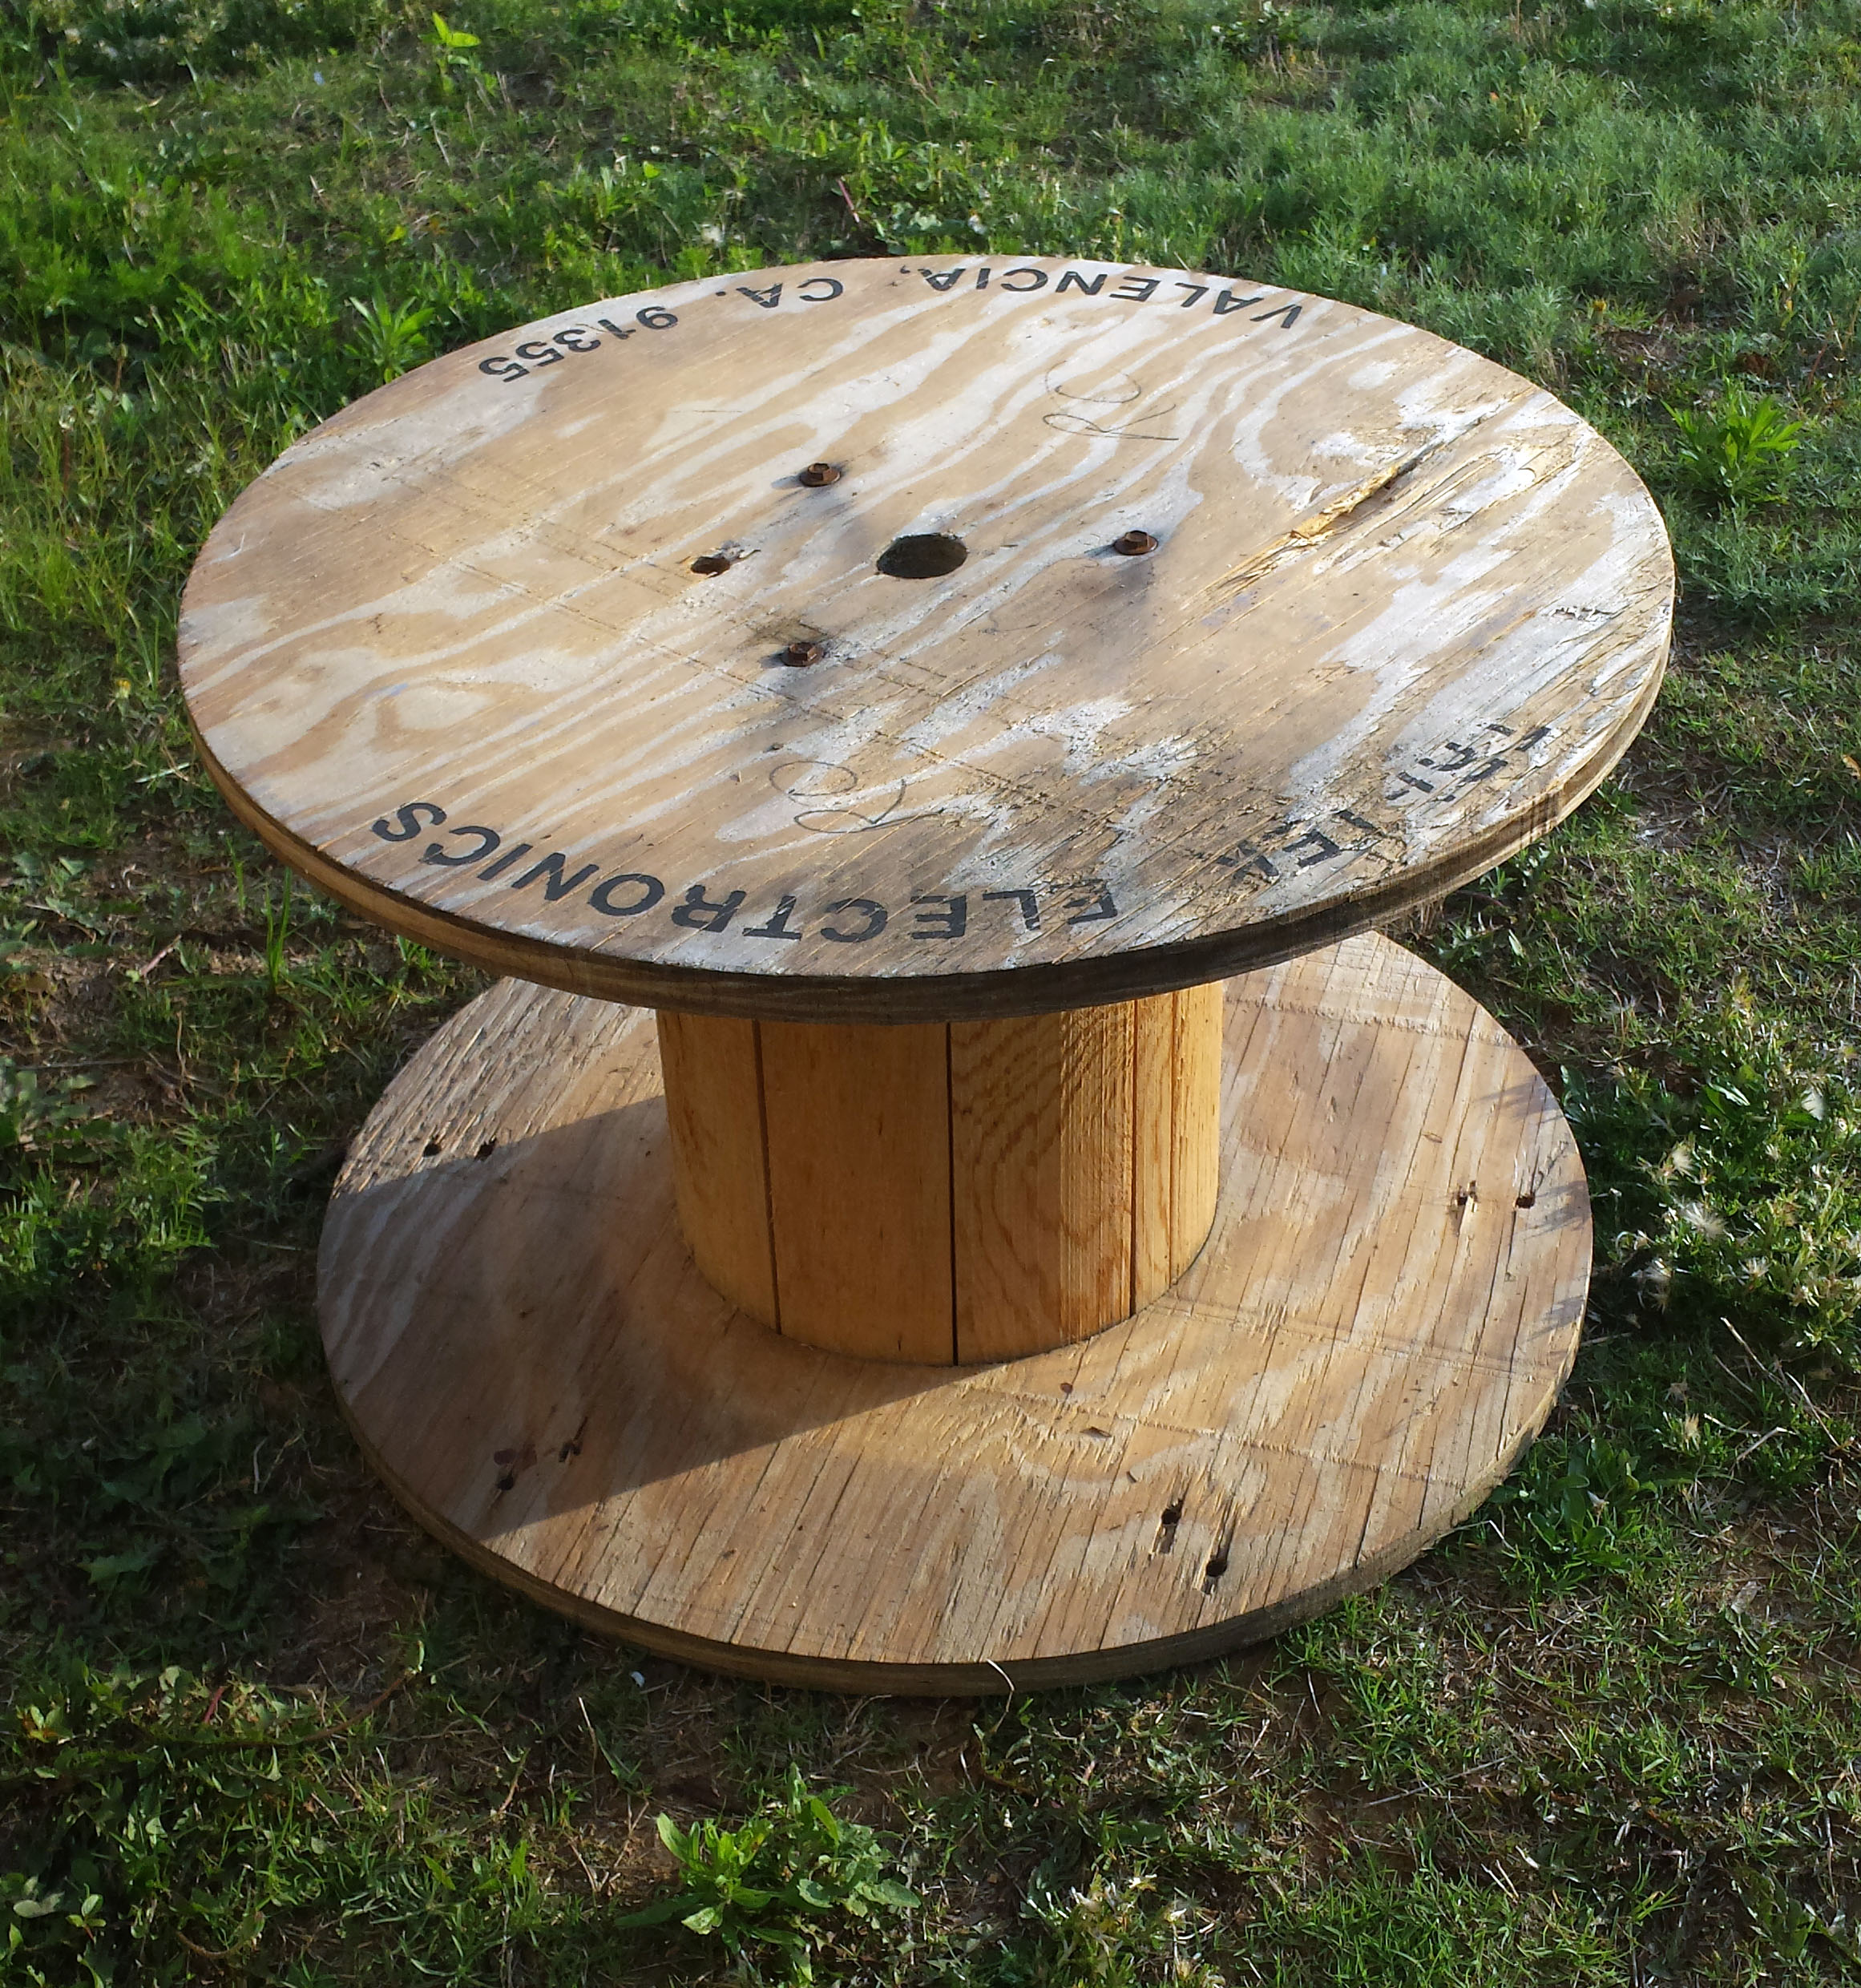
First step was to sand down the surface of the spool and edges to smooth the surface and prevent as many splinters as possible. Unfortunately with using old weathered wood like this, it is difficult to eliminate all chances of splinters, I found that out the hard way.
Spool – 1 Courtney – 0

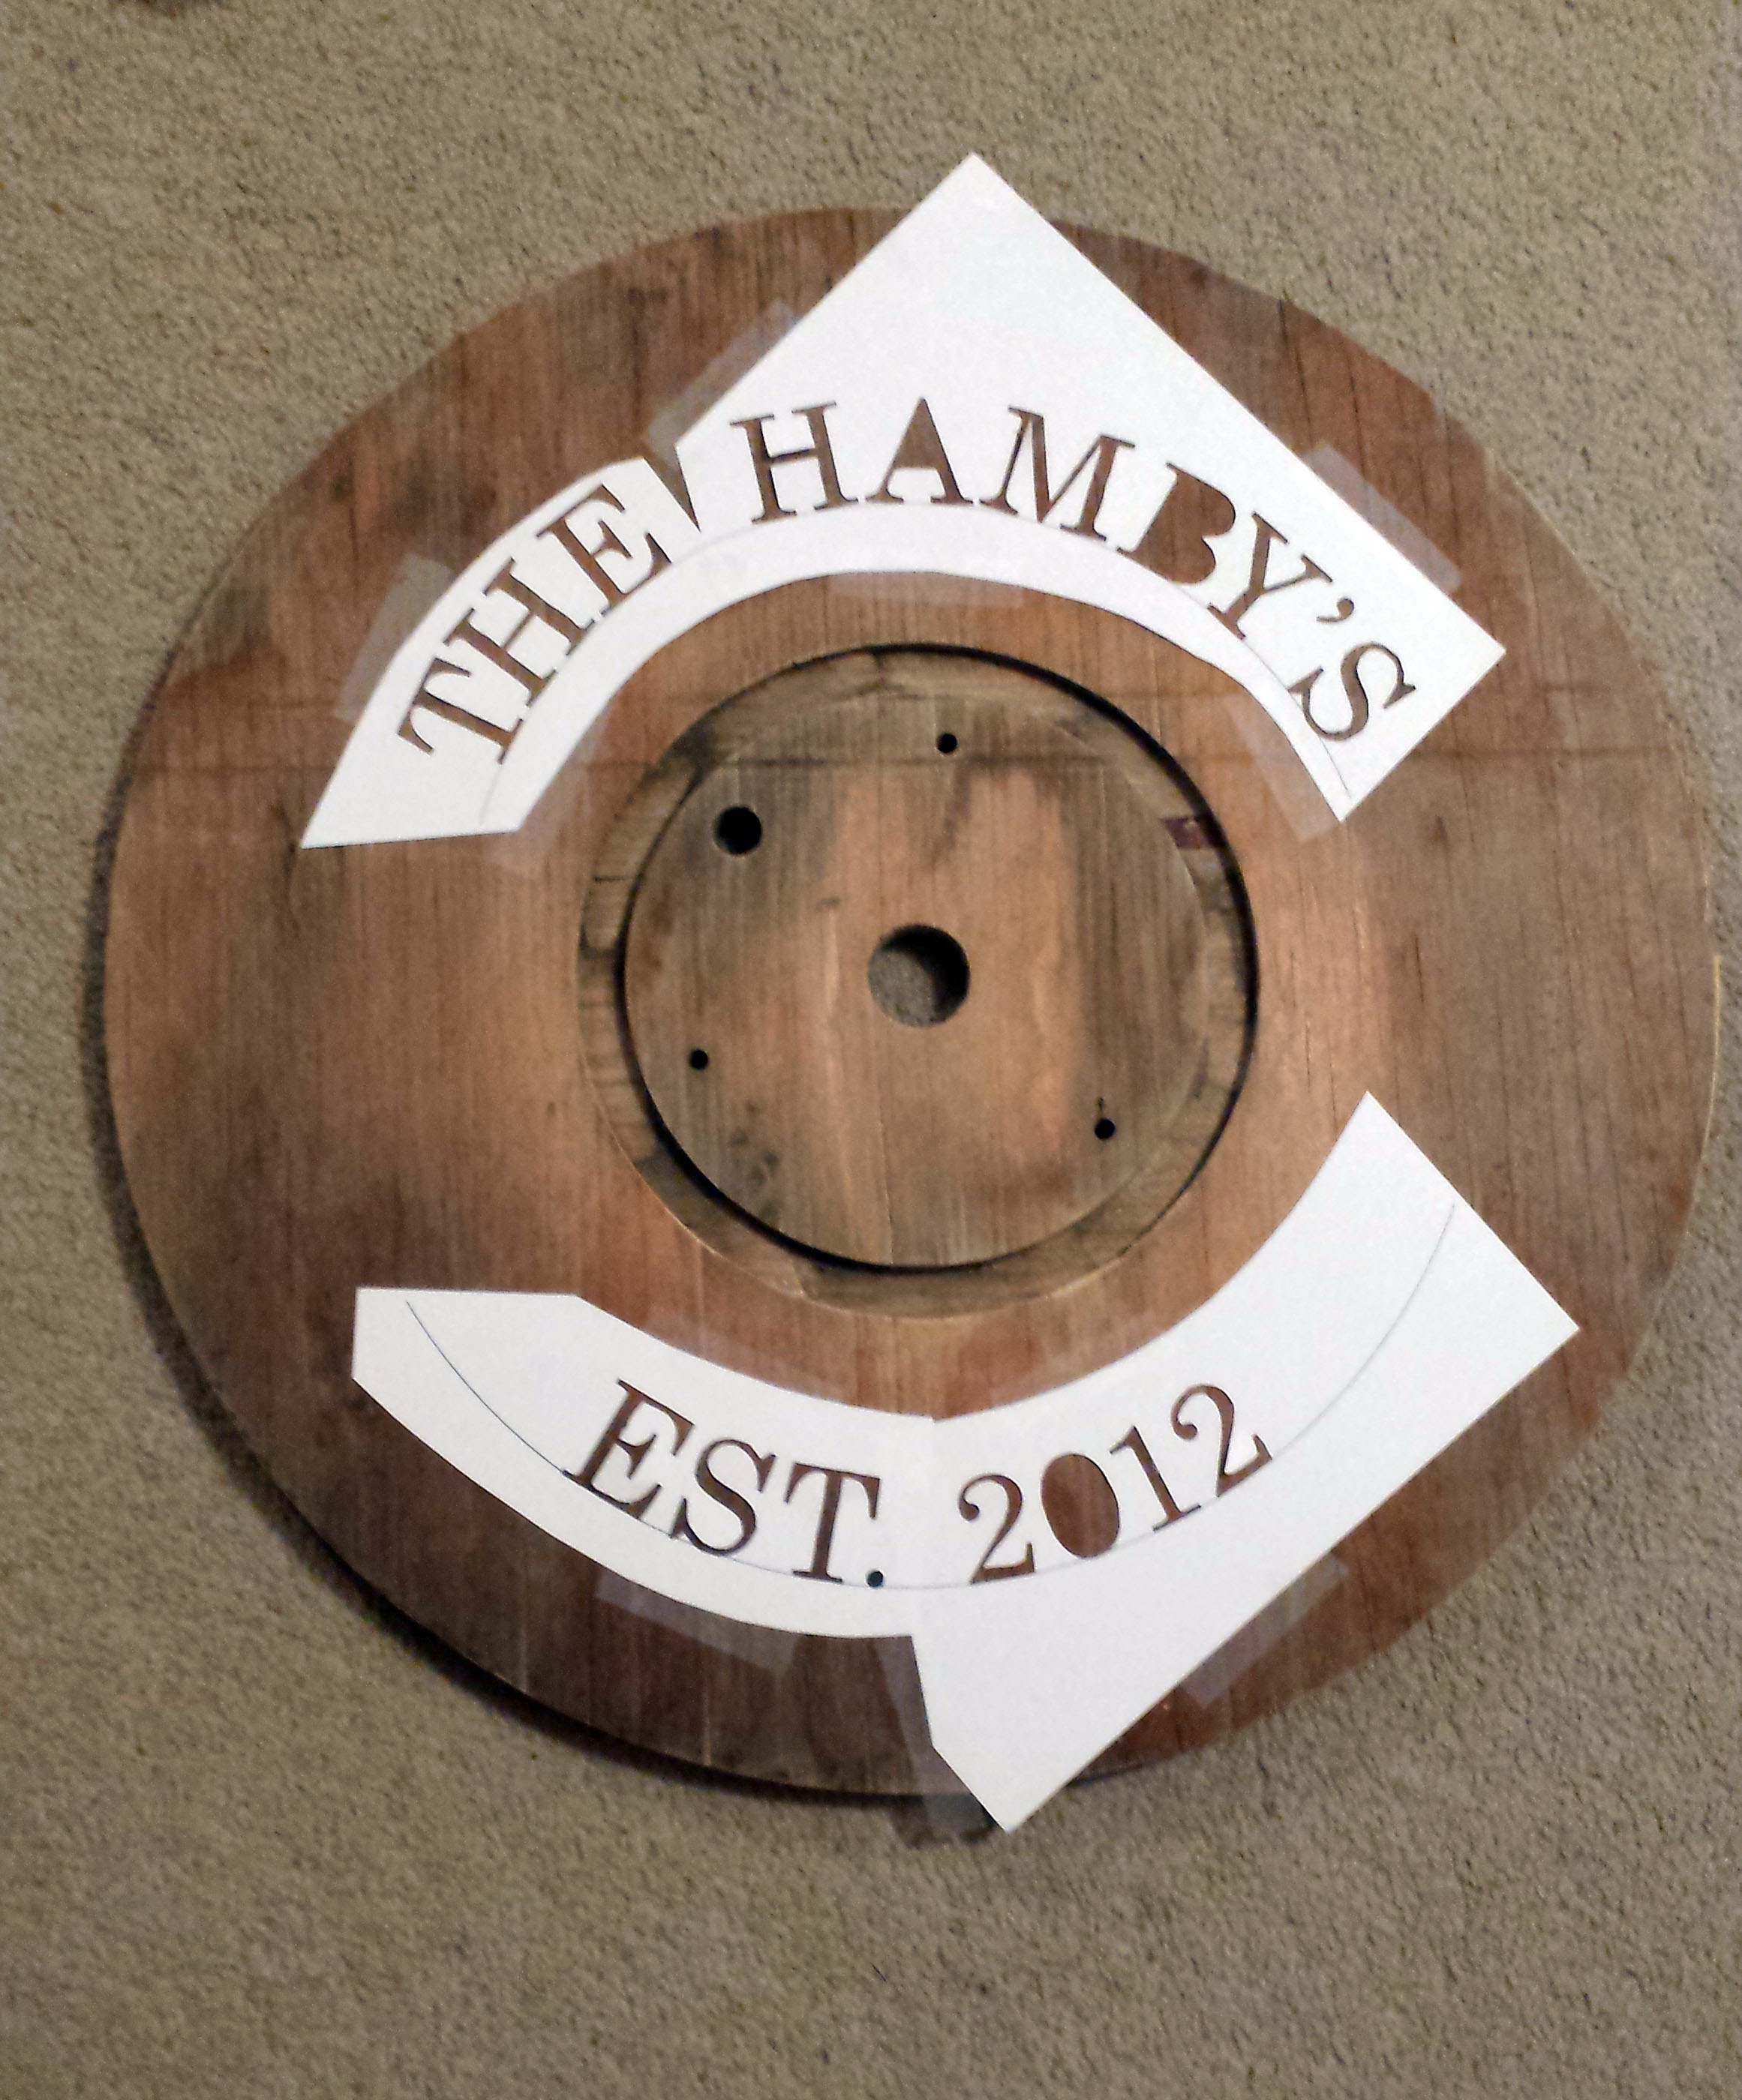
I designed the text in adobe indesign where I could type on a path in a circle. I printed it on cardstock and used an exacto knife to cut out the letters to make a stencil.
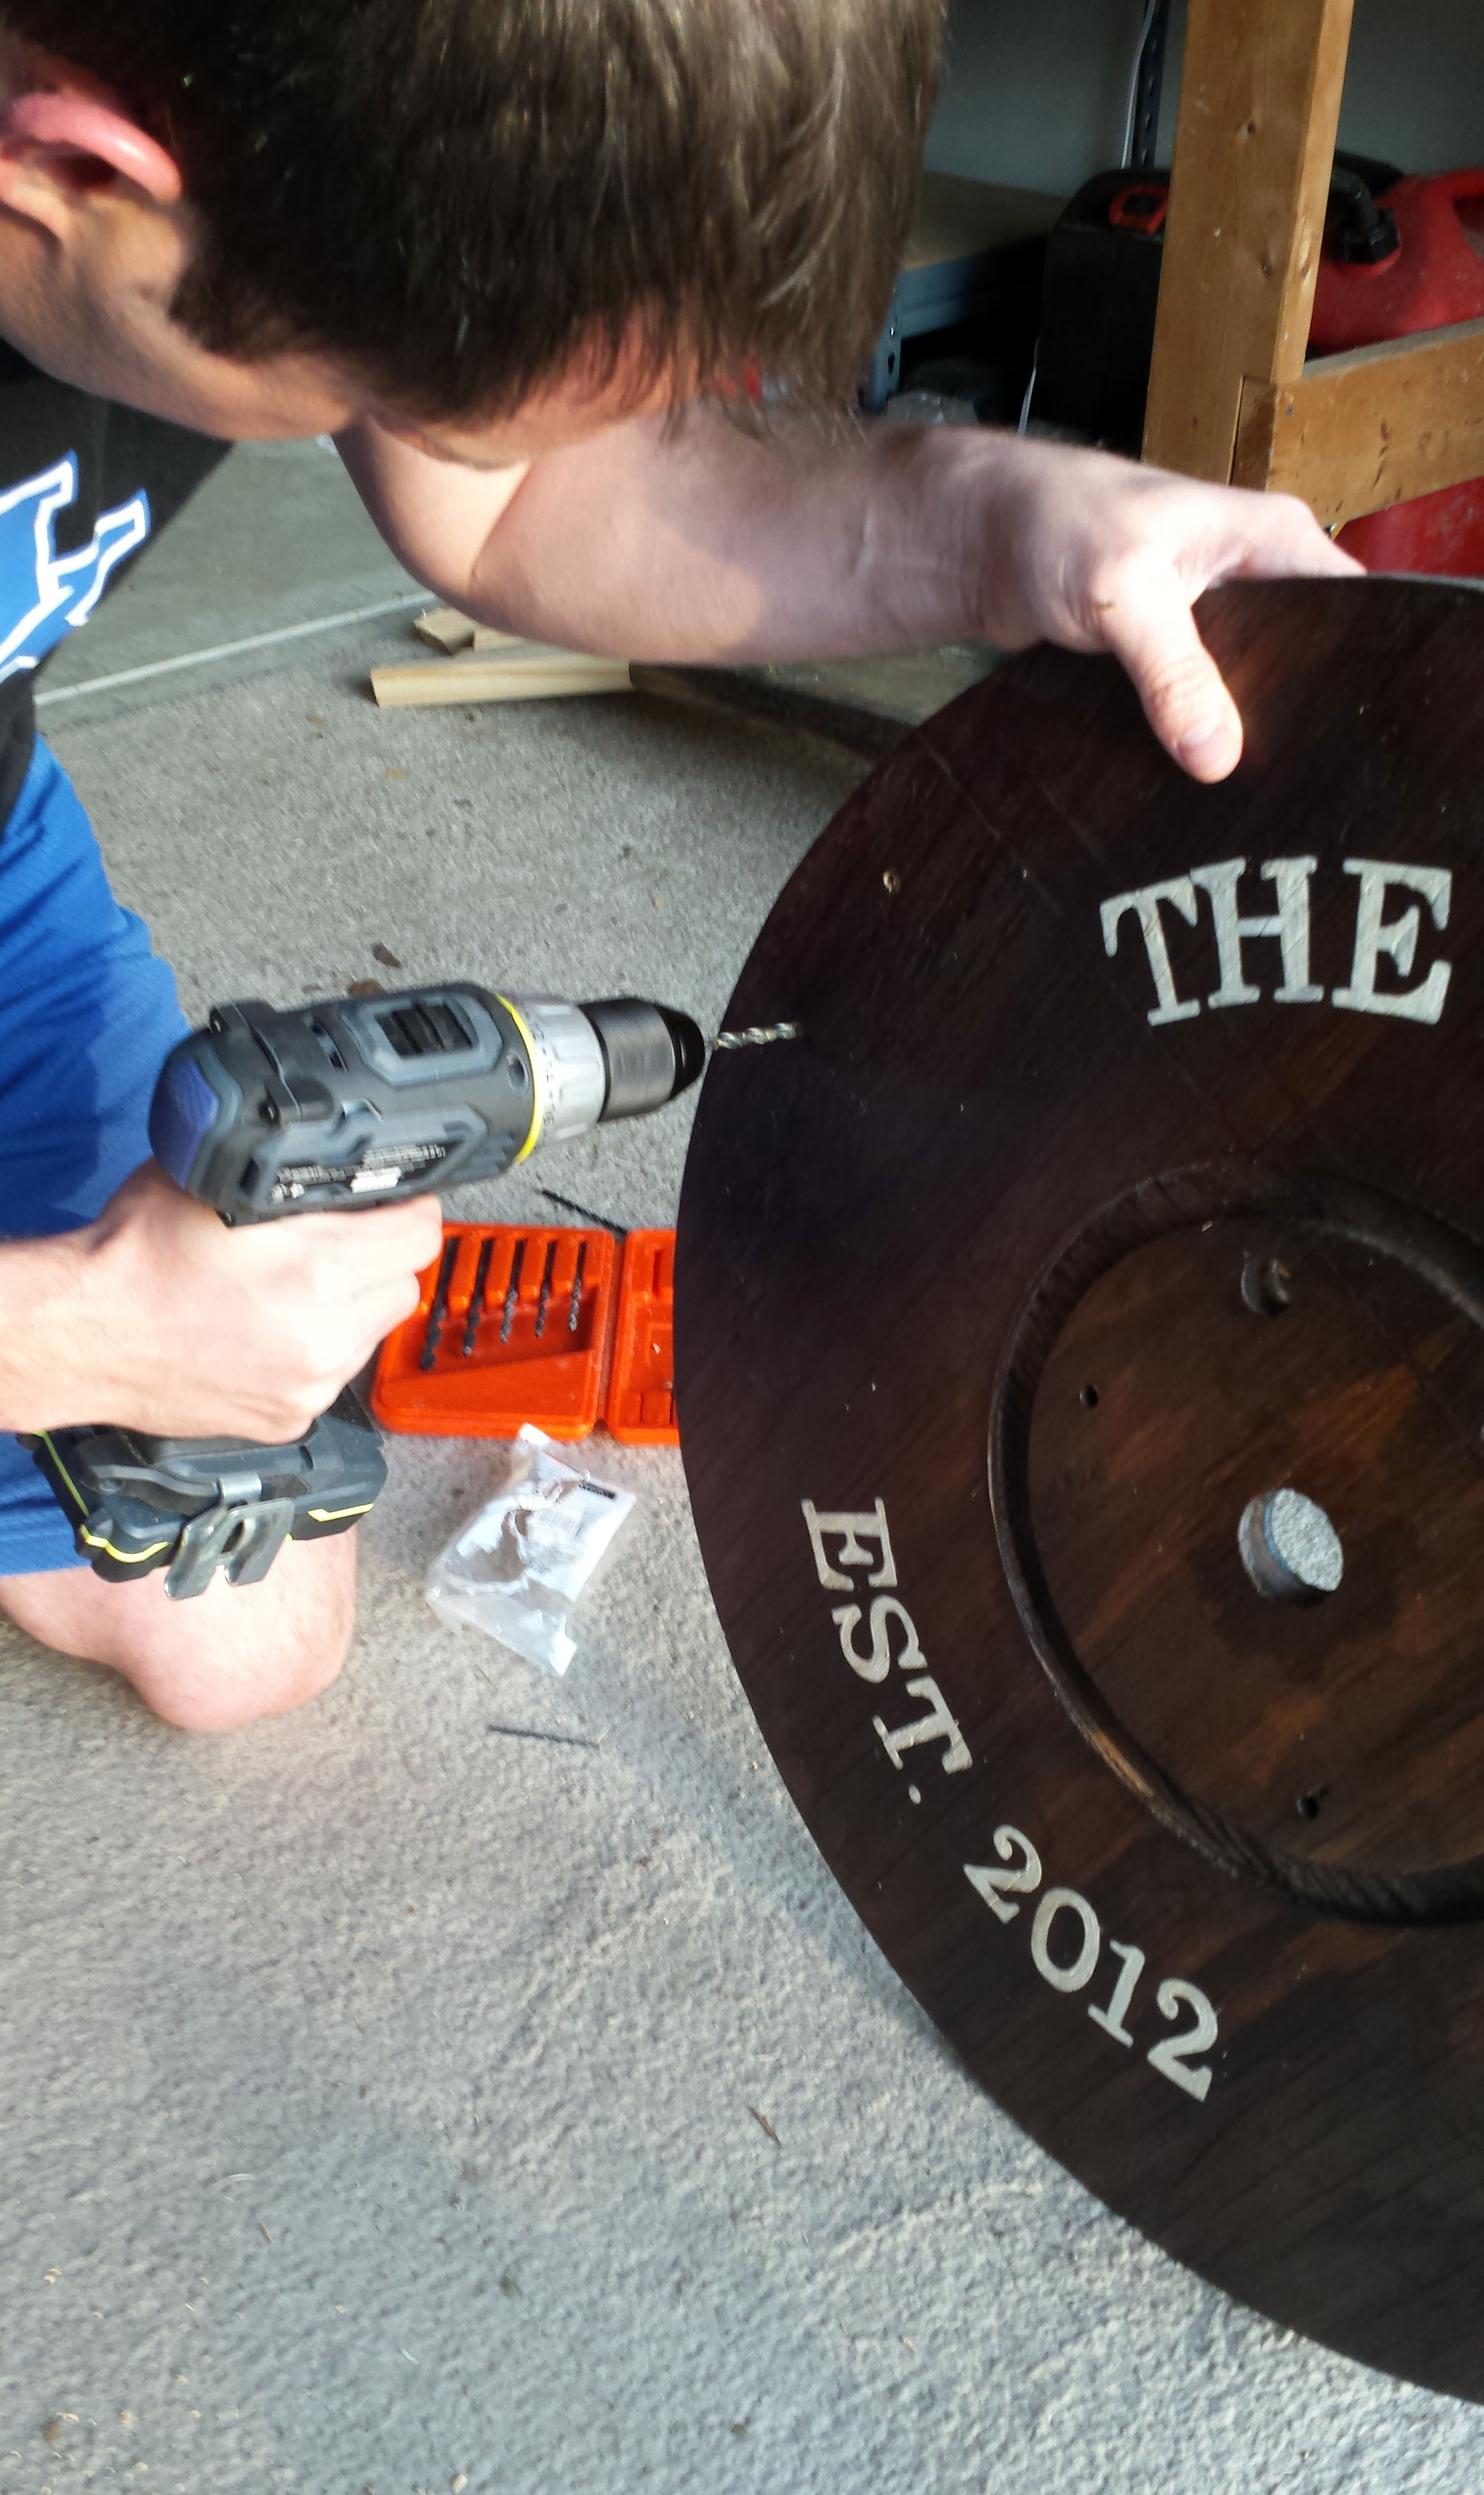
Using a pencil, I drew a light circle on the wood to make sure the bottom of “The Hamby’s” lined up with the top of “Est. 2012” and then taped down the stencil.
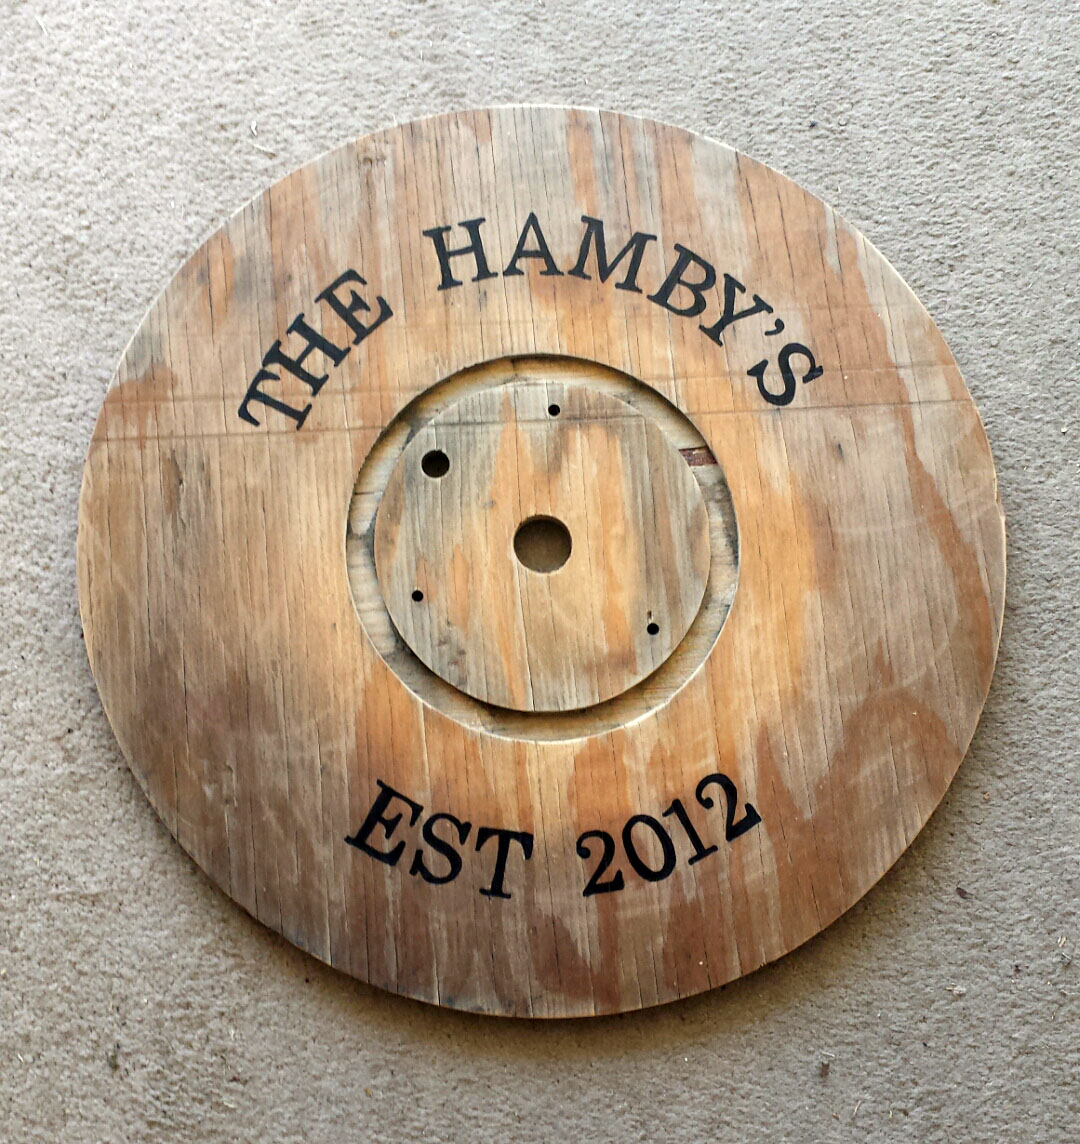
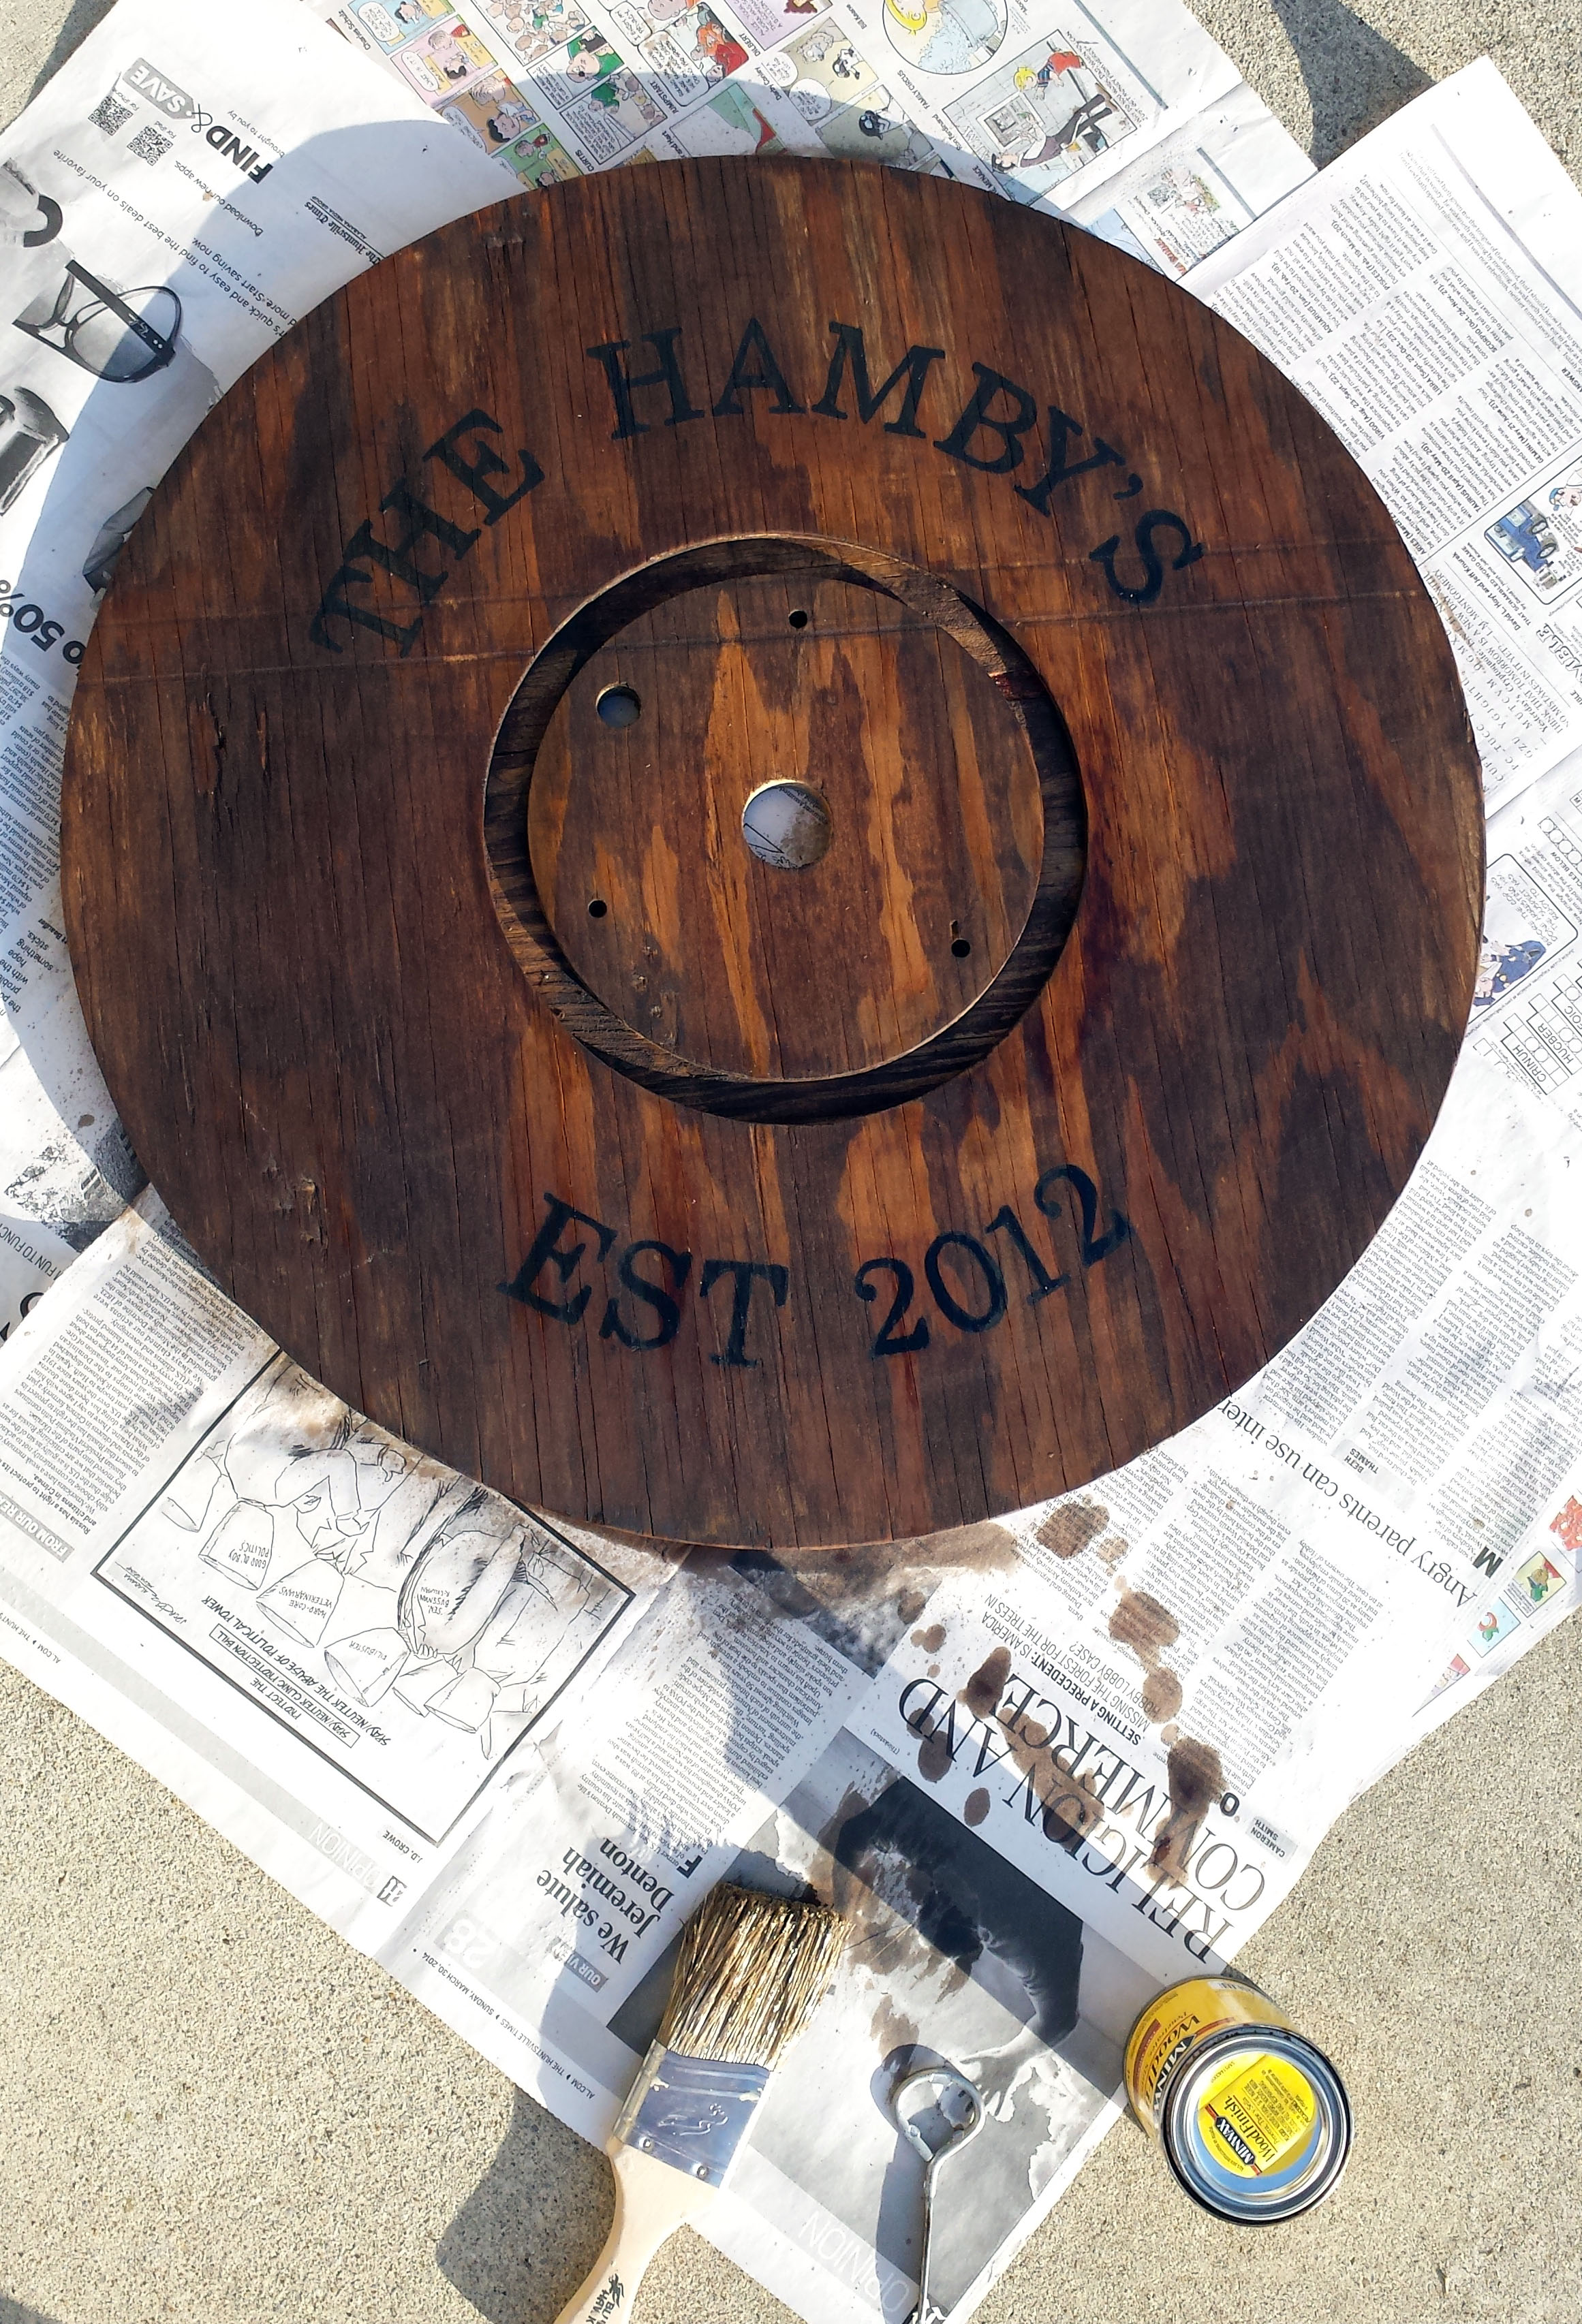
I used black acrylic paint and small paint brush and carefully painted in the stencil. I then went back in with a black paint pen to sharpen up the lines and edges of the text.
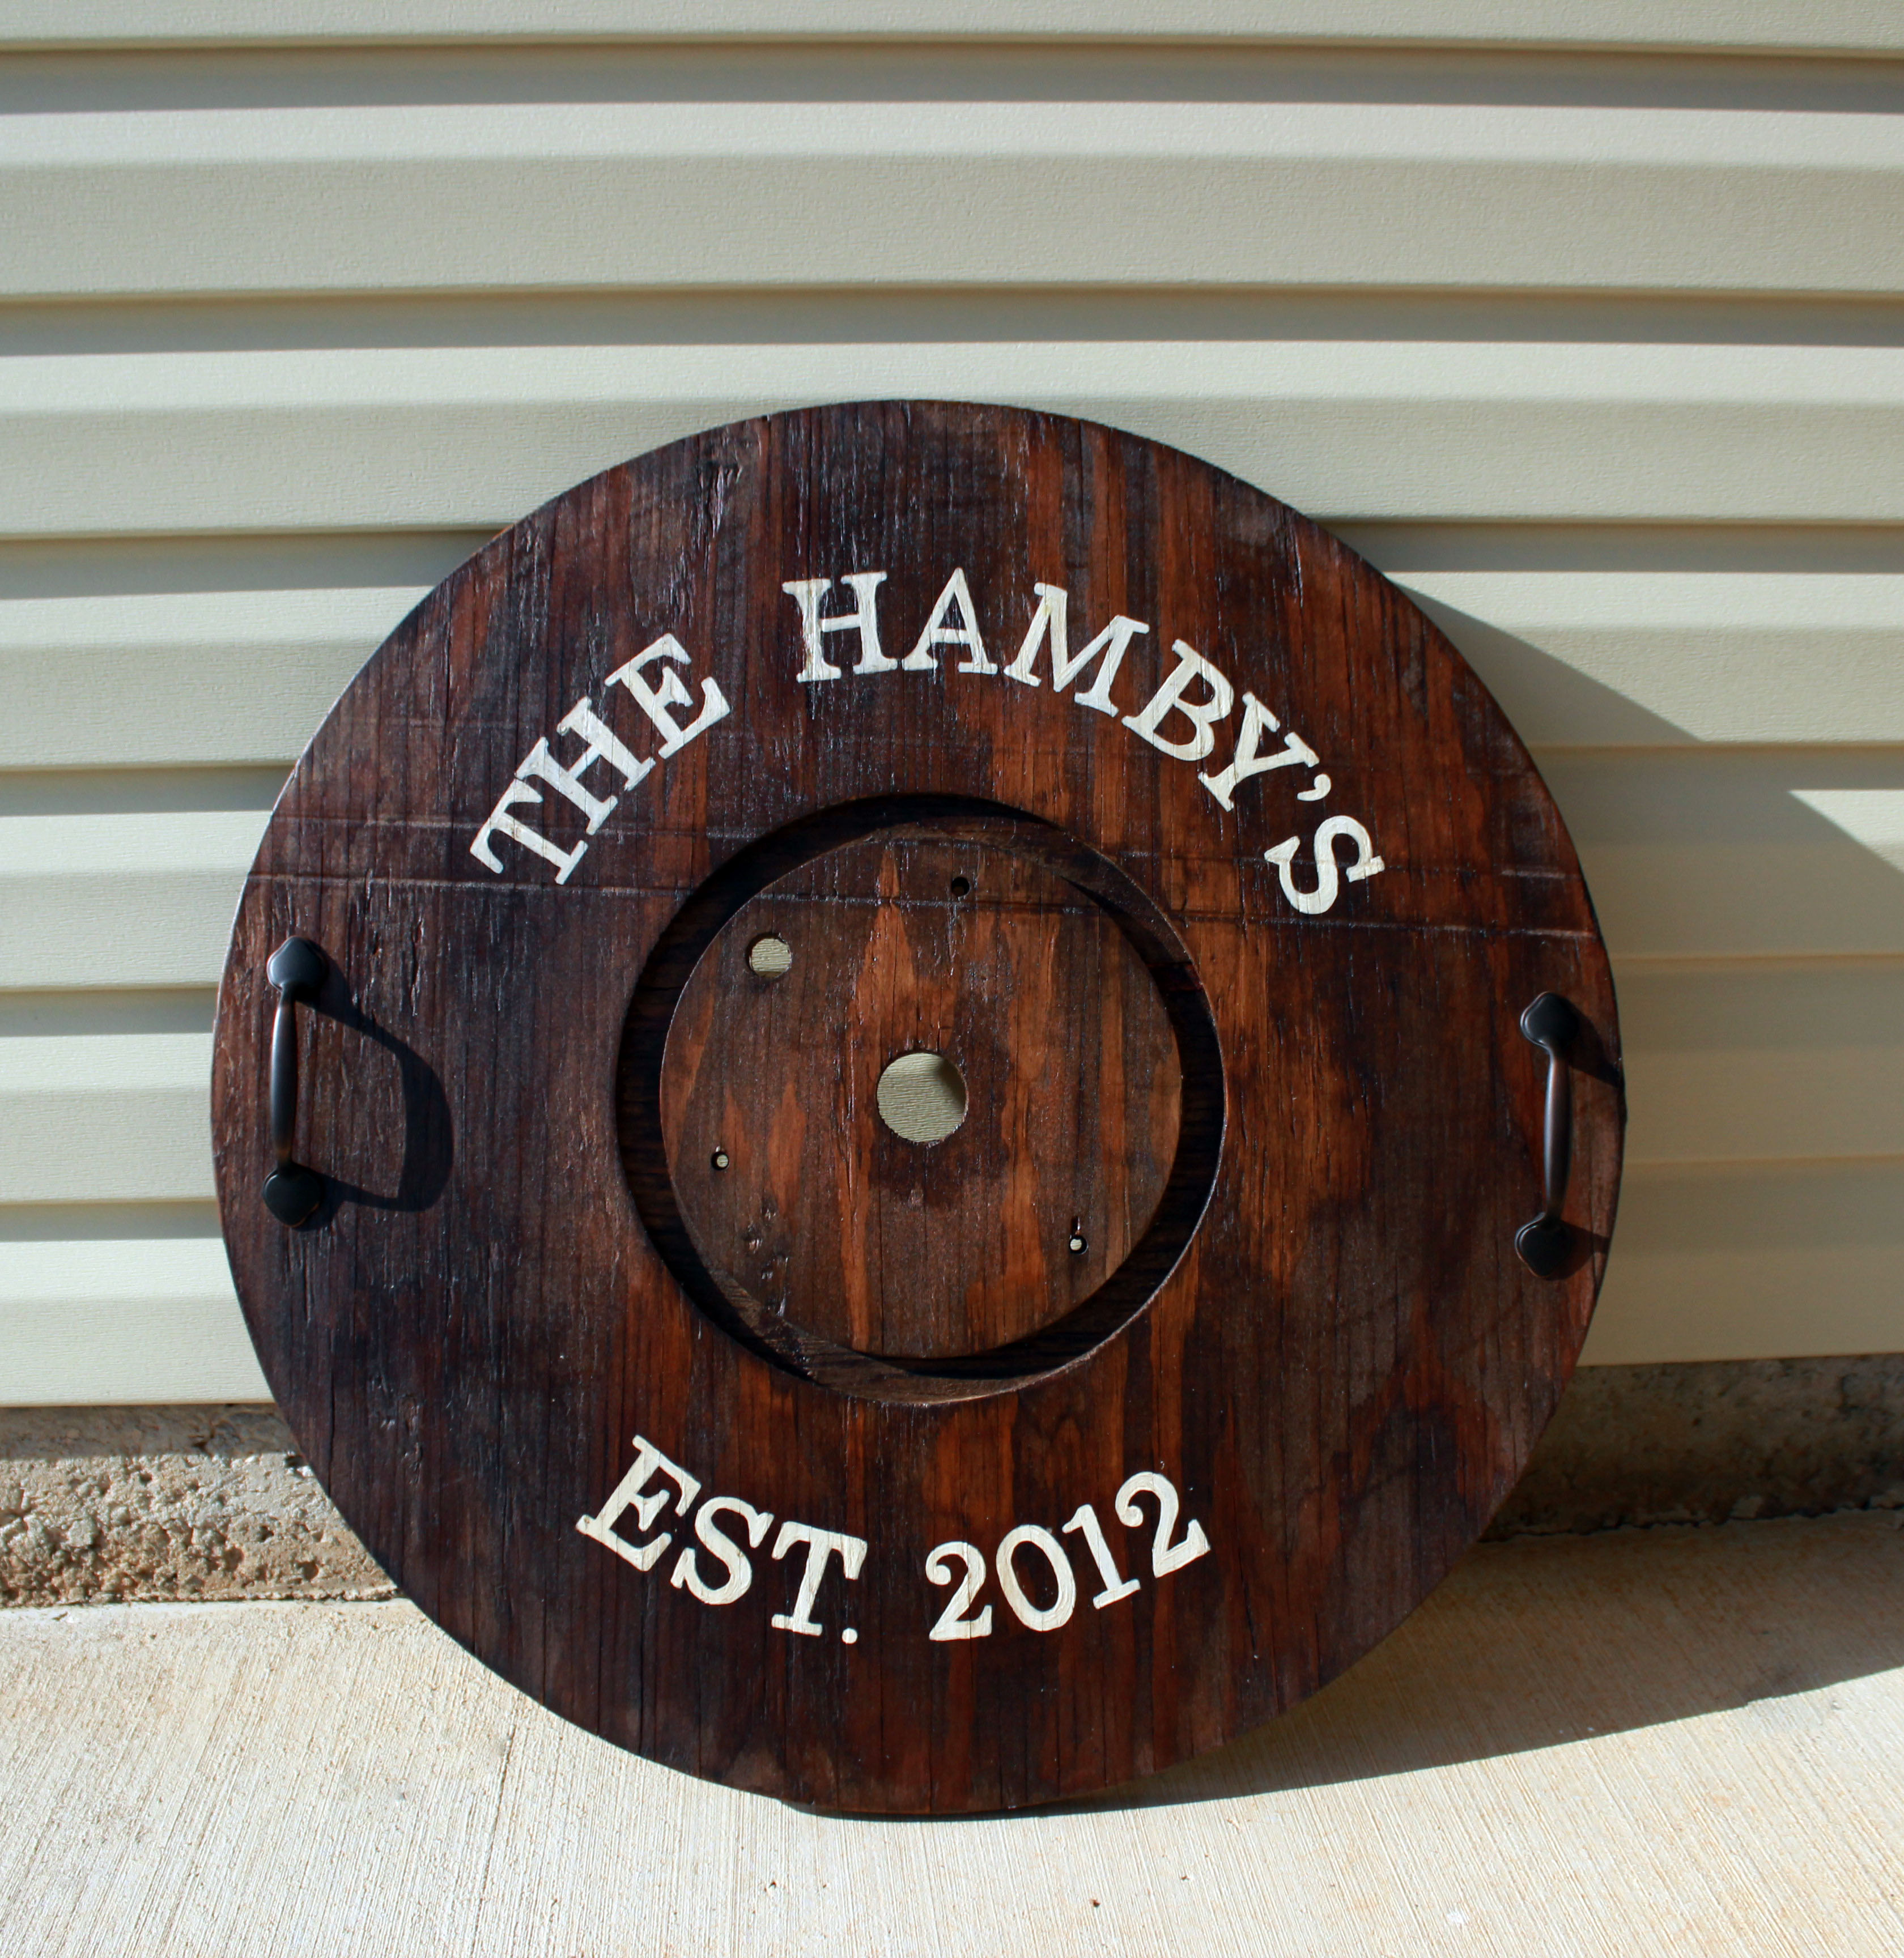
I usually love the unfinished/rustic look but for this tray I wanted something with more of a finished look to it since it will most likely hold food and may need to be wiped down, washed, etc.
I had plans for this tray to be a medium stained wood with black letters so I picked up the Minwax Early American stain from Lowes. It looked like a good medium finish.
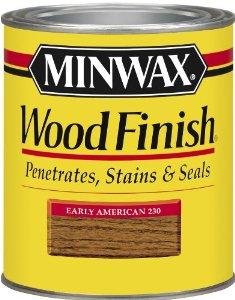
Unfortunately this stain turned out way darker on this wooden spool. I’ve noticed before that old weathered wood stains differently than new wood. I’m no expert but my guess is it soaks up more stain because it’s dried out. This is just something to keep in mind if you are working with a wooden spool and would like to stain it, it will probably stain darker than the picture on the can.
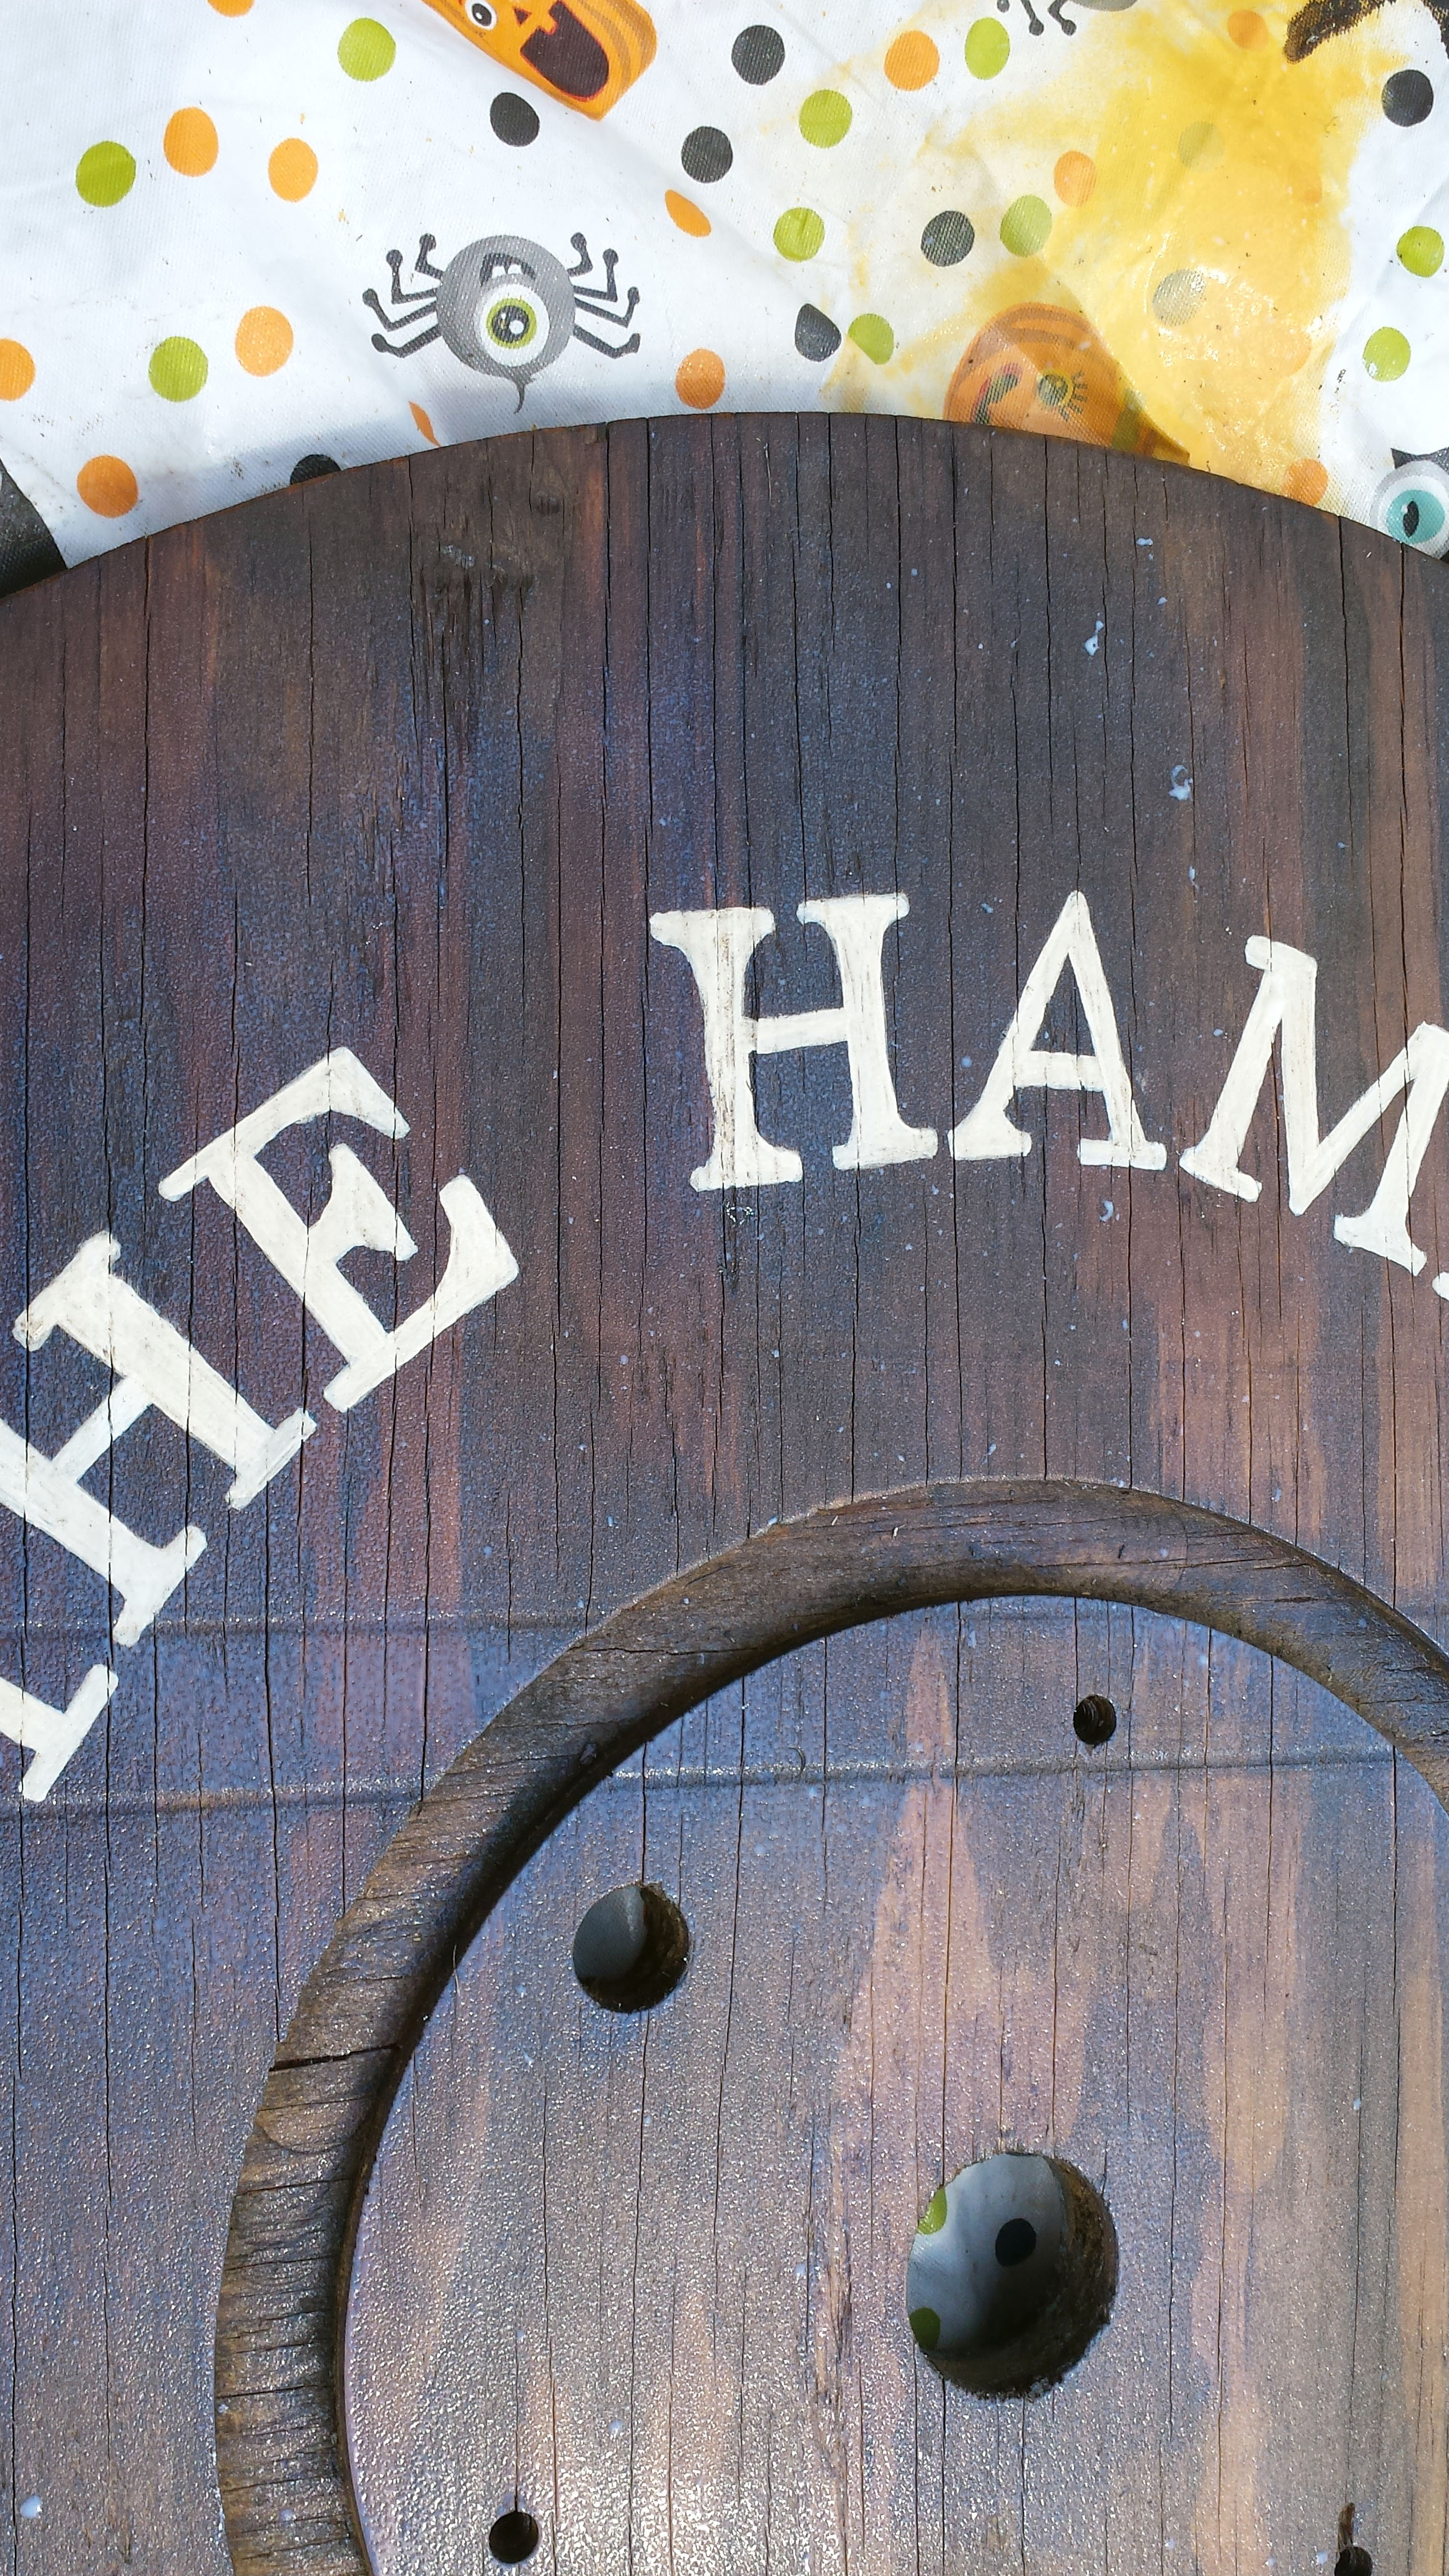
I decided to go back and paint over the letters in white since the stain was so dark. I used a white paint pen and small paint brush to trace over the black letters to give it a better contrast with the darker stain.
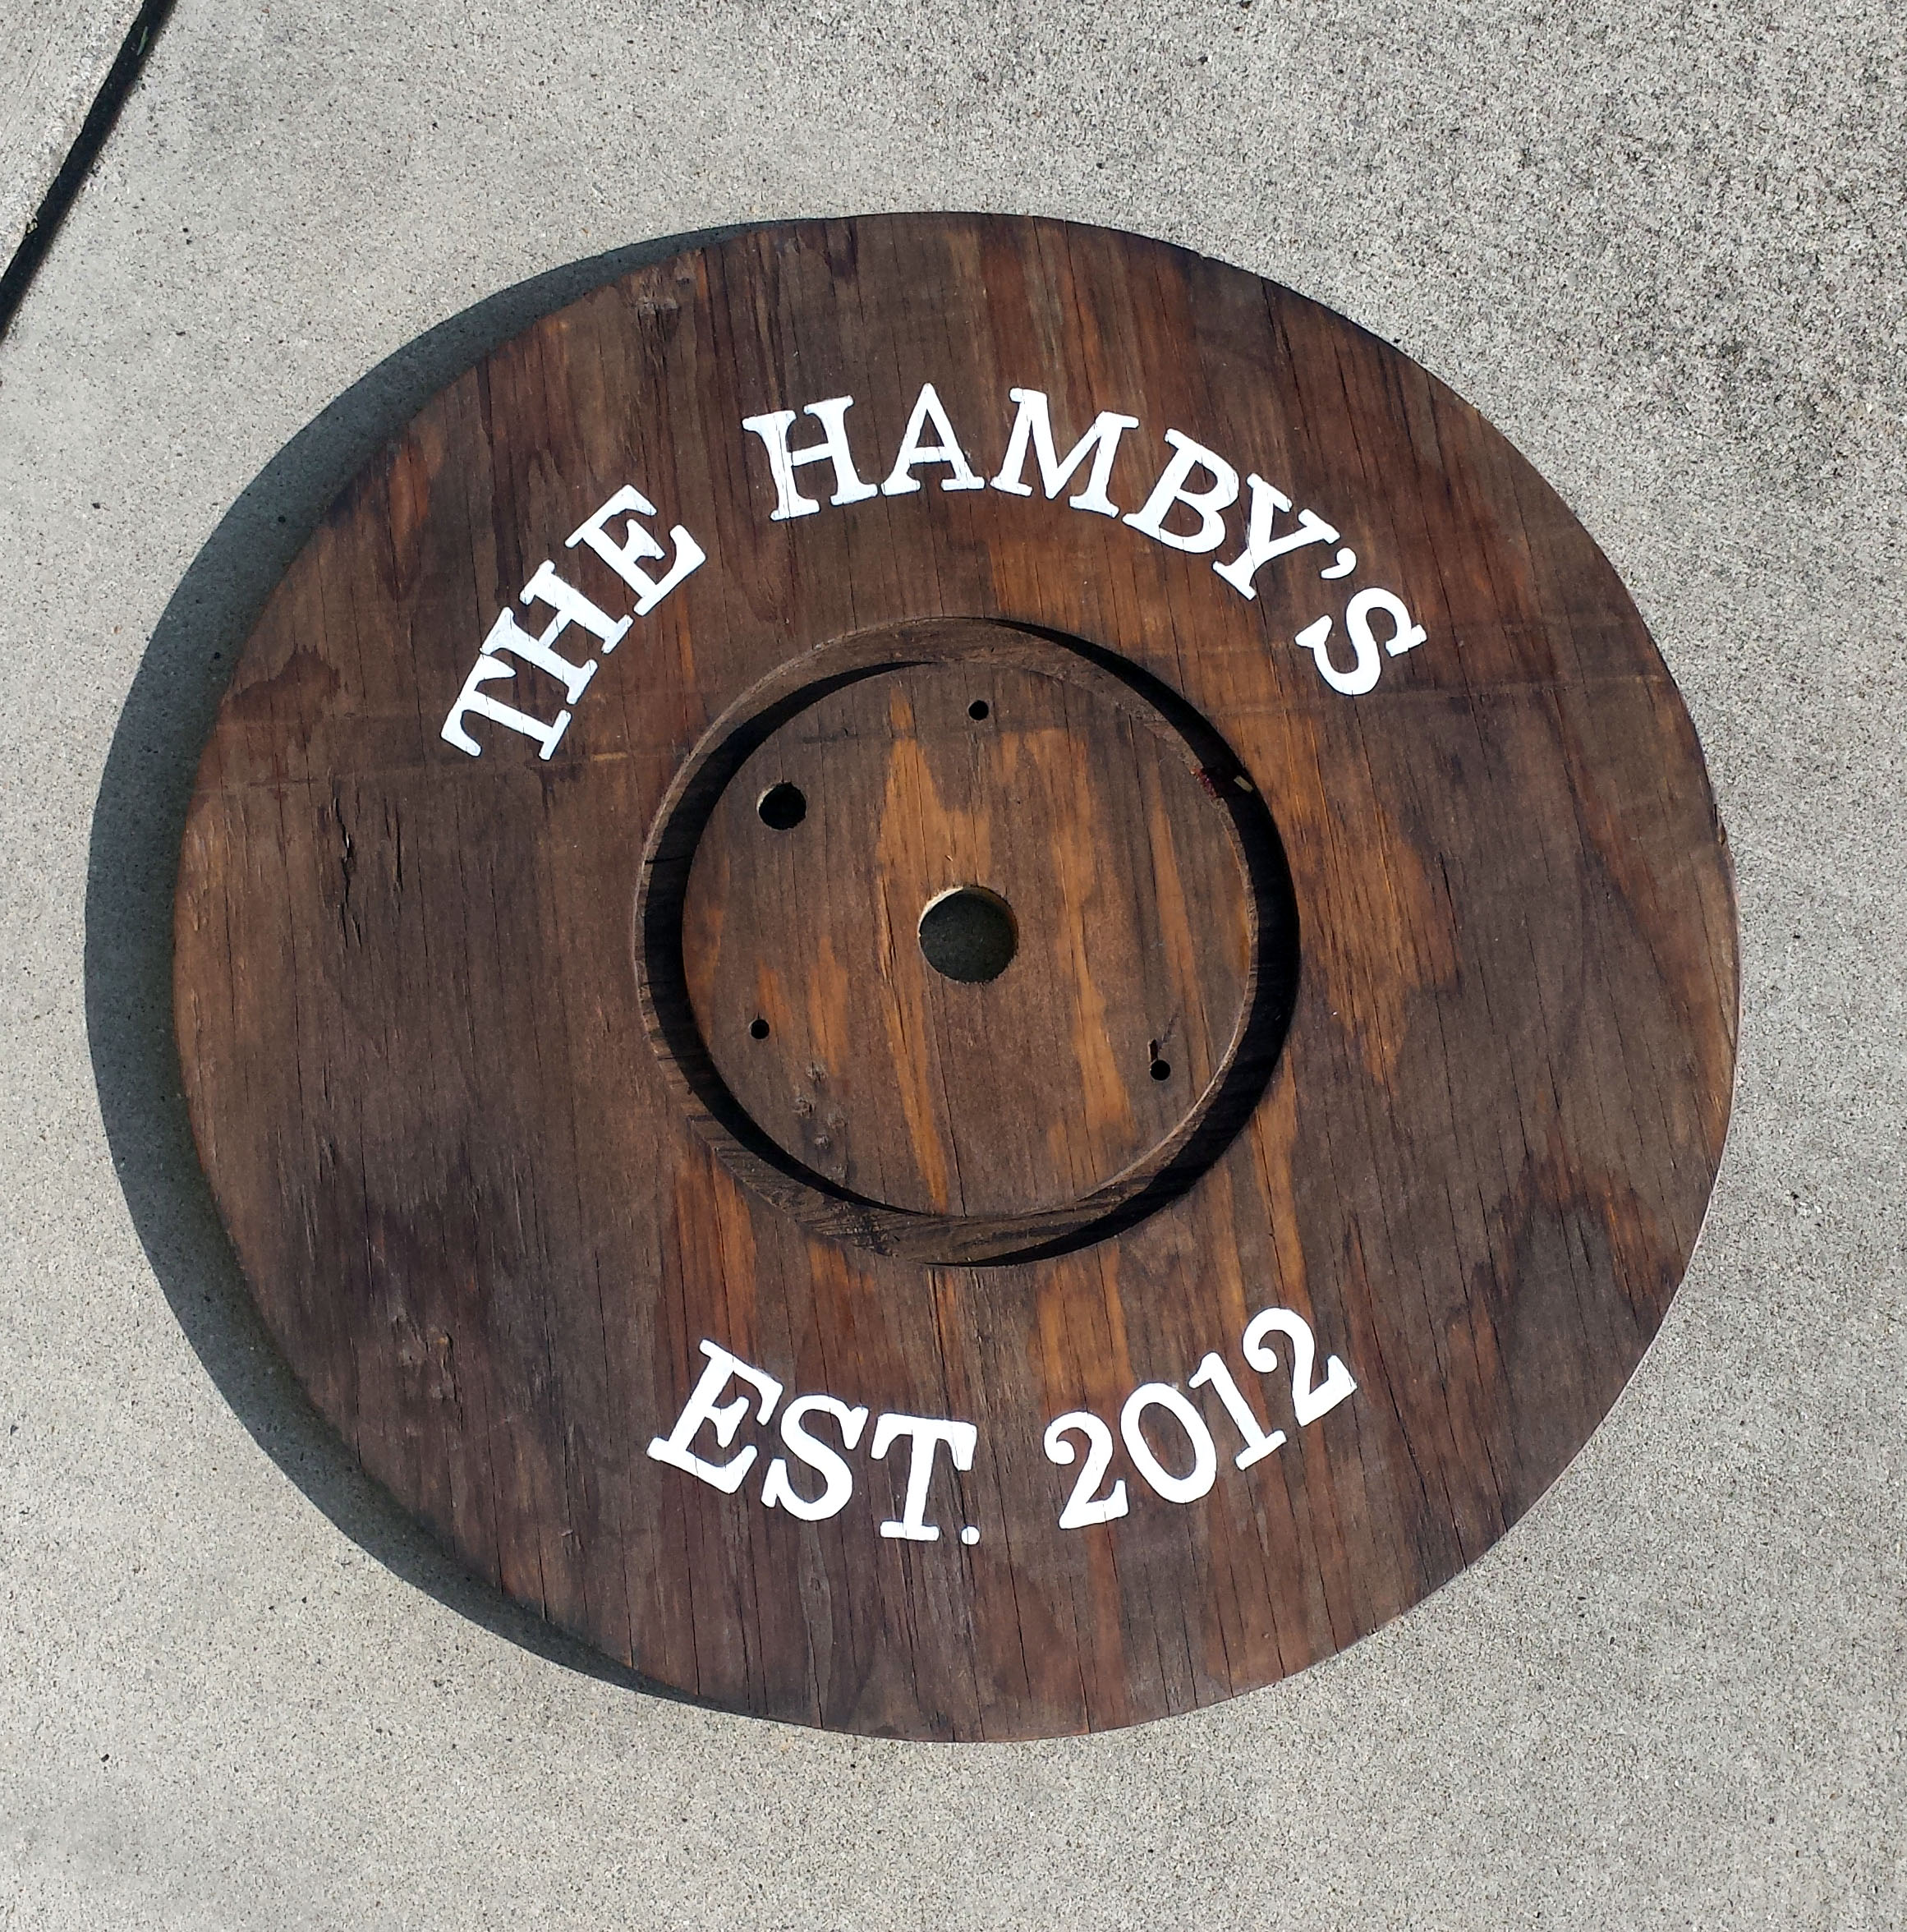
Once the paint had all dried I took a little stain and brushed it over the letters and then wiped it to remove the excess stain. The wood is old and imperfect so I didn’t want stark white letters on it. It’s hard to tell, the letters are still white just not quite as bright and there is a little stain in the wood cracks.
I let it dry overnight and then sealed it with a polycrylic finish. Polycrylic is a water based protective finish used to seal and protect the wood. I didn’t want it to have a high gloss finish so I purchased the satin finish instead of the glossy. I am all about making these DIY projects as easy as possible so I purchased the spray version. That was one less brush I had to clean 😉 I was a little worried because I noticed it didn’t spray perfectly even and there were little places where the poly bubbled but they disappeared after it dried.
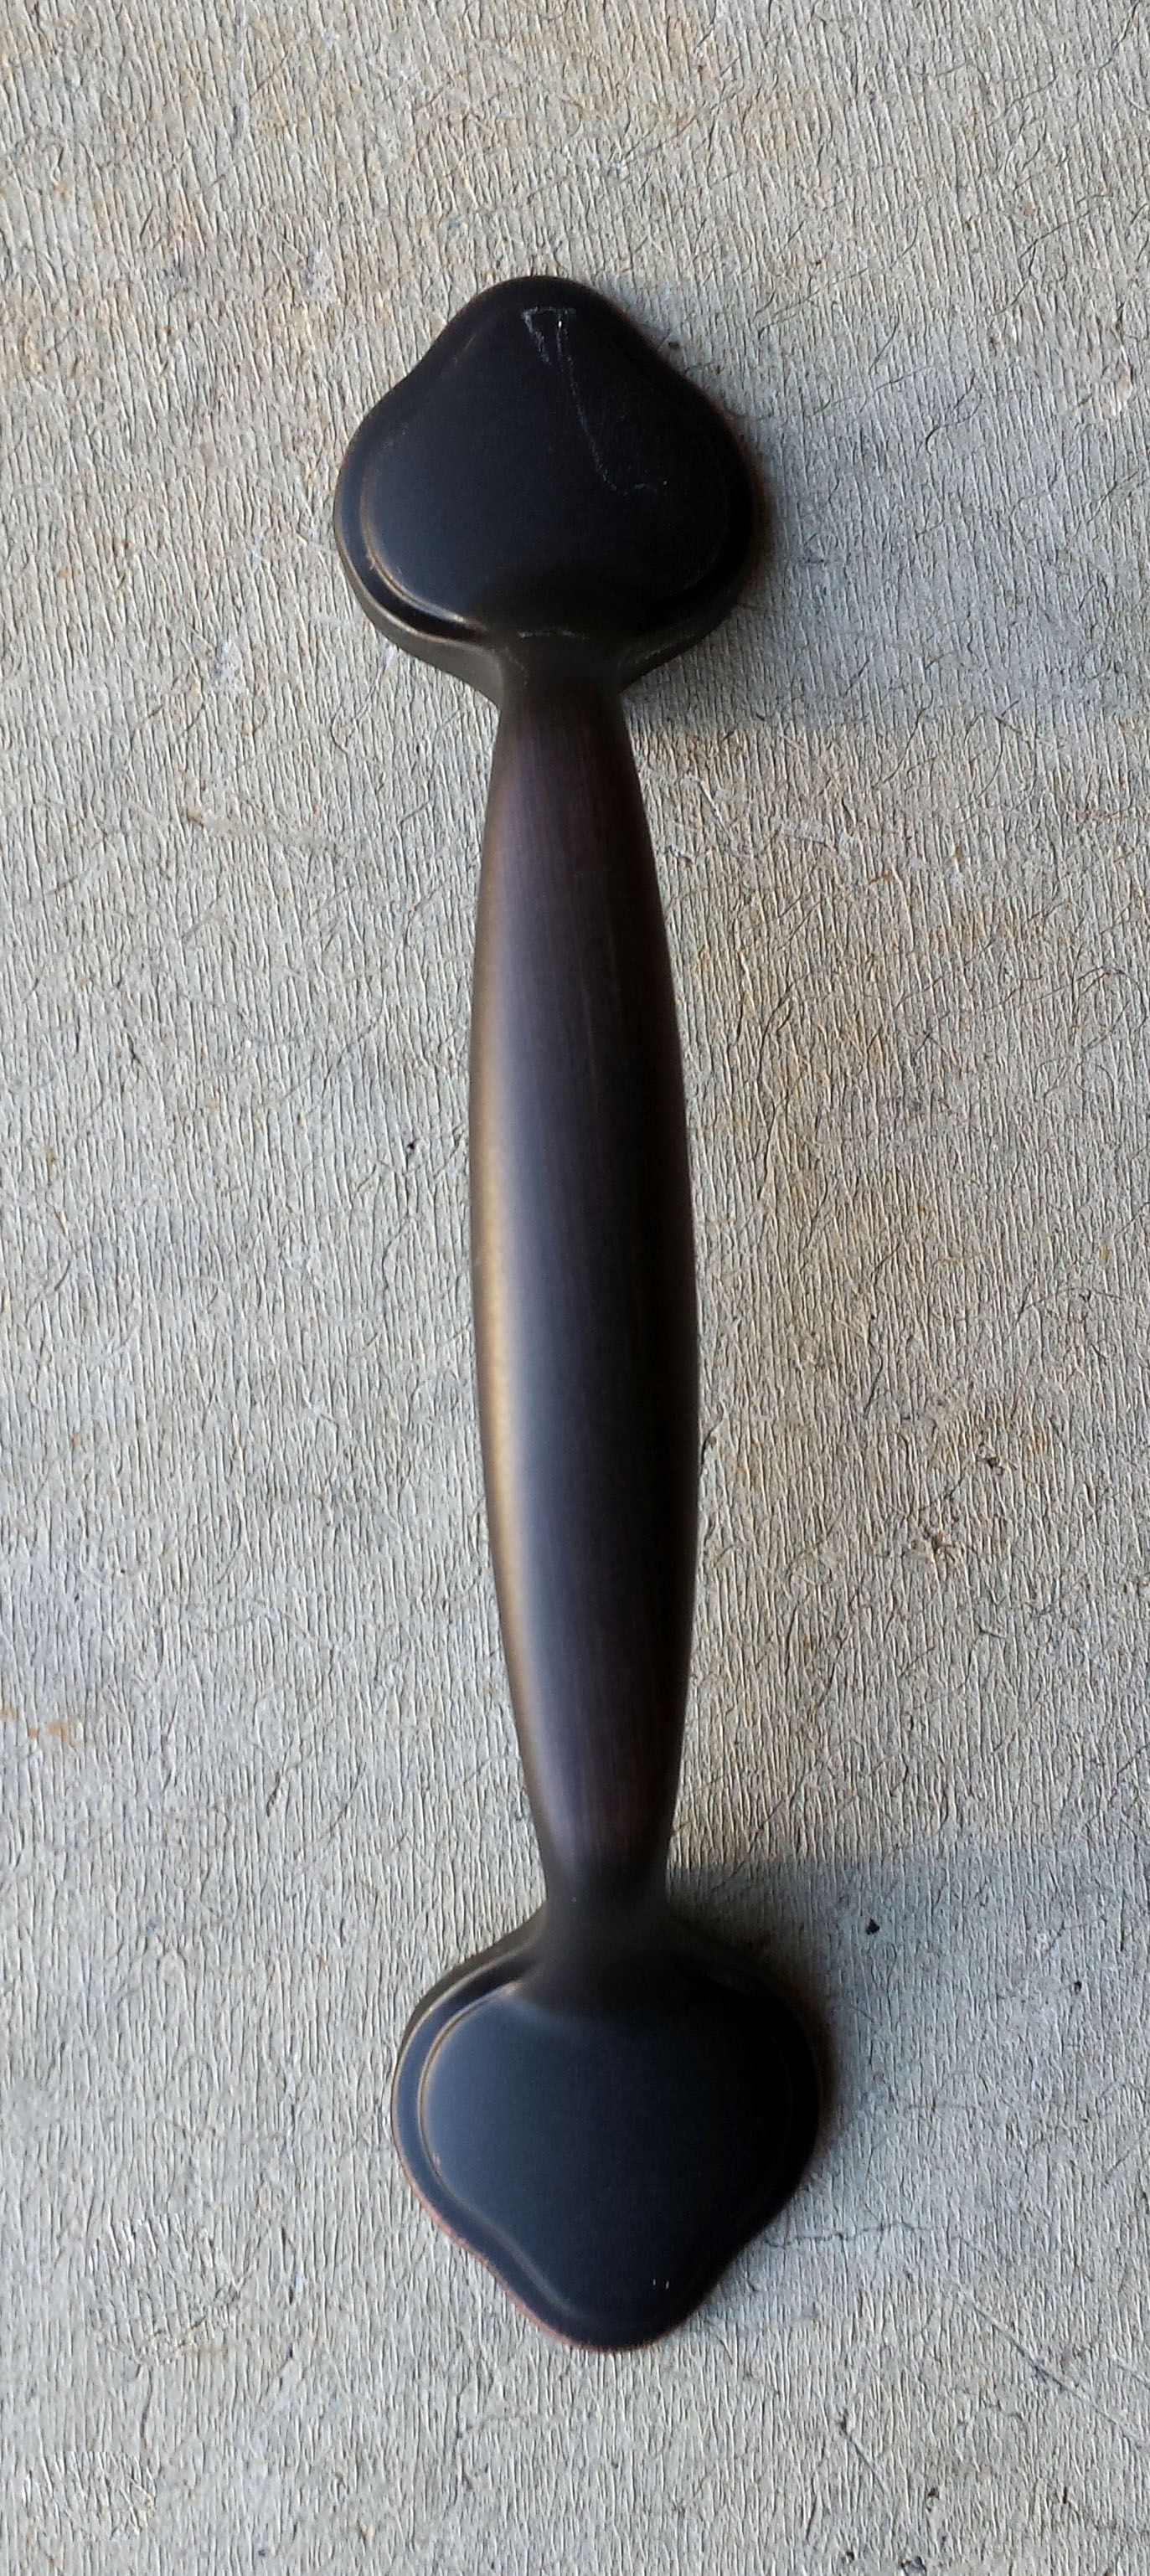
After that I called in the hubby to help me measure and drill holes for the handles. I bought these handles at Lowes for $2.77 each when I thought the stain was going to be lighter. I probably would have gone with a different color handle if I had known the stain would be that dark. They don’t stand out as much as I would have liked but you live and learn! Plus I could always paint them later! 🙂
So here is the final wooden spool tray. I haven’t had a chance to use it yet but I plan to while we’re grilling for Memorial Day!! I hope you all have a wonderful Memorial Day weekend and I’m so thankful for all of you who serve or have served our country!