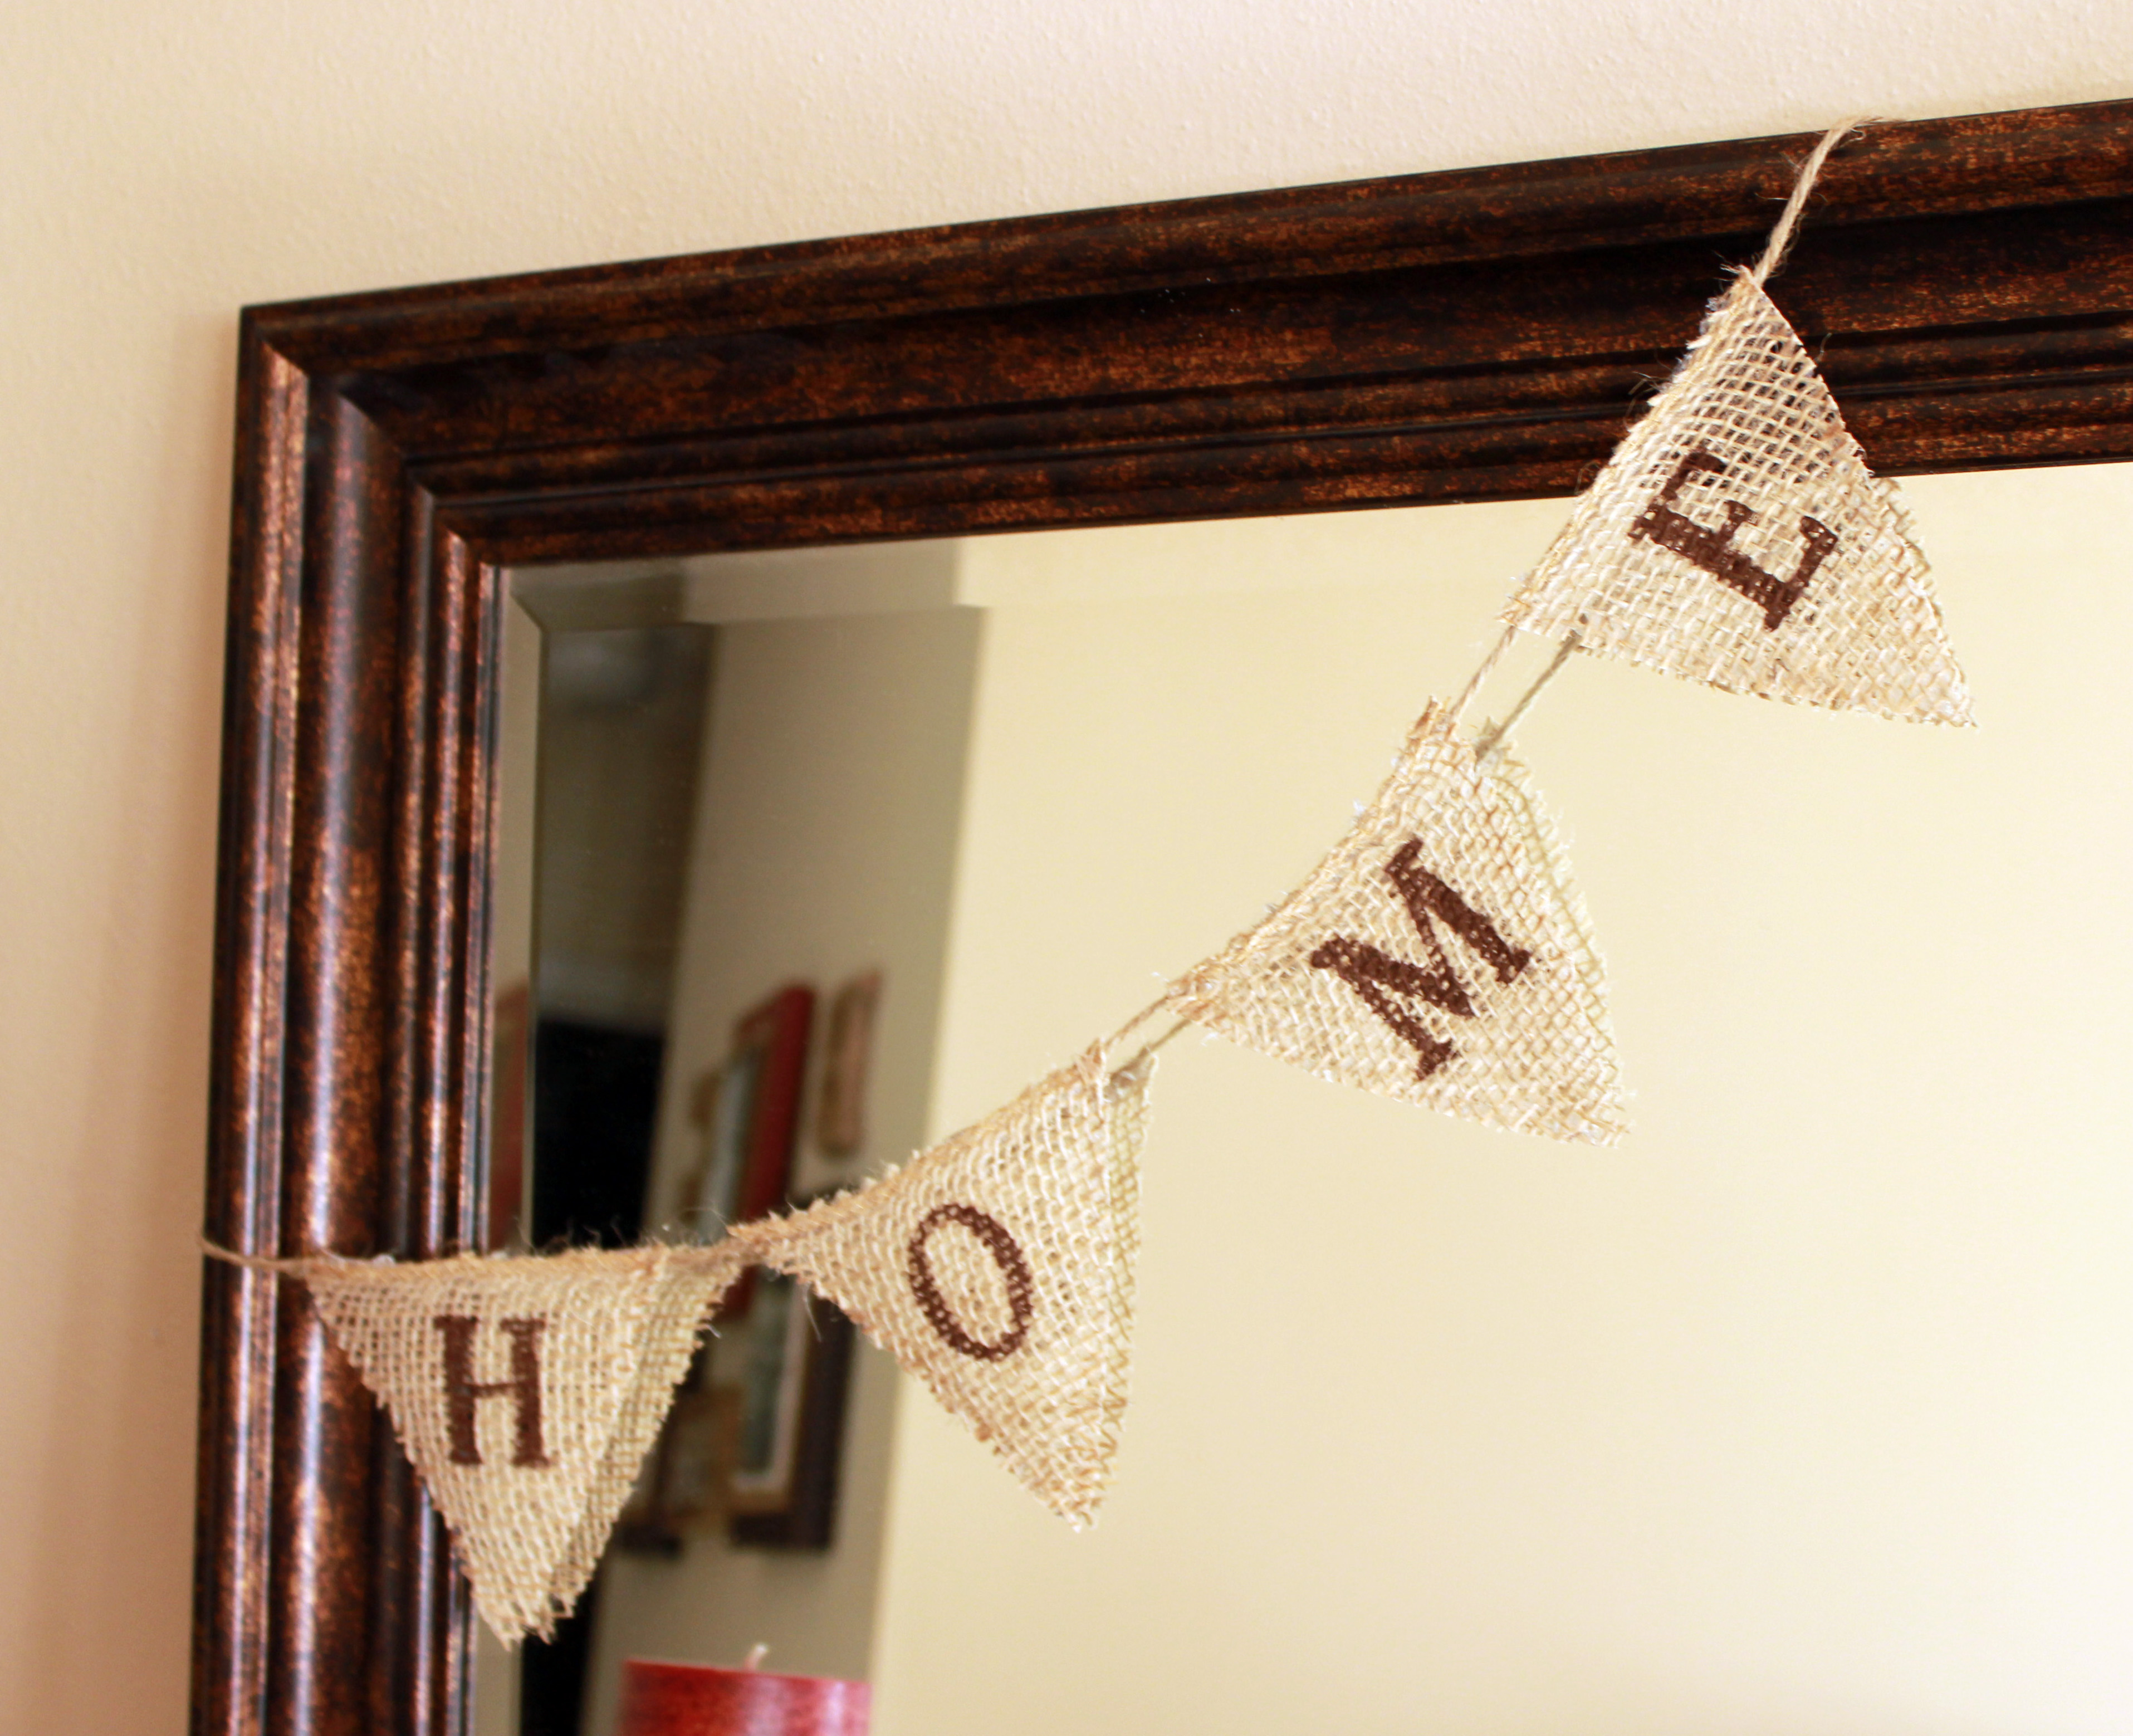
DIY Burlap Pennant Banner
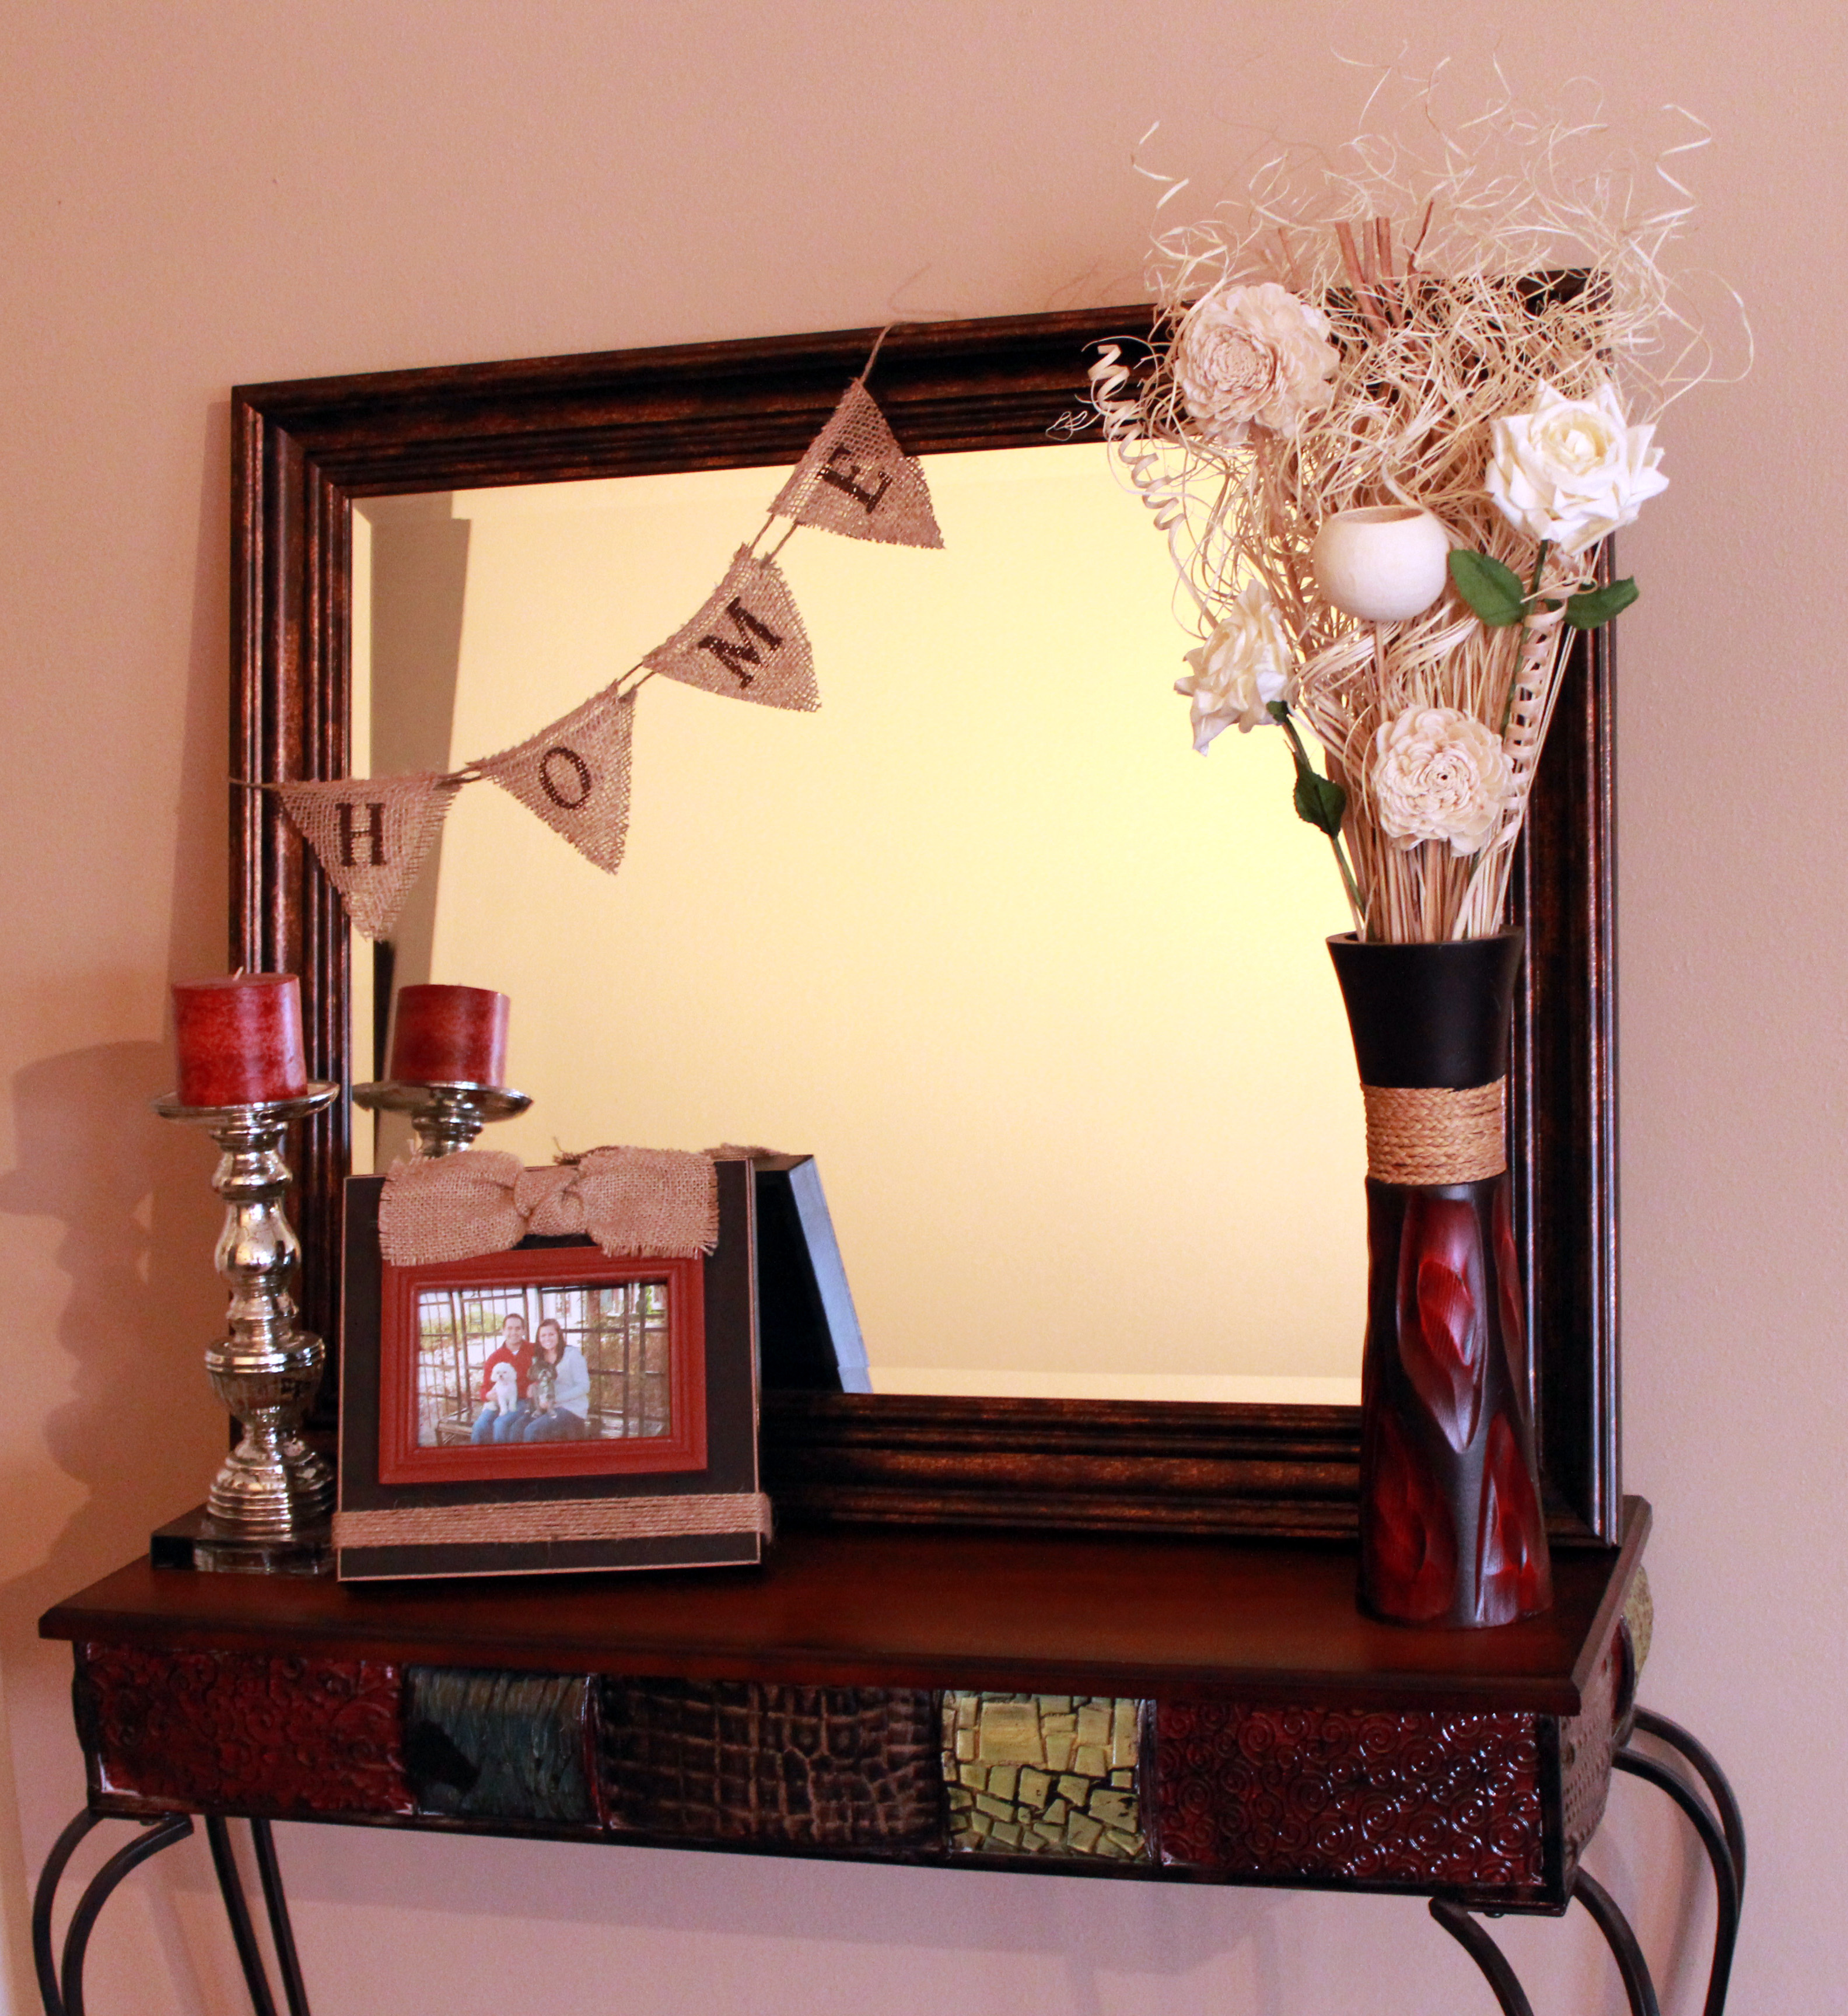
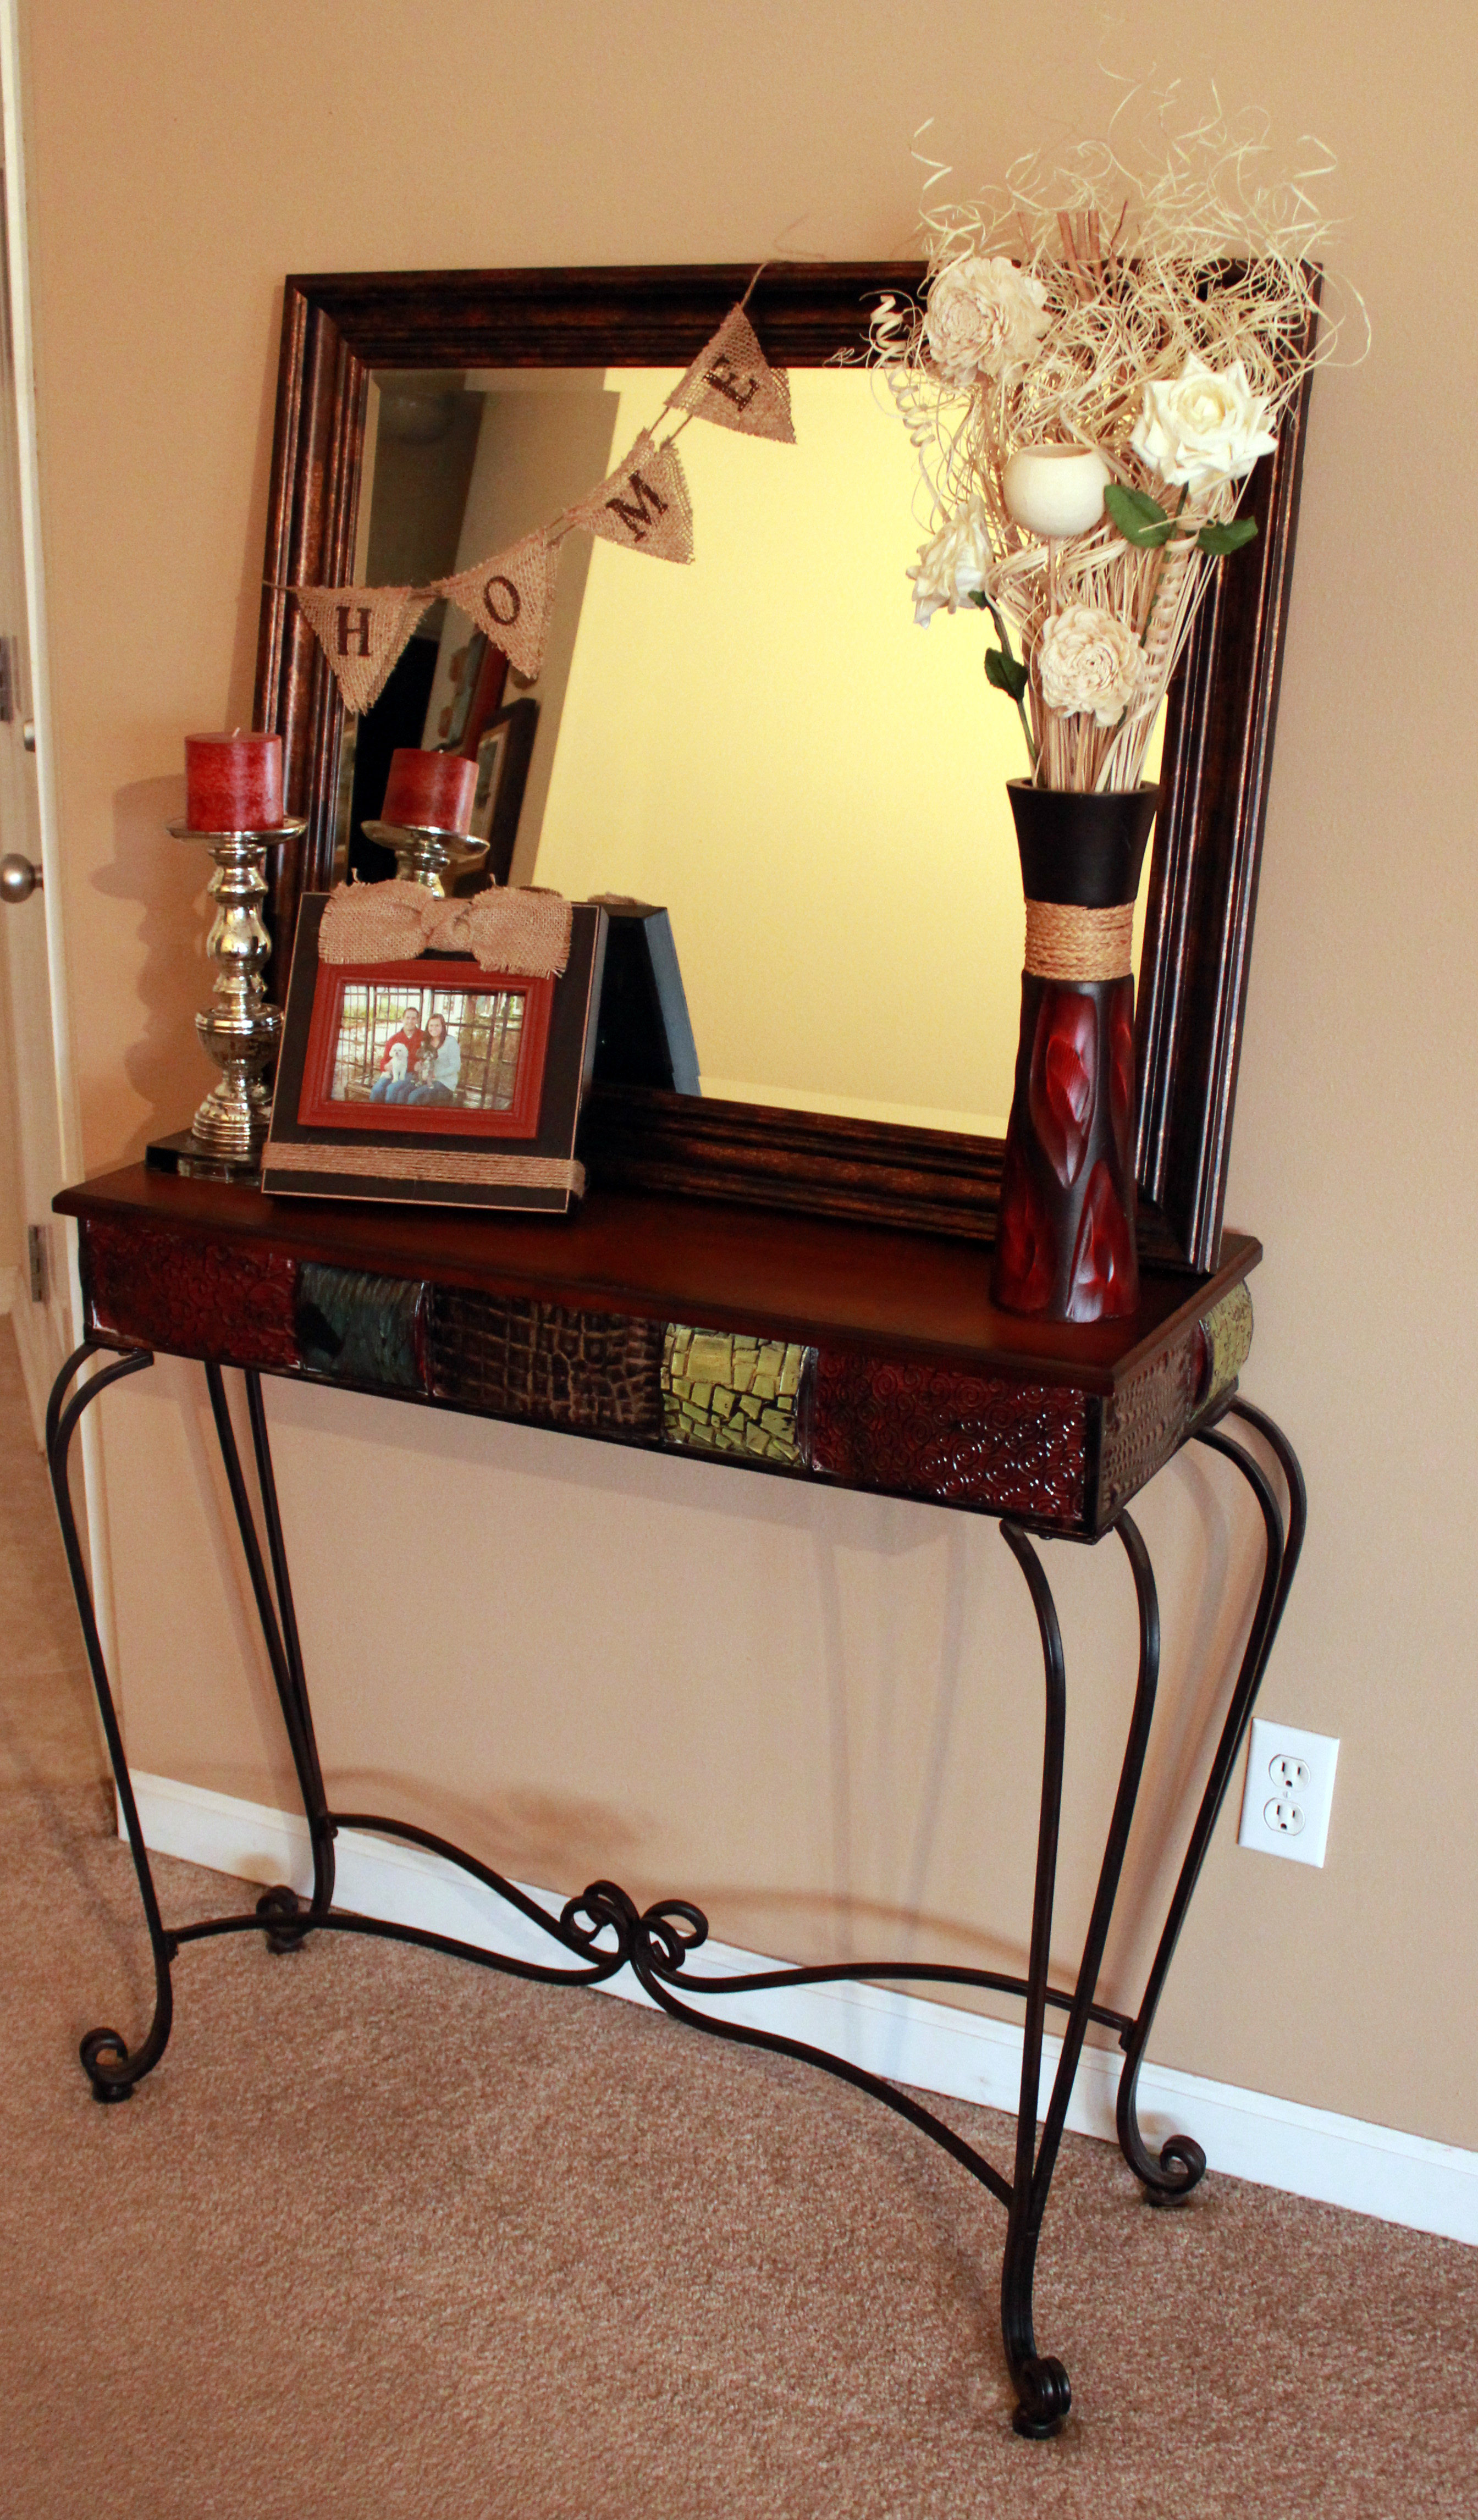
I love all the different decorative pennant banners I keep seeing being used on mantels and in other places in the home. I love how easy they are and how you can change them out for different holidays. I decided to make a non-holiday specific one to use on our entry way table and will probably switch it out with holiday banners in the future.
This project was super easy and CHEAP which makes it a great DIY project! I had all the supplies at the house already.
This is not the only way to make these, but this is how I made mine:
1. Design the banner on the computer to the size and font desired and print as a template.
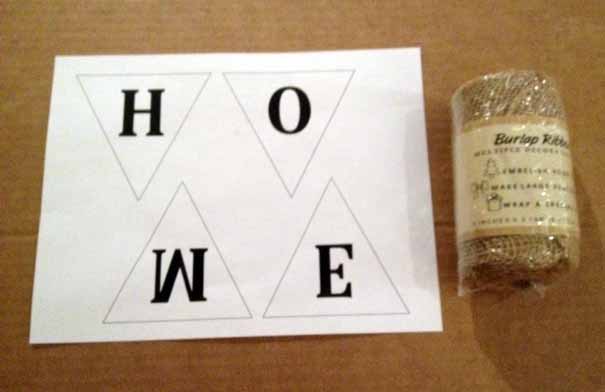
2. Use Burlap ribbon or any piece of burlap and lay on top of the banner template. I was making a small banner so I used the burlap ribbon because I knew the edge would be sewn securely on the edges and easier to use as the top edge of the banner.
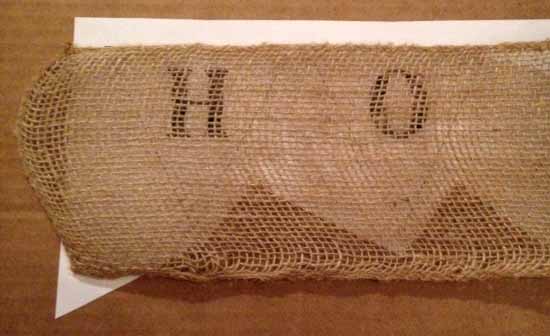
3. Use a ruler and pencil/pen to trace the shape of the banner.

4. Cut the burlap where you traced your lines
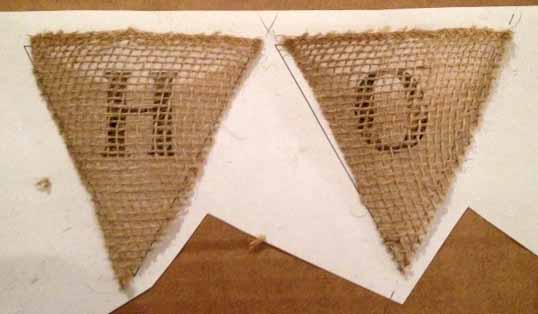
5. Tape/Secure the burlap pieces to the template
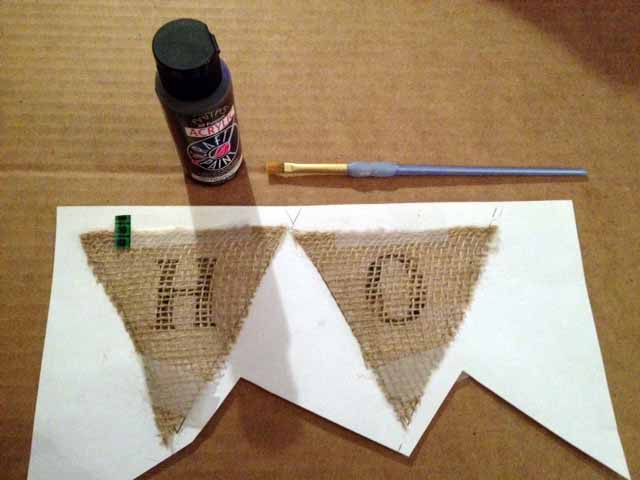
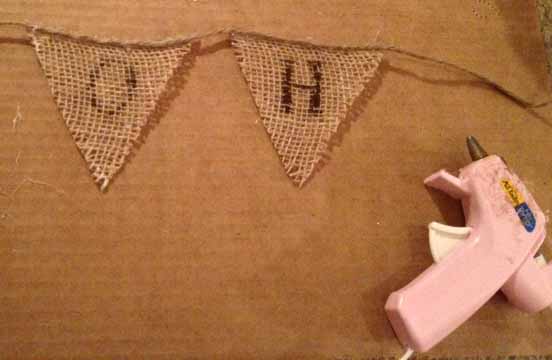
6. Use the template to paint the desired letters onto the burlap.
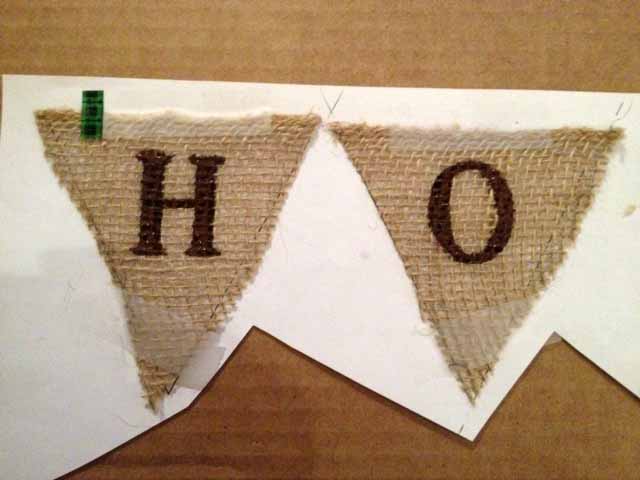
7. Let the paint dry and remove tape gently. Be very careful because the edges aren’t secure.
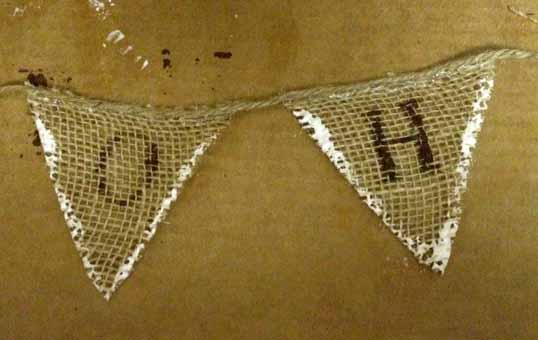
Note: You can “treat” or “prep” your burlap before hand to make sure you have crisp lines that won’t fray by spraying and ironing both sides of the burlap with starch spray. I will probably try this before my next burlap banner. When I realized my edges were fraying and the burlap wasn’t secure, I painted the edges with modge podge to “seal” the edges and then trimmed/cleaned up the edges one more time once the modge podge had dried.
8. Once the paint and modge podge (if used) is dry. Hot glue the string/twine to the pennant burlap.
9. I then sealed the edges with modge podge one more time. Don’t worry, the modge podge will dry clear and you will never know it was there other than the edges will be stiff.
10. Hang in the desired location. I just taped the string behind the mirror.