
Another Book Wreath
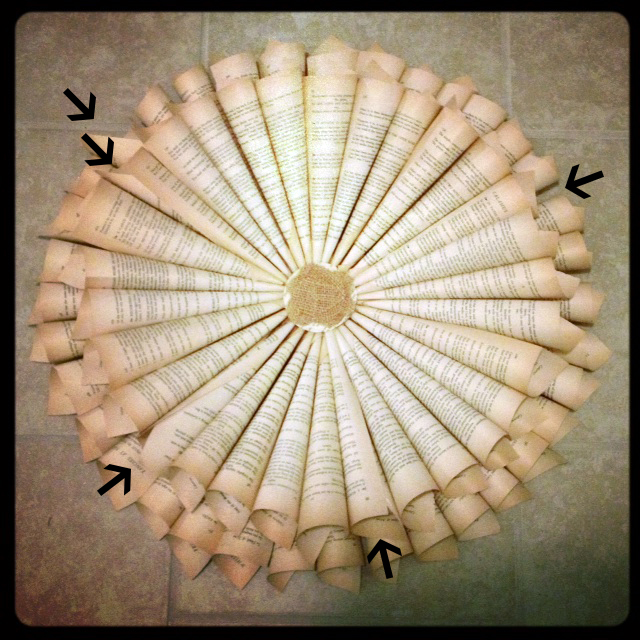
You may remember my last book wreath I made here. I loved the look but had made a few bad cones and since I’m a perfectionist, it’s all I notice when I look at it. These are just all the problems I see at a glance – and that’s all I notice when I look at it.
I had seen some made with hymnal pages and decided my next one would be made out of an old hymnal. My husband and I both grew up in Southern Baptist churches and so we know a lot of the hymns well and I just loved the idea of having that reminder above our bed. My sweet husband knew I wanted an old hymnal and got me one for Christmas from the church he grew up in. I also found several old ones at our local Habitat Restore that I purchased to use as well.
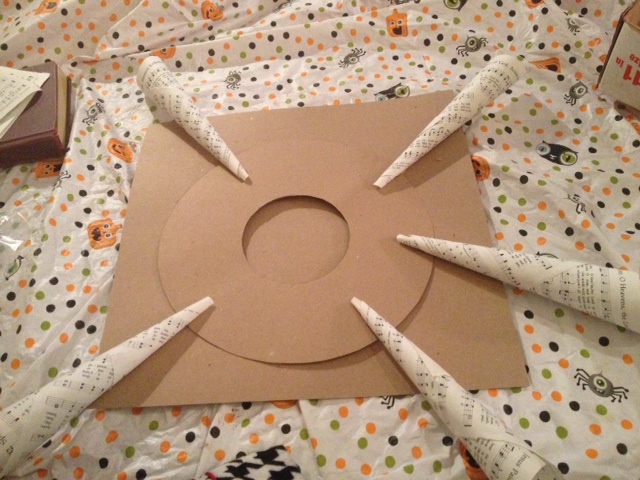
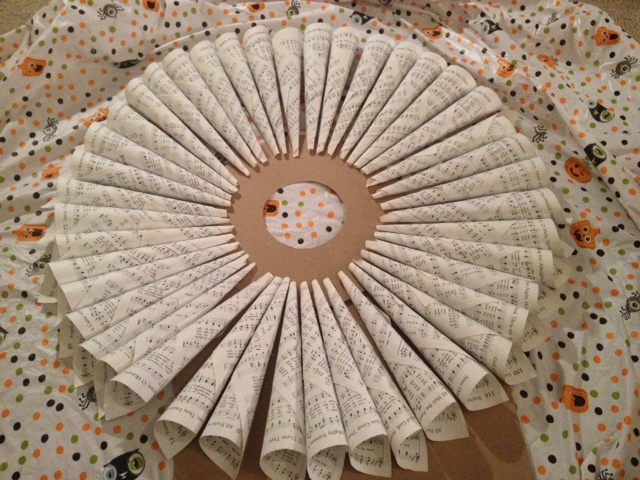
I didn’t show this step because I did in my original DIY book wreath so you can refer to that post for a picture but I used a large bowl and small bowl to cut a frame and center hole in a thin piece of cardboard to use as the base for the wreath.
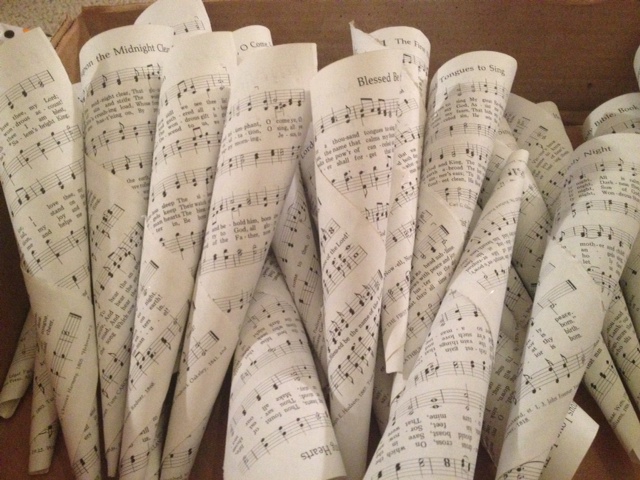
I gently ripped pages from the hymnal (this just seemed wrong). I couldn’t find my exacto at the time so I used scissors to slice down the spine if needed. I took my glue gun and just started making cones. You will need A LOT, I think I had about 150 cones. After making them for my first wreath, this time was easier. I knew how to roll the cones to get the cone shape I wanted. Practice makes perfect so just practice until you figure out how tight to roll it and where to glue, etc. I tried to roll them where they showed a glimpse of the song titles and the title was on the large side of the cone.


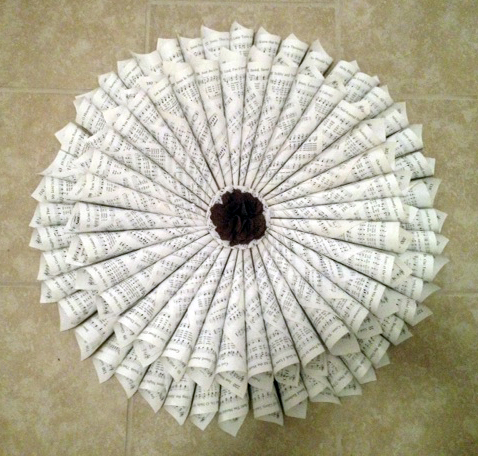
Once I had a significant amount of cones done, I started gluing them on the base. I started on the top, bottom and sides and just started filling in. It’s ok if they aren’t just perfect because you’ll have a layer on top but you want to make sure you don’t have any open space because you will still see that after the top layer has been added. I had to go back and squeeze in a cone in a couple areas that had too much space between cones. You always want to try to make sure they’re all facing the same direction to keep it consistent.
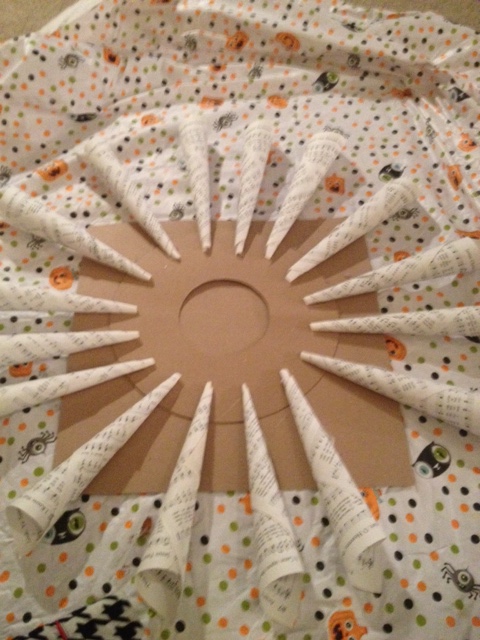

I quickly realized I didn’t have nearly enough cones so I went back to making cones to complete the two layers. If i ever had a cone that wasn’t wrapped as tightly as I wanted it, I just put it to the side. I made the mistake of trying to use them on my last wreath to save time but in the end (those are the cones that stand out on the wreath).
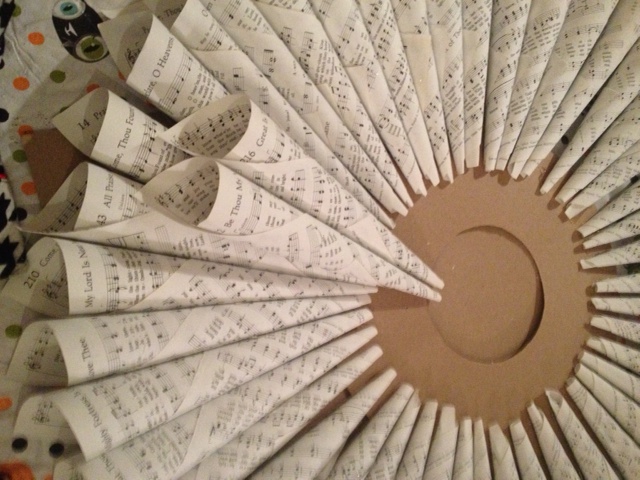
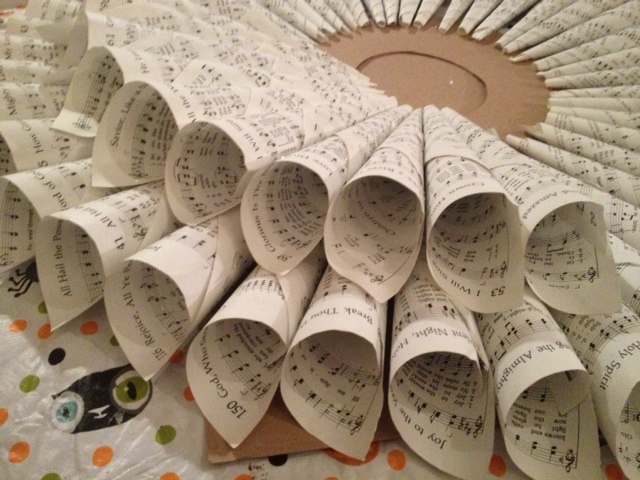
Then you start gluing the next layer of cones, moving them in a good inch or two towards the middle. I put glue on the base and also along the top of the cone that would sit under that top cone to secure it. I just filled in the top layer until the wreath was full.
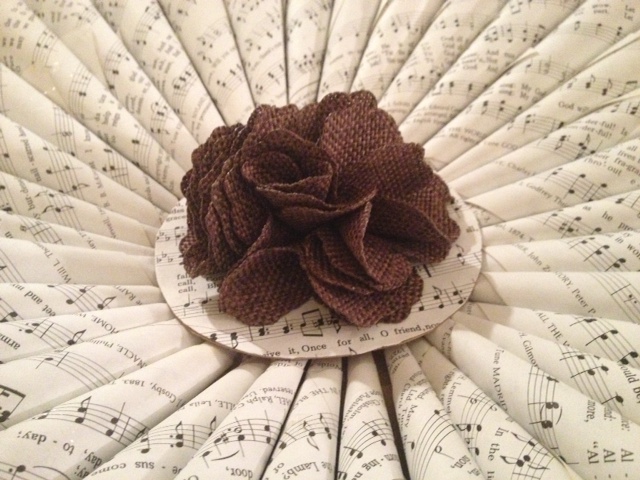
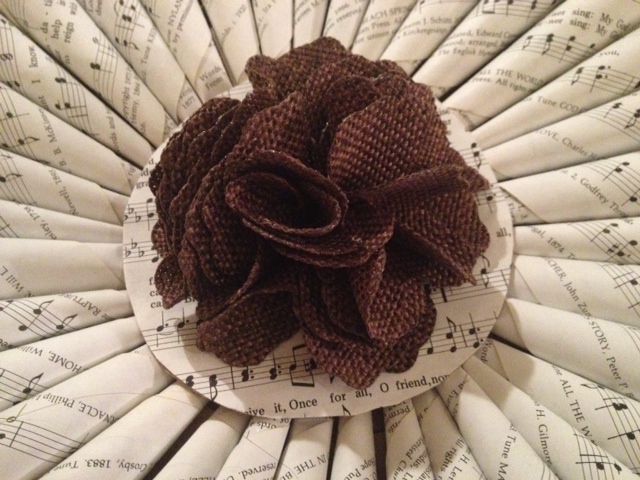
Once you’ve completed the book wreath part, you need to decide if you want to add anything in the center. I’ve seen them without but I prefer to have something in the middle. I found a dark brown burlap flower embellishment at Hancock Fabric the last time I was in there that was 40% off so I purchased that to use on this book wreath.
I used the circle I had cut out of the cardboard and glued a book page on top of that and then glued the embellishment on top of that. Then I just glued that center piece onto the top of the book wreath.
Overall the book wreath turned out great! The cones were all facing the right way and were made properly where none of them stand out! Unfortunately, the pages weren’t as yellow’d and antiqued as I would have liked so I am actually going to give this one to my sister (who has been begging for one for months) and search for a hymnal that has more yellowed pages to use to replace my original one.
Riley and Mason were quite the helpers too! 🙂 They love movie/craft nights!


*You’ll have to excuse the halloween tablecloth underneath in the pictures. I use that to protect the floors from hot glue, paint, etc. but it doesn’t make for pretty pictures!